Grow your collection of cute food toys with this Crochet Carrot Free Pattern and enjoy making a bright orange carrot for Easter or playtime.
A little vegetable made with soft yarn can bring a fresh and cheerful touch to your home. The lovely tutorial shared by @CrochetToysIryna offers a sweet idea for making a small Crochet Carrot with a fun and natural look.
Small Crochet Carrot Free Pattern For Play Food Sets
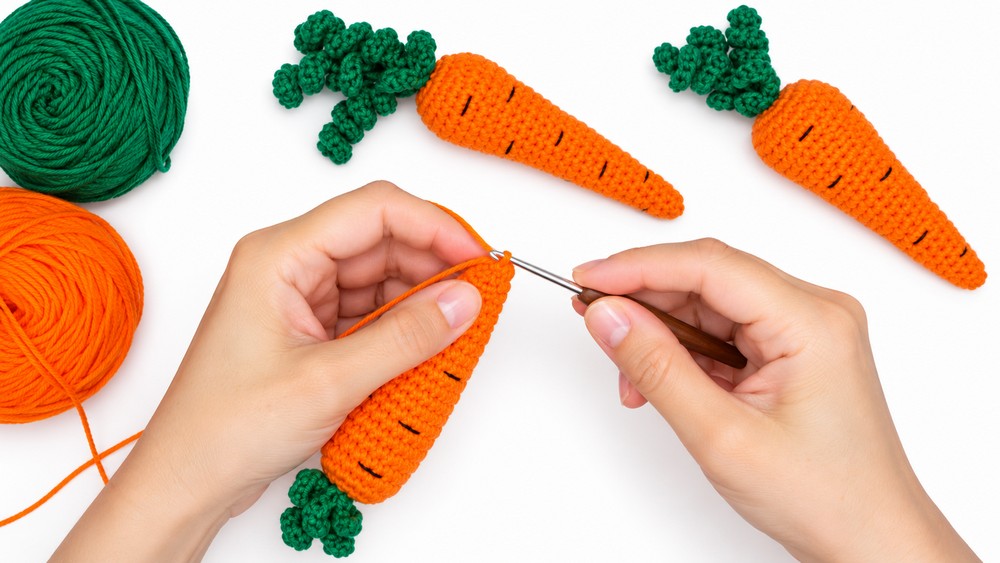
This Crochet Carrot is an adorable vegetable toy with a long, pointed body and leafy green top. Its bright orange color gives it a fresh appearance, while the tiny crochet stitches create a neat and smooth texture. The simple shape and pretty color combination make this little carrot stand out beautifully.
This playful carrot is perfect for decorating kitchen shelves, dining tables, or Easter baskets. You can also include it in a child's pretend food collection, where it can become part of a fun little vegetable set. Its small size makes it easy to place in different spaces without taking up much room.
Another lovely feature is the freedom to choose different shades. Bright orange gives the carrot a traditional look, while soft peach or light yellow can bring something new. The green leaves on top complete its natural appearance and make it look more realistic.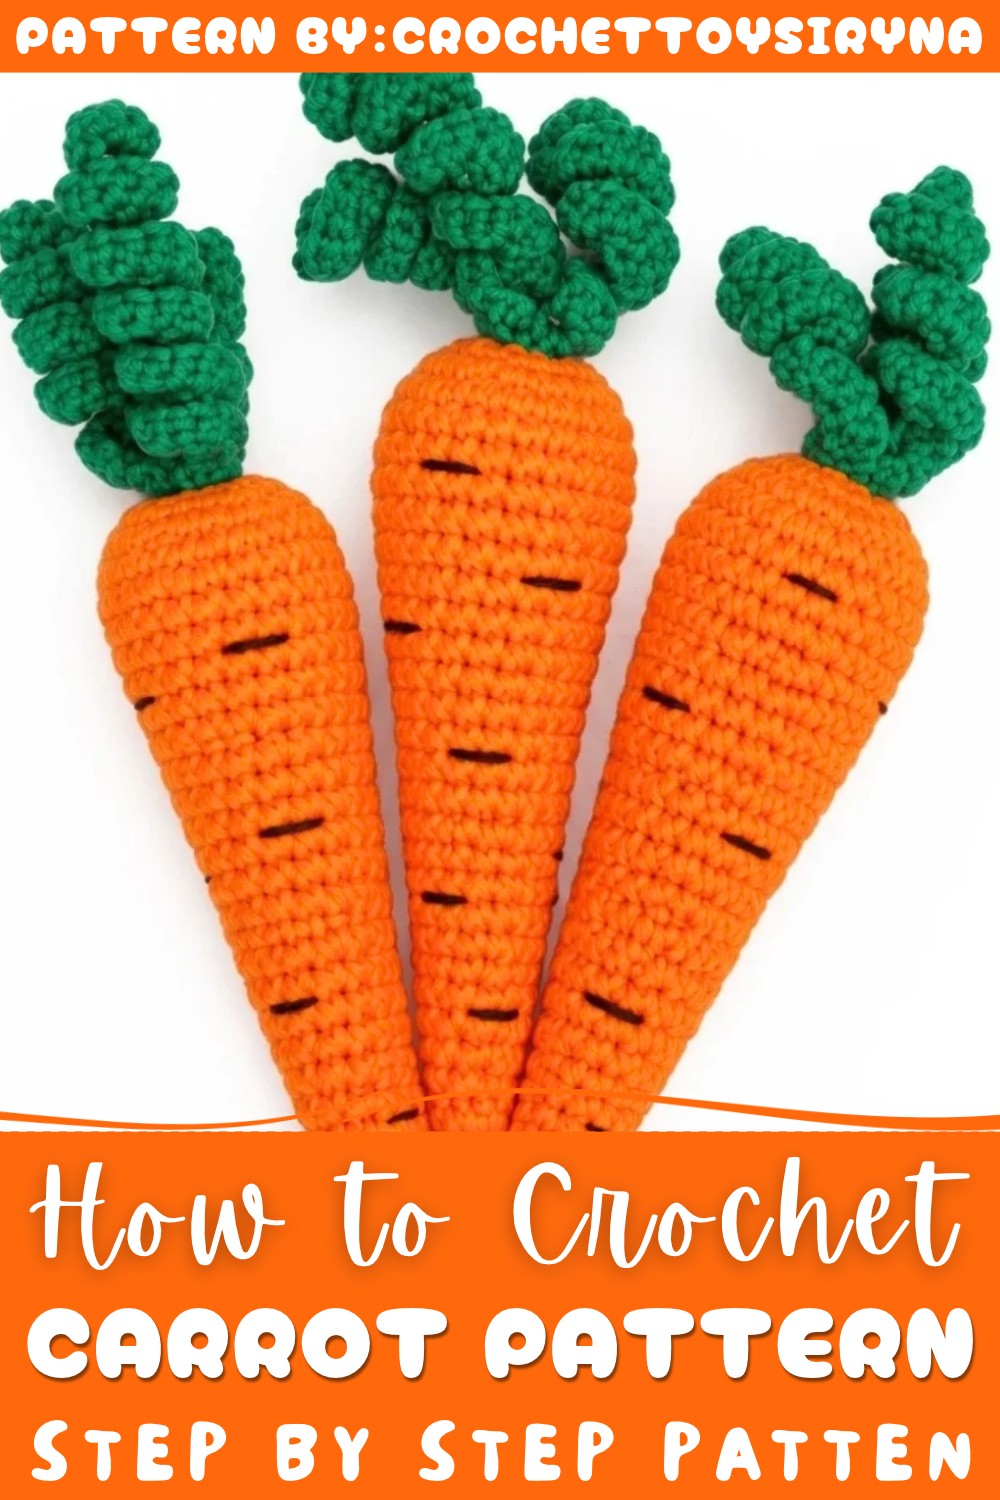
You will enjoy this project because it uses only a small amount of yarn and helps you practice simple crochet shapes. It is also a nice way to make something colorful without spending much time.
Give this free carrot pattern a chance and bring a little garden happiness into your crochet collection!
Easy Amigurumi Carrot Crochet Pattern
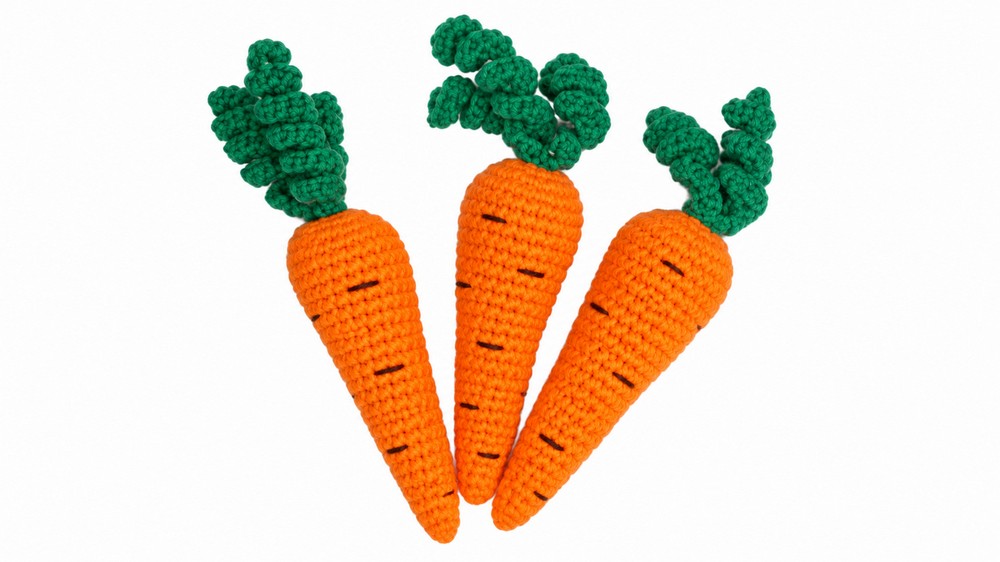
A charming amigurumi carrot, crafted with vibrant orange and fresh green yarn, rests easily in the palm of your hand. Its chubby body and playful curly greens make it a delightful addition to play kitchens, Easter baskets, or as a whimsical decor piece. Designed for a soft touch and vivid appearance, every detail has been carefully considered—from the structured but simple body shaping to the expressive green tops. Using just basic stitches but clever construction, this carrot is a rewarding and creative crochet project.
Pattern Basic Points
- Single piece construction: The carrot is worked from top to bottom in continuous rounds.
- Yarn transition: Color changes occur early, ensuring a seamless gradient from greens to orange.
- Curly greens: The top features three distinctive curled tails, worked in the front loops left from color changing.
- Amigurumi shaping: Increases and decreases form a tapered, realistic carrot body.
- Embroidered details: Stripes are added with embroidery for extra character.
Special Notes
- This pattern is worked in a spiral; do not join rounds.
- Use a stitch marker to keep track of the beginning of each round.
- To maintain a neat transition, finish the last round in green and secure before switching to orange.
- Stuff the carrot firmly for a well-shaped form, but avoid overstuffing to prevent stretching the stitches.
- The greens are worked after the body is started—ensure you do not skip the front loops in the designated round.
- Curly tails are best achieved by working two single crochet into each chain of the strand.
Skill Level
Beginner:
Suitable for those new to amigurumi or seeking a straightforward, enjoyable project. Requires knowledge of basic crochet stitches (single crochet, increase, decrease), working in the round, and simple color changes.
Materials
- Yarn:
- YarnArt Jeans (or similar sport/DK yarn)
- Orange: 1 skein
- Green: Small amount
- Iris black cotton yarn (or embroidery floss) for stripes (small scrap)
- YarnArt Jeans (or similar sport/DK yarn)
- Hook:
- 2 mm crochet hook
- Notions:
- Yarn needle (for weaving ends and embroidery)
- Scissors
- Stitch marker
- Polyester fiberfill stuffing
Measurements & Gauge
- Finished Size:
- Length: Approximately 11–12 cm (excluding greens)
- Width: Approximately 2.5–3 cm at widest point
- Green tails: Each approx. 8–9 cm
- Gauge:
- ~24 sc x 27 rows = 10 cm x 10 cm in amigurumi spiral
- Gauge is not critical; adjust hook if needed for firm, non-gappy fabric.
Stitch Abbreviations
- mr: magic ring
- ch: chain
- sc: single crochet
- inc: increase (2 sc in the same stitch)
- dec: decrease (single crochet two stitches together)
- sl st: slip stitch
- BL/BLO: back loop only
- FL/FLO: front loop only
- rep: repeat
- st(s): stitch(es)
Special Stitches
- Magic Ring (mr):
Circle of yarn allowing for an adjustable, tight center when starting in the round. - Invisible Decrease (dec):
Insert hook into the front loop of next 2 stitches, yarn over, pull through both front loops, yarn over, pull through remaining loops on hook.
Pattern Instructions
Carrot Body:
- Magic Ring (Green):
- Make a magic ring.
- Work 6 sc into the ring. Do not join; work in spiral. (6 sts)
- Change to Orange:
- Drop green yarn, pick up orange.
- With orange, sl st to the first green stitch to secure. Continue with orange.
- Round 1 (Increase, BLO):
- 2 sc in each stitch (BLO) around. (12 sts)
- Place a stitch marker in the first stitch.
- Work all stitches in back loop only for this round.
- 2 sc in each stitch (BLO) around. (12 sts)
- Round 2:
- (1 sc, 1 inc) rep 6 times. (18 sts)
- Round 3:
- (2 sc, 1 inc) rep 6 times. (24 sts)
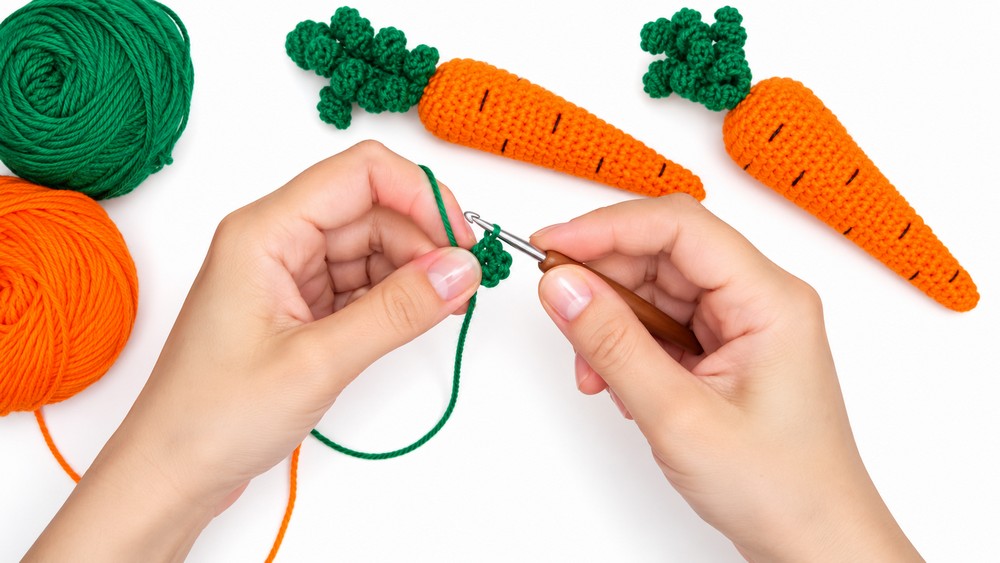
Carrot Greens (Curly Tails):
- Pause the carrot body after round 3.
- Return to the unused FRONT LOOPS of round 1 (first orange round).
- For each curly tail (make 3 across the next 3 FLO):
- Tail 1:
- Join green with a sl st in first FLO.
- ch 27, starting from 2nd ch from hook, 2 sc in each ch back towards base.
- sl st into next FLO to anchor.
- Tail 2 & 3:
- Repeat the same: ch 27, 2 sc in each ch back, sl st into next FLO.
- Fasten off green. Continue body with orange only.
- Tail 1:
Continue Carrot Body:
- Rounds 4–6:
- 24 sc (1 in each st) around. (24 sts per round)
- Round 7 (Decrease):
- (dec, 6 sc) rep 3 times. (21 sts)
- Rounds 8–9:
- 21 sc around. (21 sts per round)
- Round 10 (Decrease):
- (dec, 5 sc) rep 3 times. (18 sts)
- Rounds 11–13:
- 18 sc around. (18 sts per round)
- Begin stuffing carrot at the end of this step, ensuring greens are pulled clear of stuffing area.
- Round 14 (Decrease):
- (dec, 4 sc) rep 3 times. (15 sts)
- Rounds 15–18:
- 15 sc around. (15 sts per round)
- Round 19 (Decrease):
- (dec, 3 sc) rep 3 times. (12 sts)
- Rounds 20–23:
- 12 sc around. (12 sts per round)
- Continue stuffing—ensure the carrot is plump but not overfilled.
- Round 24 (Decrease):
- (dec, 2 sc) rep 3 times. (9 sts)
- Rounds 25–28:
- 9 sc around. (9 sts per round)
- Round 29 (Final Decrease):
- (dec, 1 sc) rep 3 times. (6 sts)
- Finish stuffing if needed.
Finishing:
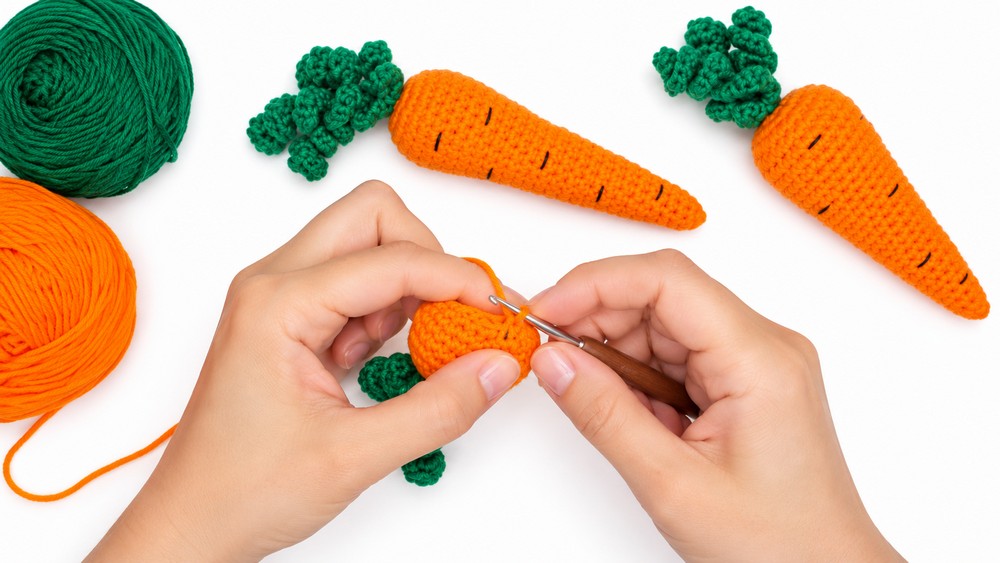
- Cut yarn, leaving a long tail.
- With a yarn needle, run end through front loops of the remaining 6 sts, pull tight to close opening. Fasten with a secure knot and weave in the end.
Embroidered Stripes/Details
- With a length of black Iris yarn or similar embroidery thread:
- Thread yarn needle and sew short, occasional straight lines—angled or vertical—along the carrot's surface to mimic texture.
- Vary the length and placement for a natural look.
- Secure thread ends inside the body to prevent loosening.
Assembly & Finished Size
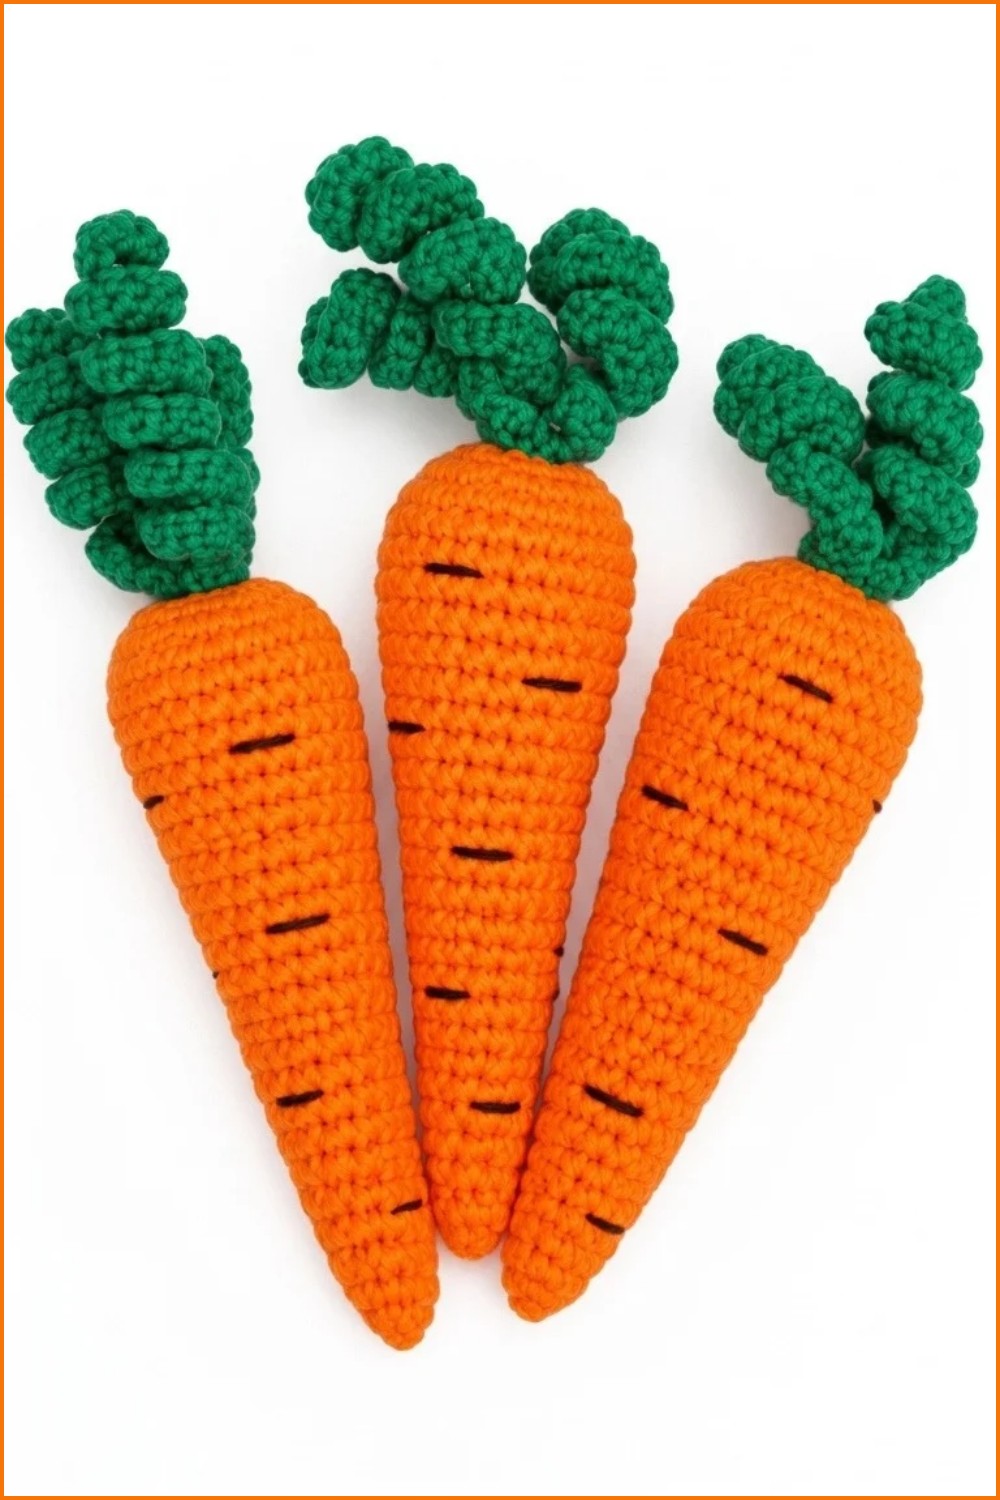
Assembly is simple as the carrot is worked in one piece. After shaping and closing, only the embroidery remains. The final carrot measures approx. 11–12 cm long without greens; each curly tail adds playful height and movement. This size fits snugly in a hand, ideal for play or display.
Final Words
A soft, playful amigurumi carrot is the perfect project to add charm to any handmade collection, combining approachable skills and delightful design. The construction ensures a seamless, sturdy toy or decoration, and the distinctive green tops provide a realistic and whimsical finish. This pattern enables creative confidence as you transform simple stitches into a recognizable, adorable vegetable. Enjoy the process and the cheerful result—with each carrot, every stitch brings the piece to life.