Celebrate Christmas with this Crochet Santa Claus Free Pattern and finish a cheerful little figure for holiday decorations and family gifts.
Christmas feels more exciting when Santa becomes part of your holiday decorations. His cheerful face, bright red outfit, and fluffy white beard bring back the happiness of festive celebrations. @CrochetToysIryna shares a fun tutorial for this much-loved winter character.
Mini Crochet Santa Claus Free Pattern For Christmas Decor
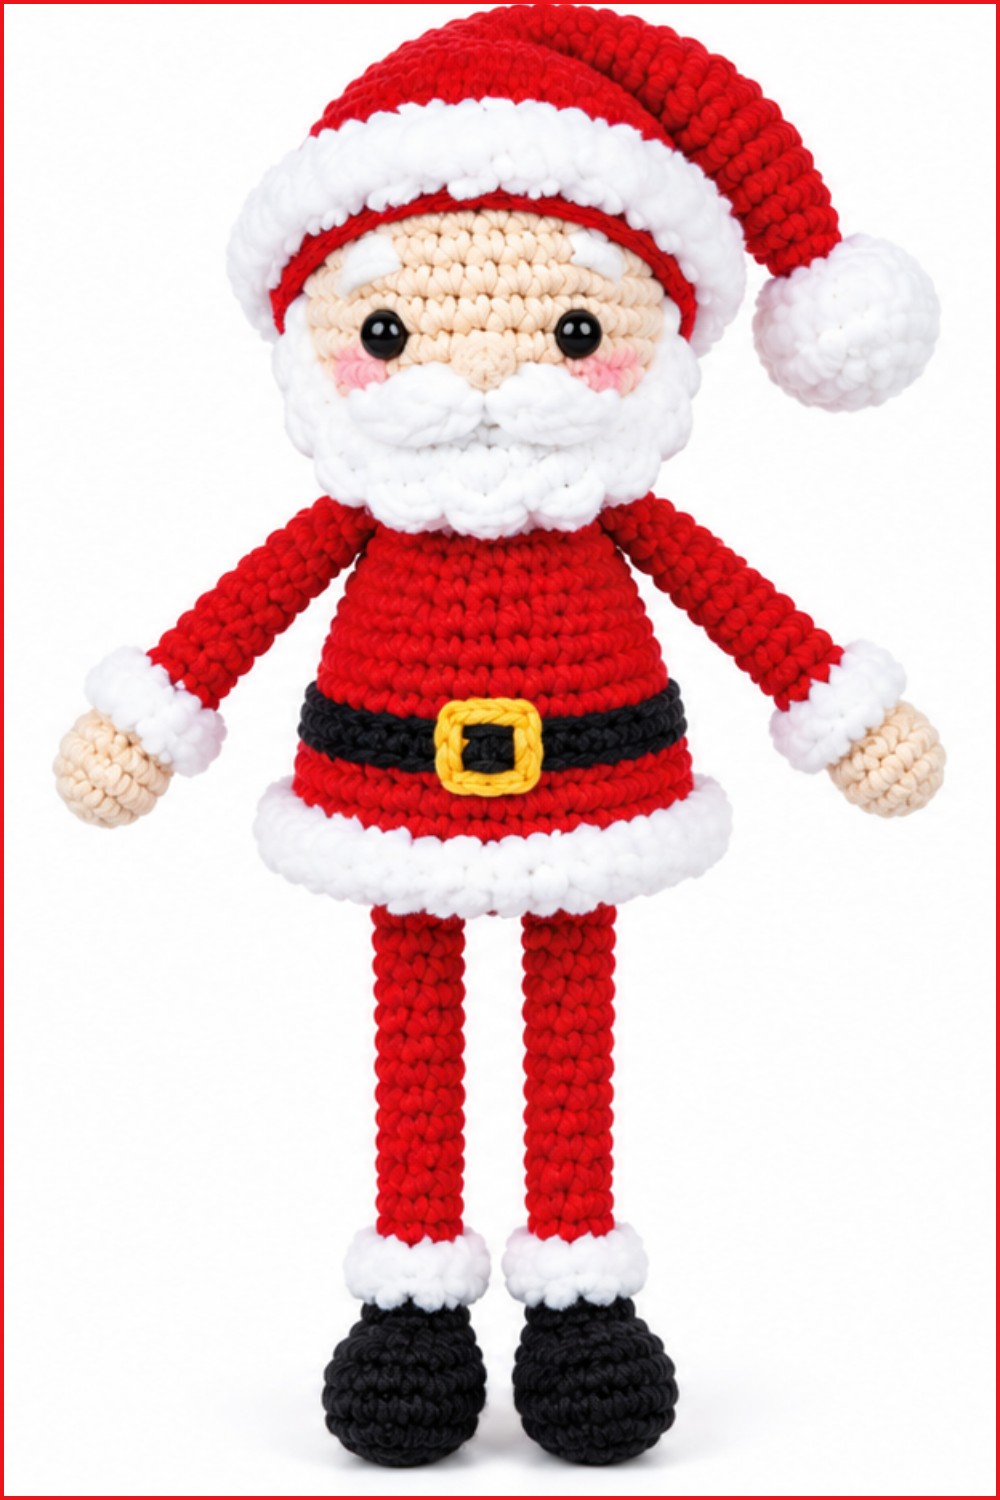
This Crochet Santa Claus is a stuffed doll with a round face, rosy cheeks, and a big white beard. His red coat, matching hat, and black belt give him the familiar Christmas look. The soft yarn texture adds a cozy feel, while the tiny hands and boots complete his friendly appearance.
The long pointed hat with a white pom-pom is a special detail that makes Santa easy to recognize. You can choose deep red for a traditional style or brighter shades for a more playful finish. His small size also makes him easy to place among other holiday items.
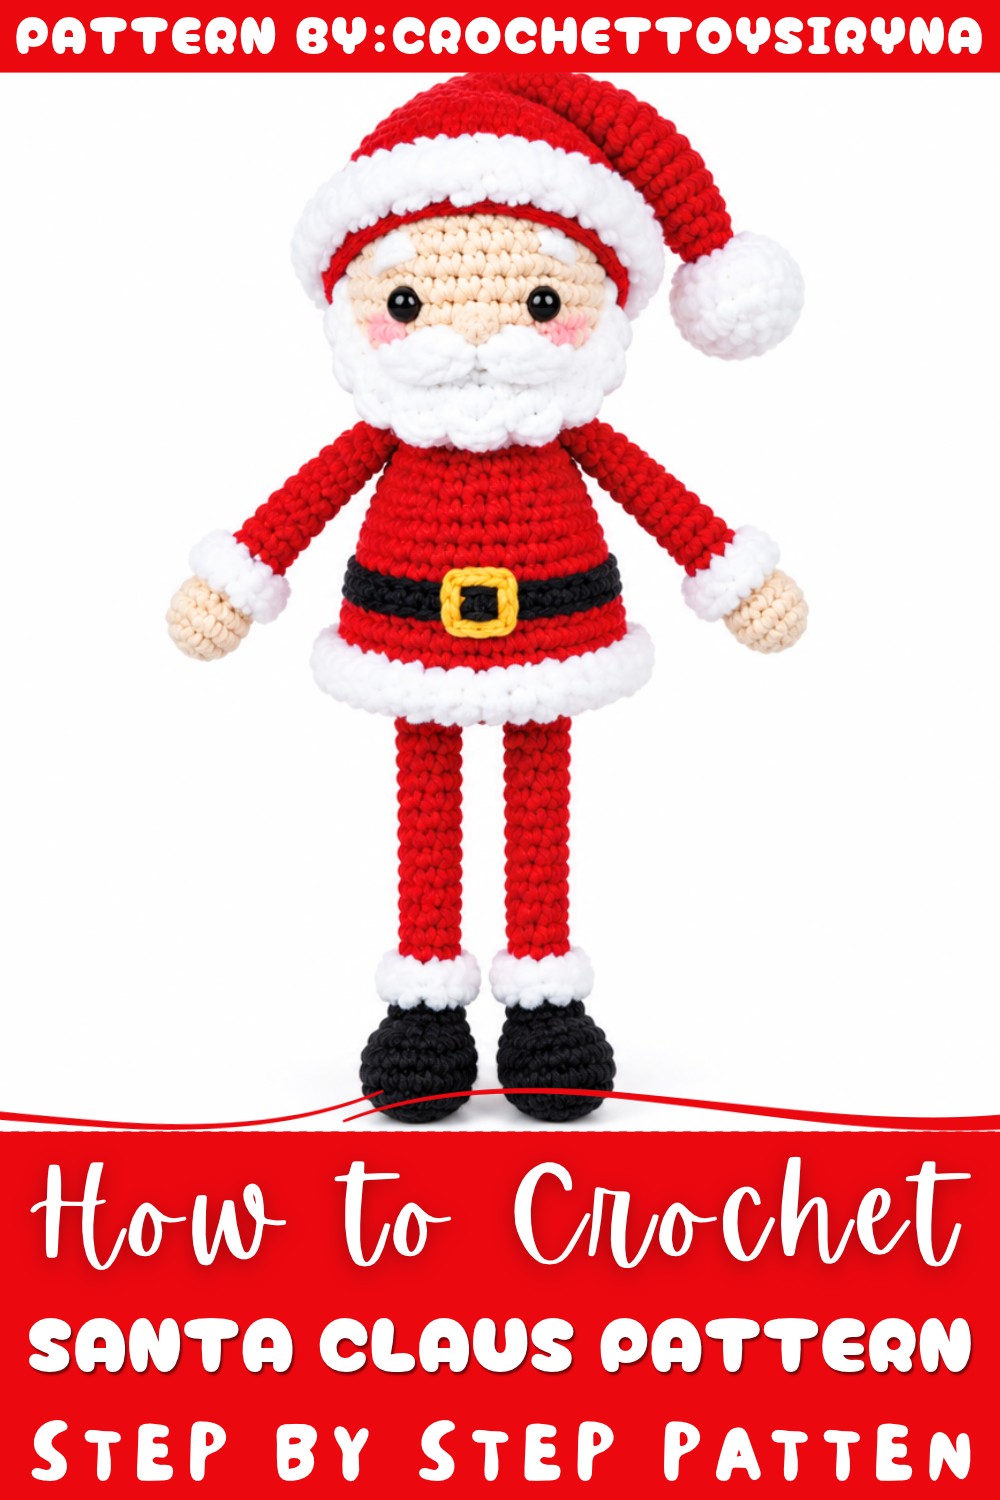
The making process includes crocheting the head and body, adding stuffing, and preparing the hat, beard, and smaller parts. The pieces are then joined to form the finished figure.
Spread a little Christmas happiness with this free Santa Claus crochet pattern and a festive decoration made with love!
About the Pattern
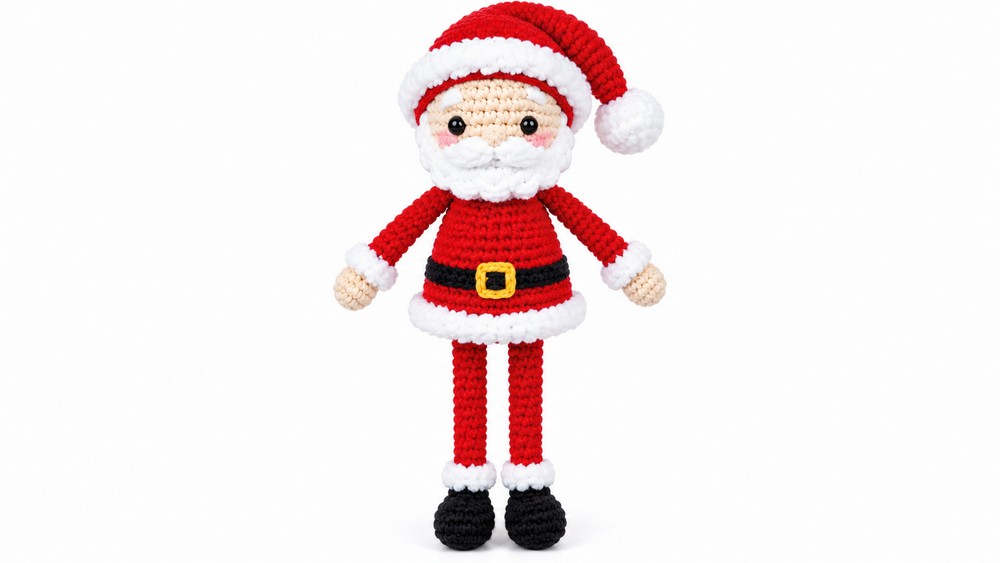
This pattern creates a charming Santa Claus crochet doll measuring approximately 21 cm tall. The design features classic Santa elements, including a red suit accented with fuzzy white yarn, a detailed hat, belt, beard, and mustache. The doll is crafted using amigurumi techniques, making it an ideal festive project to display or gift. The construction utilizes continuous rounds and color changes, building individual components that are seamlessly joined to achieve Santa’s iconic look.
Pattern at a Glance
- Sections Covered: Arms, Legs, Body/Torso, Head, Hat, Beard, Mustache, Belt, Assembly
- Techniques Used: Magic ring, single crochet, color changes, joining rounds, back/front loop emphasis
- Final Size: Approximately 21 cm tall, with defined limbs and a whimsical beard
Important Notes
- Crochet in continuous rounds unless otherwise specified.
- Use a 2.0 mm crochet hook for all elements.
- Adjust stuffing as you progress to achieve a firm yet flexible shape.
- Secure color changes by weaving in ends as soon as they are made.
- When working on details (belt buckle, beard loops), ensure stitches are tight for clarity.
- Safety eyes should be securely fastened, following guidance for placement.
Difficulty Level
Intermediate amigurumi techniques are required. The pattern involves working in the round, shaping, color changes, and making small details, suitable for crocheters familiar with basic amigurumi and minor shaping.
Supplies Needed
- Yarn:
- Skin-tone
- Red
- Dark Grey
- Fuzzy White
- Yellow (for belt buckle)
- 2.0 mm crochet hook
- Wool needle
- Stitch marker
- Scissors
- 5 mm safety eyes
Size & Measurements
- Finished Height: 21 cm
- Arms and legs: Proportionate to the doll and uniform in size
- Hat: Sits securely atop the head with a pom-pom
Gauge & Stitch Details
- Gauge is not critical, but for consistent fabric and stuffing containment, aim for:
- Roughly 6 SC per 1 cm in width (using the 2.0 mm hook and recommended yarn).
- Stitches are worked tightly to maintain amigurumi firmness.
Crochet Abbreviations
- MR: Magic ring
- SC: Single crochet
- HDC: Half double crochet
- INC: Increase (2 SC in same stitch)
- DEC: Decrease (single crochet two stitches together)
- CH: Chain
Special Stitch Guide
- Magic Ring (MR): Start by making an adjustable loop and working the specified number of SC into the ring.
- Back Loop Only (BLO): Insert the hook only into the back loop of the stitch.
- Front Loop Only (FLO): Insert the hook only into the front loop of the stitch.
Complete Crochet Pattern
1. Arms
Round 1:
- With skin-tone yarn, make a magic ring.
- Work 6 SC into the ring.
Rounds 2-5:
- Continue with 6 SC in each round.
Round 6:
- Change to red yarn.
- Work 6 SC (BLO).
Rounds 7-16:
- Using red yarn, work 6 SC in each round.
Round 17:
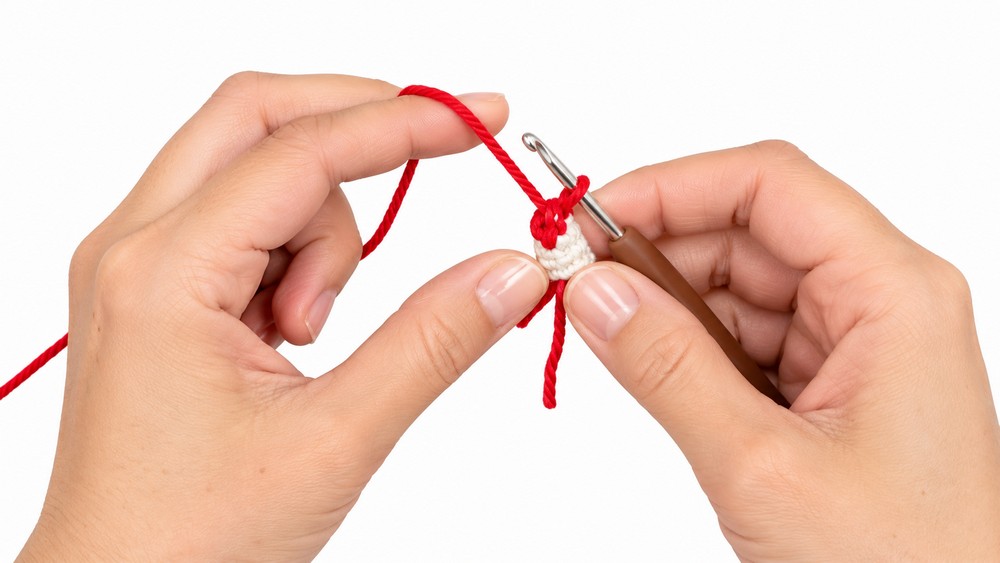
- Close by flattening the arm and working 3 SC through both layers to seal.
Round 18 (Edge):
- With fuzzy white yarn, work 6 SC (FLO) around wrist for the cuff.
Repeat to make the second arm.
2. Legs
Round 1:
- With dark grey yarn, make a magic ring.
- Work 6 SC into the ring.
Rounds 2-5:
- Continue with 6 SC in each round.
Round 6:
- Change to red yarn.
- Work 6 SC (BLO).
Rounds 7-25:
- Using red yarn, work 6 SC in each round.
Round 26 (Edge):
- With fuzzy white yarn, work 6 SC (FLO) around ankle for the cuff.
Repeat for the second leg. Do not cut yarn after completing the second leg.
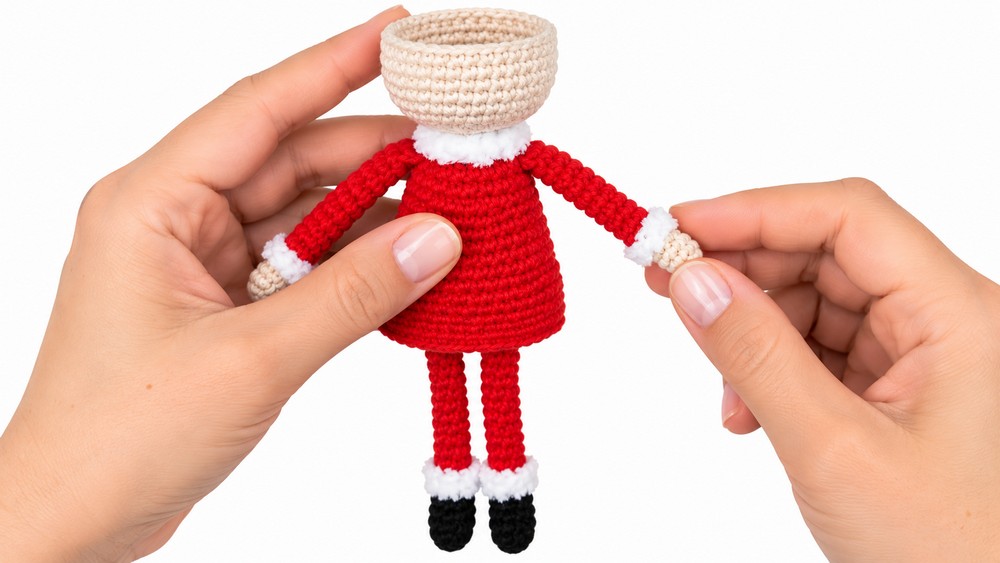
3. Body & Torso
Joining Legs:
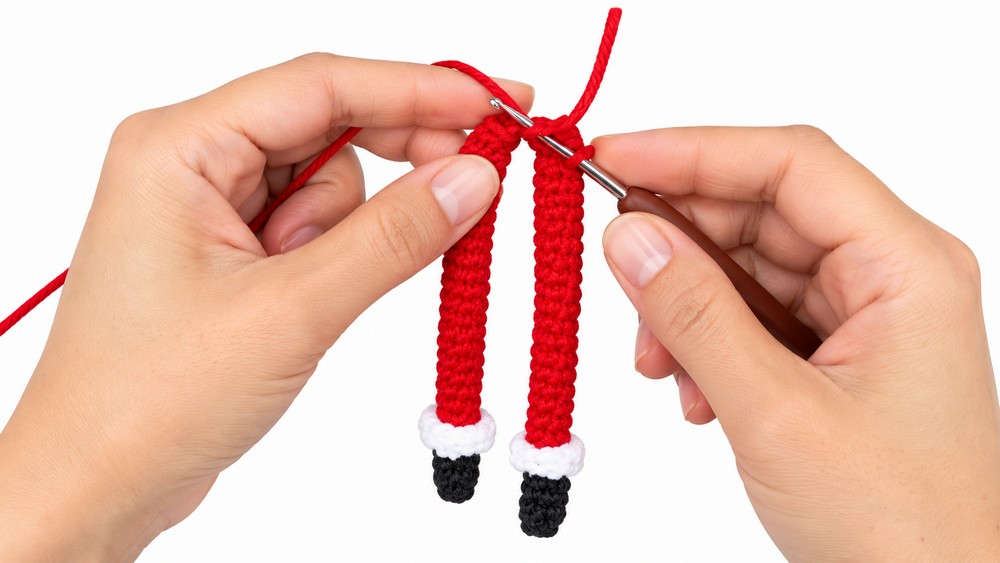
- With red yarn still attached from second leg, CH 3.
Round 1:
- Work SC around both legs and the joining chain to total 18 SC.
Round 2 (Increase):
- Repeat 9 times: 1 SC, 1 INC.
- End with 27 SC.
Rounds 3-4:
- Work 27 SC in each round.
Round 5 (Decrease):
- Repeat 3 times: 7 SC, 1 DEC.
- End with 24 SC.
Round 6 (Decrease):
- Repeat 3 times: 6 SC, 1 DEC.
- End with 21 SC.
Round 7 (Attach Arms):
- Incorporate both arms as you crochet the 21 SC. Secure arms in place.
Round 8 (Decrease):
- Repeat 7 times: 1 DEC, 1 SC.
- End with 14 SC.
Round 9:
- Work 14 SC (BLO) for the collar area.
Round 10:
- Change to skin-tone yarn for the neck.
4. Head
Round 1:
- Begin with 14 SC at the neck.
Round 2 (Increase):
- Work 14 INC (increase in every stitch).
- End with 28 SC.
Round 3 (Increase):
- Repeat 7 times: 3 SC, 1 INC.
- End with 35 SC.
Rounds 4-9:
- Work 35 SC in each round.
Safety Eyes Placement:
- Insert 5 mm safety eyes between rows 3 and 4 from the top.
Round 10 (Decrease):
- Work 30 SC.
Round 11 (Decrease):
- Work 25 SC.
Round 12 (Decrease):
- Work 20 SC.
Round 13 (Decrease):
- Work 15 SC.
Round 14 (Decrease):
- Work 10 SC.
Finishing:
- Close the head securely. Add stuffing before sealing.
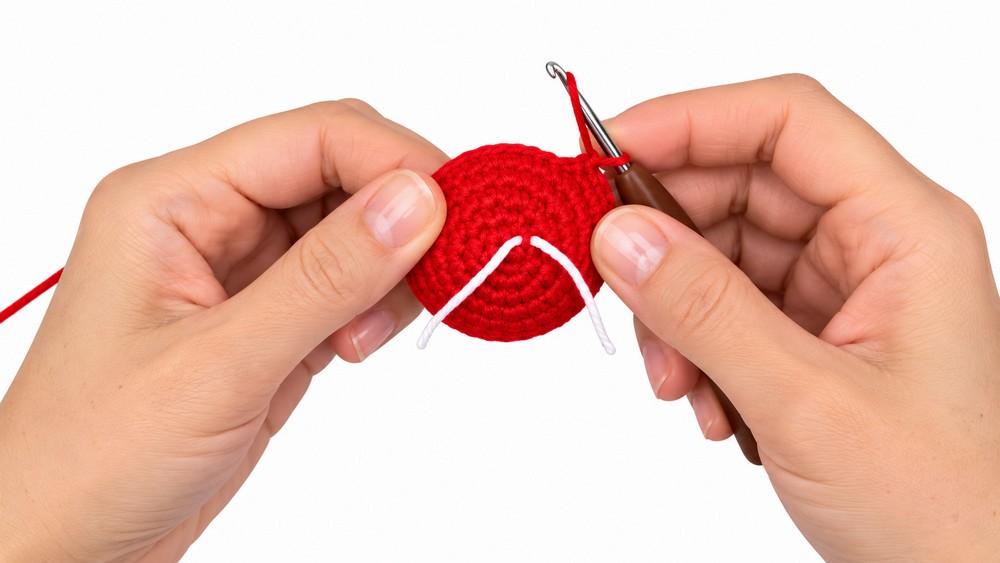
5. Hat
Rounds 1-2:
- With red yarn, MR and work 6 SC, then increase over rounds to reach 42 SC.
Rounds 3-8:
- Continue increasing and working SCs as directed above, forming a cone shape.
Pom-Pom:
- Make a fluffy pom-pom and attach to the top of the hat.
6. Beard
Foundation Row:
- CH 19, turn.
Row 1:
- 18 SC across.
Decorative Loops:
- Create loops around the base for texture and fullness.
7. Mustache
Foundation Row:
- CH 11, turn.
Row 1:
- Work a combination of half double crochet and SC for shaping.
8. Belt
Foundation Row:
- CH 28, turn.
Row 1:
- 27 SC across.
Buckle:
- Using yellow yarn, stitch a buckle shape over one end.
Assembly & Finished Size
- Seam hat securely to the head, ensuring pom-pom is displayed.
- Attach beard and mustache with stitches beneath the nose area.
- Place belt around Santa’s waist, securing ends.
- Ensure all limbs are stitched tightly to the body for durability.
- The finished Santa Claus doll stands at 21 cm and displays festive detail and crochet.
Conclusion
This pattern provides a comprehensive guide to making a Santa Claus doll complete with traditional outfit and accessories. The construction focuses on amigurumi techniques and careful assembly, yielding a decorative, festive crochet piece. Each section balances detail with technique, resulting in a cohesive and charming holiday figure that highlights the classic Santa aesthetic.