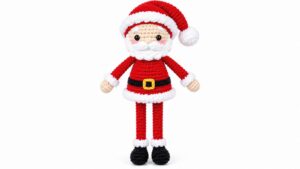
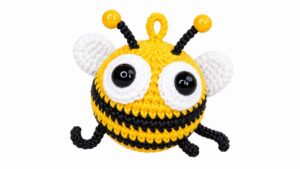
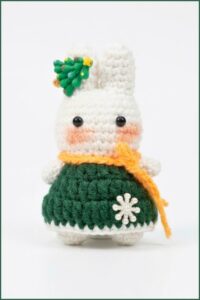
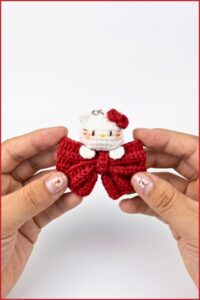
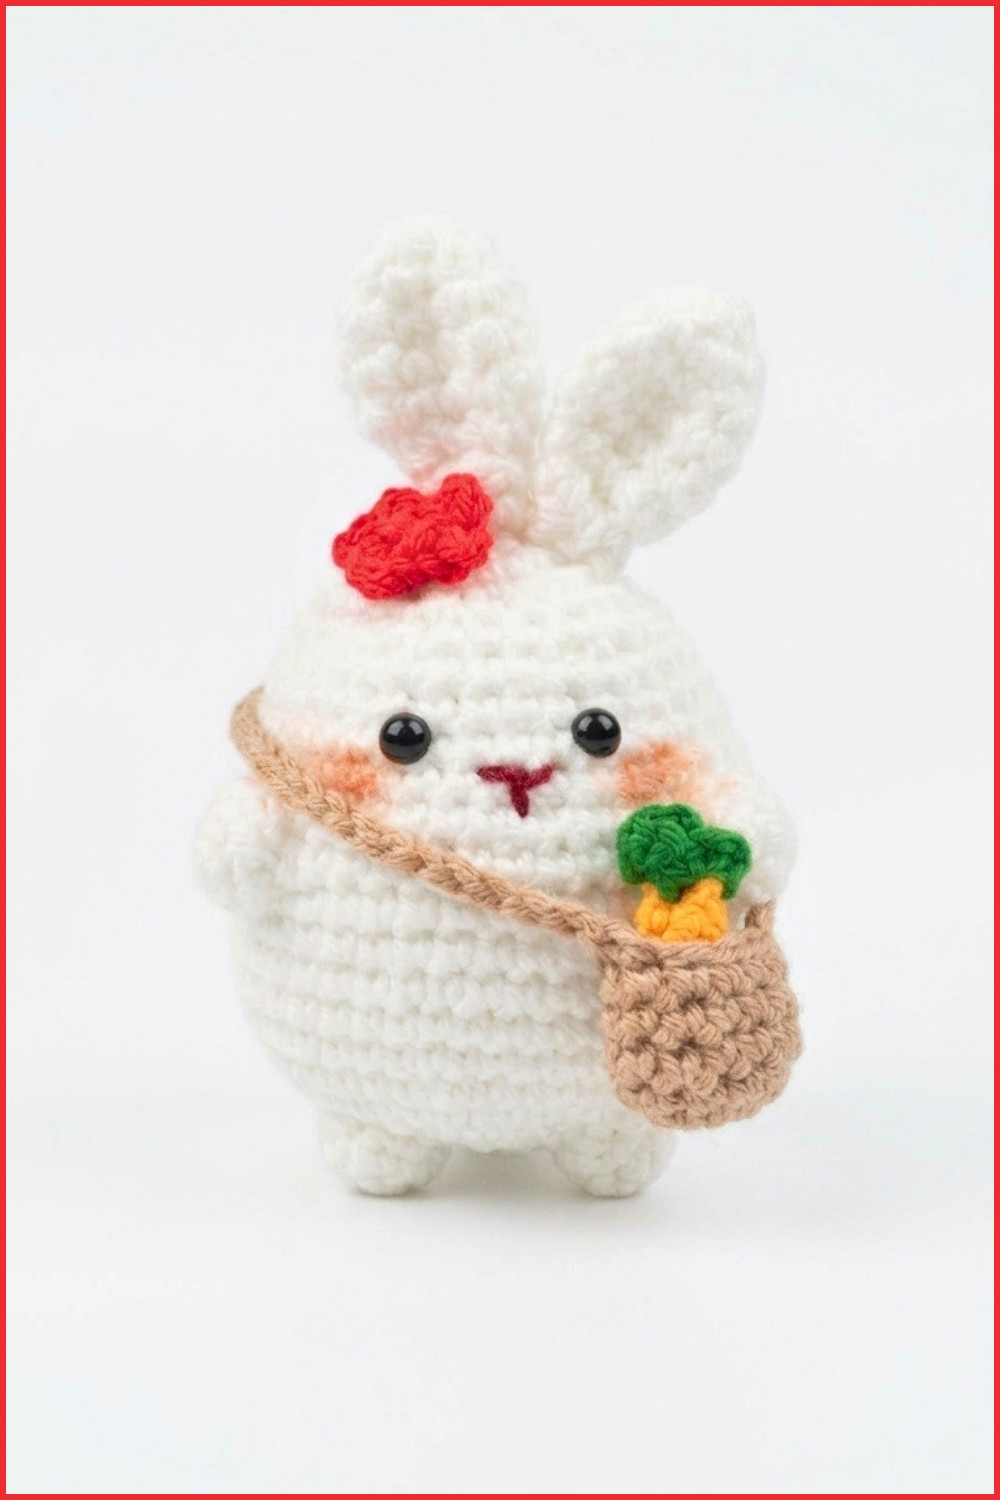
Spark joy in every stitch through this Free Crochet Bunny With Carrot Bag Pattern that's showcasing an adorable bunny paired with a vibrant carrot bag accessory.
A soft, cute bunny holding a little carrot bag can brighten any room and bring smiles to everyone. The free crochet bunny with carrot bag pattern is a perfect craft to create this lovable little friend. Thanks to the clear instructions from Márcia Souza Crochê, making this adorable bunny is both fun and easy.
This bunny has big, floppy ears and a sweet, round face that looks very friendly. Its small carrot bag adds a nice touch and makes the bunny even more charming. Made with gentle yarn, the bunny feels soft to touch and looks wonderful as a decoration on a shelf or a child’s desk. Because of its size and style, it can also be a perfect gift for kids or anyone who loves cute handmade animals.
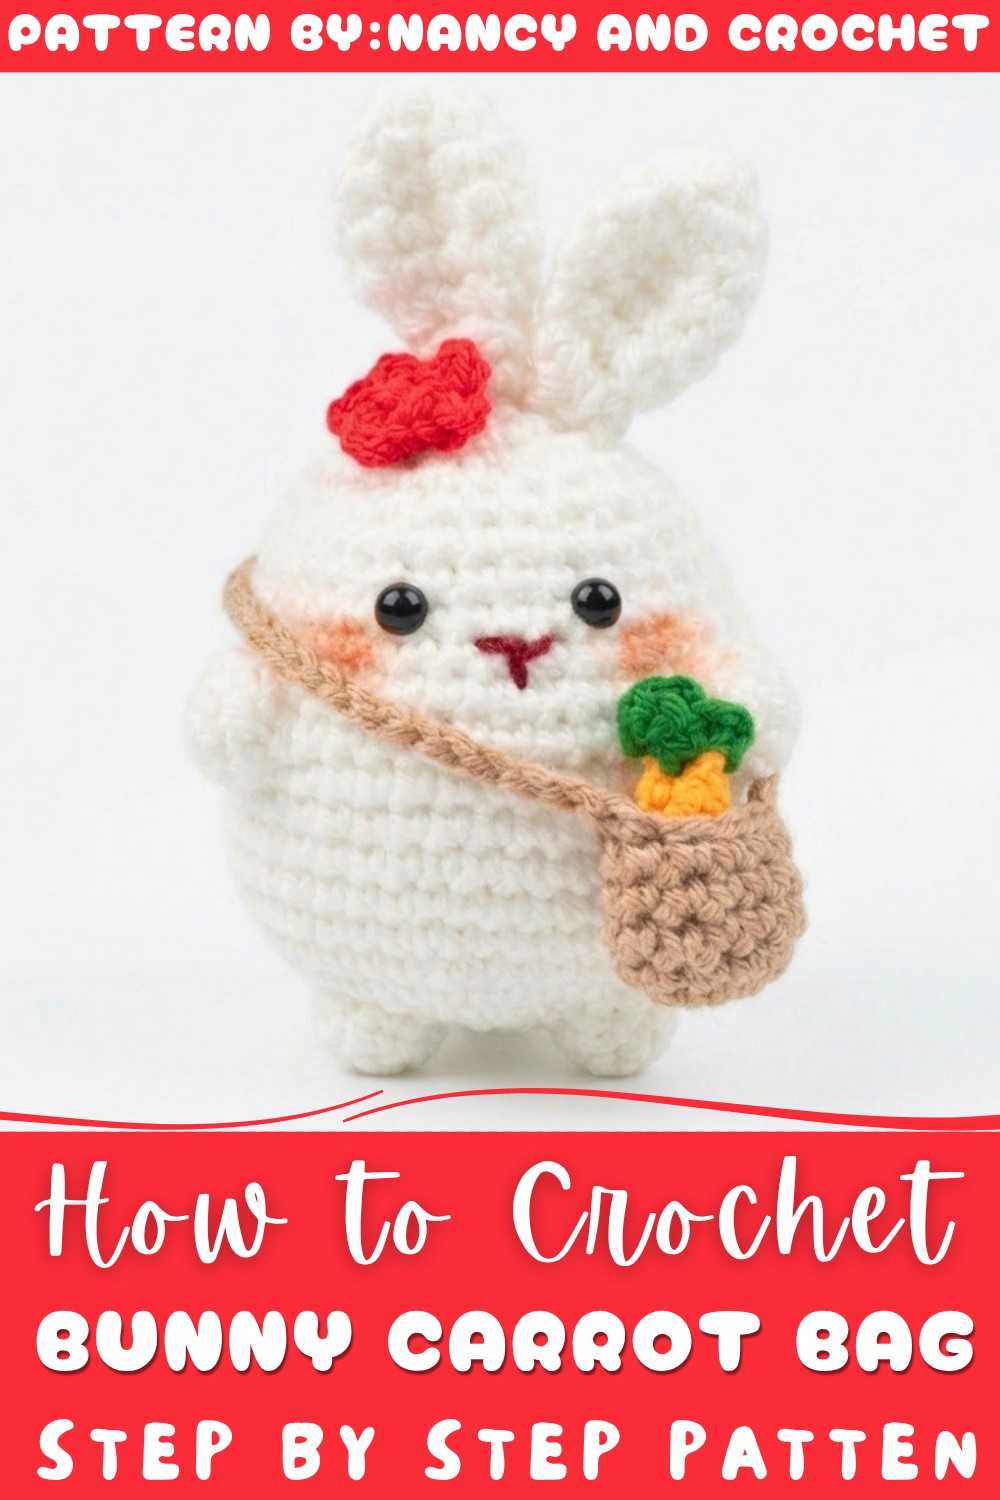
Bunny With Carrot Bag Free CrochetPattern for Beginners
The shape of the bunny is simple but full of character. Its smooth curves and round body make it easy to hold and cuddle. The carrot bag fits nicely in its little paws, giving it a playful and unique style. This project is not just a toy but a neat piece of art that shows care and creativity.
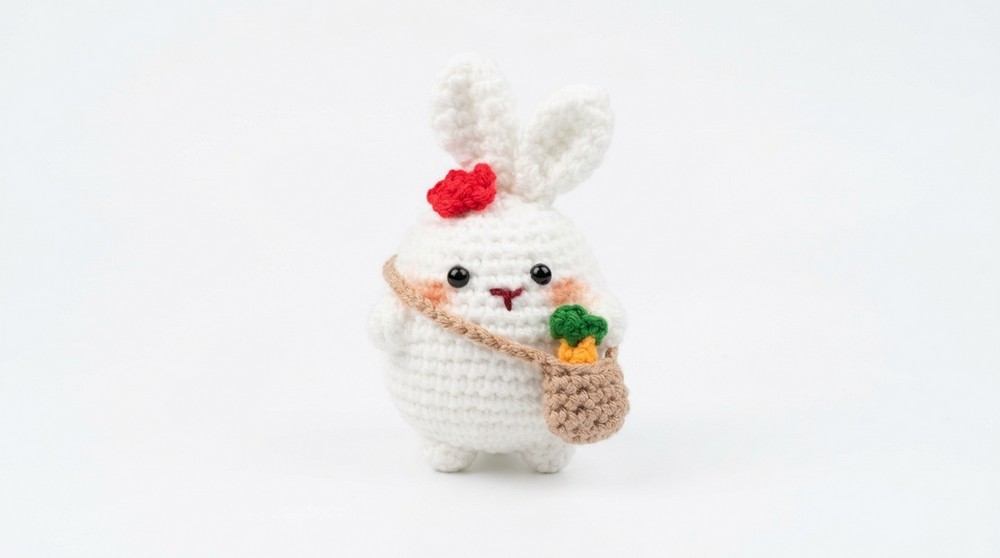
People will love this crochet bunny because it brings joy and warmth wherever it is placed. Whether used as a home decoration, a gift, or a fun toy, it fits perfectly in many settings. The step-by-step help from the YouTube channel Márcia Souza Crochê makes it a great project for beginners and experienced crocheters alike. This friendly bunny is sure to become a favorite for anyone who makes or receives it.
Crochet Bunny with Carrot Bag Pattern
This charming crochet pattern guides you through crafting a delightful bunny holding a carrot bag. Using simple stitches and gradual shaping, you will create a cuddly amigurumi bunny that is perfect as a gift, decoration, or toy. This pattern focuses on the body construction with detailed rounds including bobble stitches to add texture representing the carrot bag. You will also learn how to crochet and attach the bunny’s ears, completing this adorable piece.
Quick Overview of the Pattern
- Construct the bunny body starting from a magic ring and working in rounds.
- Incorporate bobble and decrease stitches for shaping and detail.
- Use a combination of increases, decreases, and single crochet rows to sculpt the form.
- Crochet separate ears and attach to the body.
- Stuff with filling cotton to give the bunny shape and softness.
Notes
- This pattern is worked continuously in the round unless otherwise specified.
- Use stitch markers to keep track of round beginnings to avoid confusion during increases and decreases.
- Tension should be consistent to ensure an even appearance and to prevent holes that may show stuffing.
- When working bobble stitches for carrot bag details, follow stitch instructions carefully to create the textured effect.
- Assembly of the ears can be done with a yarn needle sewing or hot glue for quick attachment.
- The pattern assumes familiarity with basic crochet stitches; special stitches are explained below.
Skill Level
Suitable for intermediate beginners who:
- Know how to work a magic ring (adjustable ring).
- Can execute single crochet stitches and counting properly.
- Are familiar with increases and decreases in amigurumi.
- Have experience with bobble stitches or textured stitch techniques.
- Are comfortable with basic seaming and finishing.
Materials
- Medium weight yarn (color of your choice for bunny and carrot bag).
- Crochet hook appropriate for yarn weight (size recommended on yarn label).
- Filling cotton or fiberfill.
- Yarn needle for weaving ends and assembly.
- Optional: hot glue gun for quick attachment of ears.
Measurements / Sizing
- Finished bunny stands approximately 15-18 cm tall, depending on yarn thickness and tension.
- The carrot bag integrates seamlessly as part of the bunny’s body contour and adds slight bulk.
- Ear size corresponds proportionally to the head diameter for a natural look.
Gauge and Stitch Pattern
- Stitch gauge is flexible; an approximate gauge would be 20 single crochet stitches = 5 cm in width.
- Maintain a firm tension to keep the amigurumi firm and avoid visible gaps.
- The primary stitch used is single crochet (sc) worked in continuous rounds.
- Bobble stitches add small bumps on the carrot bag surface for textural contrast.
Stitch Abbreviations
| Abbreviation | Meaning |
|---|---|
| ch | Chain |
| sc | Single crochet |
| sl st | Slip stitch |
| inc | Increase (2 sc in one stitch) |
| dec | Decrease (single crochet 2 sts together) |
| bobble | Bobble stitch (explained below) |
Special Stitches
Magic Ring
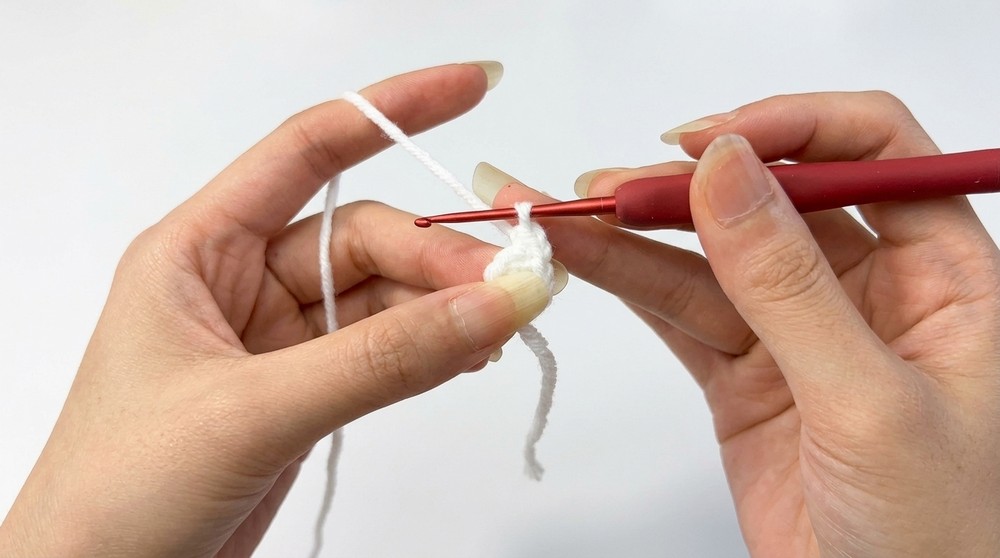
Start by making a loop with yarn around two fingers, crochet specified stitches inside the loop, then pull tight to close hole.
Bobble Stitch
Worked by partially completing a series of double crochets (or treble crochets depending on pattern) into the same stitch, leaving loops on the hook, then yarn over and pull through all loops creating a raised “bobble” texture. This pattern uses bobbles to simulate the textured surface of the carrot bag.
The Crochet Pattern
Follow carefully round by round to shape the bunny with the carrot bag detail.
Round 1
- Create a magic ring, chain 1 (does not count as a stitch), work 6 single crochet (sc) stitches inside the ring.
- Pull the ring tightly to close.
Round 2
- Work 1 slip stitch into the first stitch to join.
- Chain 1 (does not count as a stitch).
- Repeat the following around: 2 single crochet stitches (inc) in each stitch, ending with 12 stitches.
Round 3
- Repeat around: 1 single crochet in next stitch, 2 single crochet in next stitch (inc).
- Repeat this sequence 6 times for a total of 18 stitches.
Round 4
- Repeat around: 2 single crochet, then 2 single crochet in the next stitch (inc).
- Repeat 6 times to increase stitch count to 24 stitches.
Round 5
- Work bobble stitches to create carrot bag detail as follows:
- Crochet in pattern alternating normal single crochet stitches with finishing double crochet stitches.
- Follow the exact stitch count and sequence in the video references for the proper bobble placement, ending with 30 stitches.
- This round creates bumps and texture representing the carrot bag surface.
Round 6
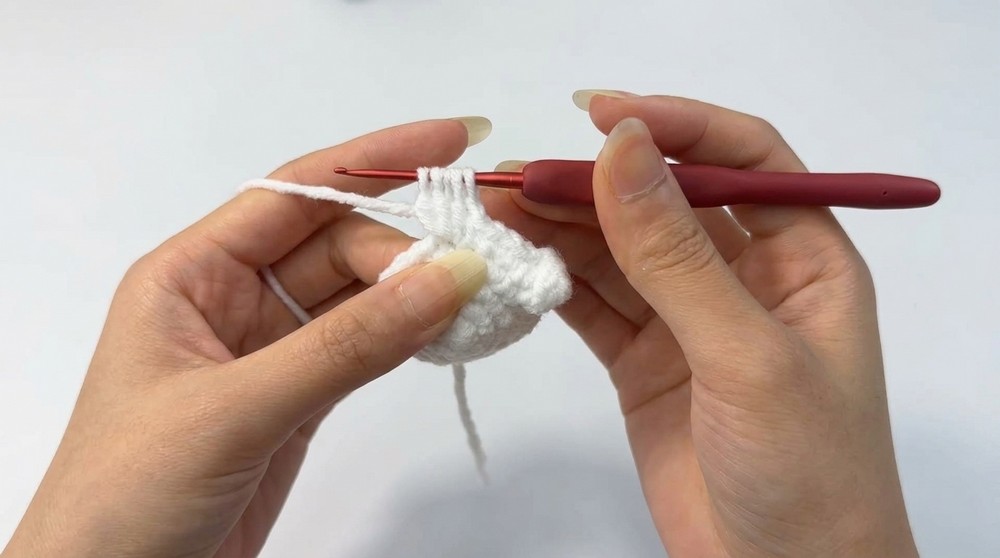
- Repeat the following around: 3 single crochet, 2 single crochet in the next stitch (inc), 4 single crochet, 2 single crochet in the next stitch (inc).
- Repeat 4 times to get 36 stitches total.
Round 7
- Work 1 single crochet in each stitch around with no increases; 36 stitches.
Round 8
- Repeat the following around: 4 single crochet, 2 single crochet in next stitch (inc), 5 single crochet, 2 single crochet in next stitch (inc).
- Repeat 4 times to increase to 42 stitches.
Rounds 9 to 11
- Work evenly: 1 single crochet in each stitch around with no increases; maintain 42 stitches each round.
Round 12
- Incorporate detail stitches for shaping:
- These may involve intricate placement of single crochets or decreases to refine the carrot bag shaping; maintain 42 stitches.
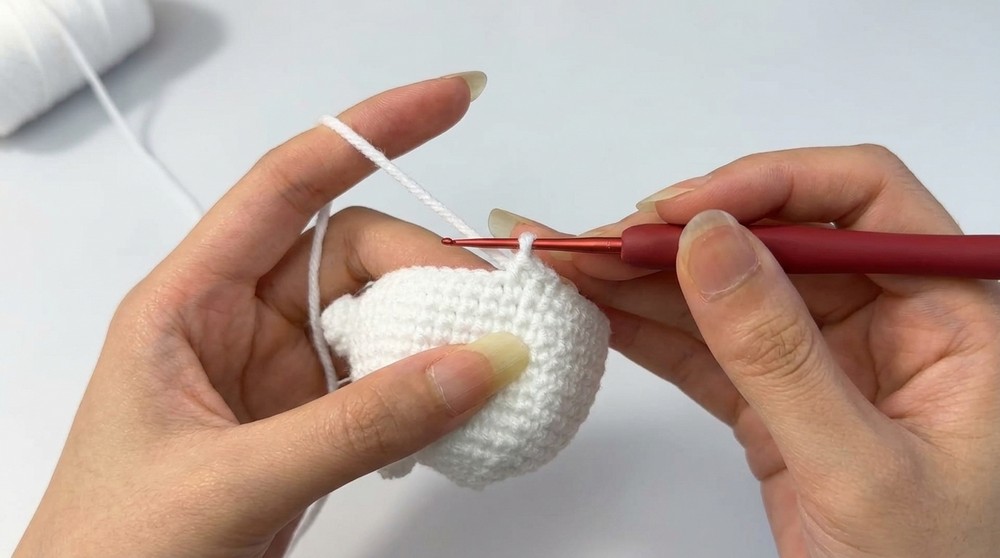
Round 13
- Work evenly: 1 single crochet in each stitch maintaining 42 stitches.
Round 14
- Work the following sequence around:
- 4 single crochet,
- 1 decrease (dec),
- 5 single crochet,
- 1 decrease (dec),
- 1 increase (inc).
- Repeat 4 times to shape the bunny further, reducing to 36 stitches.
Round 15
- Work evenly: 1 single crochet in each stitch repeating 36 stitches.
Round 16
- Repeat sequence:
- 3 single crochet,
- 1 decrease (dec),
- 4 single crochet,
- 1 decrease (dec).
- Repeat 4 times, ending with 30 stitches.
Round 17
- Single crochet evenly, no increases or decreases; 30 stitches.
Round 18
- Repeat sequence:
- 2 single crochet,
- 1 decrease (dec),
- 3 single crochet,
- 1 decrease (dec).
- Repeat 4 times, reducing total to 24 stitches.
Round 19
- Repeat sequence:
- 1 single crochet,
- 1 decrease (dec),
- 2 single crochet,
- 1 decrease (dec).
- Repeat 4 times, down to 18 stitches.
Round 20
- Repeat sequence:
- 1 decrease (dec),
- 1 single crochet,
- 1 decrease (dec).
- Repeat 4 times, reducing to 12 stitches.
Round 21
- Add filling cotton firmly to shape the bunny.
- Continue decreasing by decreasing evenly until only 6 stitches remain.
- Close off with a slip stitch, cut the yarn and fasten tightly.
Assembly & Finished Size
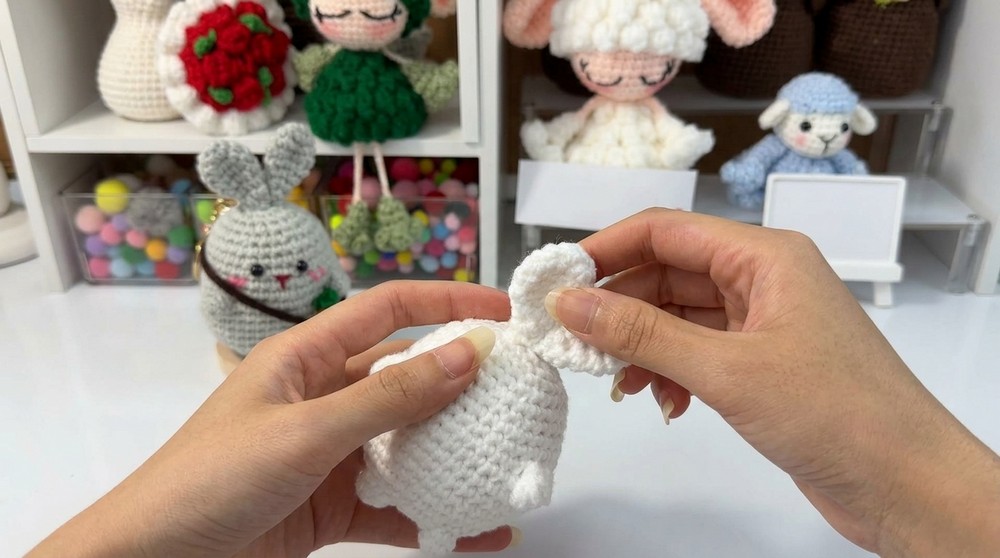
- Crochet two separate ears (pattern for ears not included in this transcription but typically made with magic ring and increasing rows).
- Attach ears securely to the top of the bunny’s head using a yarn needle or, optionally, hot glue for quicker assembly.
- Weave in all loose ends carefully to complete the piece.
The finished bunny stands approximately 15-18 cm tall, including ears, with the carrot bag texturing adding character to the body contour.
Conclusion
This detailed crochet bunny with a carrot bag is a delightful project combining basic single crochet rounds, bobble stitches, and shaping techniques to create a captivating amigurumi toy. The pattern walks through each round with clear increase and decrease sequences for gradual sculpting. Texture detail is added for the carrot bag, providing tactile interest. With simple assembly instructions for the ears, crocheters can produce an adorable bunny ready for gifting or display.