Style your holiday display with this Crochet Christmas Tree Free Pattern and make a pretty little ornament that adds warmth to your holiday decor.
Easy Crochet Christmas Tree Free Pattern To Decorate Party Favors
This project suits beginners and those with some crochet experience, using simple stitches like single crochet, double crochet, and slip stitches worked in rounds to build the tree’s shape. The tutorial guides you step-by-step in creating the base, shaping the layers, and adding finishing touches. Some pieces may require sewing together, making the process both fun and hands-on.
Why is this a project you’ll love? It’s quick to make, festive, and a wonderful way to practice your crochet skills. Plus, it’s perfect for holiday decorating or gifting because it’s lightweight and easy to personalize with your choice of colors and embellishments.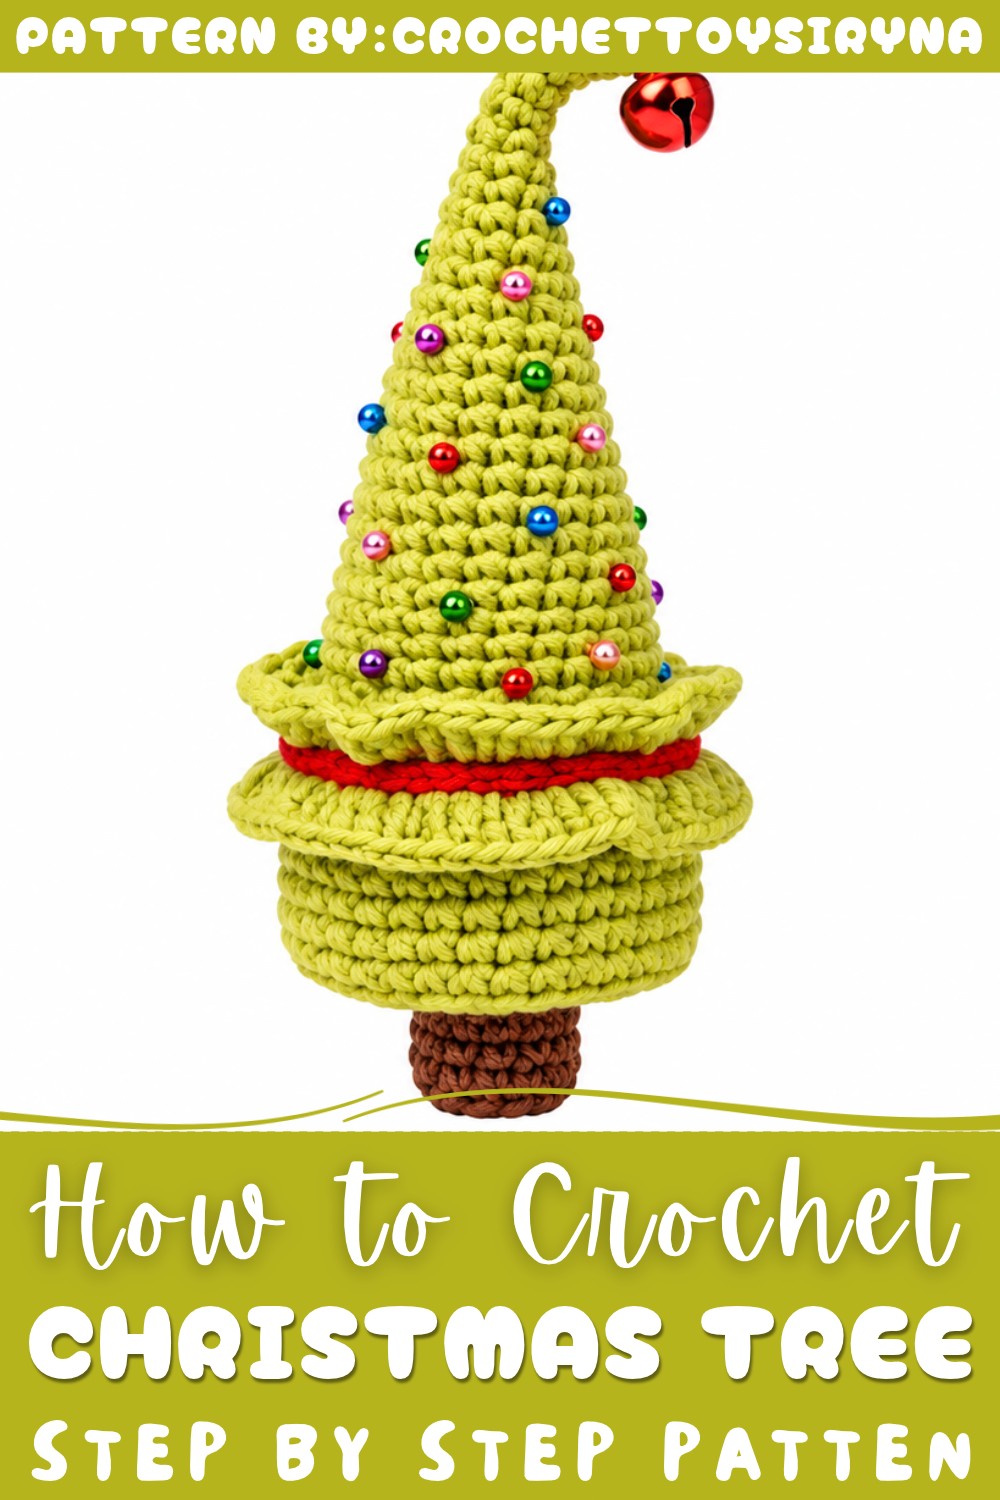
Embrace the season’s warmth and creativity by bringing your own Crochet Christmas Tree to life. Don’t miss out—unwrap this free pattern and start crafting your holiday charm today!
Crochet Decorative Christmas Tree (11 cm) Pattern
About the Pattern
This pattern provides step-by-step instructions for crafting a decorative 11 cm tall crochet Christmas tree. Each round carefully shapes the classic conical tree body, then accents it with textured ruffles and a detailed trunk. A corded chain and miniature bell at the peak, as well as a hanging loop, complete the festive effect. Balanced increases create a smooth silhouette, while specific back-loop rounds form the foundation for rich “branch” ruffles in contrasting or matching green. This pattern celebrates the charm of handmade seasonal decorations, offering an engaging combination of structure and playful adornment.
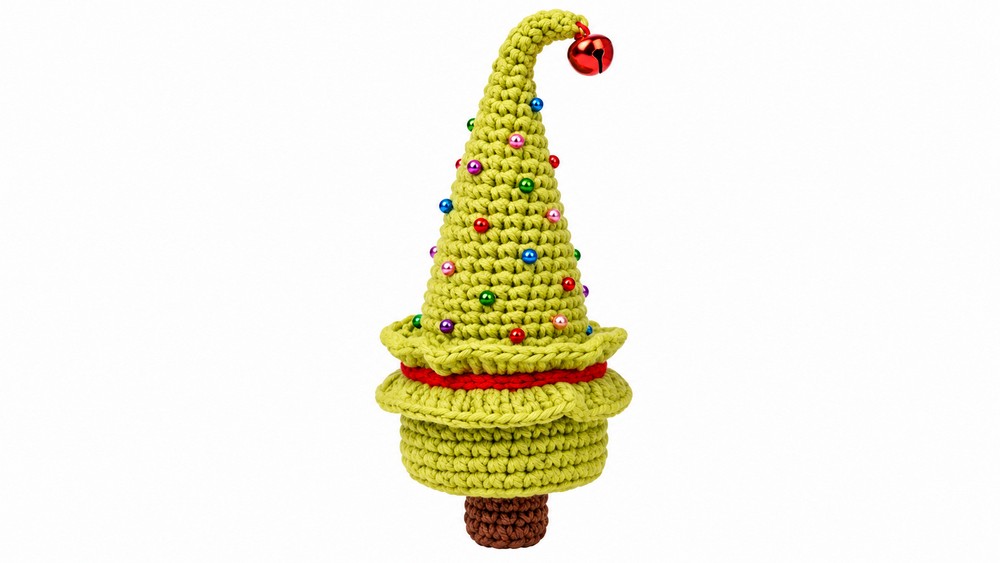
Pattern Basic Points
- Worked seamlessly in the round from tree tip to trunk.
- Features methodical increases to shape the tree body and gradual decreases for the base.
- Utilizes back-loop rows to provide anchor points for two textured ruffle layers.
- Includes a firmly stuffed trunk, closed neatly for stability.
- Employs chained details for both the tree topper and hanging loop.
- Bell or bead embellishment for a traditional festive finish.
Special Notes
- Maintain consistent stitch size for a smooth, conical tree.
- Use back-loop-only instructions precisely as these create the ruffle anchors.
- Stuffing and insert (plastic disc or circle) helps tree stand firm; avoid over-stuffing to maintain shape.
- Color changes are integral—plan transitions for seamless results.
- Decorative bell and hanging loop are optional but recommended for authentic, cheerful appearance.
Skill Level
Intermediate: This project features frequent increases, some decreases, alternating rounds, ruffle production on back-loop remnants, color changes, and three-dimensional shaping. Familiarity with amigurumi techniques, color changes, and working in rounds is required.
Materials
- Crochet hook: 1.5 mm
- Yarn: Multiple colors (greens for tree body/ruffles, brown for trunk, accent for trim)
- Fiberfill stuffing
- Small plastic insert (disc/circle) for interior base
- Miniature bell or bead (for topper decoration)
- Scissors
- Yarn/tapestry needle
Measurements, Gauge & Stitch Pattern
- Finished height: 11 cm
- Gauge: Not critical, but maintain compact stitches to prevent stuffing from showing. Consistency across all rounds ensures balanced structure and neat ruffles.
Stitch Abbreviations
- ch: chain
- sc: single crochet
- dc: double crochet
- sl st: slip stitch
- inc: increase (2 single crochets in same stitch)
- dec: decrease (sc2tog)
- BLO: back loops only
- FLO: front loops only
- MR: magic ring
Special Stitches
- Back Loop Only (BLO): Instructed rounds worked only through the back loop of each stitch. Leaves front loops free for ruffle attachment.
- Front Loop Only (FLO): Instructed trunk rounds worked only through the front loop.
- Ruffle (Shell): Alternating (3 dc in one stitch, 1 dc in next) for dense, wavy effect.
Complete Detailed Crochet Pattern
Tree Base (Body)
Round 1:
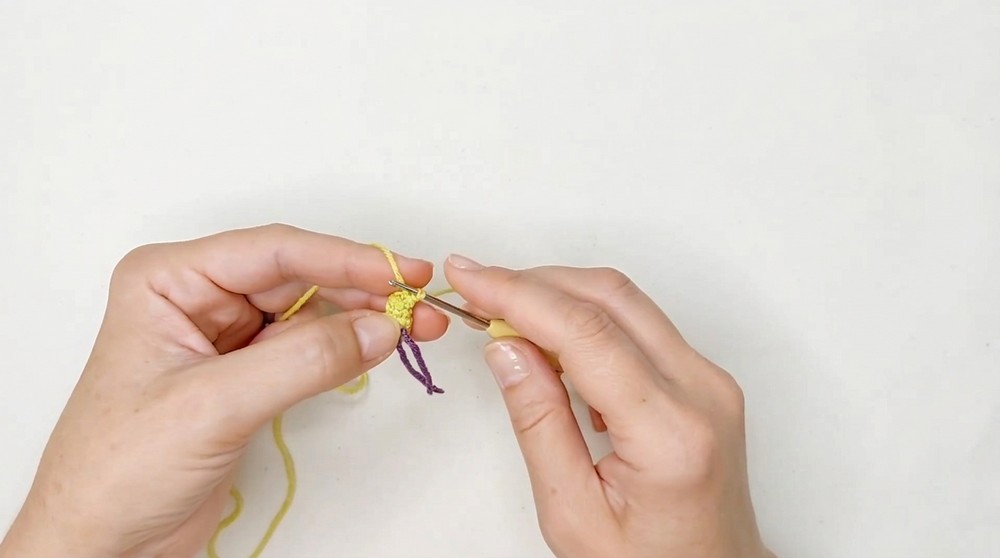
- Create a magic ring (MR). Work 6 single crochets (sc) into the ring.
Rounds 2-5:
- Work 1 sc into each stitch (6 sc each round).
Round 5:
- (1 sc, 1 inc) x3 (12 sts).
Rounds 6-7:
- 1 sc in each stitch around (12 sc per round).
Round 8:
- (2 sc, 1 inc) x3 (15 sts).
Rounds 9-10:
- 1 sc in each stitch around (15 sc per round).
Round 11:
- (3 sc, 1 inc) x3 (18 sts).
Rounds 12-13:
- 1 sc in each stitch around (18 sc per round).
Round 14:
- (4 sc, 1 inc) x3 (21 sts).
Rounds 15-16:
- 1 sc in each stitch around (21 sc per round).
Round 17:
- (5 sc, 1 inc) x3 (24 sts).
Rounds 18-19:
- 1 sc in each stitch around (24 sc per round).
Round 20:
- (6 sc, 1 inc) x3 (27 sts).
Rounds 21-22:
- 1 sc in each stitch around (27 sc per round).
Round 23:
- (7 sc, 1 inc) x3 (30 sts).
Rounds 24-25:
- 1 sc in each stitch around in back loops only (BLO) (30 sc per round).
Round 26:
- (8 sc, 1 inc) x3 (33 sts).
Rounds 27-28:
- 1 sc in each stitch around (33 sc per round).
Round 29:
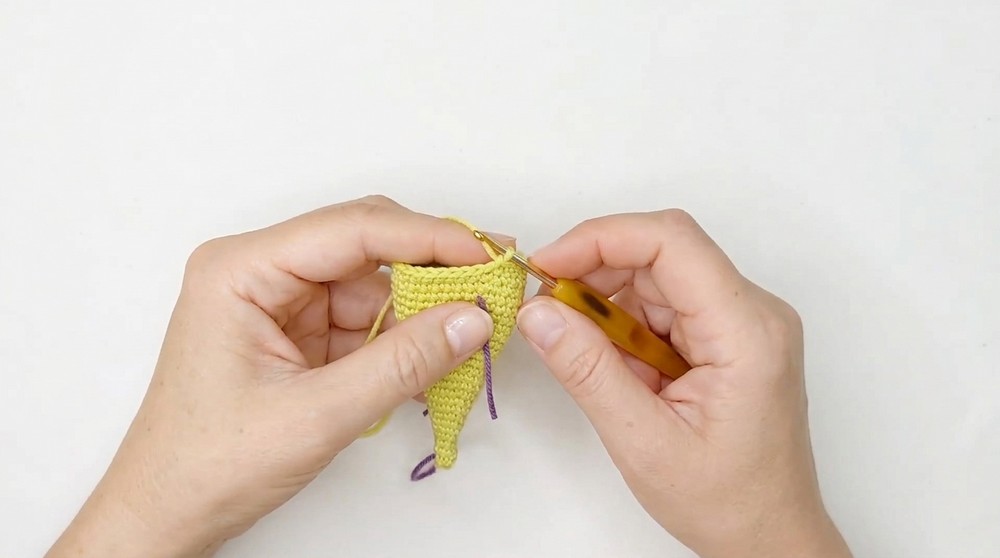
- (9 sc, 1 inc) x3 (36 sts).
Round 30:
- 1 sc in each stitch around (36 sc).
Round 31:
- (dec, 4 sc) x6, in back loops only (30 sts).
Shaping and Trunk
Filling:
- Insert a plastic disc/base at this stage.
- Firmly stuff the tree body with fiberfill.
Round 32:
- (dec, 3 sc) x6 (24 sts).
Round 33:
- (dec, 2 sc) x6 (18 sts).
Round 34:
- (dec, 1 sc) x6 (12 sts).
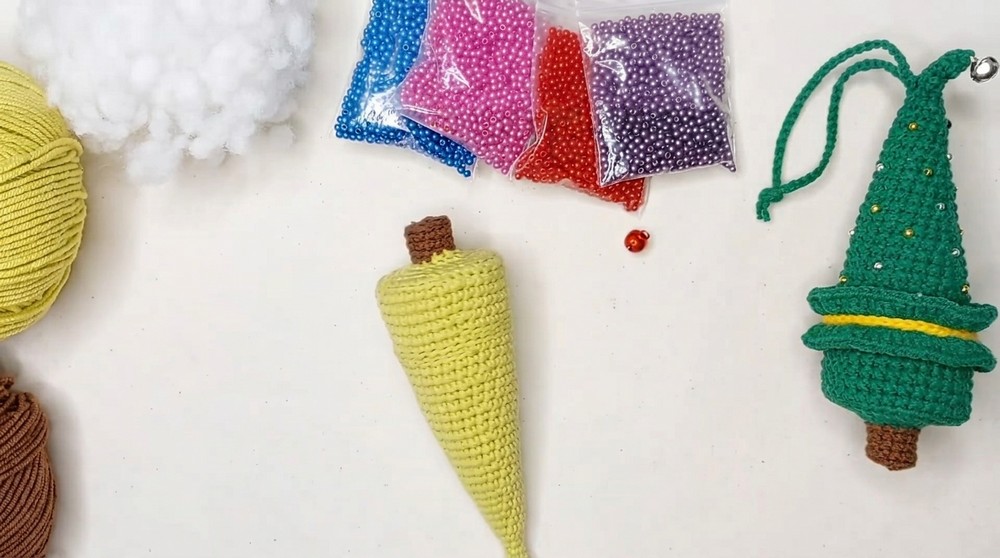
Change to Brown Yarn for Trunk:
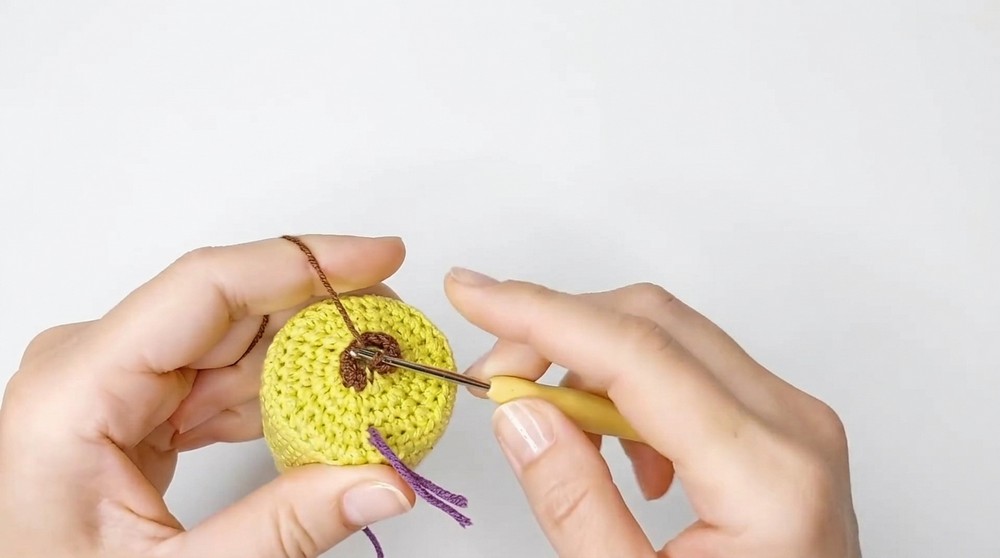
- In front loops only (FLO): Work 12 sc in the front loops from previous round.
- Next 3 Rounds: 1 sc in each stitch around (12 sc per round).
- Stuff trunk firmly.
- Close with 6 decreases (dec x6) to finish and secure. Fasten off, weave in ends.
Ruffles and Decoration
Ruffles:
- Attach green yarn to the front (unused) loops of Rows 24 and 31 (previously worked in BLO).
- Around Each Ruffle Round:
- Repeat: (3 dc in one stitch, 1 dc in the next stitch) all the way around to form a rippling branch effect.
- Join with sl st, fasten off. Repeat for both ruffle-rounds.
Top Detail (Spire & Bell):
- With accent yarn, ch 41.
- Turn, sl st into each chain to return and form a cord.
- Attach cord by sewing or tying tightly at tree peak.
- Sew or tie a small bell (or bead) at the tip for festive finish.
Hanging Cord:
- With strong coordinating yarn, ch 80.
- Attach ends securely to top of tree, forming a large hanging loop.
Assembly & Finished Size
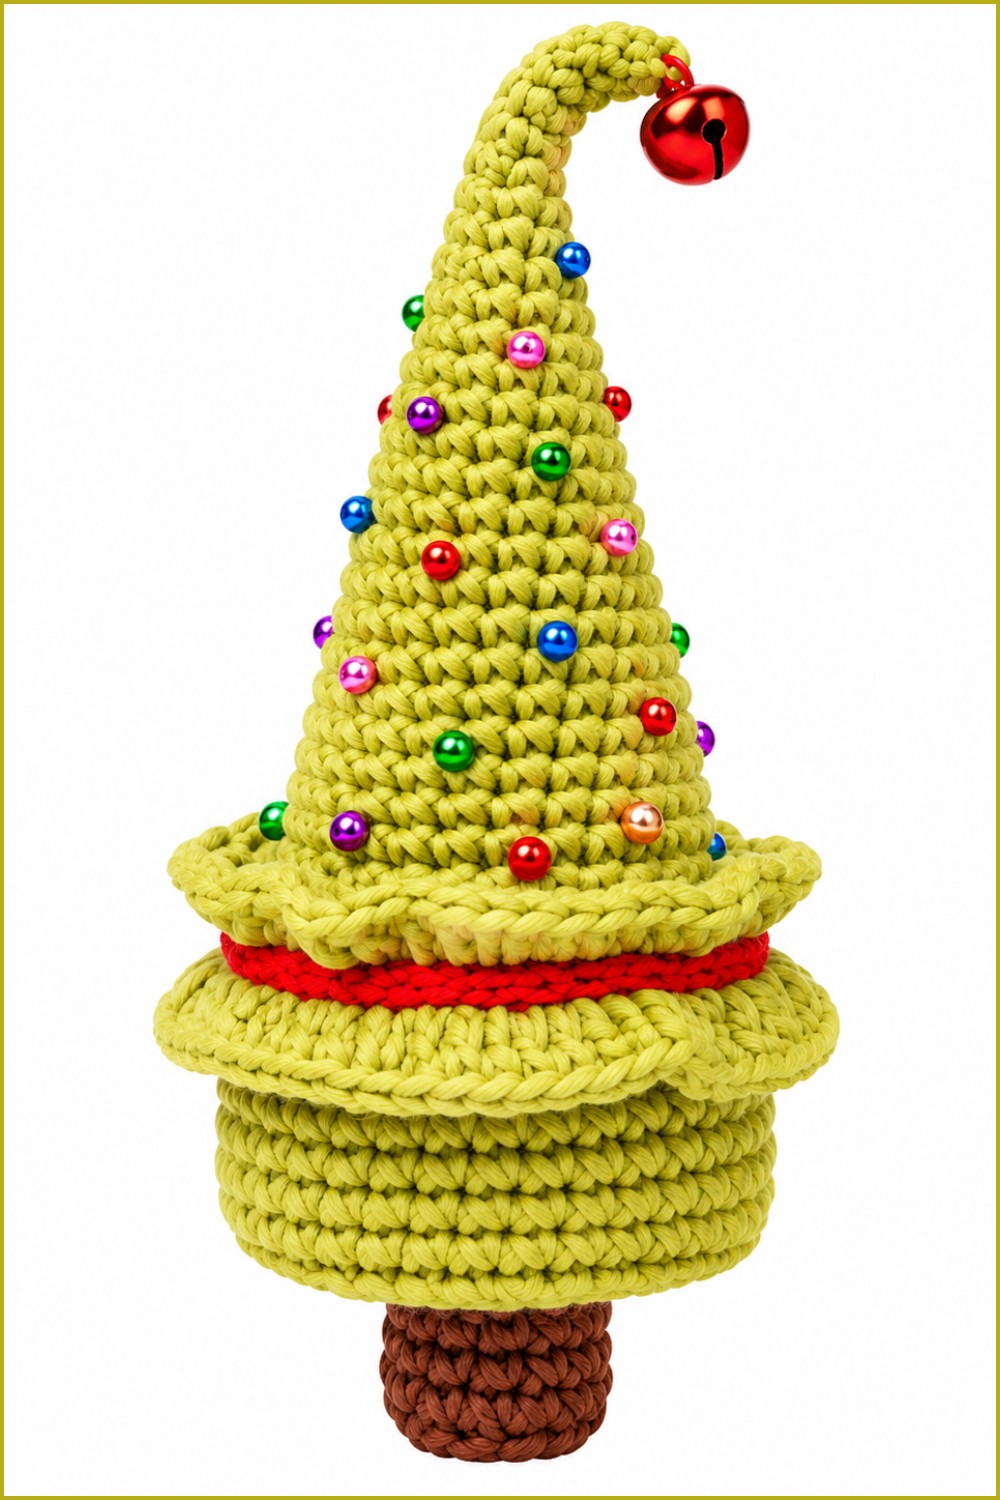
All rounds and embellishments are directly incorporated as you proceed with construction. Attach the ruffles after the trunk is completed and the tree is stuffed to avoid flattening them. Secure the hanging cord and bell for durability. The finished tree stands about 11 cm tall, with double ruffle rows and crisp shaping from base to tip. Maintain fullness with even stuffing and a rigid internal insert.
Conclusion
This Christmas tree pattern merges precise increases, special anchoring for ruffles, and practical finishing steps to create a charming 11 cm tabletop or hanging ornament. Combining classic amigurumi construction with textural flourishes, the finished piece celebrates crochet artistry and seasonal spirit. The clear structure and spirited accents ensure it will enhance any festive display as a unique, hand-crafted holiday centerpiece.