Bring good fortune to life with this Free Crochet Lucky Cat Pattern that's featuring charming details that add a touch of luck and whimsy to any space.
A lucky cat decoration can be a cheerful addition to a home, desk, or gift box. The Free Crochet Lucky Cat Pattern gives crochet lovers a fun way to enjoy a cute cat figure with a warm handmade look. You can find this project through Yunee Crochet, a YouTube channel sharing crochet ideas and handmade creations.
The cat has a rounded body and a friendly face that gives it plenty of character. Its upright shape makes it easy to place on a shelf or table. The soft crochet texture adds a cozy touch, while the simple details keep the figure pleasant and easy on the eyes.
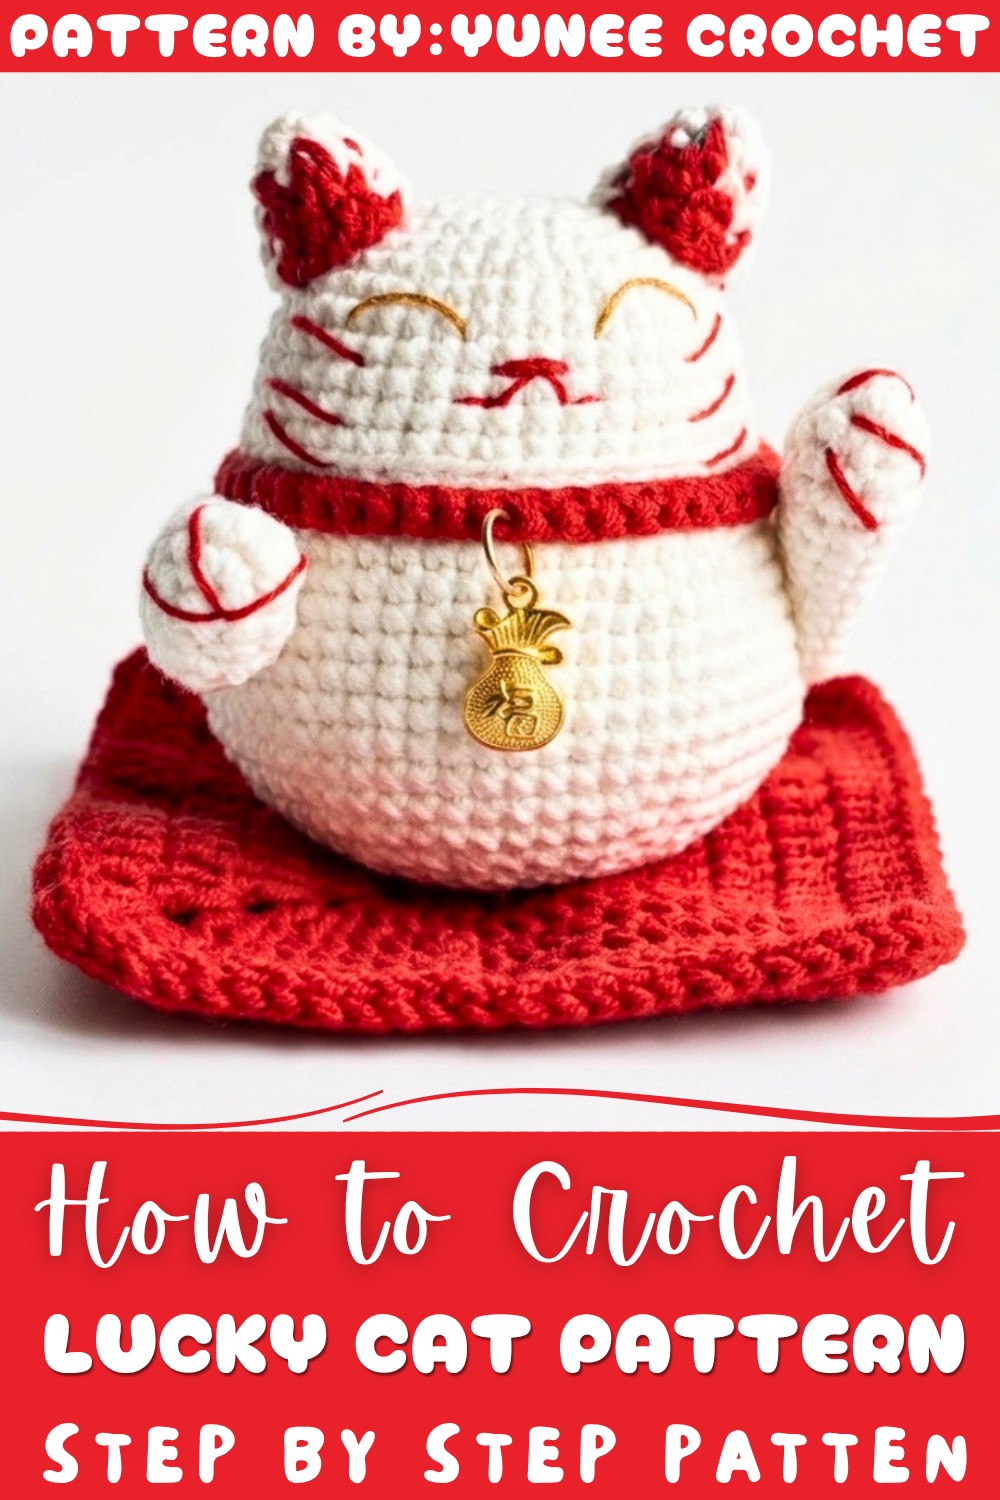
Free Lucky Cat Crochet Pattern for Beginners
Many people enjoy lucky cat figures because they are connected with happy wishes and good fortune. This makes the crochet piece more than just a decoration. It can sit beside a computer, welcome guests from a shelf, or brighten a bedroom, crochet space, or reading corner.
Looking for a sweet gift? This cat can be a nice choice for a friend, family member, coworker, or cat lover. It can fit birthdays, housewarming celebrations, holidays, or a simple “thinking of you” moment. A handmade decoration can feel extra special because it carries a personal touch.
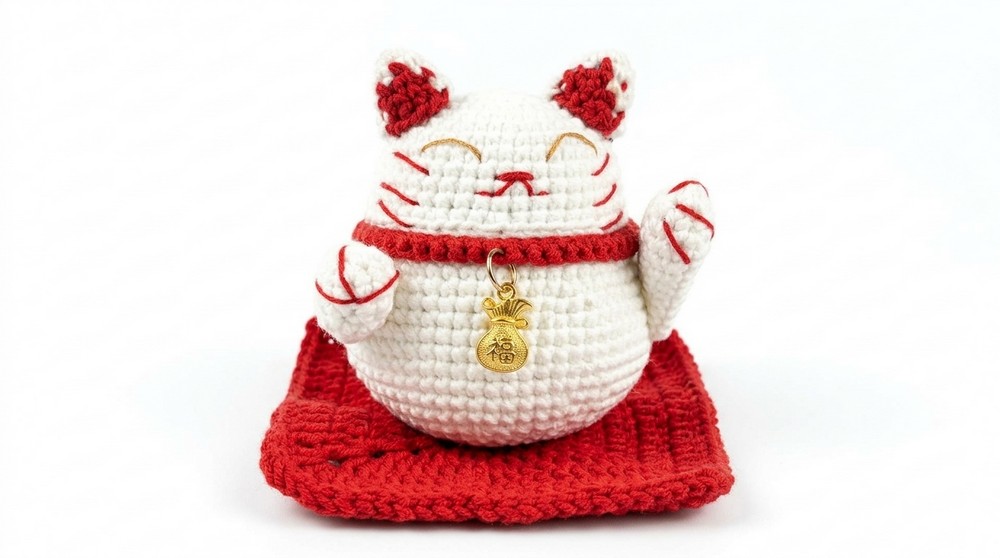
The cheerful face is one of the details that makes the cat stand out. Its rounded shape gives it a cute look, while the crochet surface brings a soft, homemade feel. It can also sit nicely with other decorations without taking over the space.
A project like this is enjoyable because the finished piece has a purpose beyond the making process. The Free Crochet Lucky Cat Pattern can become a happy decoration, a meaningful present, or a fun handmade addition to your favorite corner.
Crochet Lucky Cat Amigurumi Pattern – Step-by-Step Guide
This detailed crochet pattern guides you through crafting a charming Lucky Cat amigurumi, a symbol of good fortune and prosperity. Using a combination of white and red yarns along with simple crochet stitches, you will create a beautifully detailed figure with expressive features and a distinct look. The project involves creating the body and head as one piece, attaching ears and arms, and adding finishing touches like a decorative carpet and collar.
Pattern Highlights
- Integrated Head and Body: The amigurumi’s head and body are crocheted continuously for a seamless appearance.
- Use of Back and Front Loops: Certain rounds work exclusively on back or front loops to create texture and shape definition.
- Color Changes: Switching yarns for accents such as the ears enhances the character’s visual appeal.
- Accessory Elements: Includes crocheted arms, ears, and a decorative carpet with scalloped edges.
- Finished with a Collar: A chain collar adds charm and completes the aesthetic.
Notes
- Maintain consistent tension throughout to achieve smooth shaping and uniform stitch size.
- Use stitch markers to keep track of rounds, especially during increases and decreases.
- Stuff the body firmly with fiberfill before closing to preserve form and stability.
- The amigurumi combines working continuously in rounds and working back and forth, so be mindful of join methods.
- When working in the back or front loops only, insert your hook accordingly to achieve the desired effects without altering stitch counts.
- Seamless transitions between colors in ears and other accents require smooth yarn changes.
Skill Level
Intermediate: Requires confidence with working in rounds, increases and decreases, front and back loop stitches, maintaining stitch counts, changing yarn colors, and finishing techniques for amigurumi.
Materials
- White yarn (main body)
- Red yarn (accent color for ears)
- Crochet hook suitable for amigurumi, approximately 2.5 mm or smaller depending on yarn thickness
- Fiberfill stuffing
- Needle for sewing pieces
- Scissors
Measurements / Sizing
- Approximate height: 15–18 cm, depending on tension and stuffing firmness
- Width varies with stitch tightness and personalization
Gauge (and Stitch Pattern)
- Gauge not critical; however, about 24 single crochet stitches x 28 rows per 10 cm is a good guide for yarn and hook choice.
- Stitch pattern mainly single crochet (sc) in continuous rounds with specific increases and decreases.
- Textural rounds use back or front loops only for subtle shaping.
Stitch Abbreviations
- ch = chain
- sc = single crochet
- inc = increase (2 sc in one stitch)
- dec = decrease (crochet two stitches together)
- slst = slip stitch
Special Stitches
- Back Loops Only (BLO): Crochet only in the back loop of stitches to create ridges and texture.
- Front Loops Only (FLO): Crochet only in front loops to form subtle raised patterns.
The Crochet Pattern!
1. Body and Head
Foundation:
- Begin with a slip knot and chain 6.
Round 1:
- Starting from the second chain from hook:
- Work 4 sc.
- Work 3 sc in the last chain.
- Work 3 sc along the opposite side of the foundation chain.
- Increase in the last stitch (2 sc in same stitch).
- Join with a slip stitch.
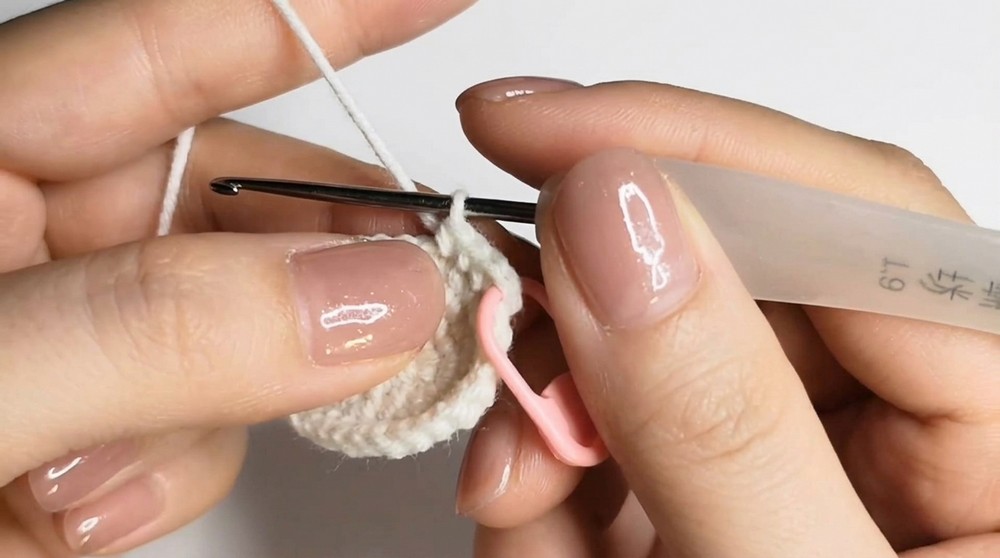
Round 2:
- Chain 1.
- Work 1 increase (inc).
- Work 3 sc.
- Work 3 increases (inc).
- Work 3 sc.
- Work 2 increases (inc).
- Join with a slip stitch.
Round 3:
- Chain 1.
- Alternate (1 sc, 1 inc) 4 times.
- Then alternate (1 inc, 1 sc) 4 times.
- Work 2 increases (inc).
- Join with slip stitch.
Round 4:
- Work 28 single crochets (sc) evenly around.
Round 5:
- Chain 1.
- Work 1 increase (inc).
- Then (2 sc, 1 increase) repeated twice.
- Work 2 increases.
- Work 2 sc.
- Work 2 increases.
- Repeat (2 sc, 1 inc) twice.
- Work 1 increase.
- Work 2 sc.
- Work 1 increase.
Rounds 6-10:
- Work 40 single crochets (sc) per round without increases to build smooth sides.
Round 11:
- Chain 1.
- Work 1 sc, 1 inc, 3 sc, 1 inc,
- 2 sc, 1 inc, 3 sc, 1 inc,
- 1 sc, 1 inc, 4 sc, 1 inc,
- 1 sc, 1 inc, 3 sc, 1 inc,
- 2 sc, 1 inc, 3 sc, 1 inc,
- 1 sc, 1 inc, 4 sc, 1 inc.
- Join round with slip stitch.
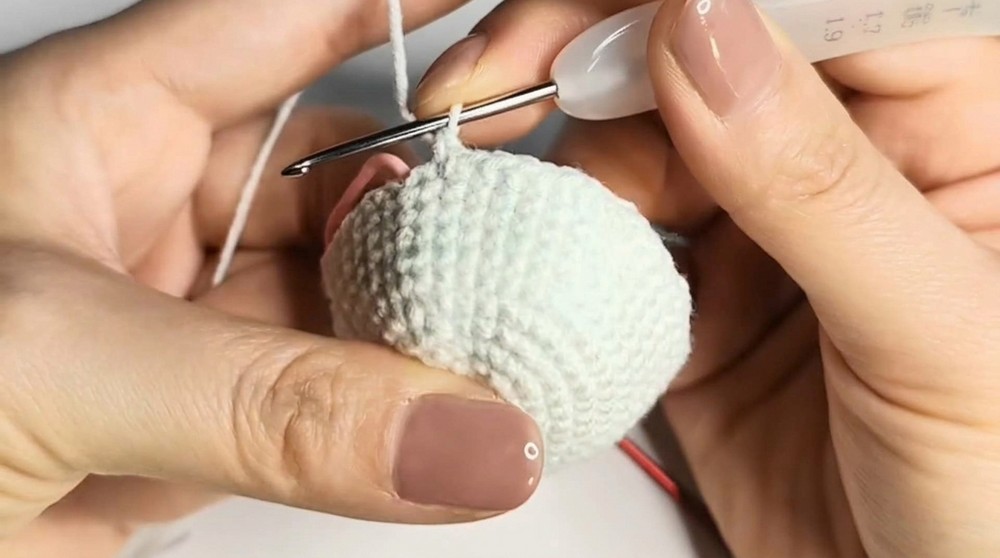
Round 12:
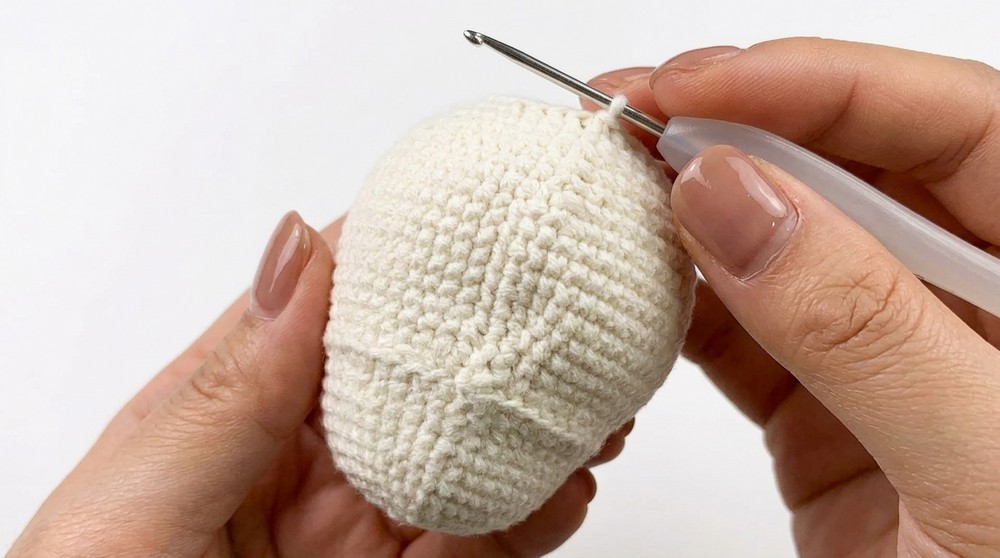
- Work 52 sc in back loops only (BLO) to enhance texture.
Round 13:
- Work 52 single crochets (sc) all stitches regularly.
Round 14:
- Work 52 sc in front loops only (FLO), adding a raised texture.
Round 15:
- Chain 1.
- Work 2 sc, 1 inc, 12 sc, 1 inc,
- 2 sc, 1 inc, 6 sc, 1 inc,
- 2 sc, 1 inc, 12 sc, 1 inc,
- 2 sc, 1 inc, 6 sc, 1 inc.
- Join round with slip stitch.
Rounds 16-22:
- Work 60 single crochets (sc) per round to lengthen the body.
Round 23:
- Chain 1.
- Work 2 sc, 1 decrease (dec), 12 sc, 1 dec,
- 2 sc, 1 dec, 6 sc, 1 dec,
- 2 sc, 1 dec, 12 sc, 1 dec,
- 2 sc, 1 dec, 6 sc, 1 dec in sequence.
- Join round with slip stitch.
Round 24:
- Work 52 single crochets (sc) per round evenly.
Round 25:
- Chain 1.
- Work 1 sc, 1 dec, 3 sc, 1 dec,
- 2 sc, 1 dec, 3 sc, 1 dec,
- 1 sc, 1 dec, 4 sc, 1 dec,
- 1 sc, 1 dec, 3 sc, 1 dec,
- 2 sc, 1 dec, 3 sc, 1 dec,
- 1 sc, 1 dec, 4 sc, 1 dec.
- Join round with slip stitch.
Round 26:
- Work 40 single crochets (sc) evenly.
Round 27:
- Work (3 sc, 1 dec) repeated 8 times.
Round 28:
- Work (2 sc, 1 dec) repeated 8 times.
Round 29:
- Work 12 decreases evenly spaced.
Round 30:
- Continue working decreases until the opening is closed.
- Stuff the body firmly with fiberfill before finishing the closure.
2. Ears
- Alternate between white and red yarn for visual interest.
- Begin with a magic ring.
- Work 4 single crochets (sc) in the magic ring.
- For Rows 2 to 5, follow the increase pattern demonstrated to shape the ear’s triangular form.
- Finish and fasten off.
3. Arms
- Chain 4 to start.
- Follow the described increase and decrease pattern extending rounds 5 through 11 until the circumference reaches approximately 10 stitches.
- Finish, fasten off, and leave a long tail for sewing.
4. Carpet
- Use a magic ring to start.
- Crochet clusters of 3 double crochets (dc) separated by chains.
- Make increases in corners each round to maintain a flat, square or rectangular shape.
- Continue rounds until the carpet is your desired size.
5. Finishing Touches
- Crochet a chain of 55 stitches to create a simple collar.
- Sew all pieces — ears, arms, and collar — securely to the body and head.
- Embroider or add facial features as desired using yarn or thread and a needle.
Assembly & Finished Size
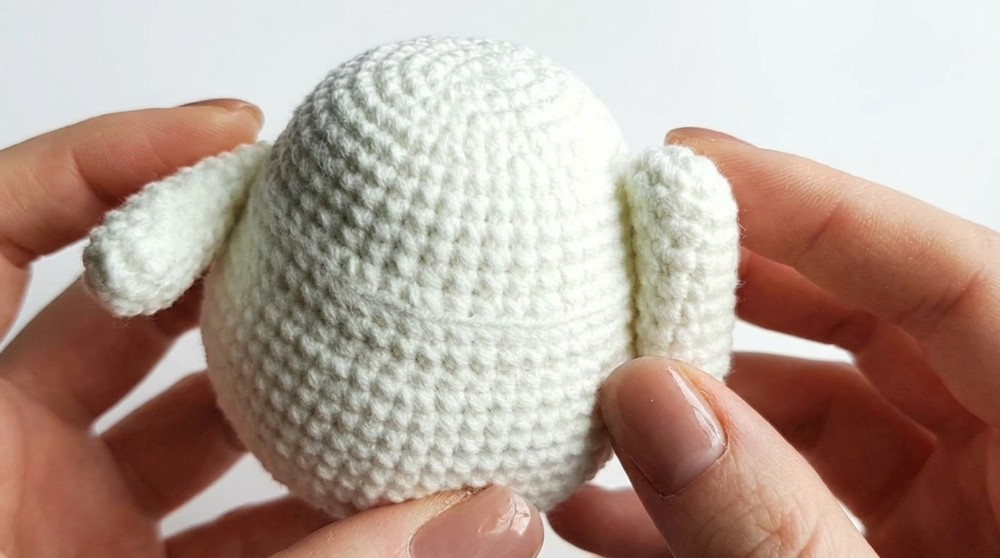
- Attach ears at the top of the head, positioning them evenly.
- Sew arms to the sides of the body at appropriate height.
- Drape and sew the collar around the base of the neck area.
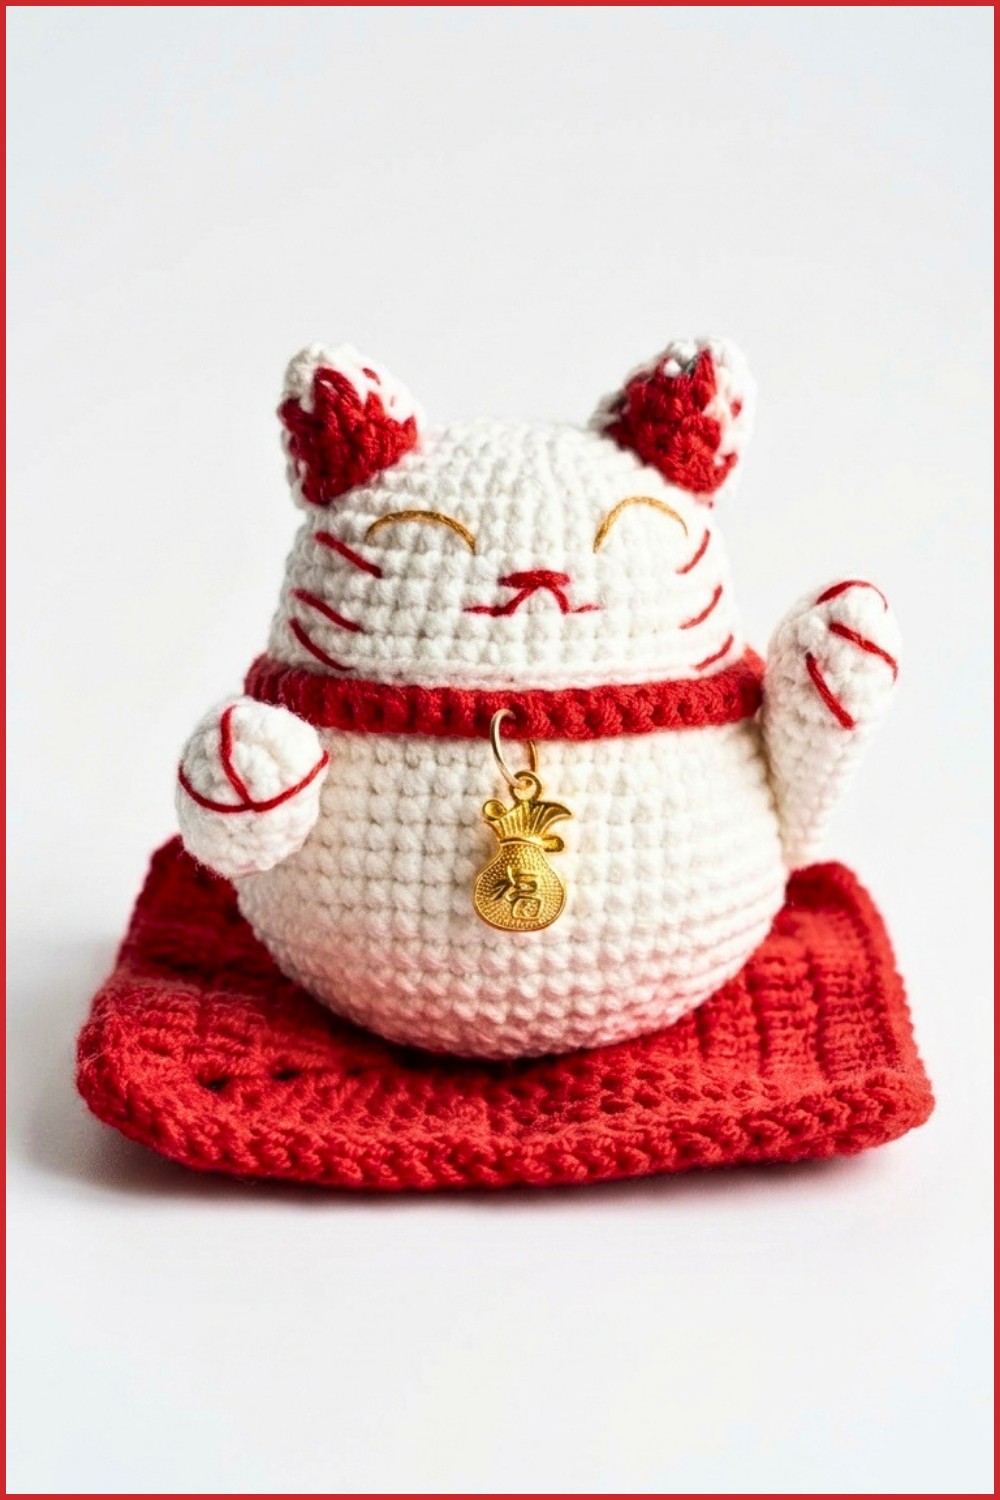
- Position the carpet beneath the Lucky Cat to complete the display.
- The finished amigurumi stands approximately 15–18 cm tall, making it great for decoration or gifting.
Conclusion
This Lucky Cat amigurumi pattern offers a fulfilling project that combines shaping techniques, textured stitch work, and striking color contrasts for a charming result. The step-by-step rounds guide creators through constructing a seamless, expressive figure that embodies the spirit of good luck and joyful craftsmanship. Intermediate crocheters will delight in the pattern’s detailed stitch sequences and finishing steps, culminating in a delightful handmade treasure.