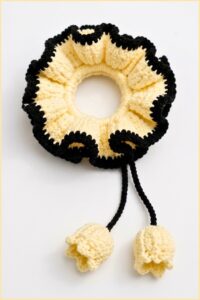
Spark interest in your hairstyles by using this free crochet puffy lily scrunchie pattern that blends unique design with practical wearability.
The Free Crochet Puffy Lily Scrunchie Pattern offers a stylish and approachable way to crochet a unique hair accessory that blends practicality with elegant design. This pattern teaches how to create a scrunchie inspired by the delicate lily flower, featuring a soft, puffy texture and detailed petal shapes. Available on the YouTube channel WOWSUPRAVA, the tutorial provides clear, step-by-step instructions that cater to all levels of crocheters, making the project both enjoyable and achievable.
This crochet scrunchie captures attention through its distinctive floral shape and plush, cushioned feel. Made with smooth, gentle yarn, it is kind to the hair, preventing damage while holding hair securely in place. The three-dimensional lily design adds a touch of refined beauty, enhancing any hairstyle with its charming and sophisticated look. Its combination of softness and structured petals offers a versatile accessory suitable for casual or special occasions.
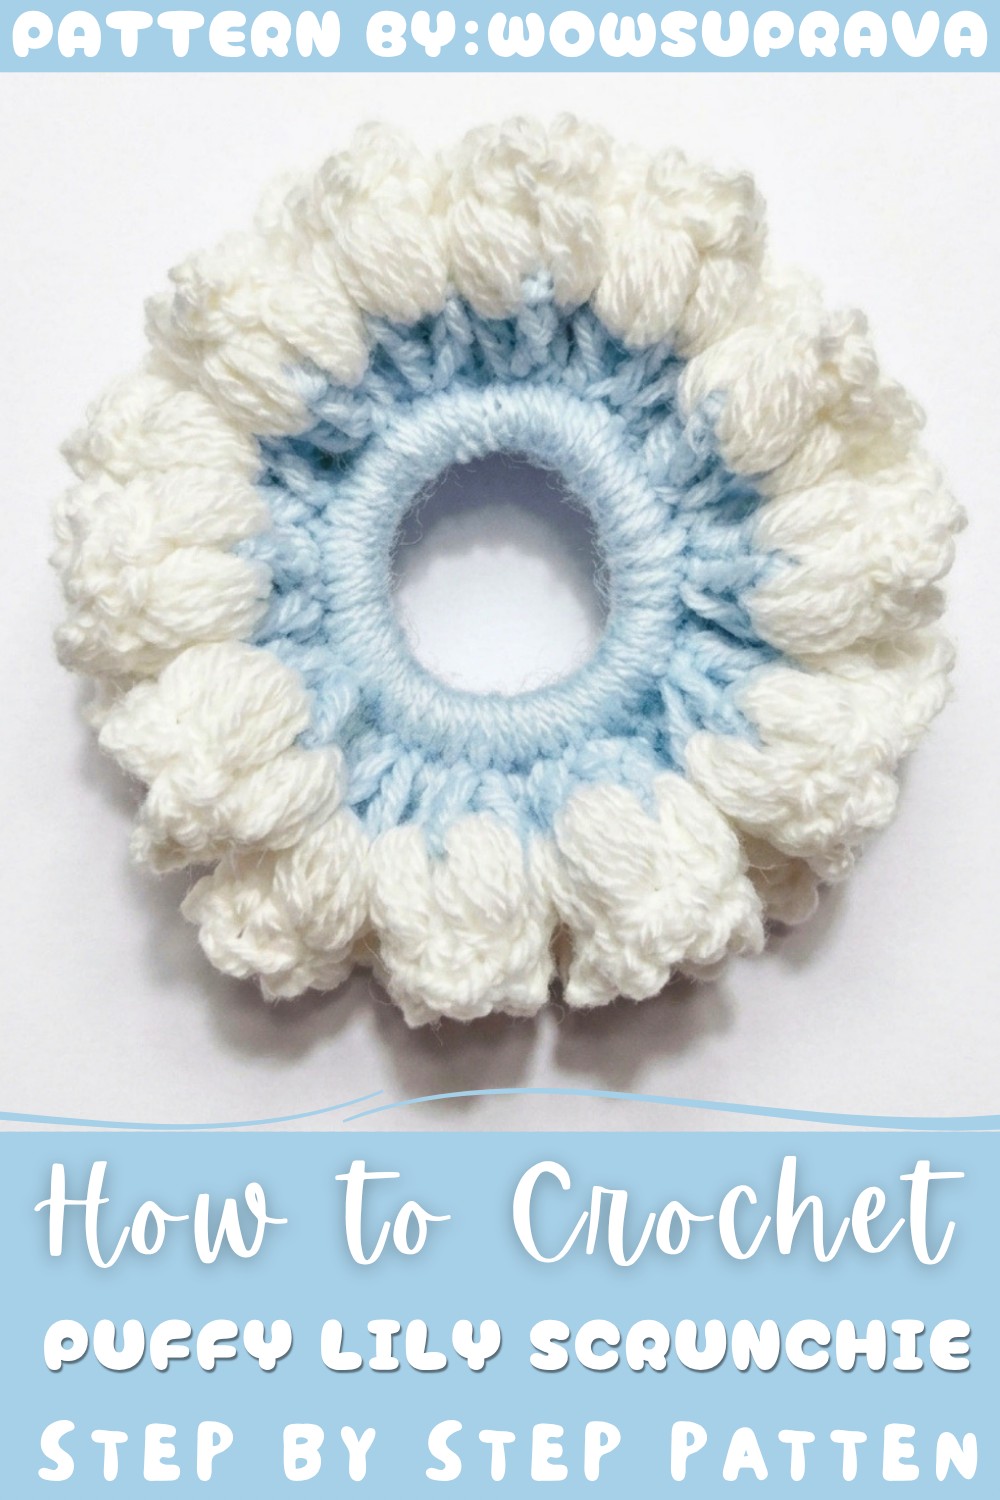
Easy Free Crochet Puffy Lily Scrunchie Pattern for Stylish Accessories
In addition to being a beautiful addition to your personal collection, the Free Crochet Puffy Lily Scrunchie is an excellent gift option that balances decorative appeal with comfort and functionality. Its handmade quality makes it a meaningful present, perfect for friends and family who appreciate thoughtful, creative accessories.
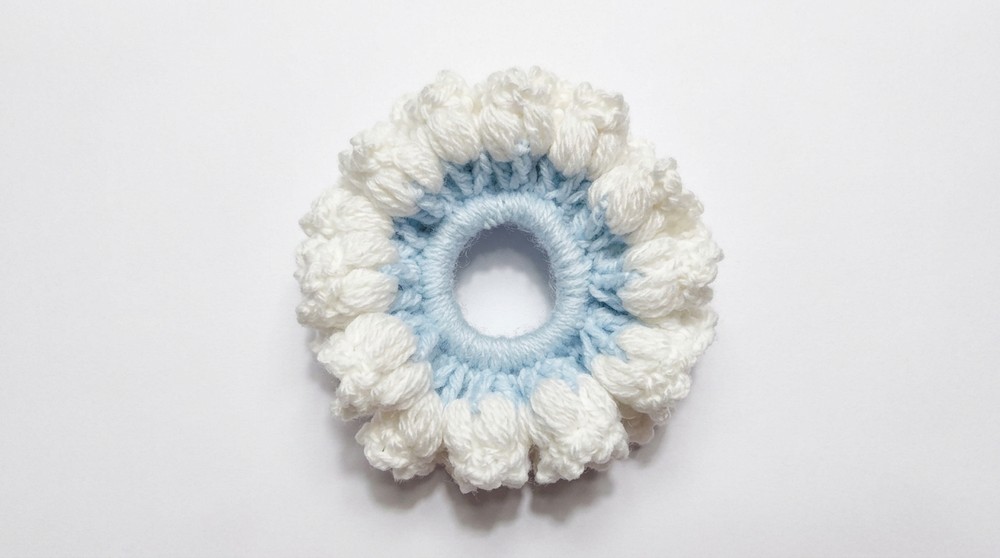
This project also invites creativity by allowing crocheters to explore different color palettes and yarn textures, adding a unique and personal touch to each scrunchie. For those seeking professional guidance and inspiring crochet patterns, WOWSUPRAVA’s YouTube channel remains a trusted and valuable resource.
Puffy Lily Scrunchie Crochet Pattern
This pattern will guide you step-by-step to create a beautiful and puffy lily scrunchie. You will work directly on a hair elastic band using two yarn colors. The scrunchie starts with a solid base of single crochet stitches, then builds up petals with textured puff stitches, finishing with a delicate edging. This scrunchie is a fun and practical accessory you can wear or gift.
Materials Needed
- Two colors of yarn (medium weight suggested)
- 3.5 mm crochet hook
- Hair rubber band
- Scissors
- Needle (for weaving ends)
- Stitch marker (optional, but helpful)
Skill Level
Suitable for beginner to intermediate crocheters who know how to:
- Make single crochet (sc)
- Make double crochet (dc)
- Chain (ch) stitches
- Work in rounds
- Make slip stitches (sl st)
- Create puff stitches (detailed below)
Stitch Abbreviations
| Abbreviation | Meaning |
|---|---|
| ch | Chain |
| sc | Single Crochet |
| dc | Double Crochet |
| sl st | Slip Stitch |
| puff stitch | Special textured stitch explained in Round 3 |
Special Stitches
Puff Stitch (4-time and 5-time)
- 4-time puff stitch:
- Yarn over twice.
- Insert hook into the stitch or space, yarn over, pull loop up (3 loops on hook).
- Repeat pulling loops 4 times total (accumulating loops on hook).
- Yarn over and pull through all loops on hook.
- Chain 1 to close puff.
- 5-time puff stitch:
Same as above, but pull loops 5 times before pulling through all loops and chaining 1.
Round-by-Round Instructions
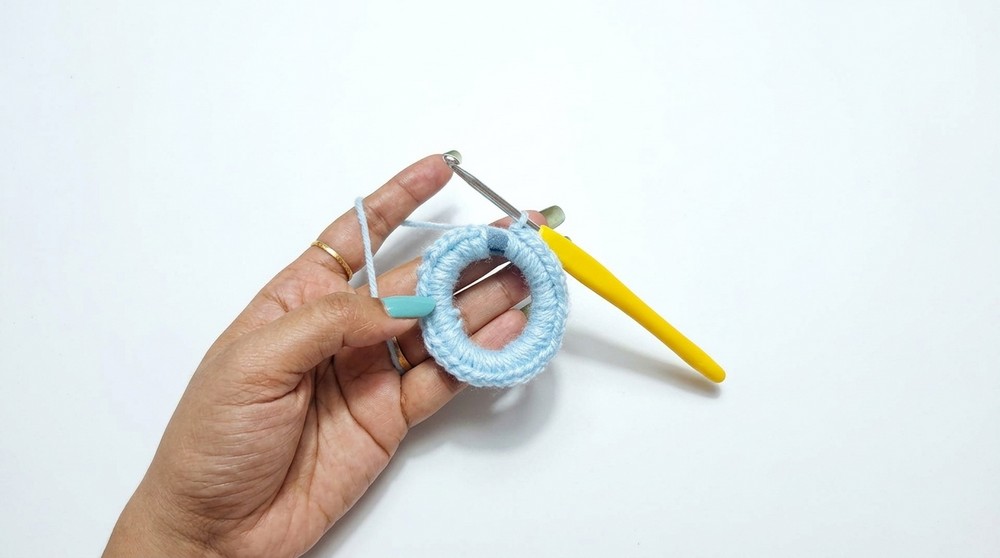
Round 1: Creating the Base On the Hair Band
- Tie your first yarn color securely onto the hair rubber band with a knot.
- Insert your 3.5 mm hook into the band, pull the yarn through to create a loop.
- Work single crochet (sc) stitches all the way around the hair band until the band is completely covered.
- The number of stitches depends on your elastic's thickness—approximately 47 stitches were used in the example.
- Join the round by making a slip stitch (sl st) into the first sc to close the circle.
Round 2: Foundation for the Petals
- Chain 5 stitches to start the round. This counts as 1 double crochet (dc) plus 2 chains (ch 2).
- In the same stitch where you made the chain, work 1 double crochet (dc) again.
- Chain 2, then work 2 double crochets (2 dc) into the next stitch.
- Repeat this sequence — chain 2, then 2 double crochets into each stitch around the band.
- Join with a slip stitch into the third chain of the original chain-5 at the start of the round.
- Fasten off your yarn color to prepare for the petals.
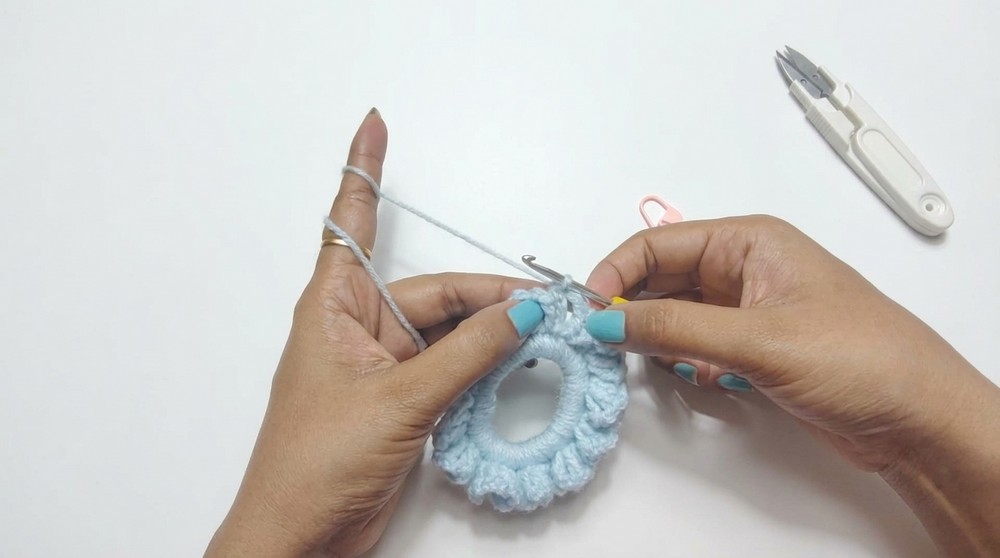
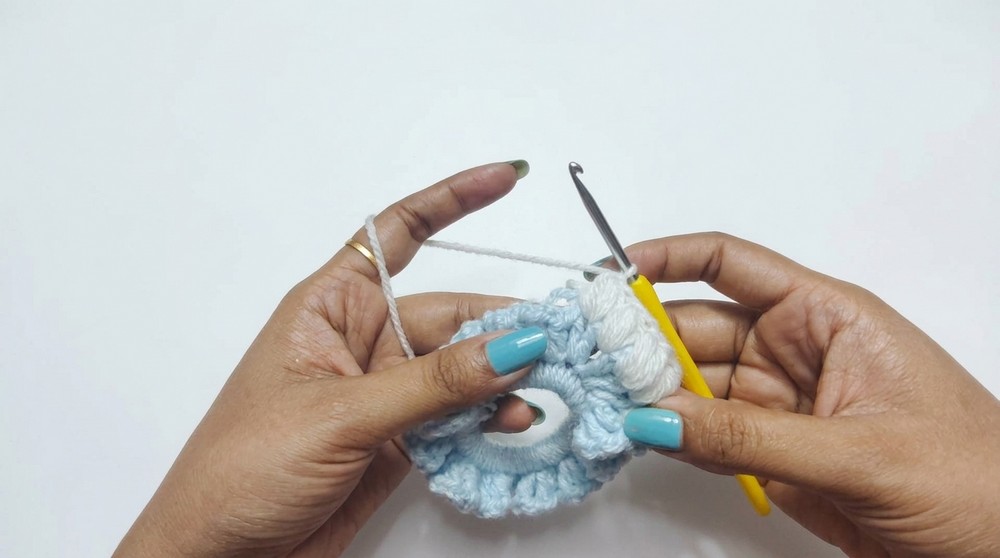
Round 3: Puff Stitch Petals
- Attach your second yarn color with a slip knot into any of the chain-2 spaces from the previous round.
- In that chain-2 space:
- Work 1 single crochet (sc) to anchor.
- Chain 2 to begin the petal height.
- Make a 4-time puff stitch:
- Yarn over, insert hook into the same chain-2 space, pull up a loop.
- Repeat pulling loops 4 times total.
- Yarn over and pull through all loops on the hook.
- Chain 1 to close the puff.
- Move to the next chain-2 space. Work a 5-time puff stitch by repeating the loop pull-up step 5 times before pulling through.
- Continue working 5-time puff stitches into each remaining chain-2 space around the scrunchie.
- Join this round with a slip stitch at the base of the first puff stitch to close.
Round 4: Finishing Edging
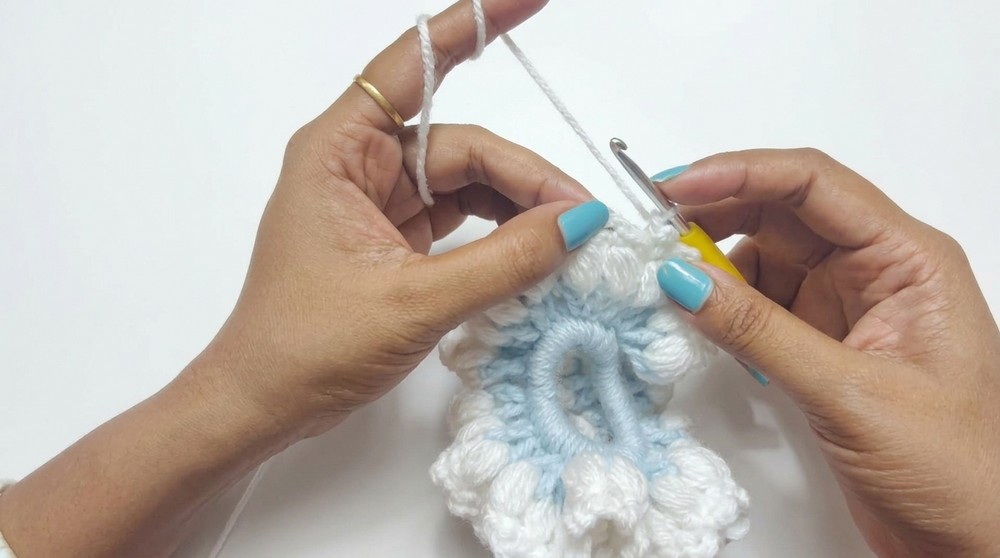
- After completing all puff petals:
- Join with a slip stitch to the first puff stitch’s base.
- Move your hook to the gap between the first two petals (between puff stitches) with a slip stitch.
- In this gap, work the following pattern:
- 1 single crochet (sc),
- Chain 3 (ch 3),
- 1 single crochet (sc).
- Repeat this pattern (sc, ch 3, sc) in every gap between puff petals around the scrunchie.
- Close this round by joining with a slip stitch at the first single crochet you made in this round.
- Fasten off yarn and carefully weave in all loose ends using your needle.
Assembly & Finished Size
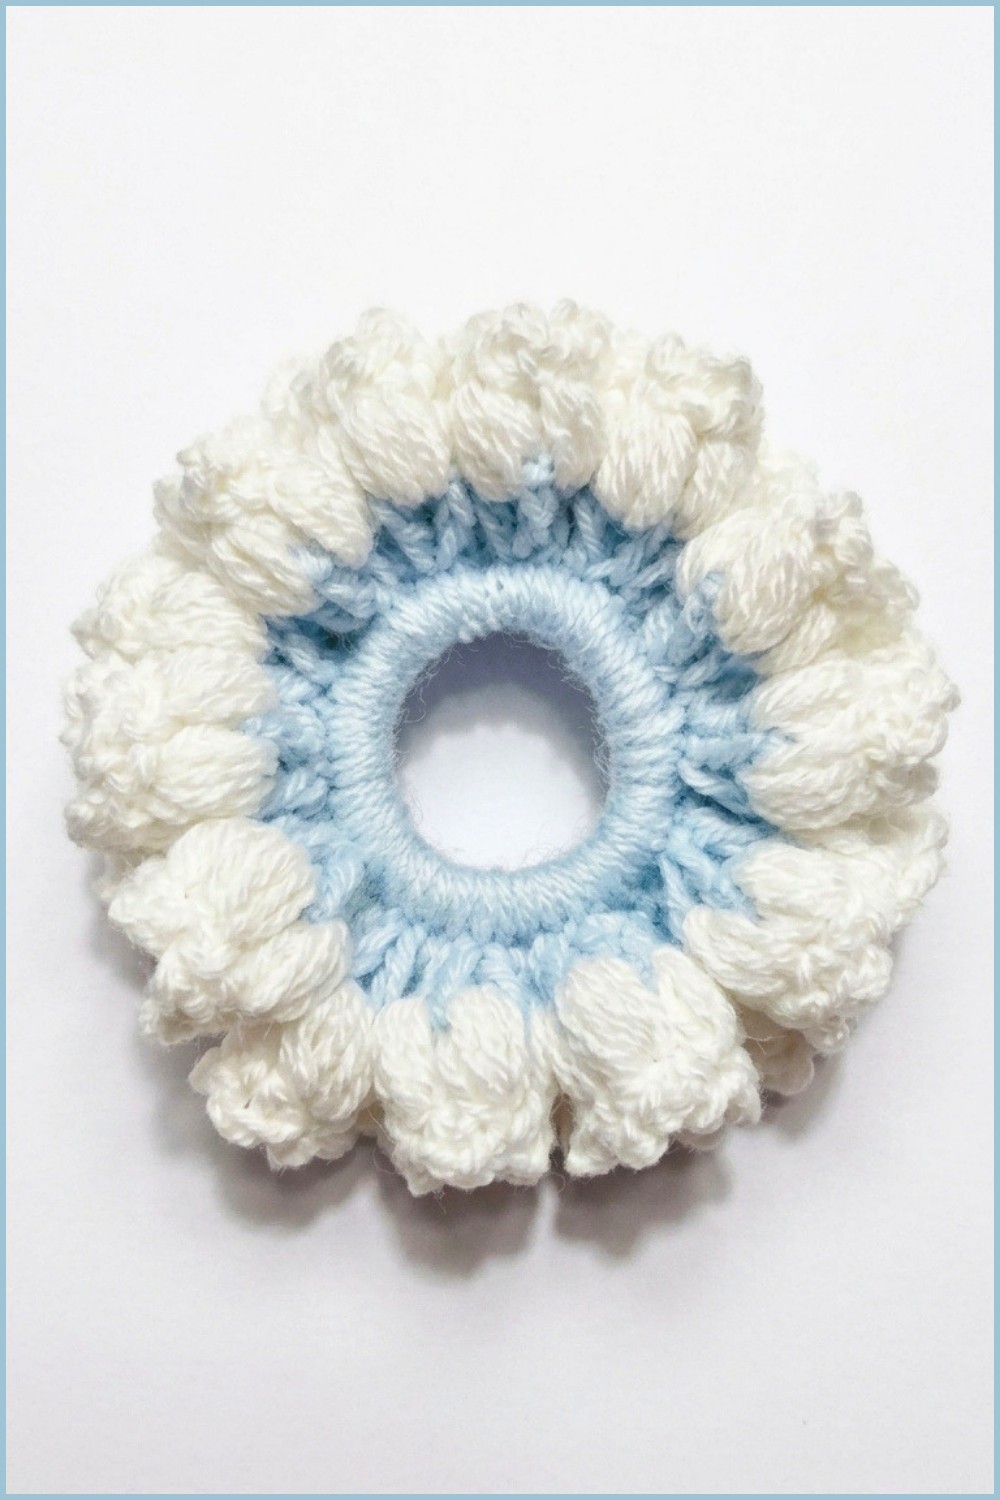
- The scrunchie fits snugly around a standard hair elastic band.
- When laid flat, the scrunchie diameter is approximately 10 cm including petals, but this can vary based on yarn type and tension.
- The puffy petals add a soft volume and eye-catching floral effect, making it a perfect and comfortable hair accessory.
Tips for Beginners
- Keep your tension consistent for even petals and smooth joinings.
- Use a stitch marker on the first stitch of each round to track your progress.
- Count your stitches frequently especially in Round 1 to cover the band evenly without gaps or bunching.
- Puff stitches can be tricky – make sure you pull up enough loops and keep all loops on the hook before pulling through to get a full puff.
- Weave your yarn ends inside the stitches neatly to prevent unraveling.
Conclusion
Crocheting this Puffy Lily Scrunchie combines simple stitches with textured puff petals for a delightful handmade accessory. Working directly on the hair band guarantees a good fit, while the petal rounds give your scrunchie its characteristic puff and floral style. The two-color design adds a touch of elegance and contrast. This project is ideal for beginners ready to explore puff stitches and round construction, resulting in a charming, functional item you’ll love to wear or gift.