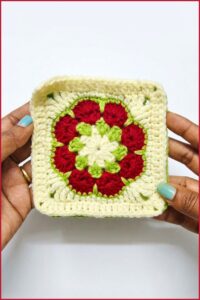
Bright colors and intricate details come alive with this Crochet Flower Coaster pattern, perfect for stylish and practical use.
Tables often carry memories of gatherings, quiet moments, and shared conversations, making protective and decorative accents both practical and meaningful. A crochet flower coaster brings that balance of function and charm, turning ordinary surfaces into a stage for beauty while safeguarding them from spills and heat. Its delicate floral motif adds a touch of handcrafted elegance to daily life, making each beverage or meal feel slightly more special.
Modern Crochet Flower Coasters with Handmade Charm
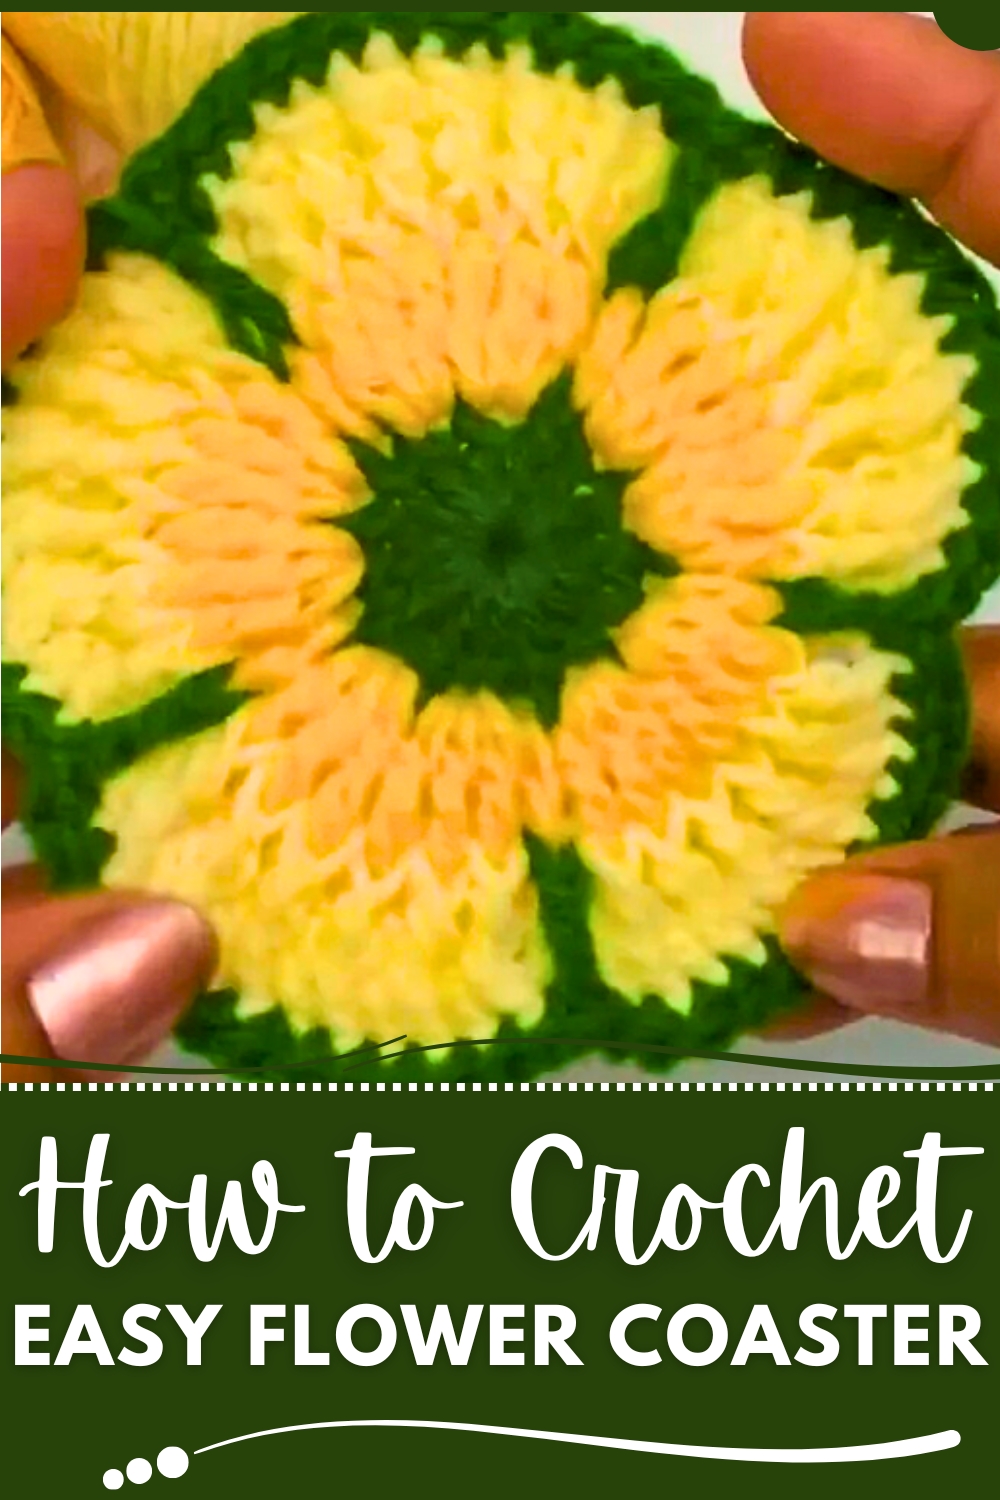
The coaster begins with a firm central base, worked in tight, even stitches to ensure stability. Petals radiate outward with gentle curves and textured stitches, creating depth and dimension that mimics real blooms. Lightweight yarn ensures it lies flat and maintains shape, while vibrant or subtle colors allow it to complement any décor style. Its small size makes it versatile, suitable for cups, mugs, teapots, or small decorative bowls.
Beyond appearance, the crochet flower coaster is highly functional. It absorbs minor moisture, protects tabletops, and is easy to clean and maintain, offering a sustainable alternative to disposable coasters. Perfect for everyday use or as a thoughtful handmade gift, it combines artistry with utility, bringing warmth, charm, and a touch of nature-inspired elegance to any space without overwhelming it.
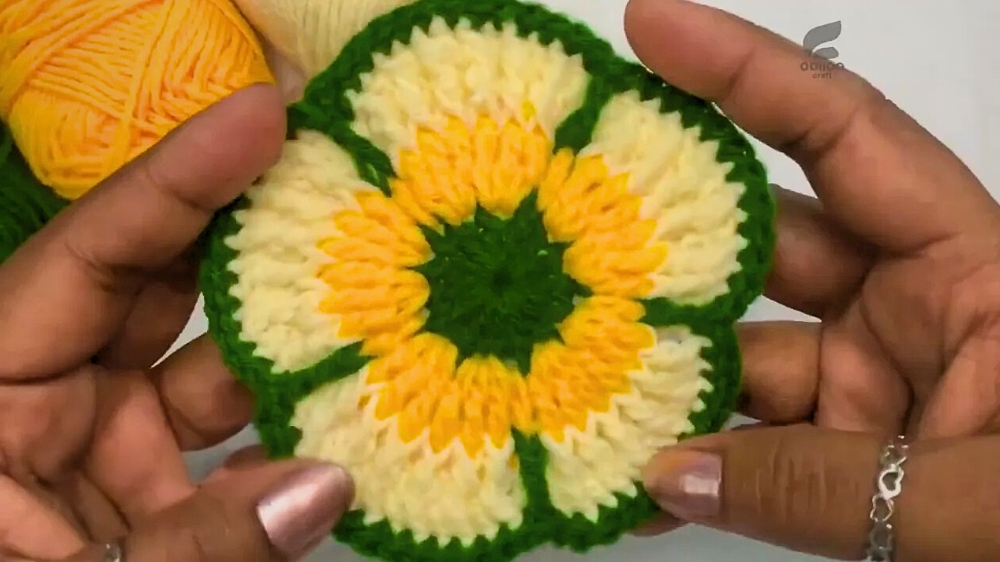
Easy Crochet Flower Coaster / Laddu Gopal Seat
You can use it as a coaster or as a seat for Laddu Gopal to sit at your home. This design is perfect for winter, and you can use any color combination you like. Let’s follow the instructions step by step for a neat and attractive result.
Quick Overview Of Pattern
- Make a magic ring and create a center with 14 double crochets.
- Add petal rounds using triple and double crochet clusters.
- Finish each color cleanly before joining a new color.
- Add a final border to define the flower shape.
- Weave in ends for a tidy finish.
Notes
- Use bright contrasting colors for a striking flower effect.
- Change yarn color at the end of each round for best results.
- Keep tension consistent, especially when working tall stitches like triple crochet and when creating petals.
- Observe video for accurate placement of front/back triple crochets in the off-white round for depth.
Skill Level
Beginner to Confident Beginner
If you know how to work in the round and are comfortable with double and triple crochets, you’re ready for this pattern.
Materials
- 4 ply acrylic yarn (three colors recommended: green, yellow, off-white)
- 3 mm crochet hook
- Yarn needle
- Scissors
Measurements / Sizing
- Finished flower: Approx. 4–5 inches (10–13 cm) in diameter
- Fits standard cup (as a coaster) or serves as a small idol seat
Gauge
Not essential for this pattern. Each round should lay flat—if not, check stitch count and adjust tension as needed.
Stitch Abbreviations
- ch: chain
- sl st: slip stitch
- sc: single crochet
- dc: double crochet
- tr: triple crochet
- st(s): stitch(es)
Special Stitches
- Magic Ring: Make a loop, work stitches into the ring, and tighten by pulling the tail.
- Triple Crochet (tr): Yarn over twice, insert hook in stitch, yarn over and pull up loop, (yarn over and pull through 2 loops) three times.
The Crochet Pattern
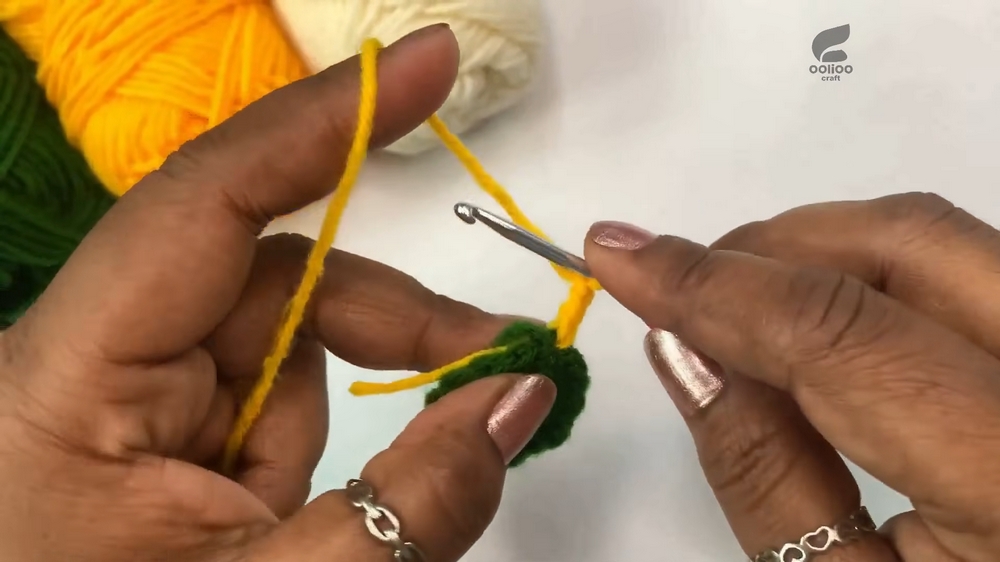
Round 1 – Center (Green, 0:56–2:47)
- Create a Magic Ring:
- Wrap yarn to form a ring.
- Insert hook into ring, yarn over, pull up a loop.
- Yarn over and pull through to secure.
- Work Into the Ring:
- Ch 3 (counts as dc), make 13 dc into the ring (14 dc total).
- Pull tail to tighten.
- Join with sl st to top of ch-3.
- Fasten off green. Weave in or tuck the end.
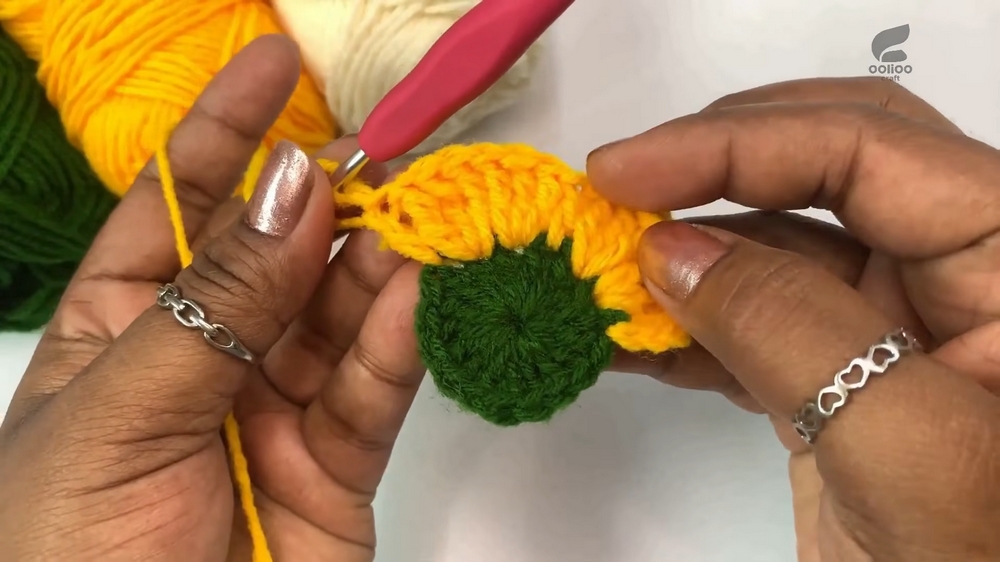
Round 2 – Petals (Yellow, 3:11–6:44)
- Join Yellow:
- Attach yellow with a slip knot in any dc.
- Ch 3 (counts as first tr).
- Form Petal Clusters:
- In same stitch: Make 2 more tr (3 tr in total in one st).
- (In next dc, work 3 tr in same st) – repeat for each dc around.
- At spots indicated in video (occasional sections), work 1 dc (see video visuals for rhythm between petals and dc).
- Continue pattern: 3 tr in each of two stitches, 1 dc in next (or as visually shown).
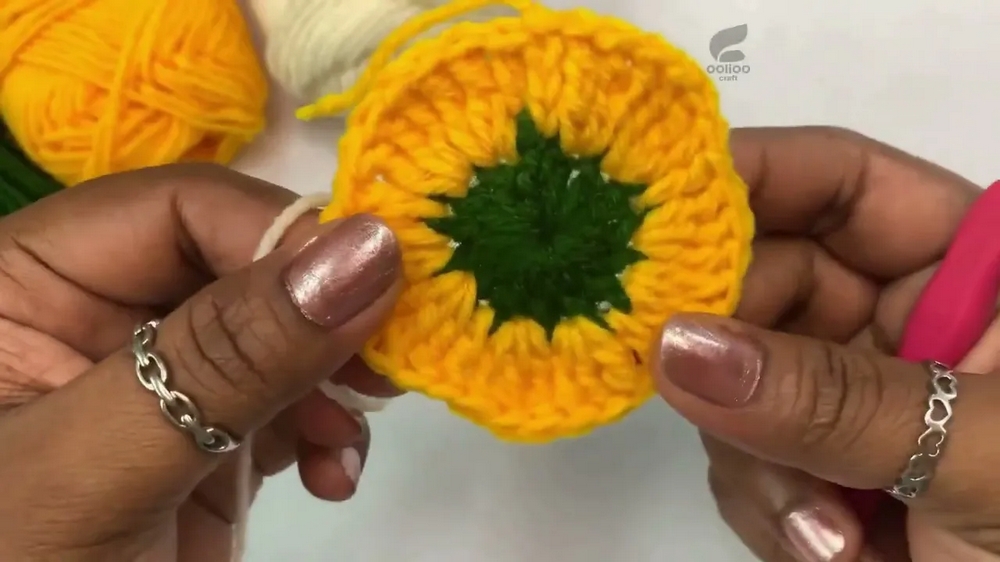
- Finish Round:
- Join with sl st in third ch of beginning ch-3.
- Fasten off yellow.
Round 3 – Petal Detailing (Off-White, 7:18–13:19)
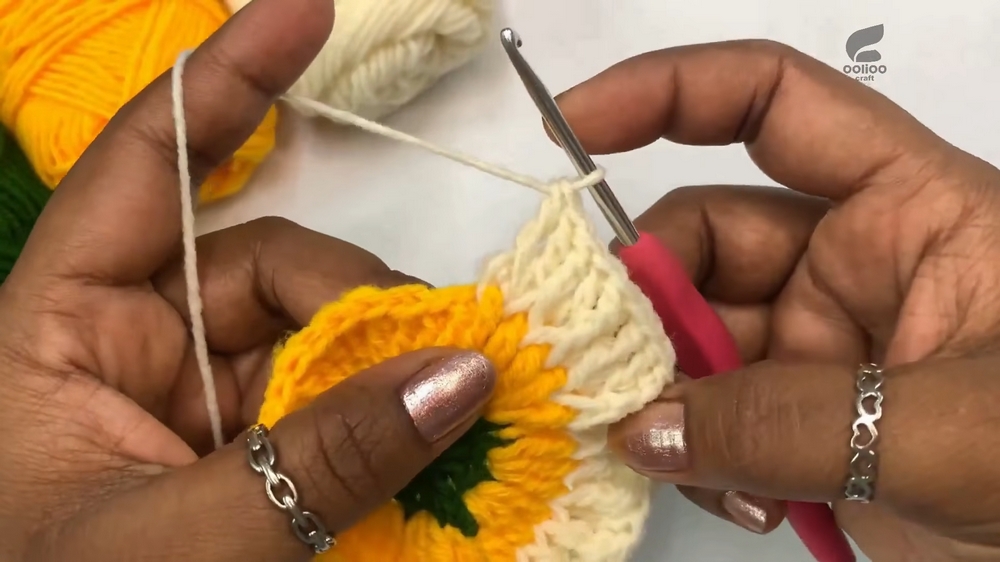
- Join Off-White:
- Attach off-white at top of any petal.
- Ch 3.
- Create Layered Petals:
- On top of each 3-tr petal:
- Work 3 tr, alternating some at front and some at back of petal for layered look (refer to video for placement).
- Over previous round’s dc (between petals):
- Make 1 dc in each.
- Repeat around—3 tr over petals, 1 dc between petals.
- On top of each 3-tr petal:
- Close Round:
- Join with sl st to top of starting ch-3.
- Fasten off and weave in ends.
Round 4 – Border (Green, 13:19–15:46)
- Join Green:
- Insert hook at any dc from previous round.
- Ch 3 (acts as starting dc).
- Border Stitching:
- Make 1 dc in same dc.
- For remaining stitches until next dc: sc in each st.
- At each dc (between petals), work 2 dc.
- Repeat: 2 dc at dc, sc in every other st around the flower.
- Finish:
- Sl st to starting dc.
- Fasten off and neatly weave in all yarn ends.
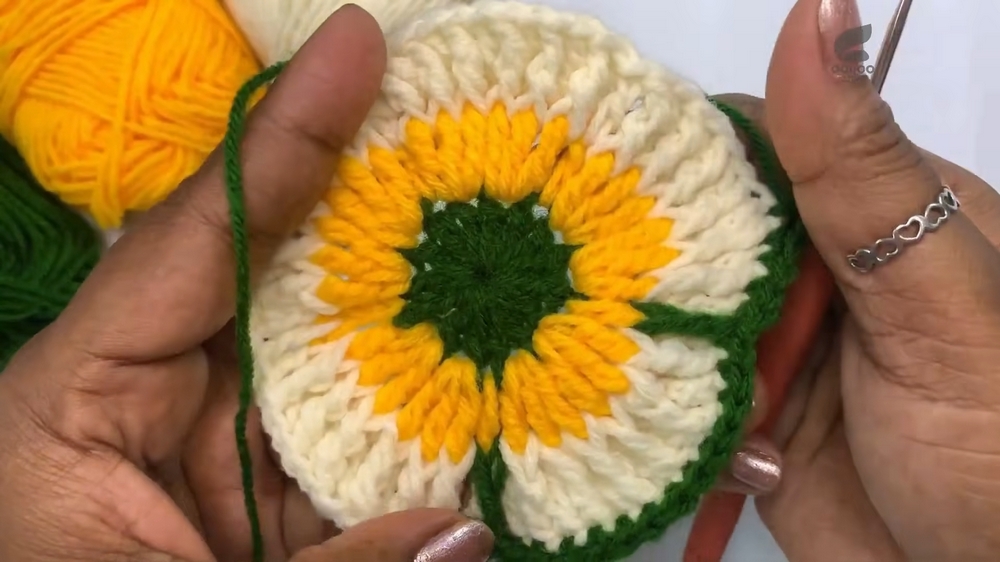
Assembly & Finished Size
- No assembly apart from weaving in ends.
- Finished flower should be round and flat, with clear, defined petals.
- Final size is about 4–5 inches in diameter, ideal for use as a coaster or idol seat.
Conclusion and Ending Words
Your beautiful flower pattern is now complete! It is easy, quick, and versatile—use it for home decor, as a coaster, or as a seat for Laddu Gopal. Try different color combinations for new effects.
Why you Love To Crochet This?
You will love crocheting this flower pattern because it offers a perfect blend of creativity, relaxation, and practicality. The project is quick and satisfying, making it ideal whether you’re a beginner or an experienced crocheter. Its versatile design allows you to use it as a coaster, home décor accent, or a seat for Laddu Gopal, adding charm to any setting. You’ll have the opportunity to practice essential crochet techniques, experiment with vibrant or subtle color combinations, and use up leftover yarn. Each round brings visible progress, and the end result is a beautiful, handcrafted piece that’s both functional and decorative.