Organize your keys with this Free Crochet Envelope Keychain Pattern, offering easy steps to stitch a stylish and functional accessory for daily convenience.
If you are looking for a small and charming crochet project making an envelope shaped keychain is a wonderful idea. This pattern involves crocheting small squares separately and then joining them together which makes the process simple and enjoyable especially for beginners who like working with squares.
Fun & Free Crochet Envelope Keychain – Bag Charm Idea
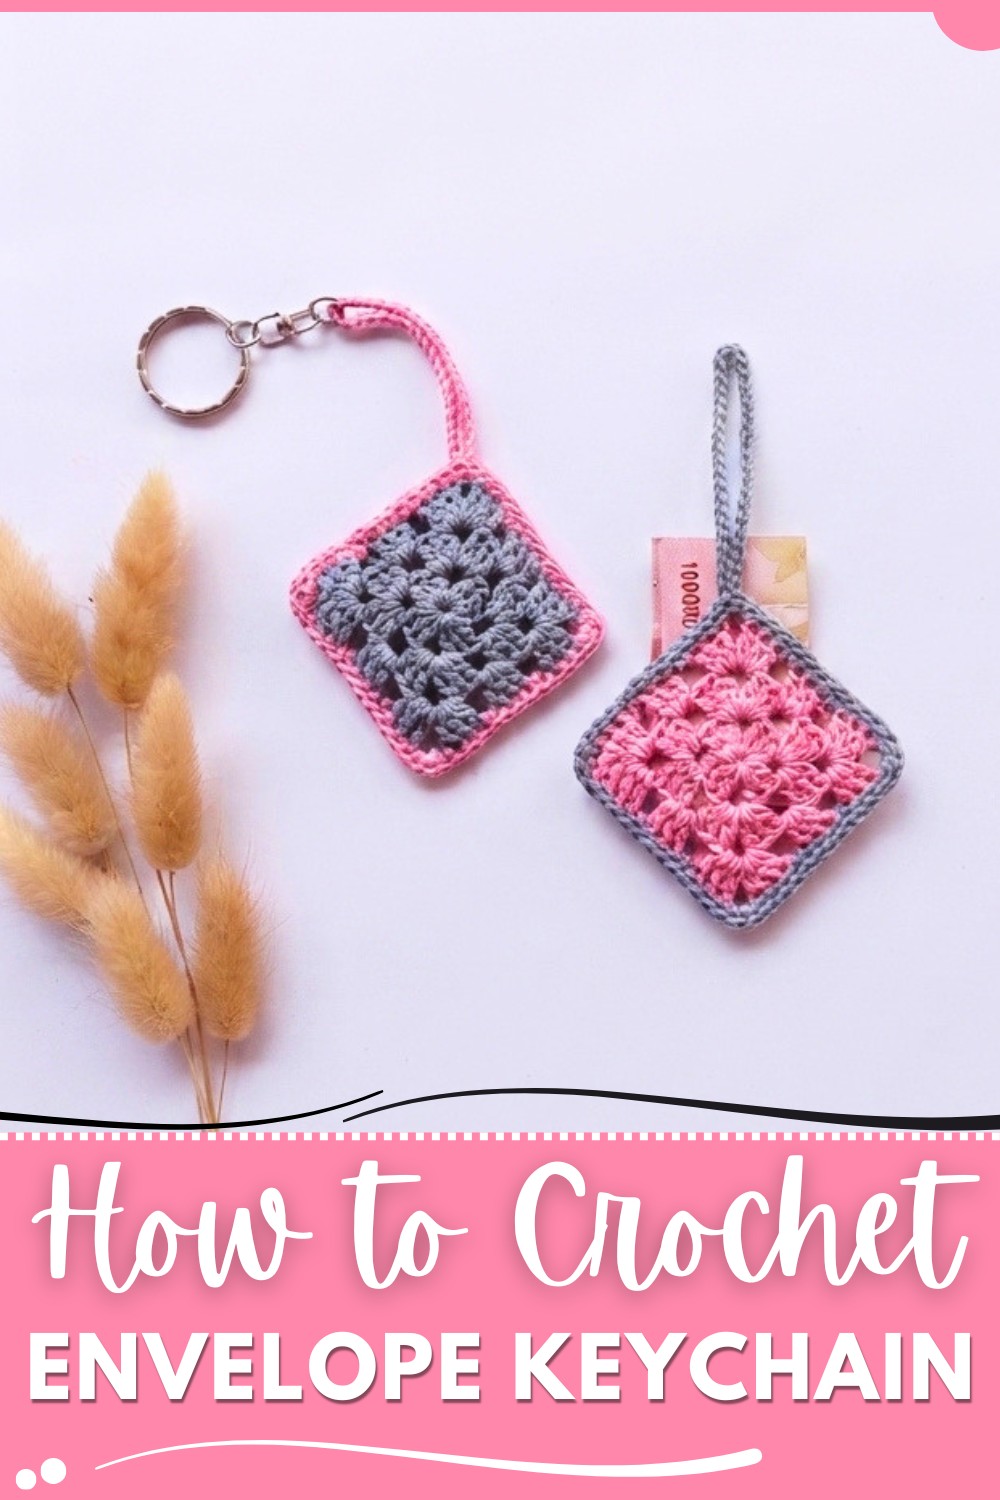
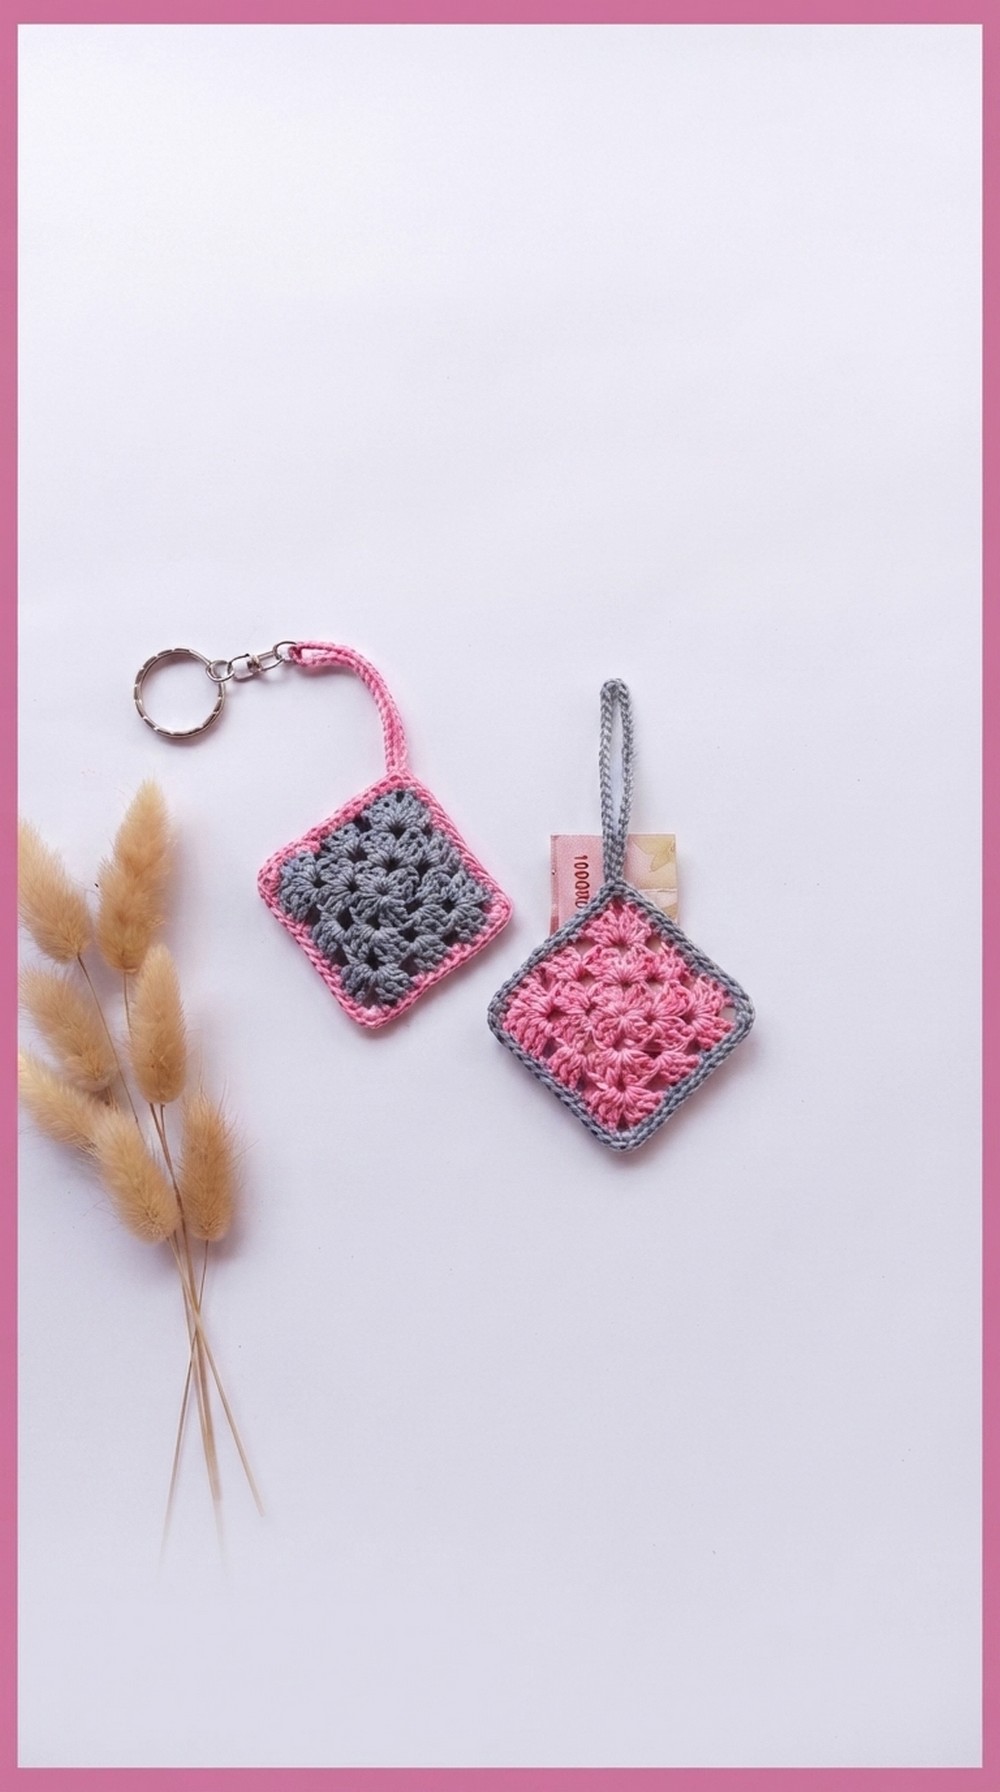
The keychain has a neat rectangular shape with a flap that folds over like a real envelope. The squares create a lovely textured look that adds character to the piece while the joined sections give it a patchwork style. You can easily adjust the size by adding more squares or making bigger ones so it is customizable depending on what you want to carry such as keys small notes or little keepsakes.
Crocheting each square uses basic stitches making this project accessible and not overwhelming. A helpful tip is to choose a yarn with good structure like cotton which helps the squares keep their shape when joined and makes the finished keychain sturdy. Joining the squares neatly is important to give the keychain a clean and polished look.
This practical and pretty accessory also makes a lovely handmade gift for friends and family. You can personalize it by mixing colors adding buttons or sewing on small decorations to match the recipient’s style. It is a quick fun way to create something useful and unique.
For anyone who enjoys creative simple crochet projects this Free Crochet Envelope Keychain pattern offers an easy to follow and rewarding experience with beautiful results.
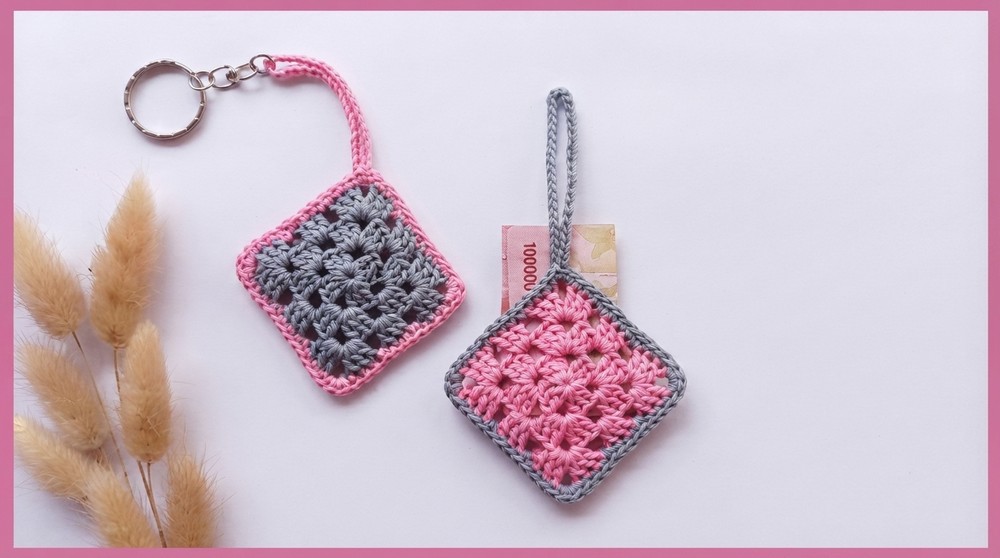
Envelope-Style Granny Square Keychain Pattern
This pattern will guide you through making a charming envelope-style keychain by joining two granny squares and finishing it with a crochet keychain loop.
Quick Overview Of Pattern
- Prepare two matching granny squares.
- Attach and join squares with single crochet, adding a neat border.
- Shape the envelope by working along the top to create a flap.
- Crochet a secure keychain loop directly into the corner.
- Finish all edges and weave in ends neatly.
Notes
- The tutorial uses a contrasting yarn color to join the squares for added visual interest.
- Work carefully at the corners: add extra single crochets to help the work turn smoothly.
- Ensure the loop is firmly attached for durable keychain use.
- Any style of granny square may be used; just keep both the same size.
Skill Level
Beginner to Adventurous Beginner
Materials
- Two matching granny squares (made in advance; any color or design)
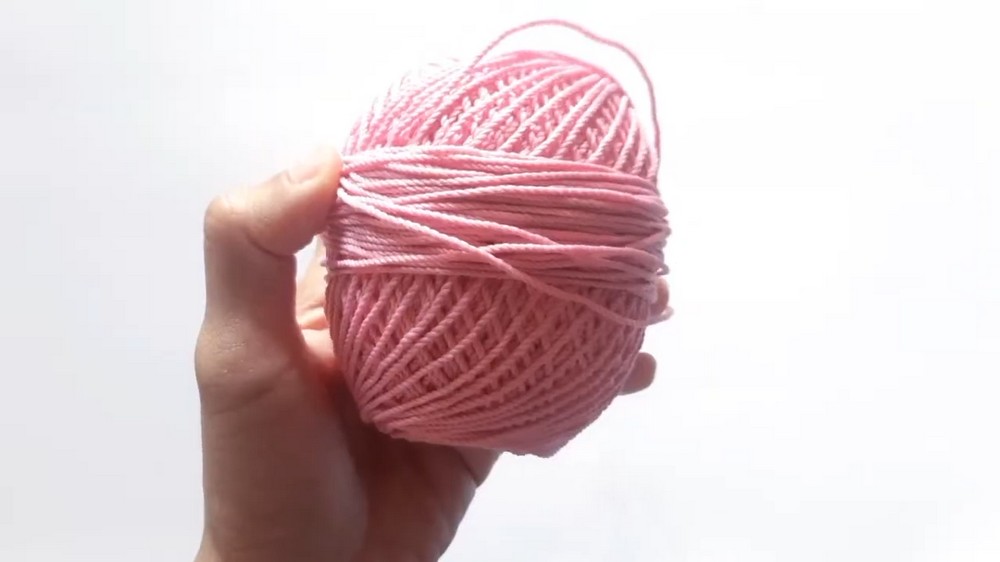
- Polyester yarn (contrasting color recommended for joining)
- Tulip 4/0 crochet hook (2.5mm)
- Scissors
- Yarn needle (for weaving in ends)
- Keychain ring/hardware (optional)
Measurements / Sizing
- Each granny square: approx. 7–9 cm (2.75–3.5") per side
- Finished envelope (folded): approx. 7–9 cm wide
- Keychain loop: 40 chains (approx. 10 cm/4")
Gauge
- Not critical for this project
Stitch Abbreviations
| Abbreviation | Stitch |
|---|---|
| ch | chain |
| sc | single crochet |
| sl st | slip stitch |
| st | stitch |
Special Stitches
- Keychain Loop: ch 40, sl st to last sc.
- Corner Turn: 3 sc in same space.
The Crochet Pattern
Preparation
- Make or gather two granny squares of the same size. Any classic or modern granny square pattern works. For granny squares pattern click Here.
- Gather all tools: 4/0 Tulip hook, polyester yarn (contrasting color), scissors, darning needle, and keychain ring.
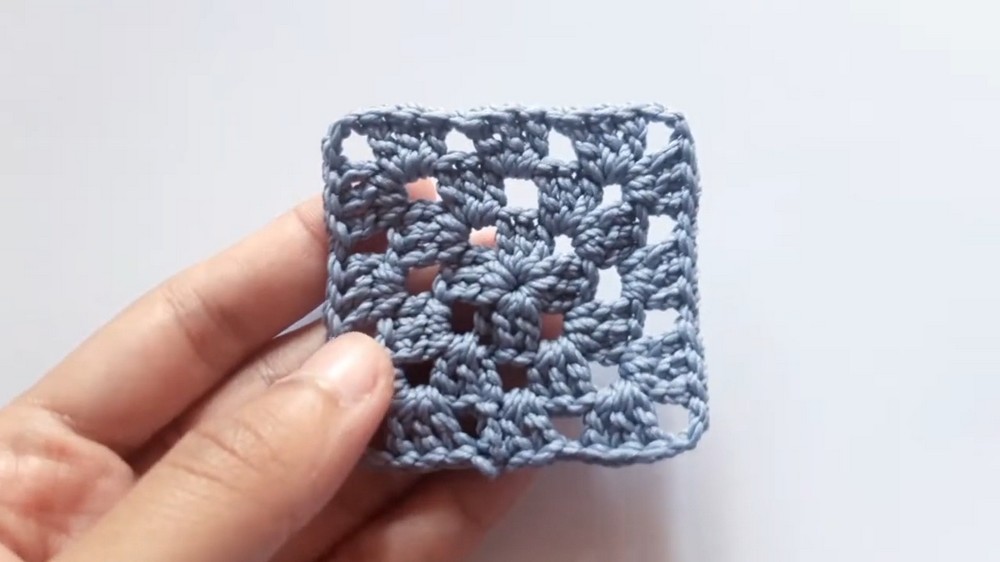
At the outset, this project begins by forming two granny squares. Selecting colorways and arranging them strategically lets your choices shine, as each square reveals its individual charm. The visual interplay of stitches and shades lends personality, allowing your finished piece to stand out. This initial stage sets the tone for the envelope’s style, establishing a strong foundation and visual coherence that flows through every subsequent step.
Joining the Squares
- Slip Knot & Setup:
- Make a slip knot with the joining yarn.
- Attach it to the edge of one square, starting on the side where the envelope will open (not along what will become the flap).
- Begin Joining:
- Ch 1.
- Hold two squares together, matching edges.
- Using single crochet (sc), crochet through both squares at once.
- Join Edges:
- Work 1 sc into each dc stitch and gap along the joining edge (through both layers).
- When you reach any corner gap, work 3 sc in that corner (this helps the border turn smoothly).
- Continue:
- Continue single crochet joining around the sides of the squares, working 1 sc into each stitch and space, and 3 sc in every corner gap.
- Leave Top Open:
- Stop joining when you reach the edge you want left open (the envelope opening).
- Only the sides and bottom are joined; the top remains open to form the flap.
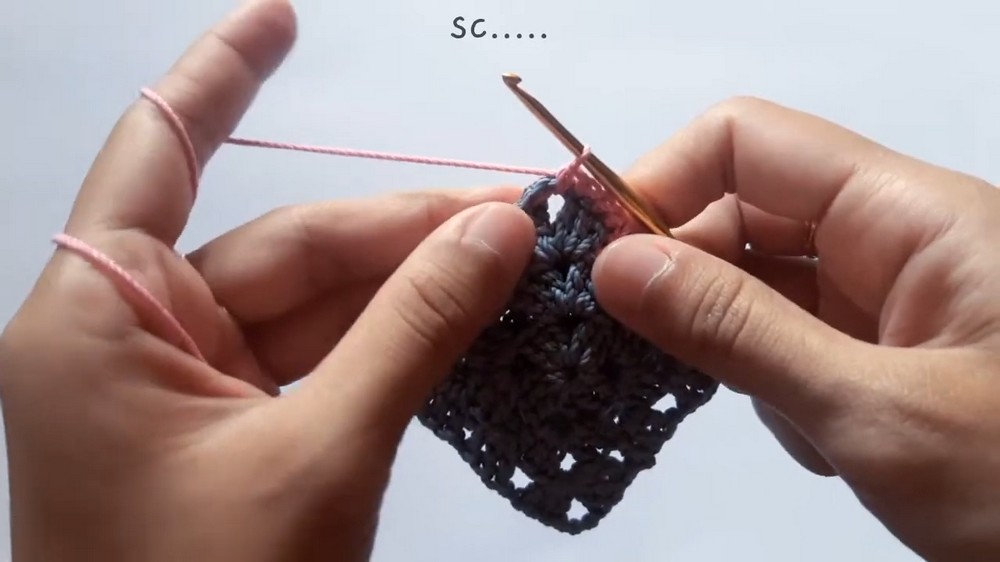
Moving forward, joining the squares with single crochet stitches transforms loose pieces into a functional envelope shape. Precise placement of stitches along each edge and corner ensures durability. Methodical single crochet application provides crisp lines and structure, while working with contrasting yarn highlights your handiwork. Care during this process strengthens the envelope, encouraging both form and function as you proceed along the sides, leaving the top open for the signature flap.
Finishing the Envelope and Flap
- Top Flap Border:
- Continue working single crochet only along the top edge of the front granny square to make the flap.
- 1 sc in each dc and gap.
- Keychain Loop:
- When you reach the final corner of the flap:
- Work 2 sc into the corner gap.
- Chain 40 (creates the keychain loop).
- Sl st into the last sc worked to secure the loop.
- When you reach the final corner of the flap:
- Border Finish:
- Continue working 1 sc in each stitch and gap along the remaining top edge.
- Fastening Off:
- Sl st to finish the round.
- Cut yarn.
- Weave in all loose ends using your yarn needle, hiding them on the inside/back of the envelope for a tidy look.
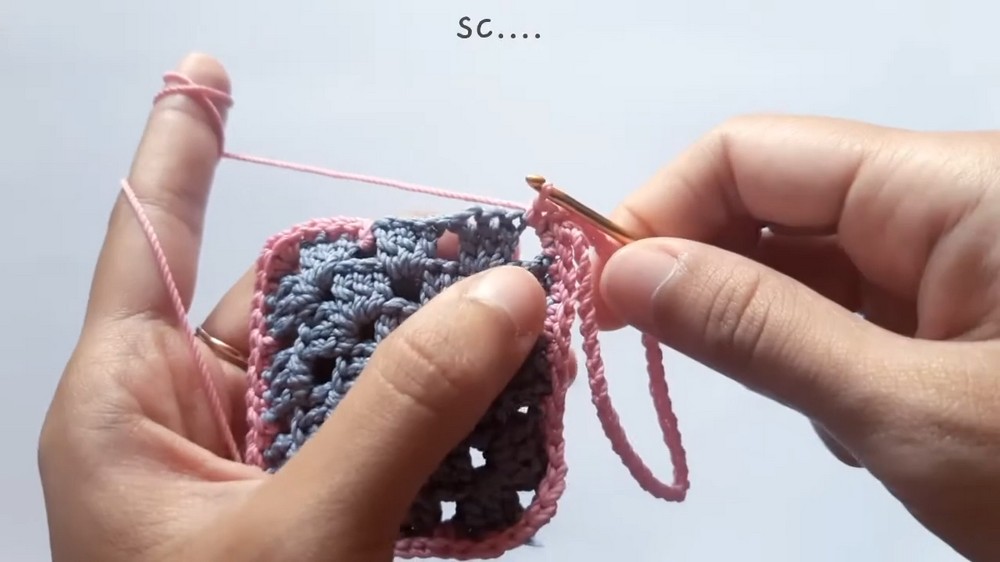
Assembly & Finished Size
- Attach keychain ring through the loop.
- Fold envelope as desired (may fold point down or leave straight).
- Finished size: 7–9 cm wide plus 10 cm loop.
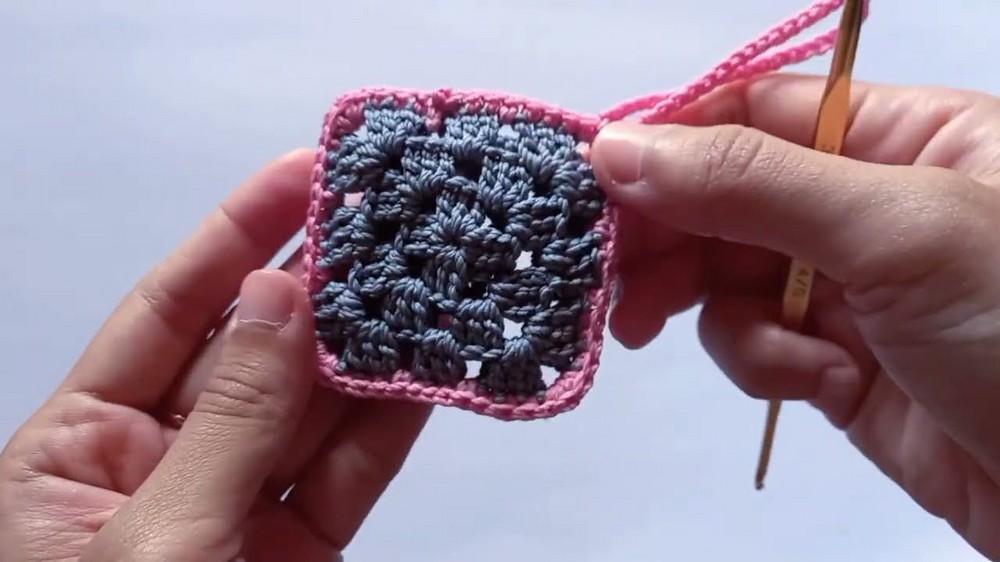
Concluding the project, focus shifts to the edge. The flap forms as single crochet stitches line the top of one square. Attention goes to the corner, where two single crochets and a forty-chain loop anchor the keychain feature. Secure slip stitches finish the process, followed by neat weaving in of ends. Holding the completed piece, its sturdy feel and personalized look reflect both skill and thoughtful yarn selection, providing a distinctive accessory for everyday use.
Conclusion
Your envelope-style granny square keychain is complete! This quick and easy project makes the perfect small gift or accessory. Personalize it with different square designs or yarn colors.
Why You’ll Love Crocheting This Envelope-Style Keychain
Crocheting this envelope-style keychain is a delightful and satisfying project for crocheters of all levels. It’s quick to make and a perfect way to practice basic stitches or use up leftover yarn. The finished keychain is not only practical but also customizable, choose your favorite colors, granny square styles, and embellishments to make each piece unique. This project is portable and can be completed in an evening, making it ideal for last-minute gifts or crochet fairs. The combination of creativity, functionality, and handmade charm makes crocheting this keychain especially rewarding and fun.