Make your travels stylish and organized with this free crochet passport cover pattern that offers a personal touch while protecting your essential travel document.
Travel accessories can be both useful and stylish when handmade with care. The free crochet passport cover pattern shared by birsepetyumakkcrochet is a perfect example of this. It transforms simple yarn into a charming and practical item that protects your passport while adding a personal touch.
Trendy Free Crochet Passport Cover Pattern for Travel Lovers
This passport cover is crocheted from a single, beautiful motif, creating a square shape with a soft but slightly elastic texture. The cozy crochet fabric feels gentle to the touch and fits snugly around your passport, keeping it safe from wear and tear. Its neat, hand-crocheted look makes it stand out as both functional and decorative.
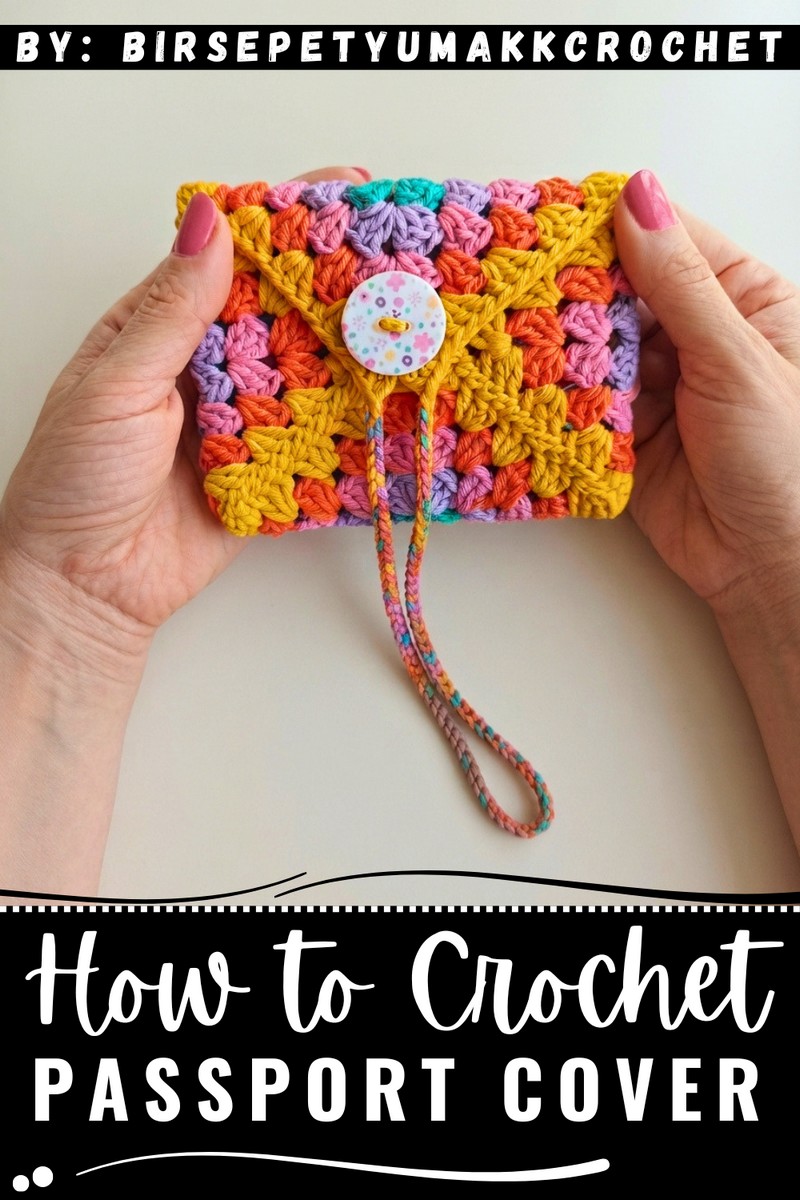
Using this pattern, you can also add small treasures inside, like cash or a travel map, making it more than just a cover—it becomes a mini travel organizer. It’s an excellent gift idea for family and friends who love to travel, combining warmth and practicality in one lovely package.
The design’s button and string closure add charm and security, while the ability to customize size and colors opens up many creative possibilities. Whether you are new to crochet or have experience, this project is accessible and enjoyable, allowing you to create something special with ease.
This clear and beginner-friendly instructions, many crocheters will appreciate making this piece. In summary, this pattern is a delightful way to give your travels a handmade touch, blending beauty, usefulness, and creativity seamlessly.
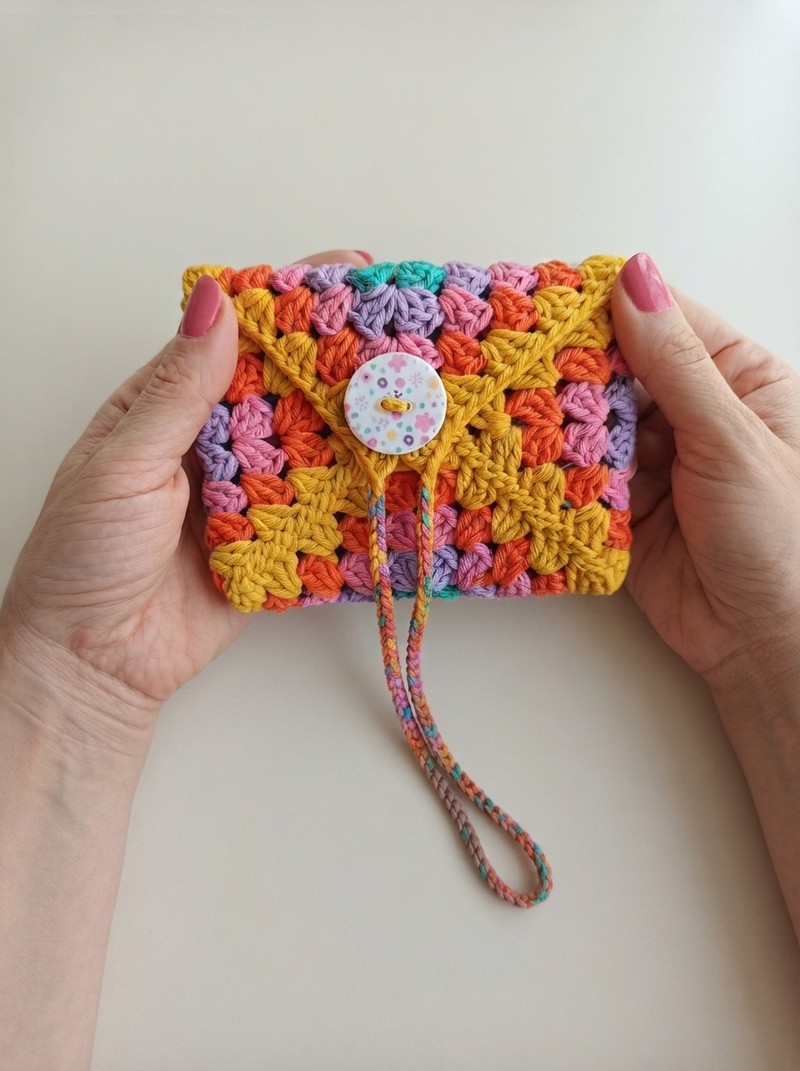
Classic Crochet Passport Cover (Single Motif) Pattern
A handmade crochet passport cover is a stylish and functional way to protect your important documents while embracing your love for crafting. This pattern utilizes a single square motif created with simple stitches and crisp lines, wrapping your passport in a cozy textile you’ve designed yourself. With easy-to-follow rounds and classic granny-square techniques, this project is excellent for beginners looking to expand their creative repertoire or for experienced crocheters seeking a quick, customizable gift. The chain-and-button closure adds a practical and elegant finishing touch, transforming a humble motif into a travel accessory you’ll treasure for years.
Pattern Basic Points
Construction Overview
- Worked in the Round: Begins with a magic ring and continues outward to form a square motif large enough for a passport.
- Corner Increases: Each round is shaped with groups of double crochets and chains to form neat, squared corners.
- Color Changes: Each round may be worked in a different color for visual interest or all in one shade for a minimalist look.
- Button and Loop Closure: Finished with a chained loop and button for secure fastening.
- Fold and Sew: The motif is folded and sewn to fit standard passport dimensions.
Special Notes
- Yarn Choice: Use sturdy cotton yarn (e.g., SpagettiYarn Cotton Plus) for durability and a crisp finish.
- Colorwork: Change colors between rounds if desired, fastening off and joining new yarn at any corner space.
- Sewing: Use mattress stitch or whipstitch to create seamless edges.
- Customization: Embellish with appliques or embroidery for a unique passport cover.
Skill Level
Confident Beginner/Intermediate
You should be comfortable with double crochets, working in the round, increasing in corners, and basic sewing.
Materials
- Yarn: Cotton worsted-weight or DK yarn (SpagettiYarn Cotton Plus recommended), one or more colors
- Crochet Hook: 3.5 mm
- Yarn Needle: For assembly and sewing
- Scissors
- Button: 1 medium-sized (fits the 90-ch loop)
Measurements / Sizing
- Finished Motif: Approximately 18.5 cm x 18.5 cm (7.25" square)
- Fits: Standard passport (approx. 12.5 cm x 9 cm or 5" x 3.5")
Gauge
- 1 square motif of 9 rounds = approx. 18.5 cm (7.25") square.
- Adjust hook size or number of rounds for different yarns or passport sizes.
Stitch Abbreviations
| Abbreviation | Meaning |
|---|---|
| MR | Magic Ring |
| ch | Chain |
| sl st | Slip Stitch |
| dc | Double Crochet |
| st(s) | Stitch(es) |
| sp | Space |
| rep | Repeat |
Special Stitches
- Magic Ring (MR): Adjustable ring for tight center.
- Corner Cluster: (3 dc, ch 3, 3 dc) all in a corner space.
- Side Cluster: 3 dc in side spaces.
The Pattern
Foundation
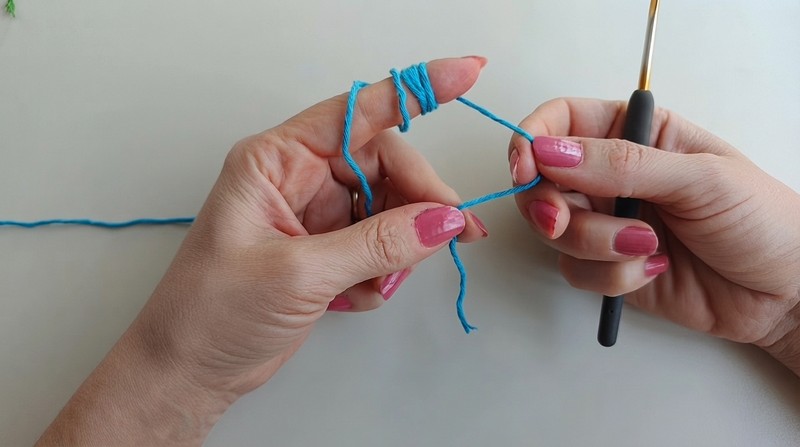
- With first color, create a magic ring (MR).
- Ch 3 (counts as first dc), make 2 dc into ring.
- Ch 3, 3 dc in ring—repeat 3 times (so you have 4 groups of 3 dc).
- At the end, you should have 4 corners each separated by ch-3 spaces.
- Join with sl st to the top of the starting ch-3.
- Cut yarn, pull through to fasten off.
Round 2
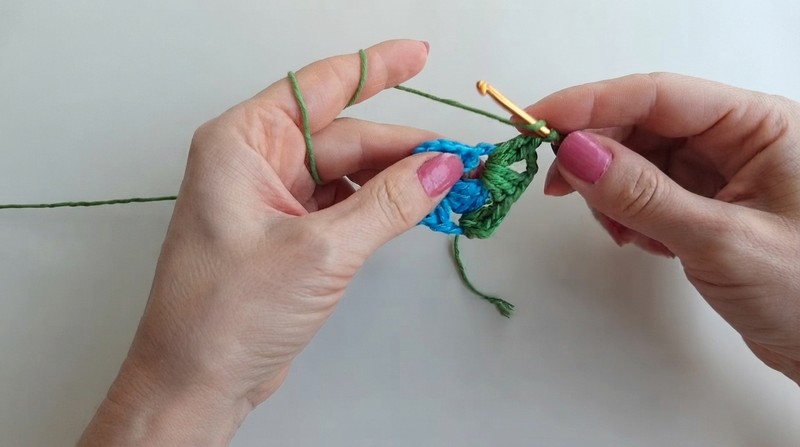
- Join next color in any ch-3 corner space.
- Ch 3 (counts as first dc), 2 dc in same space, ch 3, 3 dc in same space.
- In next corner space, (3 dc, ch 3, 3 dc)—repeat for each corner.
- At the end, join with sl st to beginning ch-3.
- Cut yarn, pull through to fasten off.
Rounds 3–8
- For each new round (use different colors if desired):
Join yarn in any corner ch-3 space.- Ch 3 (first dc), 2 dc in same space, ch 3, 3 dc in same space (corner made).
- In each side gap across, work 3 dc.
- In each corner space, (3 dc, ch 3, 3 dc).
- At end of round, join with sl st to beginning ch-3.
- Cut yarn and fasten off.
- Repeat this process until you have 8 complete rounds.
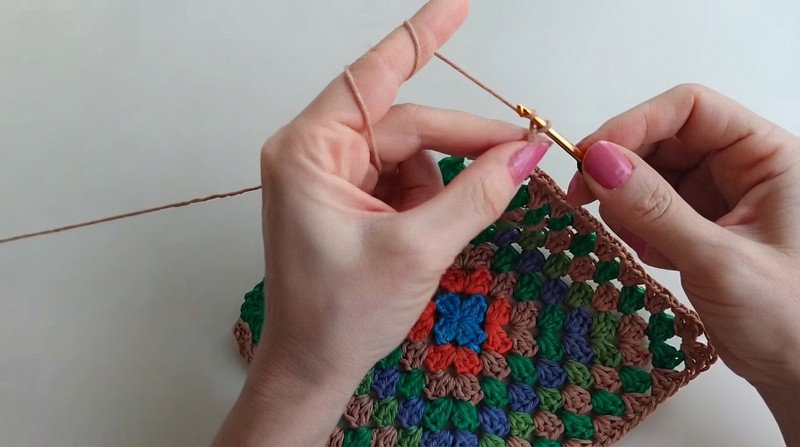
Finishing Row (9th Row & Loop)
- Join yarn in any corner space.
- In this round, work pattern as usual—3 dc in each side gap, (3 dc, ch 3, 3 dc) in each corner.
- When you reach one corner (your chosen “flap” corner):
- Work 3 dc into corner space as usual.
- Ch 90.
- Join the chain back into the same corner space with a sl st or dc to create a loop for closing.
- Continue working the remaining stitches around as established.
- At end, join with sl st to first dc.
- Cut yarn and fasten off.
Assembly & Finished Size
- Block your motif to approx. 18.5 cm x 18.5 cm for crisp, professional edges (steam or wet block).
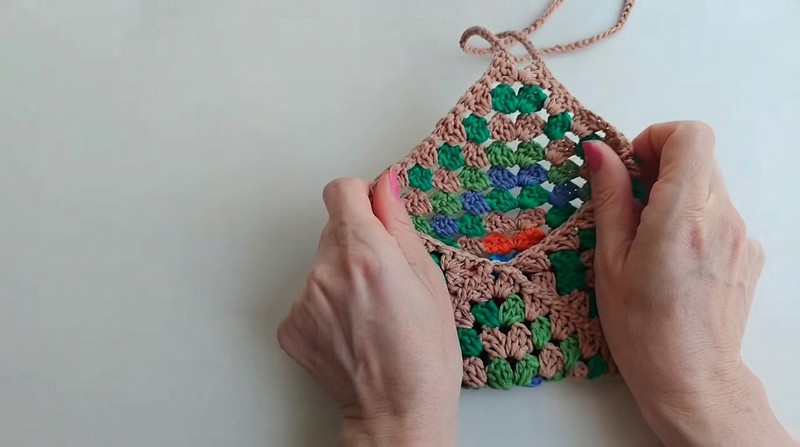
- Fold the motif into a rectangle to fit your passport (fold top and bottom flaps inside if desired).
- With a yarn needle and yarn tail, sew three of the edges together tightly (reserving one long side as the opening for the passport).
- Mark the center of the outer flap and carefully sew the button in place on the outside.
- Test the fit: Place your passport inside, then loop the 90-ch closure around the button to secure.
Conclusion
You’ve created a stylish and practical crochet passport cover from a single classic motif. This cover keeps your passport safe in a layer of handmade artistry and is customizable with colors, buttons, and yarn choices. Suitable for personal use or as a thoughtful travel gift, this project is a superb example of functional fiber art.