Master this simple Free Crochet wallet Pattern today to make your own stylish and durable handmade accessory that keeps your cards and cash organized.
I recently spent a quiet afternoon hooked on making a handy accessory that has quickly become a favorite in my daily routine. It is a slim, practical piece, and the best part is that by just adjusting the size or adding a strap, you can easily turn this same design into a cute coin purse or a larger clutch. This Free Crochet wallet Pattern is such a relaxing project that fits perfectly into any busy day.
Best Free Crochet Wallet Pattern for Your Cards
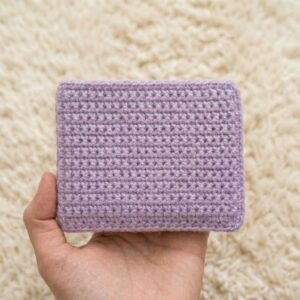
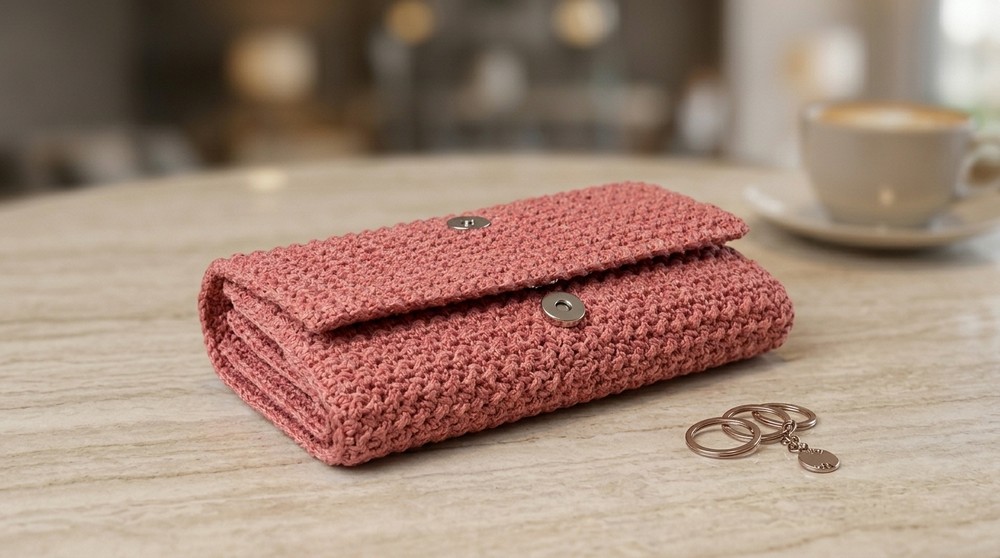
This little essential is absolutely beautiful in its simplicity, offering a clean look that fits right into your pocket or bag. Its appearance is sleek and modern, with a firm, tight texture that keeps your belongings safe and secure. The shape is perfectly rectangular, featuring a minimalist style that feels elegant whether you choose soft neutrals or bold, bright colors.
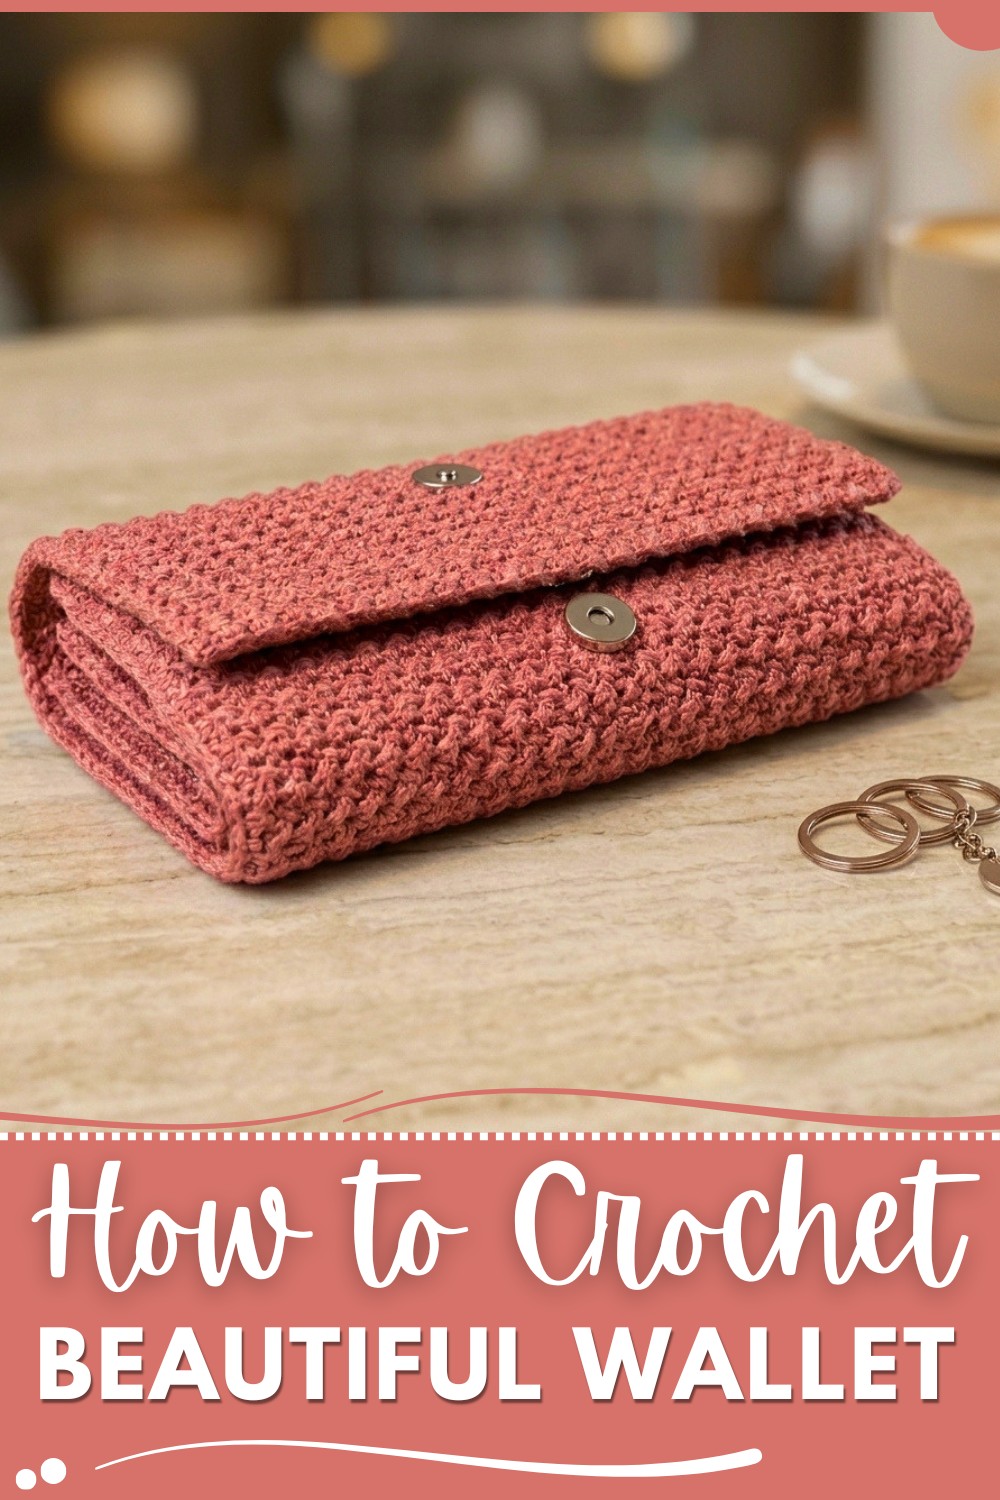
One standout design feature is how the fabric folds, creating a naturally sturdy structure that maintains its slim profile without getting bulky. It is the kind of accessory that looks polished and refined, making it a joy to use every time you reach for it.
To bring this together, the project is constructed in one main piece that is neatly folded and stitched at the sides, making the assembly fast and stress-free. It is a wonderful fit for any skill level, as the process relies almost entirely on the single crochet stitch to build a dense, durable fabric that holds its shape beautifully.
These wallets have so much gifting potential and make such thoughtful presents for friends and family. They offer a great wearable benefit by keeping your cards and cash organized in a lightweight, handmade package. If you enjoy simple, satisfying projects that result in something truly useful, you will absolutely love making this. You should definitely pick up your hook and give it a go today.
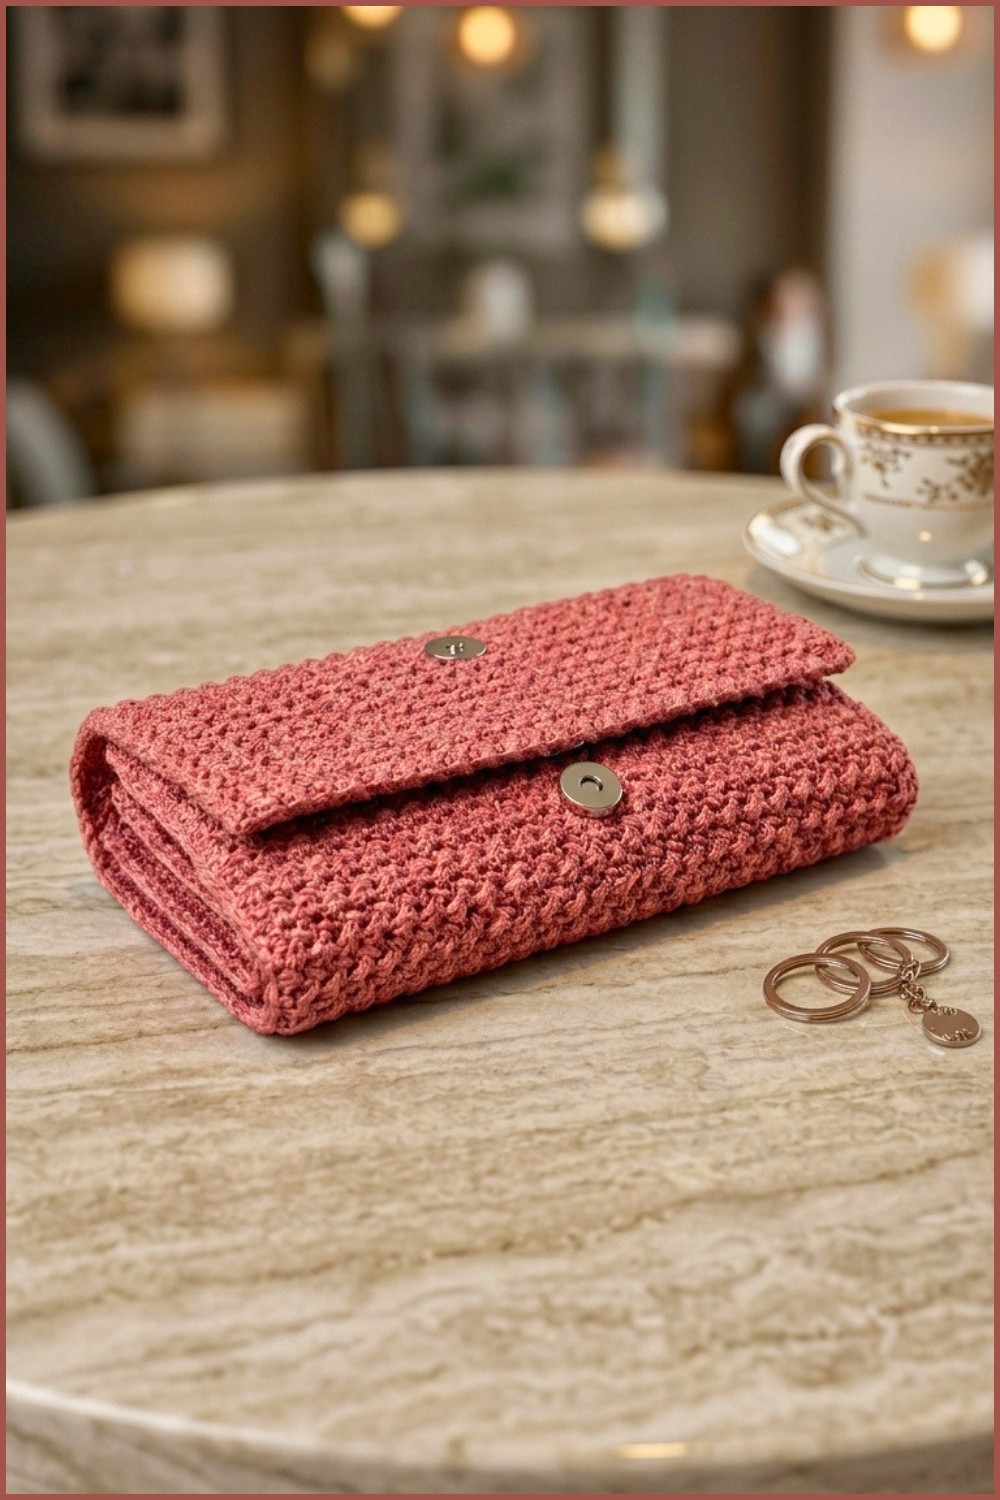
Even Moss Stitch Folded Crochet Wallet
Before You Start
- This wallet is worked flat as a large rectangle, then folded and seamed to form the wallet shape.
- The Even Moss Stitch is easy, attractive, and lays flat for neat, functional accessories.
- Markers help evenly divide sections for folding and sewing.
- Ideal for confident beginners, with straightforward construction and practical finishing.
Pattern Notes
- US crochet terms are used throughout.
- Wallet is worked in rows (back and forth), starting with a long foundation chain.
- Slip stitch and half double crochet (hdc) alternate to create the Even Moss Stitch.
- Section measurements rely on counting stitches and rows, with stitch markers to divide and guide assembly.
- Wallet’s size can be easily modified by changing the starting chain or row count.
How I Made the Crochet Pattern? (Summary)
- Began with a long chain foundation, then worked multiple rows of Even Moss Stitch to create a firm textile.
- Strategically placed stitch markers at certain stitch counts to mark folds and pockets.
- Folded and seamed the piece, attaching magnetic snaps and a label.
- Finished with neat top-stitching around the wallet’s edge after assembly for a polished result.
Skill Level
Confident Beginner / Easy:
Requires only slip stitch, half double crochet, and basic seaming.
Finished Size
- Open: 20 x 20 cm (8” x 8”)
- Closed: 10 x 20 cm (4” x 8”)
- Size can be adjusted by altering foundation chain or row numbers.
Materials
- Worsted (medium) weight yarn; approx 80–100g (e.g., Polyrose yarn in a solid color)
- 3 mm (US D) crochet hook
- Magnetic snap closure (sewn or prong style)
- Stitch markers or safety pins
- Scissors
- Yarn needle for sewing
- Optional: personalized label
Measurements / Sizing (Optional Schematic)
| Section | Stitches/Chains | Rows | Approx. Size (cm) |
|---|---|---|---|
| Foundation chain | 151 | 20cm width | |
| Full piece | 75 | 20cm height |
- Fold line at 25 stitches from each side to create side pockets when folding.
- Marker placed at every 50 stitches to create wallet compartment structure.
Gauge
- 24 sts x 15 rows (Even Moss Stitch) = 10 cm x 10 cm (unblocked)
- Gauge is not critical; consistency is more important for neat seams and fit.
Stitch Abbreviations
- ch = chain
- sl st = slip stitch
- hdc = half double crochet
- st(s) = stitch(es)
- rep = repeat
- RS = right side
- WS = wrong side
Special Stitches
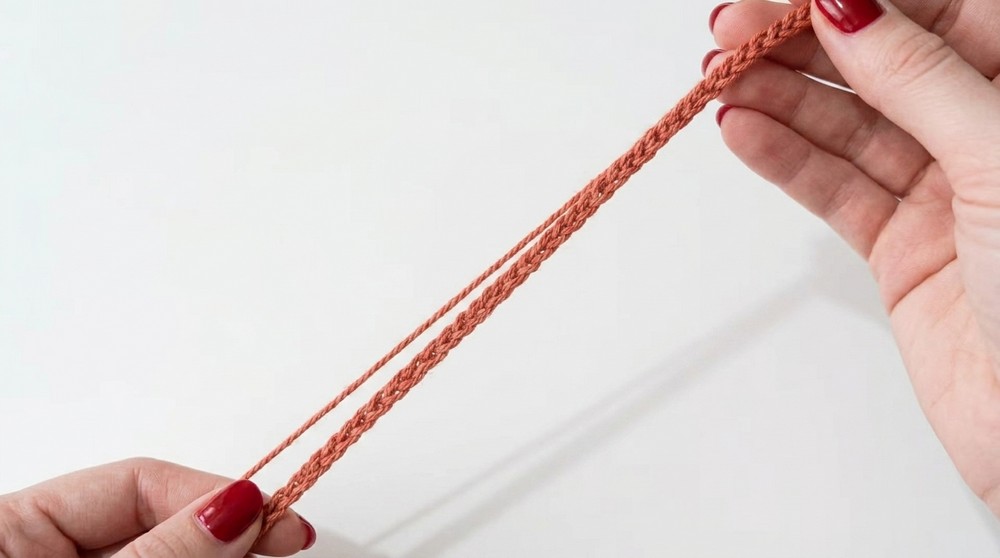
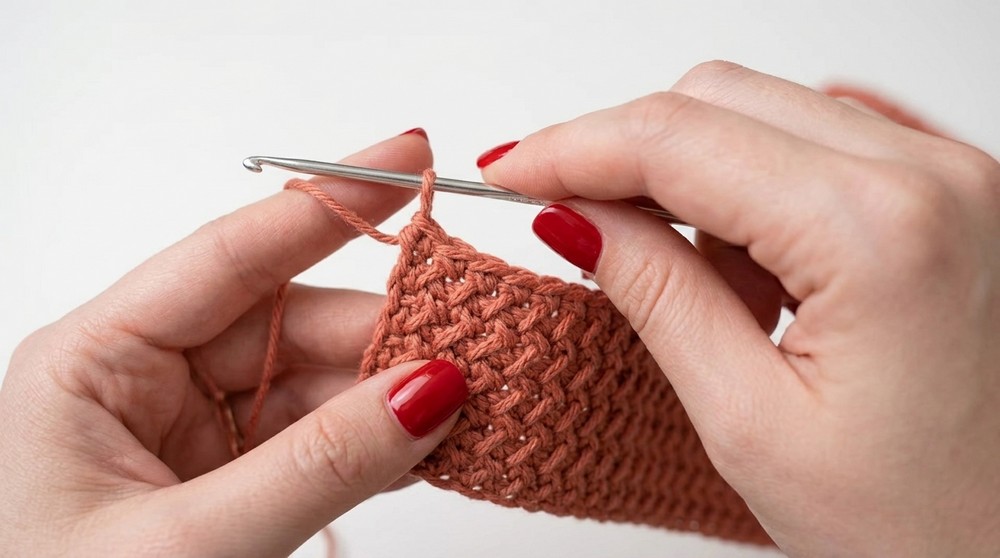
- Even Moss Stitch: (sl st, hdc) across row—alternate a slip stitch and a half double crochet into each stitch.
- Insert hook into next st, sl st, insert hook into next st, hdc, repeat across.
- Turning chain: Always ch 1 at start of every row; does NOT count as a stitch.
- Topstitch/Edgestitch: Crochet evenly around the assembled wallet for a neat edge (optional but recommended).
THE PATTERN!
1. Main Wallet Body
Foundation:
- Make a slip knot.
- Ch 151 (to measure approx. 20 cm; adjust for desired width).
Row 1 (RS):
- Sl st in 2nd ch from hook, hdc in next ch, sl st in next ch; rep from * to * across.
- You will end with a sl st as last stitch of the row. Turn.
Row 2:
- Ch 1 (does not count as a st), sl st in first st, hdc in next st, sl st in next st; rep from * to * across.
- Turn.
Rows 3–10:
- Repeat Row 2.
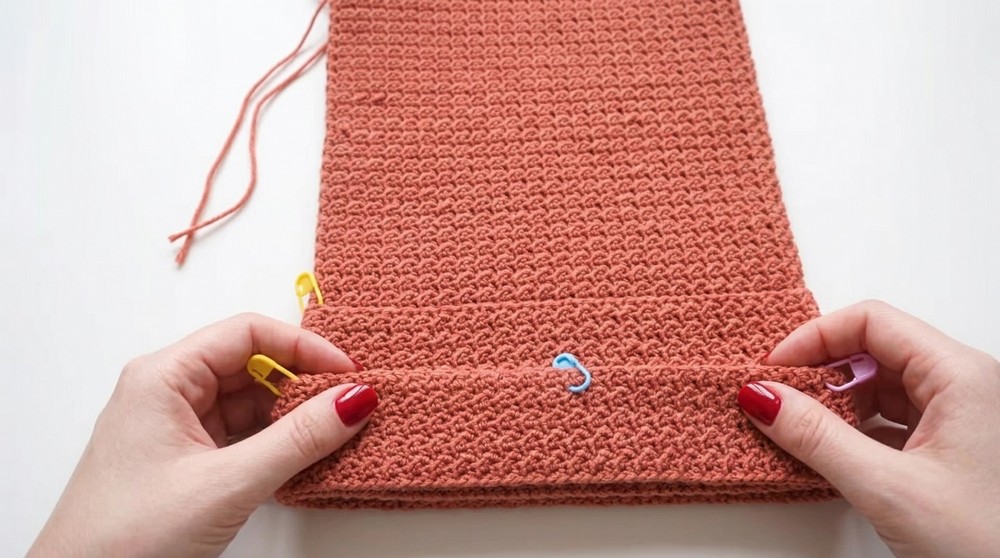
- After completing 10 rows, place a stitch marker at st 50 from both the right and left edge. These markers will help with folding and later assembly.
Rows 11–20:
- Continue in Even Moss Stitch as established.
- Each row, stop and check that you are working between markers/within correct section.
- At the end of Row 20, place another stitch marker (for future folding).
Rows 21–75:
- Repeat Even Moss Stitch row as established to total 75 rows.
- Check that your fabric measures approx 20 x 20 cm.
- Fasten off, leaving a yarn tail for sewing.
If you are unfamiliar with row-by-row patterns: Alternate slip stitch and half double crochet back and forth every row until your square reaches 20 cm/75 rows tall. Place stitch markers at 50-stitch intervals for folding guides.
2. Assembly & Finishing
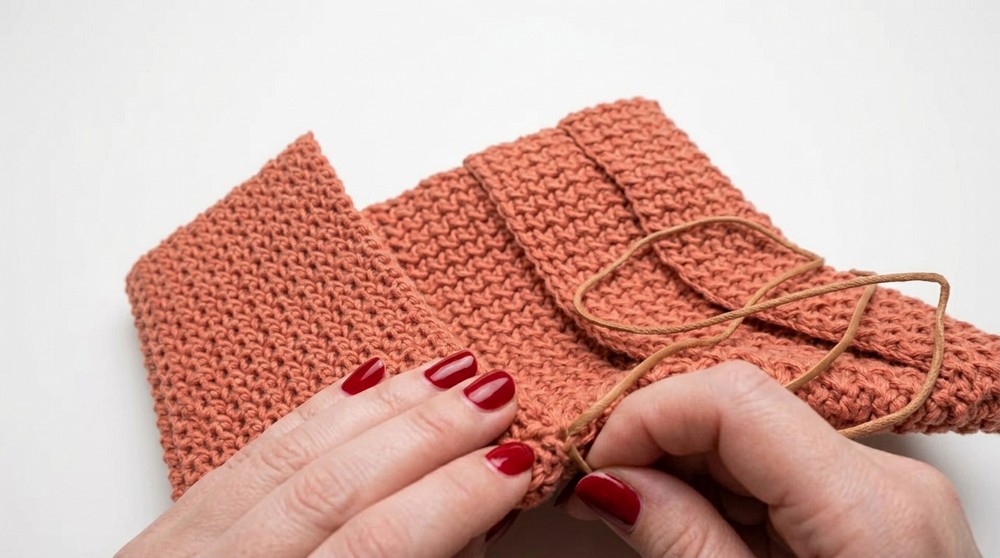
- Place wallet piece RS up; using stitch markers as guides, fold edges in to create left and right pockets (each pocket is 25 stitches wide).
- Fold bottom up to create bifold wallet shape.
- Use yarn needle to sew sides of pockets and wallet together along the stitch-marker lines, being careful to catch all layers securely.
- Attach top section (flap) by sewing or crochting in place, if desired (adjust height to fit inserts).
- Weave in all ends carefully inside pockets or seams.
- Attach magnetic snap closure—sew on or install as per product instructions. Place snaps so wallet securely closes when folded.
- Add a crochet or fabric label to personalize your wallet (optional).
- Optional: Crochet a simple edging or topstitch around outside for extra durability and aesthetic finish.
After completing the rectangular piece with markers, fold and sew as described. If you do not read formal patterns, think of this as crocheting a 20 x 20 cm square, then folding the sides and bottom up to create a bifold wallet with internal side pockets.
Assembly & Finishing (In Bullets)
- Fold fabric at 25-stitch sections for pocket shapes.
- Match edges and pin or mark before sewing.
- Sew along the sides and bottom for sturdy pockets; do not sew pocket openings shut.
- Attach magnetic buttons: before or after seaming (personal preference).
- Add decoration/label to exterior as desired.
- Steam lightly to block, if necessary.
Solution of Problem
Problem: Uneven or wavy edges after assembly.
Solution: Check your stitch count and tension; block wallet by gently steaming and shaping under a heavy book overnight for a flatter finish.
What you can make by using these stitches
- Durable wallets and clutches
- Easy bags or pencil pouches
- Tablet or phone sleeves
- Textured cushion covers
- Quick cozy scarves or throws
You have now completed a sophisticated, textured wallet using the Even Moss Stitch! The project is beginner-friendly, easily customizable, and perfect as a handmade gift or everyday accessory. Adjust the foundation chain, row count, or add embellishments to make the pattern your own. Enjoy your beautiful, practical new wallet!