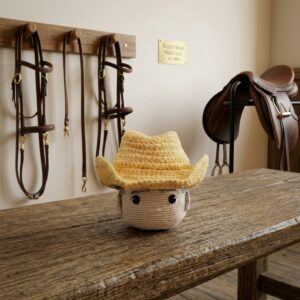
Design a one-of-a-kind accessory with this free crochet cowboy hat pattern that's for adding charm and personality to your outfits while showcasing your skills.
If you love fun and easy crochet projects, you will really enjoy making a Free Crochet Cowboy Hat Pattern. This pattern lets you create a cool little hat that looks just like a cowboy hat. It’s perfect for dress-up, parties, or even as a cute gift. What’s exciting is that with small changes, you can also make a cowboy hat for dolls, a sun hat or a summer cap using the same design.
Stylish Crochet Cowboy Hat Free Pattern for Festivals & Gifts
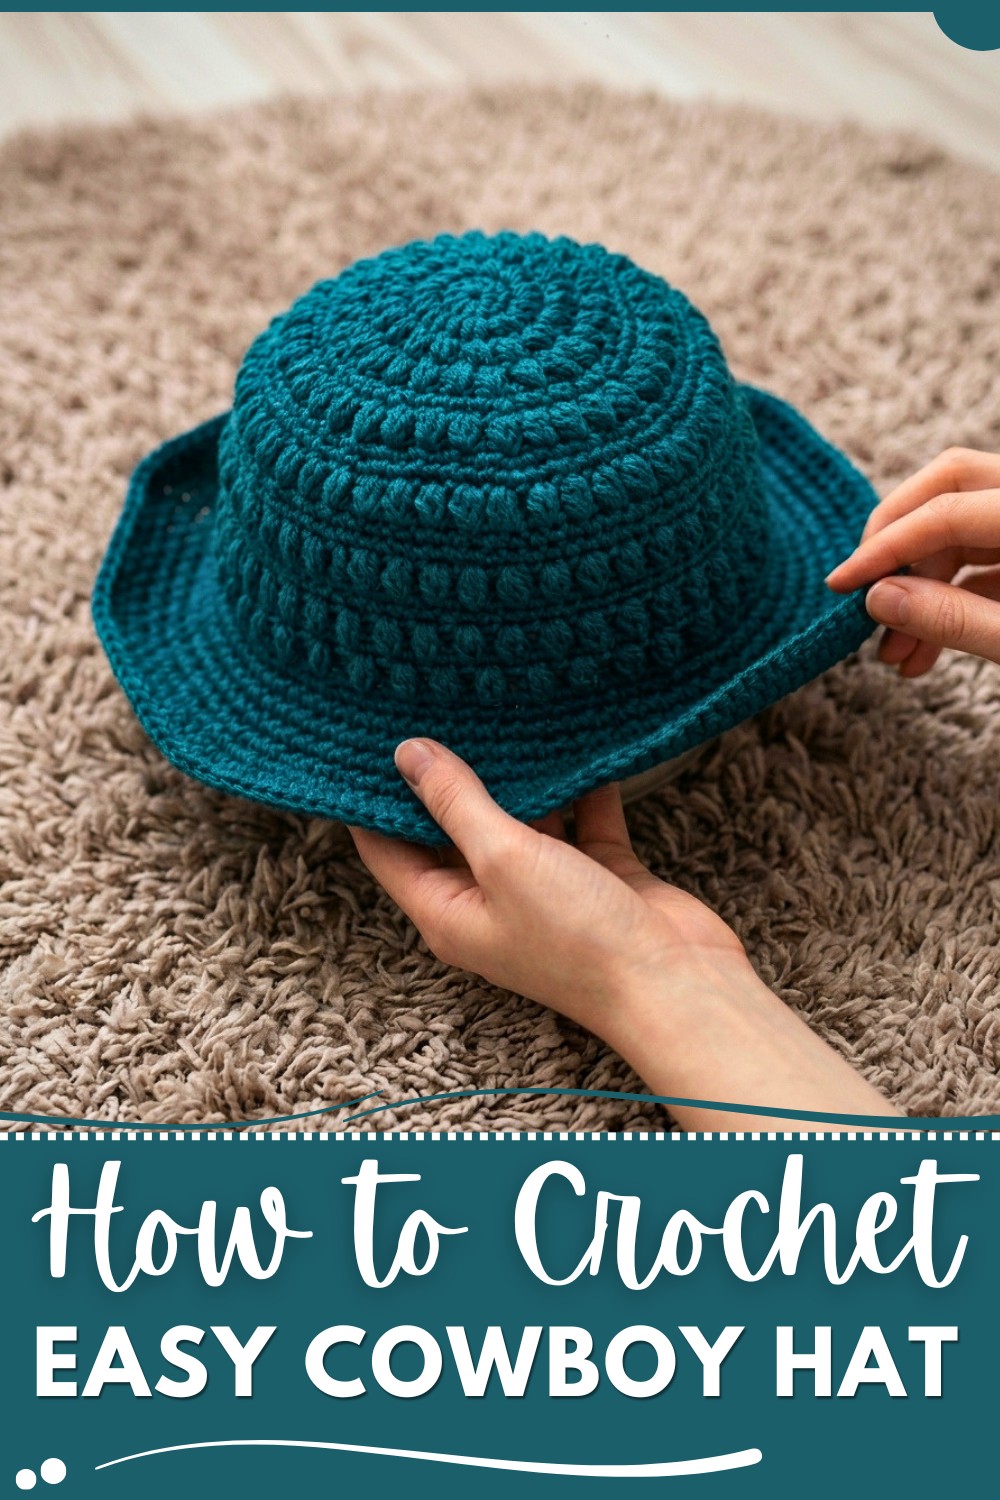
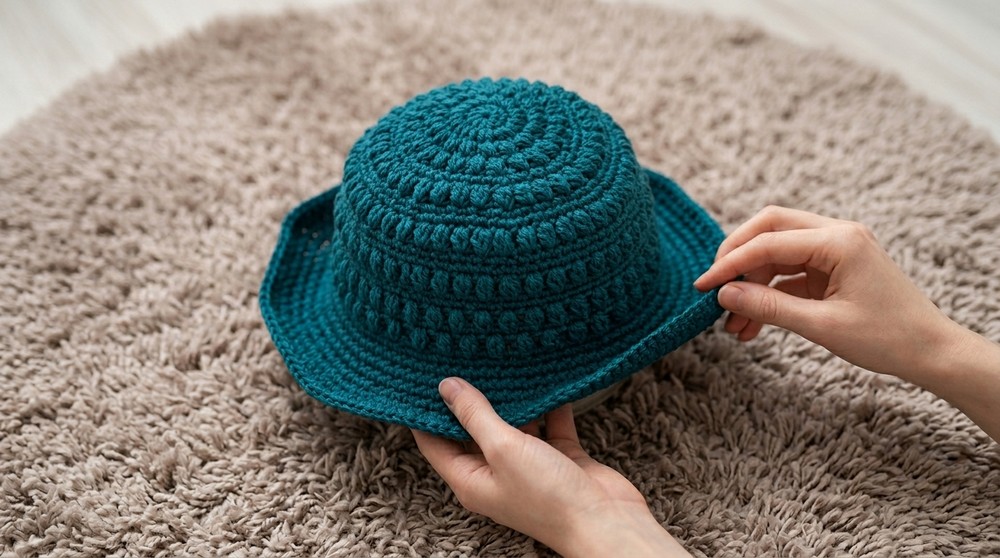
The hat looks super cute with a wide brim and a tall crown, just like a real cowboy hat. You can try it in lots of different colors to make it bright and fun or soft and simple. The size can be changed too, so you can make one for a baby, a kid, or even yourself! The yarn you choose is important—soft cotton yarn is great for comfort, and acrylic yarn works well if you want it to be more sturdy. The hat feels warm but also light enough to wear for hours.
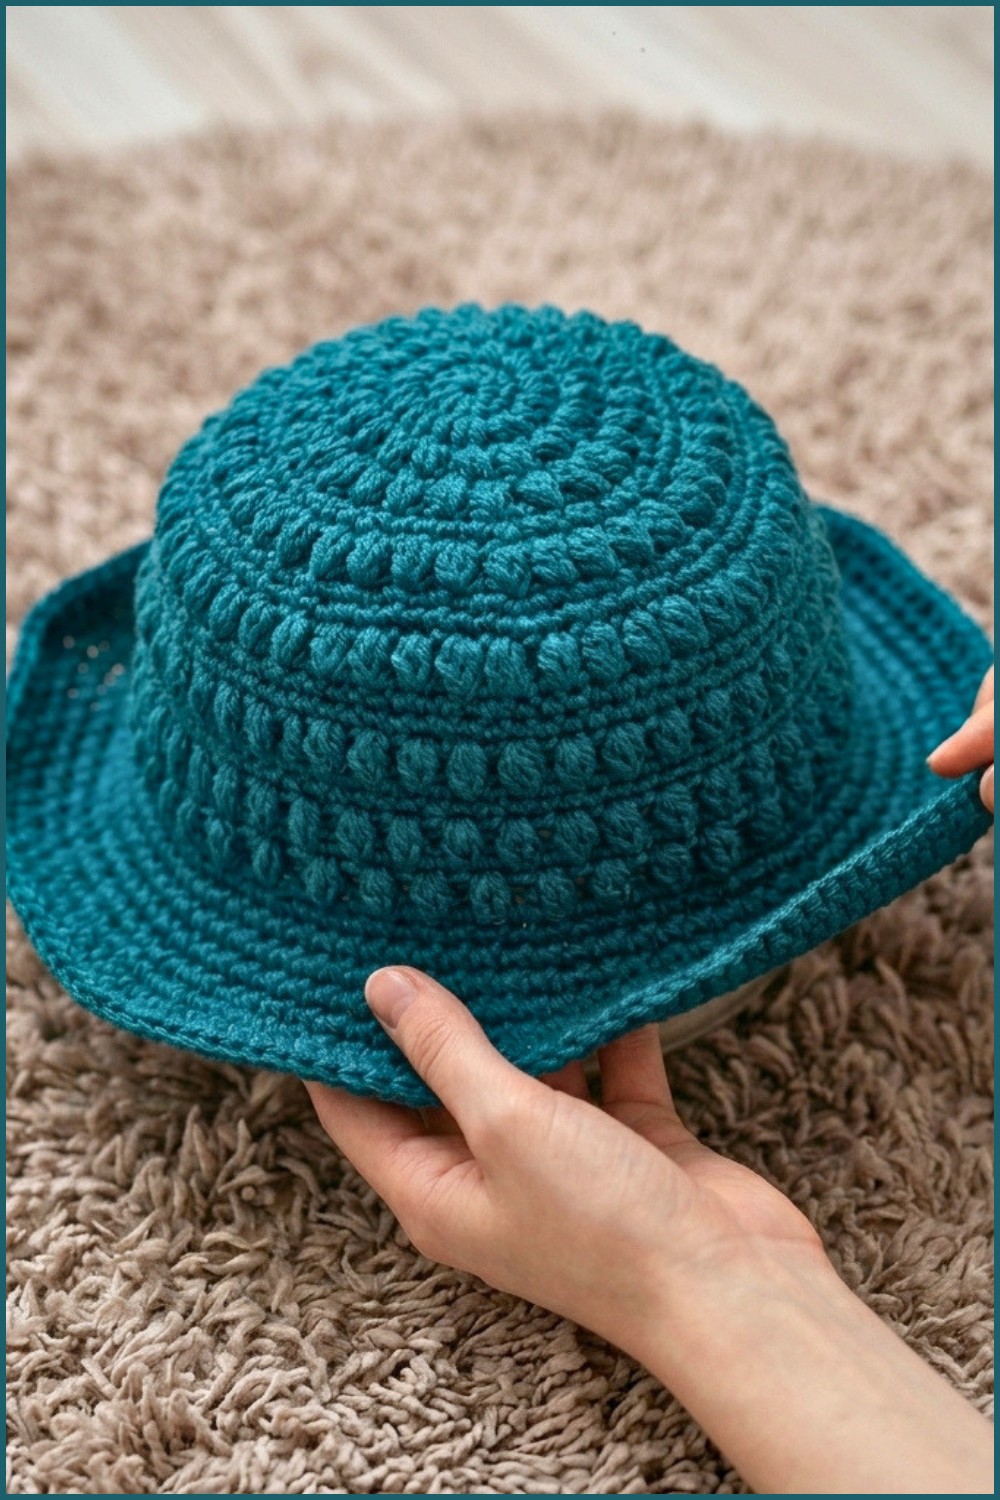
This cowboy hat is made using a crochet hook size 5mm (H) and soft worsted weight yarn. The main stitch you’ll use is the double crochet, which makes the hat grow quickly and gives it a smooth, strong fabric. You’ll crochet in rounds, starting from the top of the hat and working your way out to the brim. The wide brim is shaped by adding extra stitches so it flares out nicely. This project is perfect for beginners who know how to make a chain and a double crochet stitch.
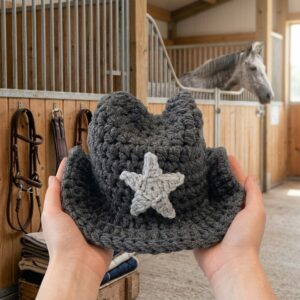
When you finish your cowboy hat, it’s a fun piece to wear or give as a special handmade gift. You can also decorate it with a ribbon or flowers to make it even more unique. Whether you want a hat for dress-up, sun protection, or just for fun, this pattern is easy and enjoyable for everyone.
Crochet Cowboy Hat Pattern
Before You Start
- This versatile cowboy hat is designed in a seamless, continuous rounds fashion.
- The pattern uses simple stitches and repeats, making it ideal for beginners and advanced crocheters alike.
- Single crochet and increases are the primary stitches—no complex techniques required.
- Adjust sizing as needed for dolls, toys, or even larger hats by tweaking the starting chain, yarn, and hook size.
Pattern Notes
- US crochet terminology is used throughout.
- The hat is worked from the crown down and is shaped with strategic increases.
- Rounds are joined as indicated or worked in a spiral; use a stitch marker for clarity.
- The brim is created by gradual increases in later rounds.
- You can adjust the height between crown/base and brim as desired.
How I Made the Crochet Pattern? (Summary)
- Began with a small starting chain, joined it in the round.
- Increased evenly to make the crown of the hat.
- Continued single crochet rounds to add height.
- Used a regular increase pattern to widen for the brim.
- Finished off neatly for a crisp, structured hat.
Skill Level
Beginner to Intermediate
All basic crochet stitches; ideal as a first hat project or as an advanced quick make.
Finished Size
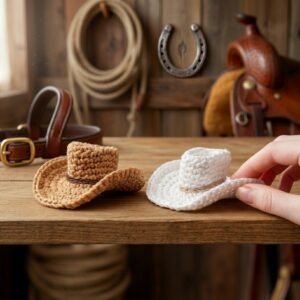
- Mini hat: ~10–12 cm diameter, ~8 cm height
- Ideal for doll cosplay, display, or keychain use. Adjust yarn and hook size for wearable versions.
Materials
- Worsted weight yarn, ~50 g (color of your choice)
- 3.5–4 mm crochet hook
- Scissors
- Yarn needle (for weaving ends)
- Stitch marker (optional, for round tracking)
- Optional: hat-band yarn/felt, charms, or embellishments
Measurements / Sizing (Schematic)
- Crown diameter: grows from 3 cm (R2) to 10 cm (R12)
- Hat height: grows to ~8 cm after R22
- Brim width: increases from R23–R29
- For larger hats, add more rounds and increases, use thicker yarn or larger hook.
Gauge
- Not strictly required for amigurumi or decorative hats.
- For wearable hats: 14 sc x 16 rows = 10x10 cm
- Consistency in tension produces a crisp, structured hat.
Stitch Abbreviations
| Symbol | Name | US Term |
|---|---|---|
| ch | Chain | ch |
| sc | Single Crochet | sc |
| sc2 | Increase (2 sc in st) | inc |
| st(s) | Stitch(es) | |
| (...) | Repeat instructions |
Special Stitches
- Increase (sc2/inc): Work 2 single crochets in one stitch.
- Repeat: Follow instructions within parenthesis for the entire round.
The Pattern!
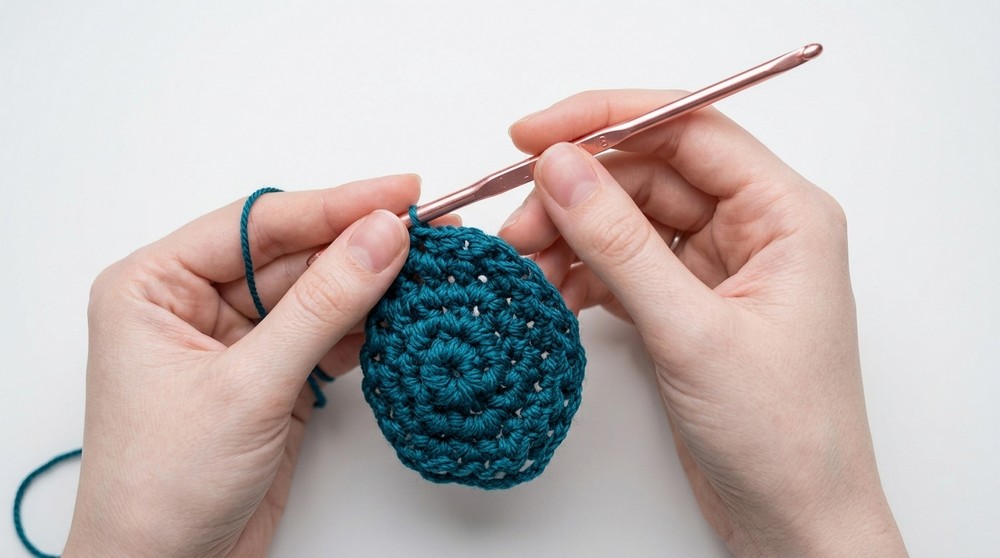
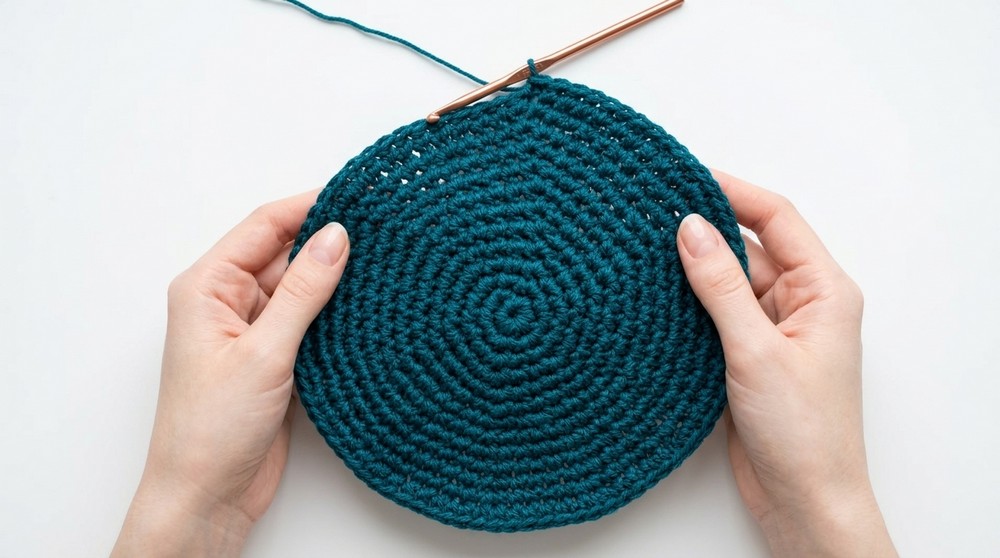
Crown (Top of Hat)
R0: Chain 4, join to form a ring.
This forms the center foundation for your hat.
R1: 6 sc into ring
Begin working 6 single crochets in the ring you formed.
You have now completed the first round and have a small circle—they are the center of the crown.
R2: Increase sc2 in each stitch (12 sts)
Work 2 sc in each st around.
The crown starts to expand evenly from the center.
R3: (sc2, sc) repeat to the end (18 sts)

Work 2 sc in next st, 1 sc in next st; repeat around.
This round continues increasing, growing your hat’s foundation.
R4: (sc2, sc, sc) repeat to the end (24 sts)
Work 2 sc in the first stitch, 1 sc in each of the next 2 stitches; repeat.
The shape is widening more, forming a neat crown.
R5: (sc2, 3 sc) repeat to the end (30 sts)
2 sc in first stitch, 1 sc in next 3; repeat.
Watch your hat gently curve as the increases are placed rhythmically.
R6: (sc2, 4 sc) repeat ... (36 sts; continue pattern as above)
Continue with 2 sc in first stitch, 1 sc in next 4; repeat.
R7: (sc2, 5 sc) repeat ... (42 sts)
Continue with 2 sc in first stitch, 1 sc in next 5; repeat.
R8: (sc2, 6 sc) repeat ... (48 sts)
Continue pattern: 2 sc in first stitch, 1 sc in next 6; repeat.
Continue the pattern:
R9: (sc2, 7 sc) repeat ... (54 sts)
R10: (sc2, 8 sc) repeat ... (60 sts)
R11: (sc2, 9 sc) repeat ... (66 sts)
R12: (sc2, 10 sc) repeat ... (72 sts)
Your hat crown is now nicely widened and gently domed. If you don't read written crochet patterns, just keep making the increases (2 sc in one stitch, then more single crochets after each increase) as shown.
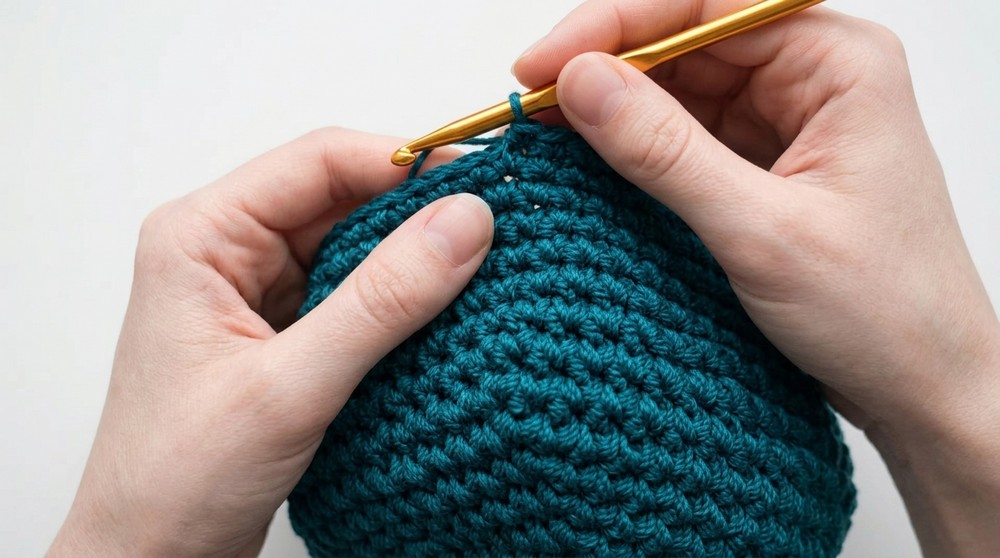
Hat Height (Sides of Hat)
R13 – R22: sc in each stitch around
Work plain single crochet in every stitch for 10 rounds.
This builds the height of your hat, preparing the way for the brim.
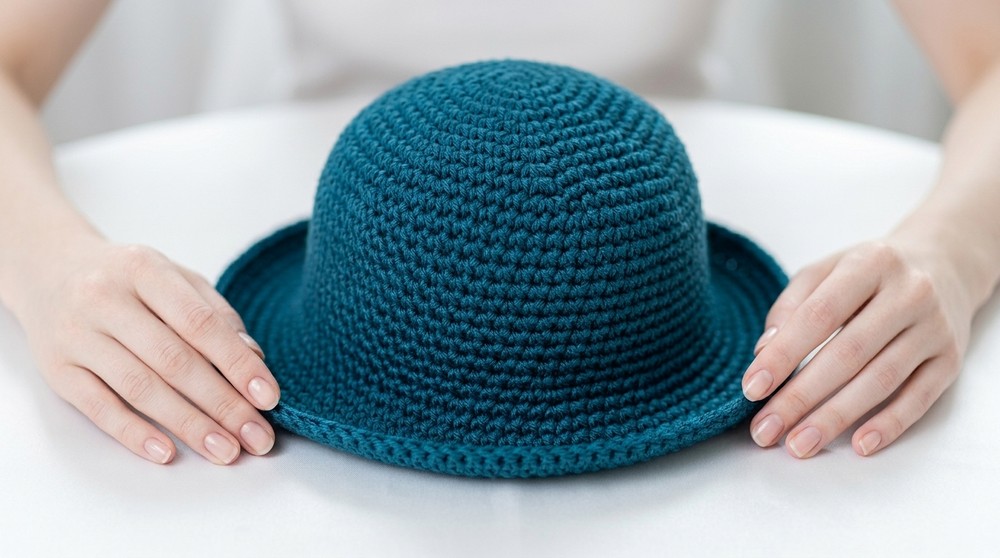
Brim (Wide Band of Hat)
R23: (sc2, 11 sc) repeat ...
Work 2 sc in the first stitch, then single crochet in the next 11 stitches; repeat pattern around.
Continue pattern for wide brim expansion:
R24: (sc2, 12 sc) repeat ...
R25: (sc2, 13 sc) repeat ...
R26: (sc2, 14 sc) repeat ...
R27: (sc2, 15 sc) repeat ...
R28: (sc2, 16 sc) repeat ...
R29: (sc2, 17 sc) repeat …
Each round widens the brim, giving your hat that classic cowboy look. If you don’t follow detailed patterns, always do two single crochets in one stitch as an increase, then single crochet in the indicated number of stitches before repeating.
End of Pattern
Fasten off and weave in all ends carefully on the inside. If making a stiff hat for display, lightly wet-block and shape. For a soft hat, stuff gently or leave unstructured.
Assembly & Finishing
- Shape your hat gently with hands after finishing.
- Attach any hat-band or decorative charms.
- For added stiffness, use starch or insert wire along the brim.
- Weave in ends tightly and hidden.
Solution of Problem
Problem: Brim waves or curls.
Solution: If brim curls, block the hat or gently steam and press the brim flat. If it waves, try tighter stitches or fewer increases.
What You Can Make Using These Stitches
- Doll-sized cowboy hats
- Western-style décor hats for toys or ornaments
- Large hats (adjust size for human wear)
- Costume accessories for themed parties
- Fun, decorative hats for pet wear
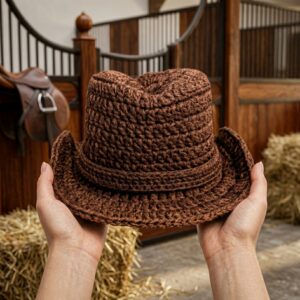
Conclusion
You’ve just completed a classic crochet cowboy hat that captures rustic charm and playful flair! The pattern is structured around simple increases and single crochets, allowing you to start small and expand as the hat builds. From doll hats to larger playful accessories, this pattern can be customized in color, size, or embellishment. Practice these basic rounds, and you’ll find endless possibilities for this stitch pattern—from hats and bags to baskets and more.