
A perfect beach day isn’t just about the waves, it’s also about staying stylish and protected under the sun. Lightweight and breathable, a crochet beach bucket hat offers just the right amount of shade for your face, all while adding a touch of flair to your favorite swimsuits, sundresses, or casual outfits.
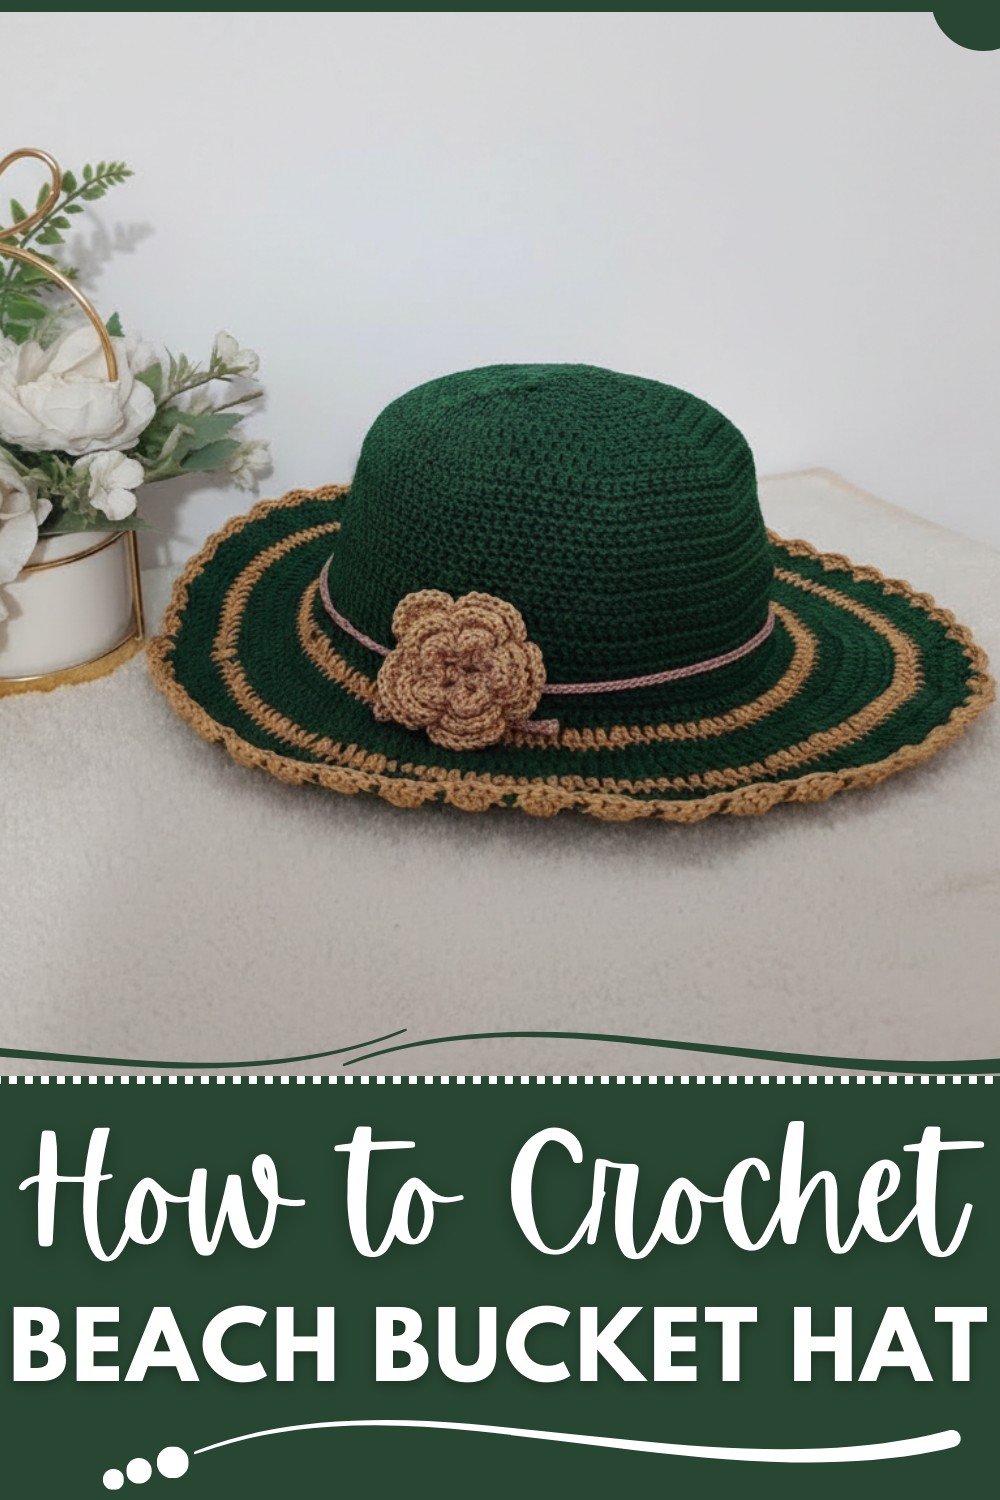
Whether lounging by the shore, exploring coastal towns, or enjoying a sunny picnic, this hat blends function and style seamlessly. The free pattern is easy to follow, making it a great choice for beginners or a relaxing project for seasoned crocheters. It’s a simple way to add a personal twist to warm-weather outings.
Best Crochet Beach Hat Pattern to Up Your Summer Look
Materials
- Yarn:
- Soft cotton yarn with a slight sheen for a lightweight and breathable hat.
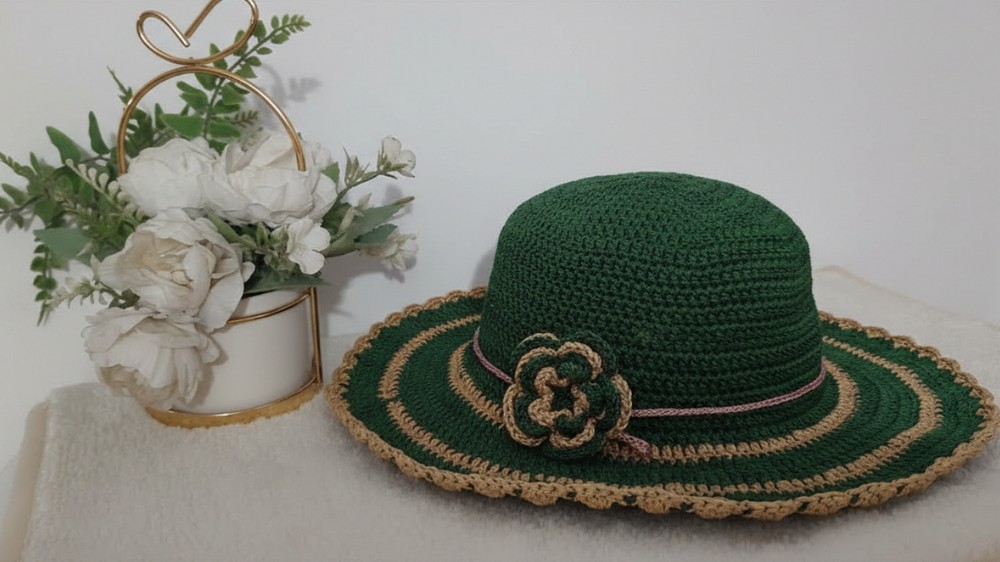
- Main Color: Vintage Green.
- Contrast Color: Pure Beige.
- Approximately 150–200g total, depending on hat size.
- Hook:
- 3mm crochet hook or size appropriate for your yarn.
- Optional Decoration:
- Optional chain cord for finishing.
- Optional flower embellishment (instructions linked below).
- Supplies:
- Scissors.
- Stitch markers (optional for row tracking).
- Tapestry needle (for weaving in ends).
Gauge
- 21 stitches x 10 rows = 4 inches in double crochet (DC).
Crochet Ocean-Inspired Bucket Hat Pattern
This stylish and easy-to-make bucket hat is perfect for sunny days by the beach. It features simple double crochet stitches, a subtly textured brim, and optional decorative elements for customization.
Finished Size
- Crown Diameter: Approx. 6 inches (flat circle).
- Hat Height: Approx. 8 inches.
- Brim Width: Approx. 3 inches.
Adjust based on head measurements for a snug fit.
Abbreviations (US Terminology)
- CH: Chain
- DC: Double Crochet
- SL ST: Slip Stitch
- ST: Stitch
- Rep: Repeat
- Magic Circle: Adjustable loop to start a circular project.
Notes
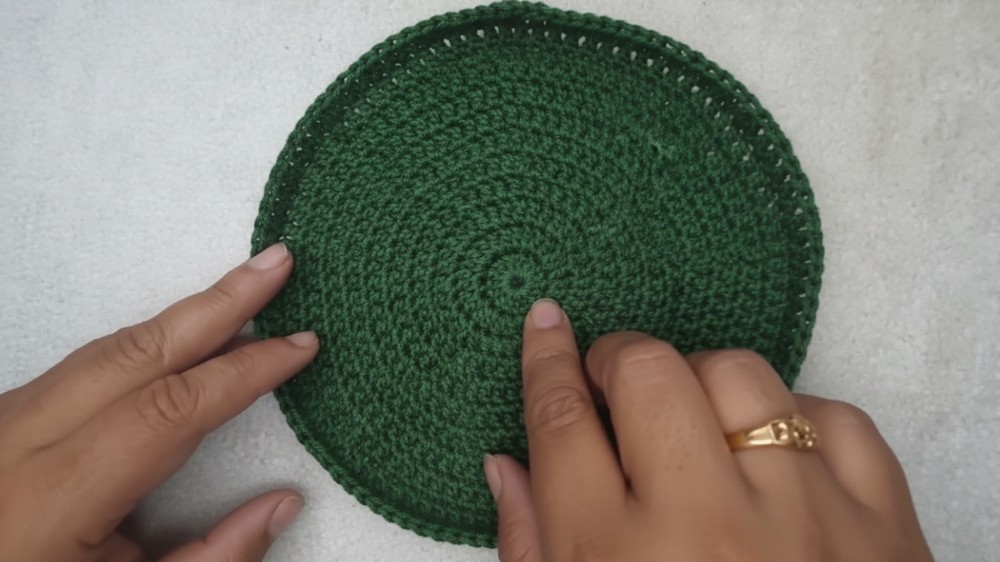
- Flat Circle Technique: The hat starts with a flat circle formed with consistent increases in each round. If the circle becomes wavy, reduce the frequency of increases. If it cups, increase stitches more often.
- Fit Adjustment: Check hat dimensions frequently by placing it on your head as you work.
- Customization: This hat can be styled with various colors, decorative edges, or added embellishments like flowers or tassels.
- Optional Flower: Add a simple crochet flower for decorative flair, or skip the embellishment for a minimalist look.
Pattern Instructions
Step 1: Crown – Create the Flat Circle
- Start with a Magic Circle:
- Make a Magic Circle and secure with CH 1.
- Round 1:
- CH 3 (counts as 1 DC), work 14 DC into the magic circle (total: 15 stitches).
- Pull the magic circle tight and join with a SL ST to the top of the CH 3.
- Round 2:
- CH 3 (counts as 1 DC).
- Work 2 DC in each stitch around (total: 30 stitches).
- Join with a SL ST to the top of the CH 3.
- Round 3:
- CH 3 (counts as 1 DC).
- Work 2 DC in the first stitch, then 1 DC in the next stitch.
- Rep around (total: 45 stitches).
- Join with a SL ST.
- Rounds 4–11:
- Continue increasing every round by spacing the increases evenly:
- For Round 4: 2 DC in one stitch, then 1 DC in the next two stitches (total: 60 stitches).
- For Round 5: 2 DC in one stitch, then 1 DC in the next three stitches (total: 75 stitches).
- Follow this pattern, inserting 1 additional DC between increases in each subsequent round, until you reach 108 stitches at Round 11.
- Continue increasing every round by spacing the increases evenly:
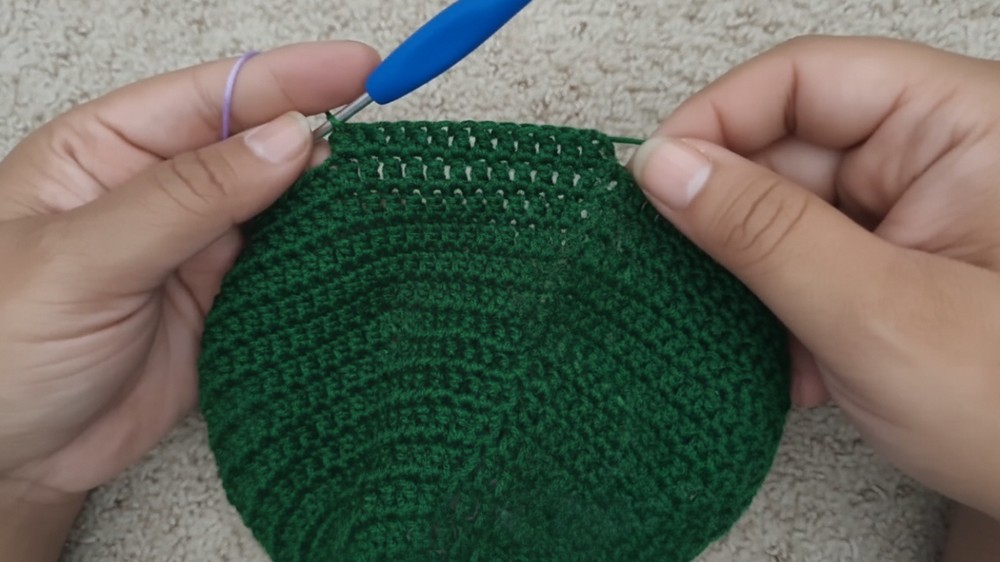
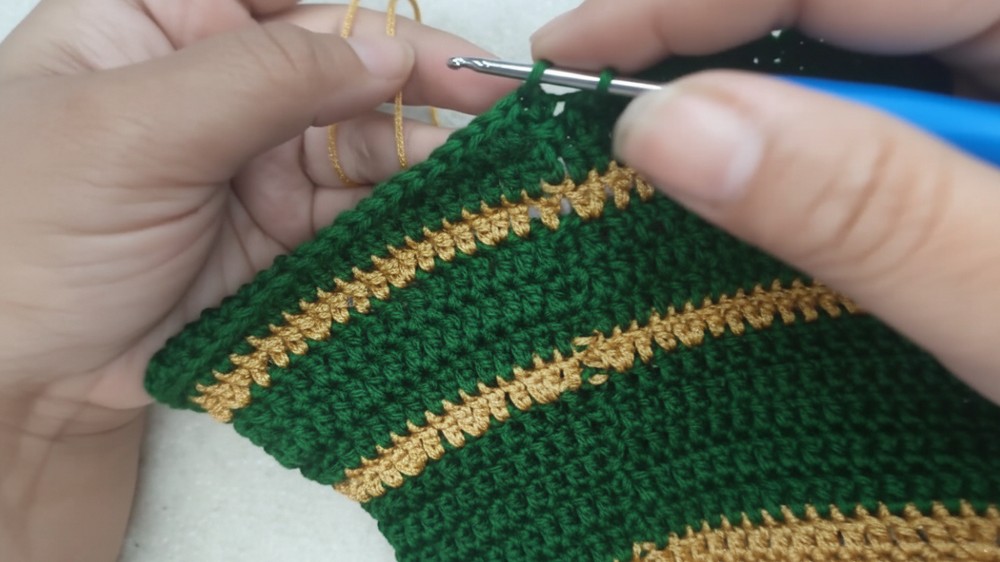
Step 2: Side Walls
- Rounds 12–14:
- Work 1 DC in each stitch around (total: 108 stitches per round).
- No increases; this forms the straight side walls of the hat.
- Join each round with a SL ST at the end.
- Round 15 (Increase Round):
- CH 3 (counts as 1 DC).
- Work 11 DC, then 2 DC in the next stitch (increase).
- Rep this pattern around the round: 11 DC, 2 DC in 1 stitch.
- Total: 120 stitches.
- Rounds 16–20:
- Work 1 DC in each stitch around.
- Check fit by placing the hat on your head. Adjust the number of rounds based on desired side wall height.
Step 3: Brim
- Round 21 (Increase Round):
- CH 3 (counts as 1 DC).
- Work 2 DC in the first stitch, then 1 DC in the next two stitches.
- Rep around the round: 2 DC in 1 stitch, 2 DC in each of the next stitches.
- Total: 128 stitches.
- Rounds 22–24:
- Work 1 DC per stitch across all stitches in each round.
- Round 25 (Increase Round):
- CH 3 (counts as 1 DC).
- Work 3 DC, then 2 DC in the next stitch (increase).
- Rep: 3 DC, 2 DC in the same stitch across the round.
- Rounds 26–28:
- Work 1 DC per stitch across all stitches in each round.
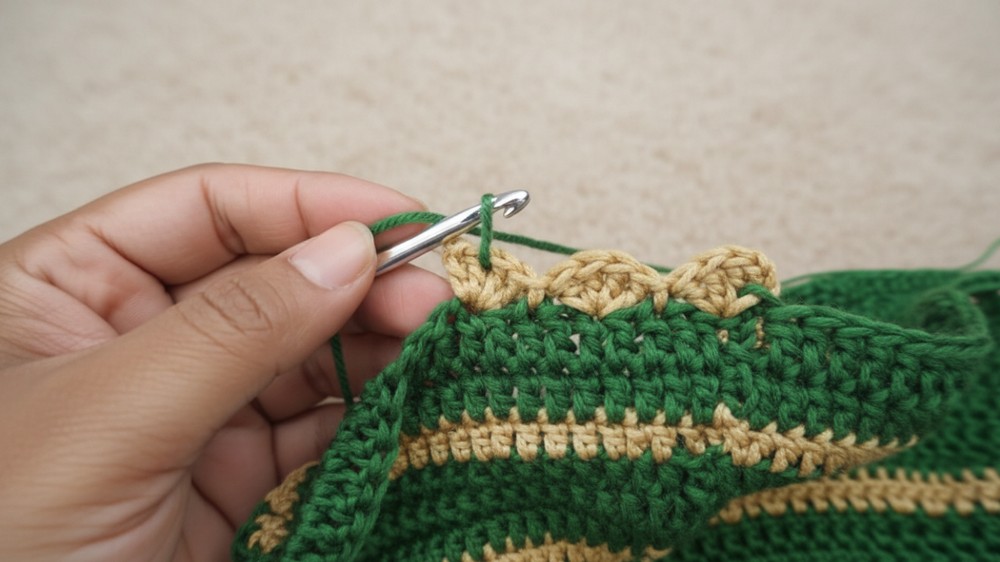
Step 4: Border/Edging
- Attach Contrast Color:
- Join dark purple yarn with a SL ST at the start of the round.
- Decorative Border:
- CH 3 (counts as 1 DC).
- Work 4 DC in the same stitch, then skip 1 stitch and SL ST into the next stitch.
- Rep: 4 DC in the next stitch, skip 1 stitch and SL ST into the next stitch.
- Continue this pattern all the way around the brim for a textured scalloped edge.
Tips for Success
- Check Fit Often: Lay the hat flat and ensure the crown remains flat and the sidewalls are straight as you work. Try it on to adjust the height and brim width.
- Secure Joins: Tighten all slip stitches to ensure seamless transitions between colors.
- Storing Tail Ends: Weave in ends securely with a tapestry needle for a professional finish.
Optional Add-ons
- Chain Cord:
- Create a chain consisting of 150 CH stitches or as long as desired. Weave it loosely through the base of the hat for style or securing in place.
- Flower Decoration:
- Add a crochet flower to elevate the hat’s visual appeal. You can find an easy tutorial for a 5-petal flower in the creator’s previous videos. Recommended placement: On one side above the brim.
- Personalization:
- Add beads, buttons, or embroidery designs to the sides or brim.
Conclusion
This Ocean-Inspired Bucket Hat is versatile, effortlessly stylish, and perfect for sunny outings. Its simple pattern makes it a fun project for beginners and a quick gift idea for experienced crocheters. With its adaptability in size, color, and embellishments, it’s easy to make this hat uniquely yours.


