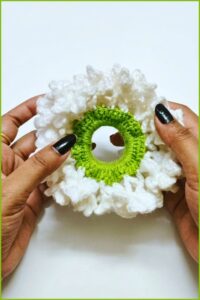
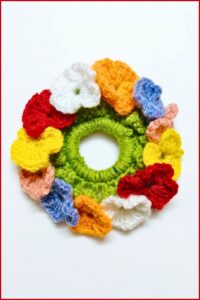
Lift your ponytail charm instantly through this free crochet 3D flower scrunchie pattern boasting bold floral details and reliable elasticity.
If you want to create a stylish and useful accessory, a crochet flower scrunchie is a great choice. This beautiful scrunchie features a raised 3D flower design that adds a lovely touch to any hairstyle. The step-by-step tutorial from WOWSUPRAVA makes it easy for crocheters of all levels to follow and complete this charming project.
The free crochet 3D Flower Scrunchie pattern allows you to make a unique hair accessory that looks both elegant and fun. The flower’s 3D effect gives the scrunchie a nice texture and an eye-catching look. This versatile scrunchie can be worn every day or saved for special occasions, matching well with many outfit styles.
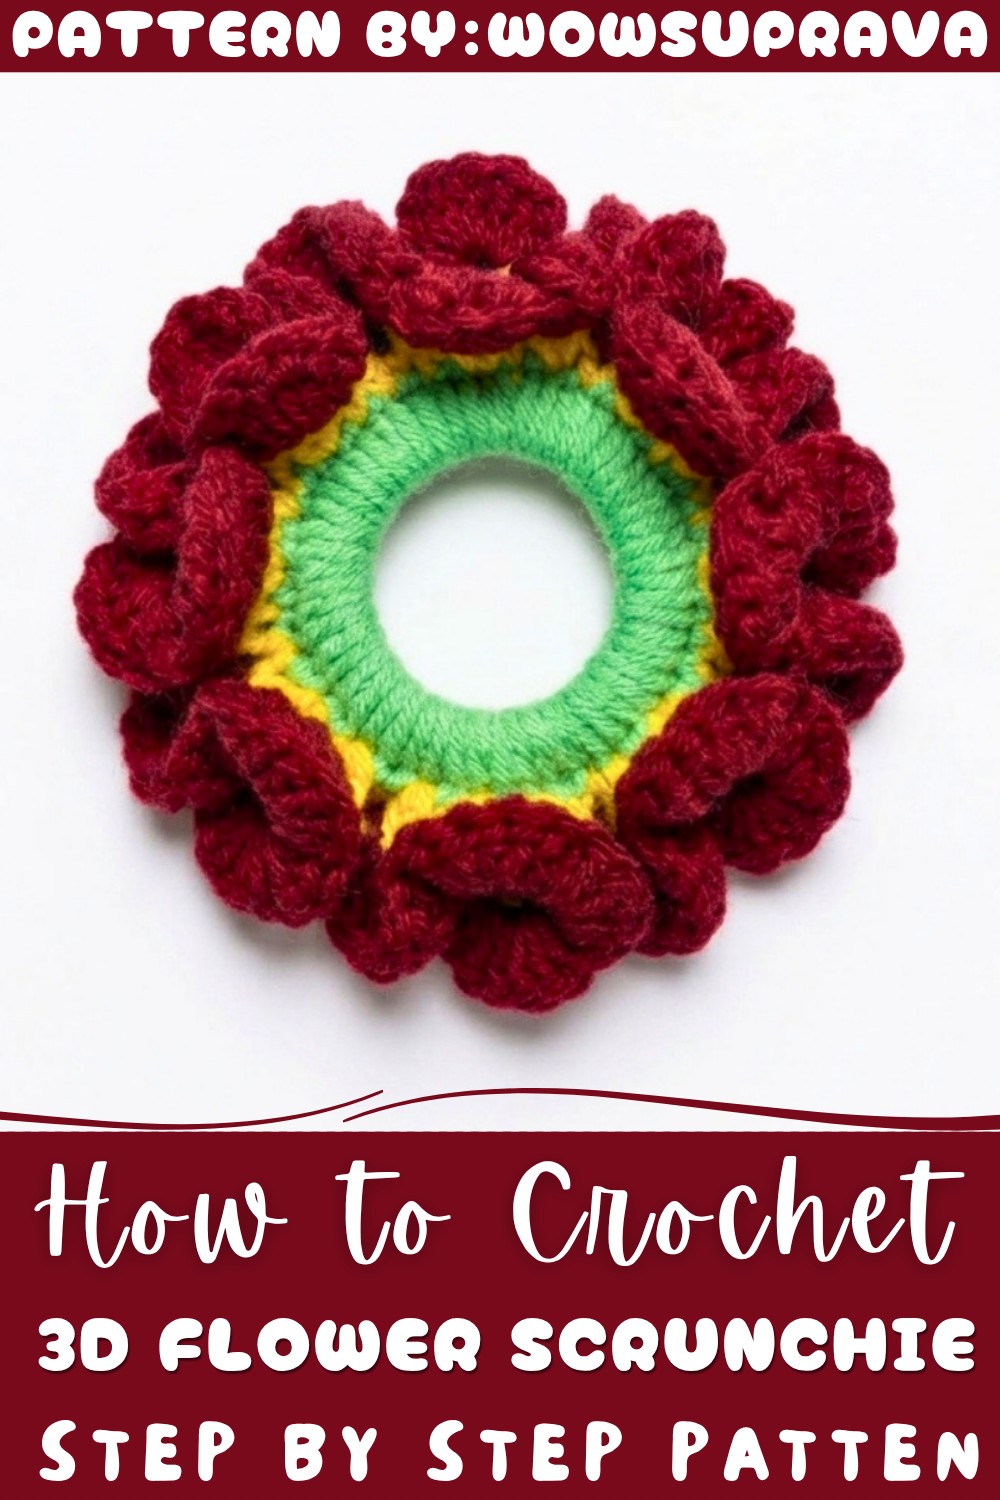
Free Crochet 3D Flower Scrunchie Pattern for Soft and Secure Hold
Besides being a pretty accessory, this scrunchie also works well as a handmade gift. Its thoughtful design shows care and effort, making it a meaningful present for friends or family. You can also wear it around your wrist as a cute bracelet when it’s not in your hair, adding extra charm to your outfit.
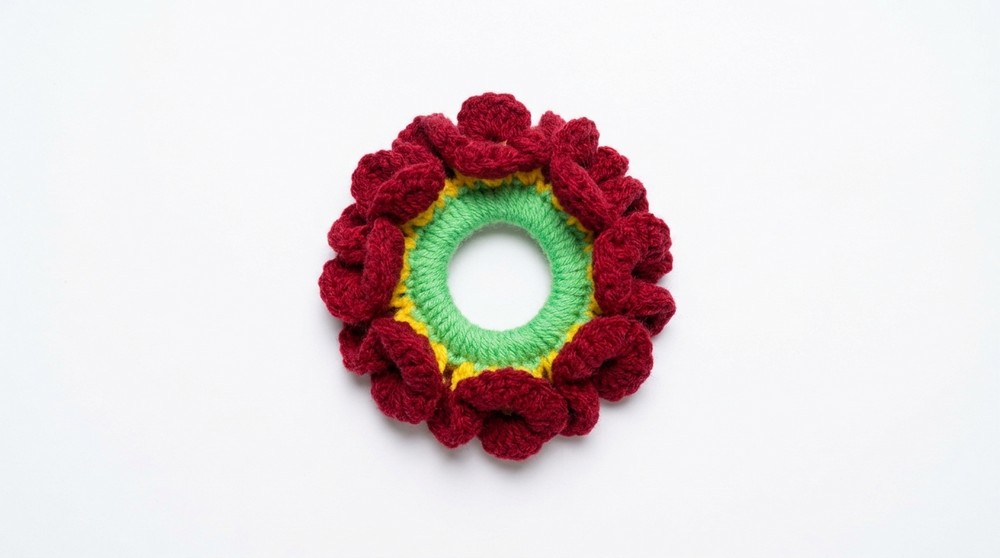
This pattern is perfect if you want to make something that is both useful and beautiful. The free crochet 3D Flower Scrunchiepattern is simple to follow and lets you create a lovely accessory that you can enjoy or share with others. It’s a wonderful way to bring a bit of handmade beauty into your everyday life.
Crochet 3D Flower Scrunchie: Detailed Step-by-Step Pattern
This pattern guides you through creating a stunning 3D Flower Scrunchie with beautifully textured floral accents. Using three colors of yarn and a simple set of crochet techniques including single crochet, double crochet, and chain stitches, you will craft a charming hair accessory that blends elegance with practicality. This scrunchie not only looks intricate with its flower details but is soft and comfortable to wear.
Quick Overview of Pattern
The scrunchie is built in three main parts:
- Base Foundation — a tightly crocheted single crochet round covering the hair elastic fully.
- V-Stitch Base Layer — a round of alternating double crochets and chain spaces creating the ‘V’ shapes which act as flower anchors.
- 3D Flowers — petals formed by groups of double crochets worked into the ‘V’ spaces, creating a dimensional floral surface around the scrunchie.
Notes
- Keep stitches close together in the base round to prevent any rubber band exposure.
- Use consistent tension when working the V-stitch round so the foundation stays flexible but secure.
- When making flower petals, maintain even stitch height for balanced 3D blooms.
- Use a stitch marker to mark rounds if desired to help maintain stitch counts and pattern continuity.
- Secure yarn ends thoroughly when finishing to ensure the flowers stay intact with wear and washing.
Skill Level
Best suited for intermediate beginner crocheters who are comfortable with:
- Single crochet (SC)
- Double crochet (DC)
- Chain stitches (CH)
- Slip stitch (SL ST)
- Working in rounds around an elastic base
- Basic color changes and attaching yarn smoothly
Materials
- Three colors of yarn (pluck your favorite coordinating shades for base, V-stitch, and flowers)
- Hair rubber band (elastic)
- 3.5 mm crochet hook
- Yarn needle
- Scissors
Measurements / Sizing
- Scrunchie comfortably fits around a standard hair rubber band approximately 4–5 cm in diameter when not stretched.
- Overall diameter with flowers is approximately 8–10 cm, depending on flower fullness and yarn thickness.
Gauge and Stitch Pattern
- Gauge is flexible but aim for:
- Tightly worked single crochet stitches in the base round to fully cover the rubber band.
- Looser V-stitch bases that create open chain-2 spaces for flower petals attachment.
- This pattern employs simple rounds worked continuously with joins using slip stitches.
Stitch Abbreviations
- CH = Chain
- SC = Single Crochet
- DC = Double Crochet
- SL ST = Slip Stitch
Special Stitches
V-Stitch
- A combination where you work:
- 1 DC, CH 2, 1 DC all in the same stitch or space, creating a V shape.
The Crochet Pattern!
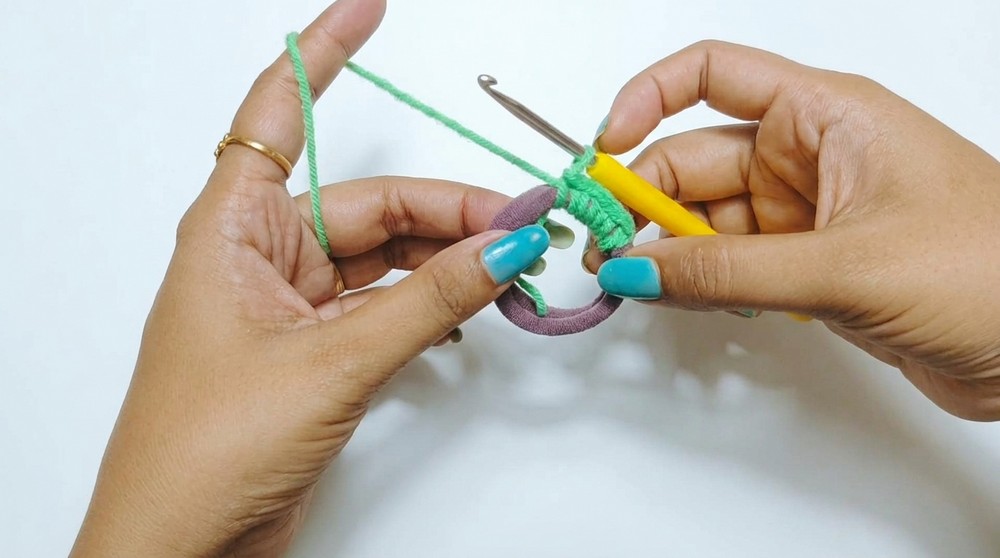
1. Base Foundation
- Attach first yarn color securely to the rubber band with a knot.
- Insert your hook under the rubber band and work 47 single crochet (SC) stitches evenly around it.
- Keep stitches close together to fully cover the elastic without gaps. Pull each stitch snug but not too tight to maintain flexibility.
- After completing 47 SC around, join with a slip stitch (SL ST) to the first SC to close the round.
- Cut and secure the yarn if desired or leave it attached for the next step.
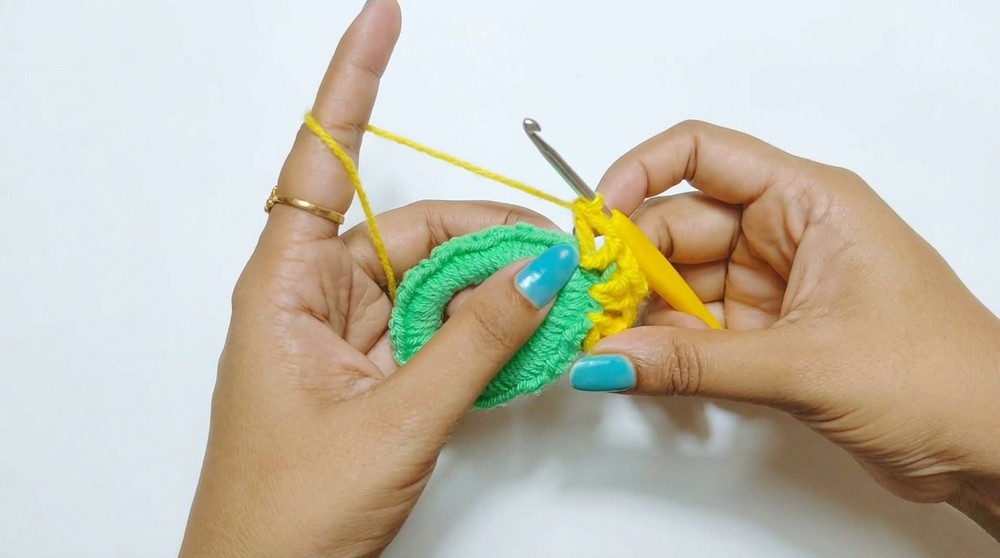
2. Creating the V-Stitch Base
- Attach your second color yarn with a slip knot at any stitch of the base foundation.
- Chain 3 — this counts as your first double crochet (DC).
- Chain 2 to create the chain space. You now have 5 chains total (chain 3 + chain 2).
- Work another double crochet (DC) into the same stitch you joined to — this completes the first V stitch (DC, CH 2, DC).
- Skip one stitch on the base, then work the next V stitch in the following stitch by doing: DC, CH 2, DC.
- Repeat this skip 1 stitch, V stitch into next pattern all around the base foundation.
- Join with a slip stitch (SL ST) to the top of the initial chain-3 to close the round.
- Fasten off and prepare for flower attachment.
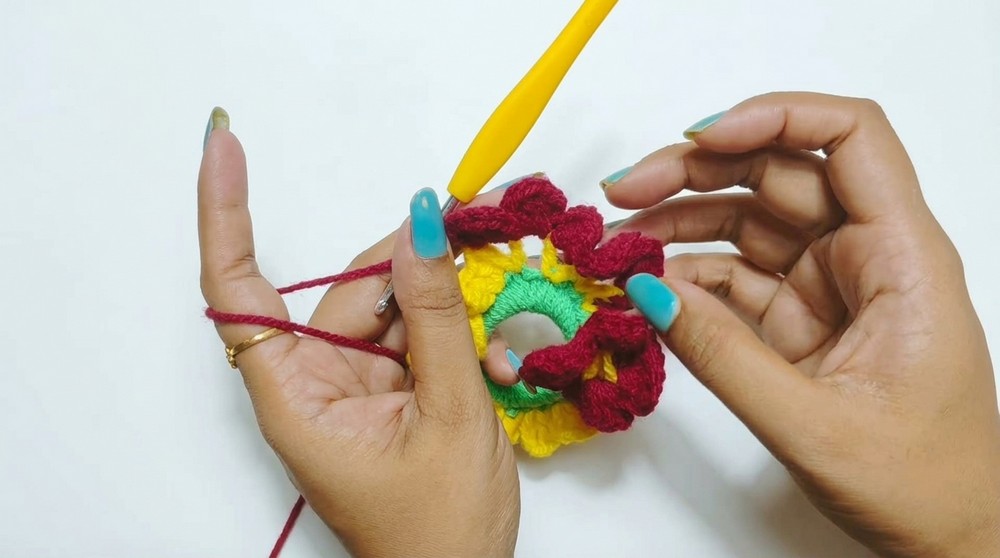
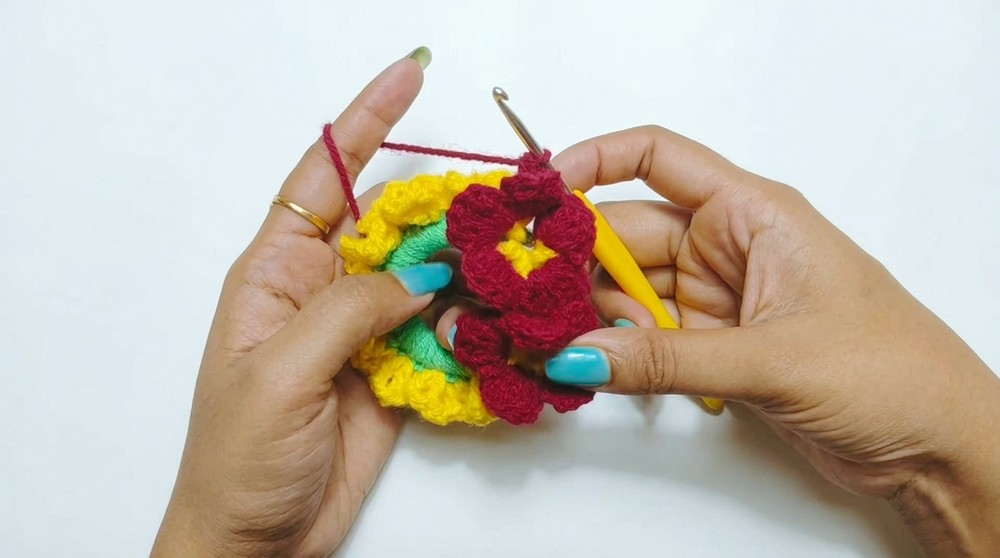
3. Crocheting the Flowers
- Attach the third color yarn into any chain-2 space (the V stitch’s chain space) to start a flower.
- Work 1 single crochet (SC) into the chain space.
- Chain 1 to initiate the first petal.
- Crochet 4 double crochets (4 DC) into the same chain space, building a petal shape.
- Chain 1 to close the petal, then work 1 single crochet (SC) in the same space.
- This completes one flower petal.
- Repeat this entire petal formation 5 times back to back in the same chain space to form a full flower with five petals.
- After completing 5 petals, turn and join with a slip stitch (SL ST) into the initial single crochet to secure the flower shape.
- Fasten off or continue to the next flower directly if working in continuous rounds.
4. Joining and Finishing
- To position the next flower, work single crochets (SC) along the double crochets and chain spaces from the previous V-stitch round, moving the yarn over to the next chain-2 space where a flower will be attached.
- In each subsequent chain-2 space, repeat the flower petal pattern described in Step 3.
- Continue this process until every V stitch around the scrunchie has a flower attached.
- Once all flowers are completed, fasten off the yarn securely.
- Weave in all yarn ends neatly using a yarn needle, hiding them between the flower bases and the scrunchie foundation to maintain durability and a clean finish.
Assembly & Finished Size
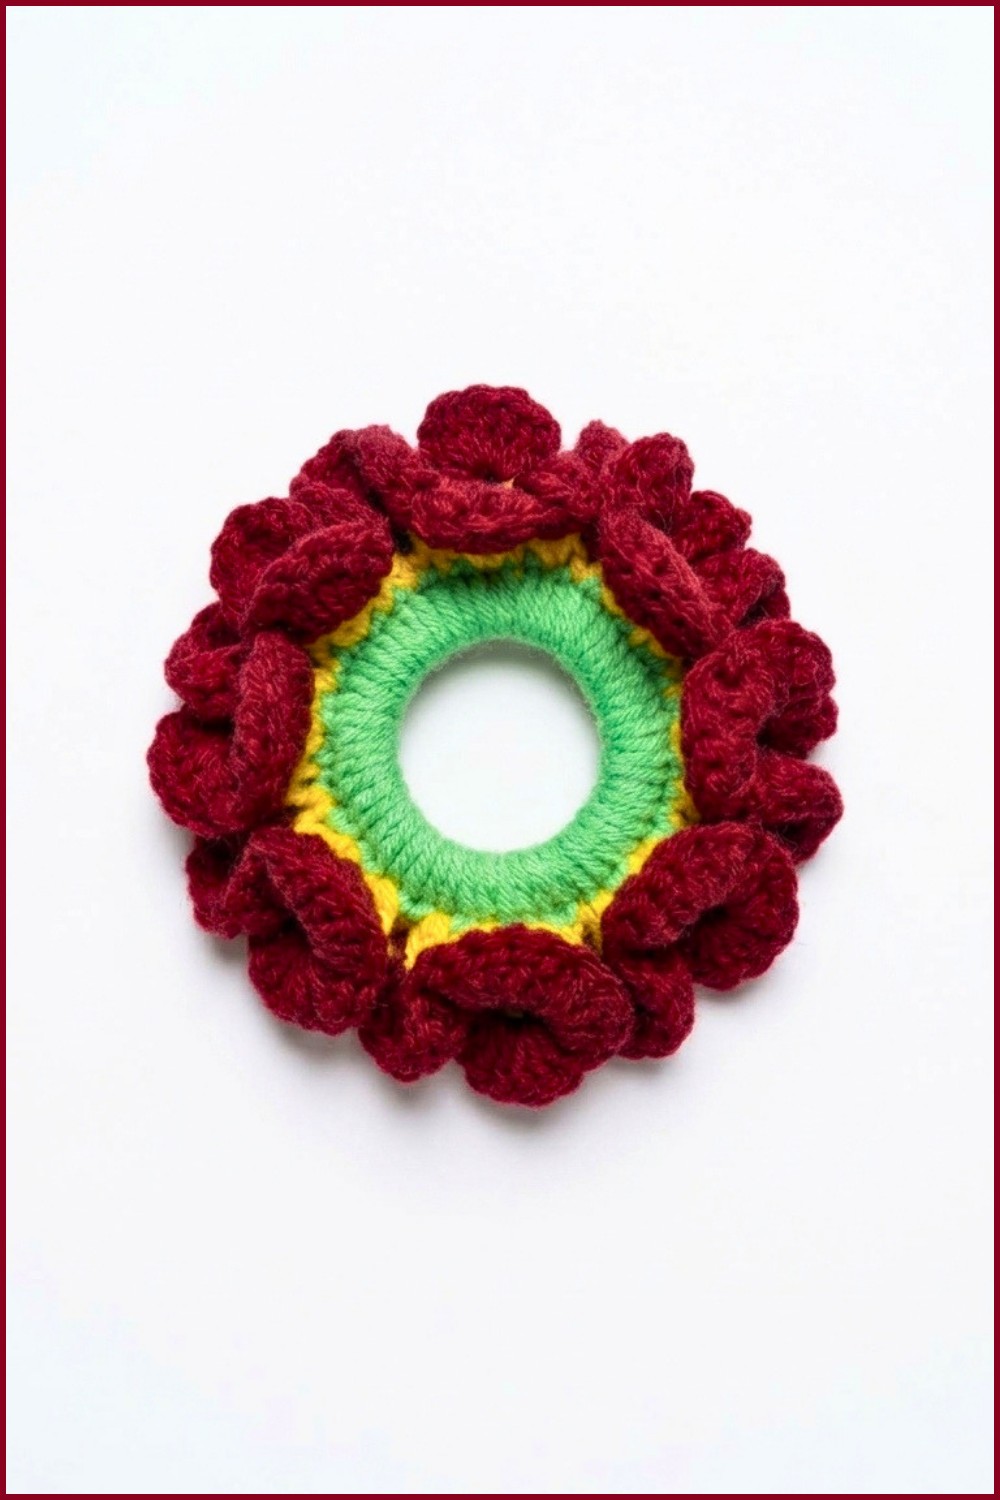
- Once assembled, your scrunchie will have a plush, 3D floral texture encircling the hair tie.
- The base ensures a snug fit around the hair with elastic comfortably hidden by the yarn.
- Flowers add volume and dimension, making the scrunchie stand out as a decorative accessory.
- The finished diameter typically ranges between 8 and 10 cm, offering a balance of fullness without bulkiness.
Conclusion
This 3D Flower Scrunchie pattern provides a beautiful and functional accessory elevated by its textured floral design. It combines straightforward stitches with creative assembly to yield an impressive handmade piece suitable for gifting or personal use. The project encourages skill development in working with multiple colors, stitch combinations, and shaping while producing a charming result. With attention to yarn tension and finishing, this scrunchie will be a durable, stylish addition to any wardrobe.