
Find timeless charm and style with our free Crochet Vintage Cloche Hat Pattern—perfect for a unique, sophisticated addition to any wardrobe.
This elegant accessory, inspired by the early 20th century, adds a touch of sophistication to any wardrobe. Ideal for keeping warm on cool days or making a fashionable statement, the vintage cloche hat suits a variety of outfits and occasions. Pair it with a lovely vintage style poncho to make a stunning warm combo and look more stylish and trendy. Crocheting this hat allows you to hone your skills and enjoy the therapeutic benefits of a creative hobby.
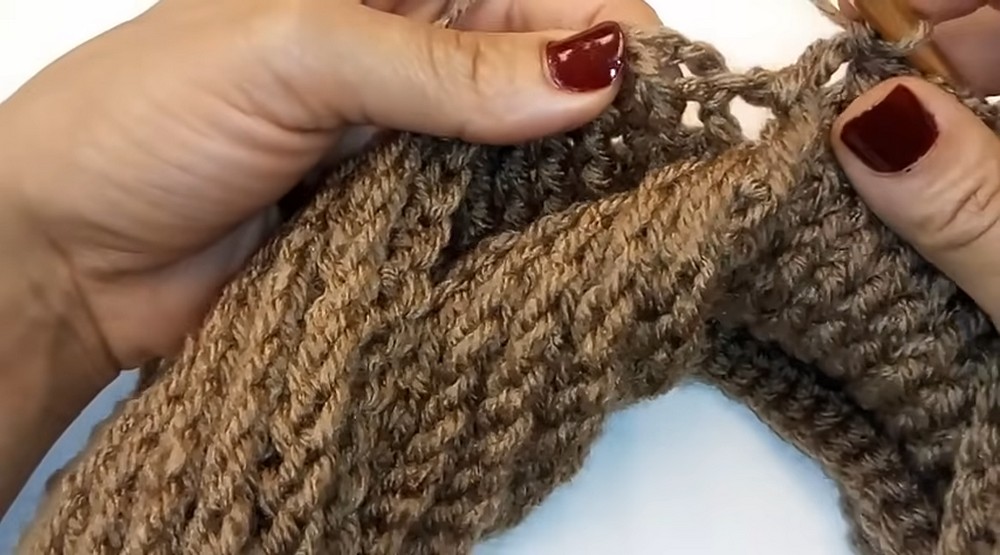
Crochet Vintage Cloche Hat

Plus, it's a wonderful project for making personalized gifts that will be cherished by friends and family. With this pattern, even beginners can achieve stunning results.
Tip:
Choose high-quality yarn in your favorite color for a more luxurious feel and a better fit. This attention to detail will make your cloche hat a standout piece, admired by everyone who sees it.


Materials Needed
- 6 mm crochet hook
- Red Heart Super Saver yarn in the color Latte
Step 1: Starting the Foundation Chain
- Begin by making a slipknot.
- Chain 65 stitches.
- Ensure the chain is not twisted.
Step 2: Creating the Mobius Twist
- To create the Mobius twist, straighten out your chain.
- Twist the chain so that the back, with the little lumps, is facing you.
- Slip stitch to join into the first chain.
Step 3: First Round: Single Crochet
- Chain 1 and single crochet into the same space.
- Single crochet into each stitch around.
- Continue to single crochet around until you reach where you started.
Step 4: Transition to Bottom of Work
- Due to the twist, you should now be at the bottom of the work.
- Continue single crocheting into each stitch around until you get back to your starting point.
Step 5: Front Post Double Crochet Round
- Switch to front post double crochet (FPDC) into each single crochet stitch around.
- Yarn over, insert hook around the post of the single crochet, and complete the double crochet.
Step 6: Repeating FPDC Rounds
- Continue to do FPDC into each stitch around for a total of 14 rounds.
- Each round should show the characteristic ridges of FPDC.
Step 7: Preparing to Close the Top
- Ensure all twists focus around the working yarn.
- Count back 65 stitches from the working yarn and mark.
- Slip stitch to join the top edges to start closing the top of the hat.
Step 8: Reducing to Close the Top
- Row 1 of Decrease:
- Chain 2.
- Front post double crochet into the first 4 stitches.
- Combine the next 2 stitches with an FPDC.
- Continue with this pattern around.
- Row 2 of Decrease:
- Chain 2.
- FPDC into the first 3 stitches.
- Combine the next 2 stitches with an FPDC.
- Continue this pattern around.
- Row 3 of Decrease:
- Chain 2.
- FPDC into the first 2 stitches.
- Combine the next 2 stitches with an FPDC.
- Continue this pattern around.
- Row 4 of Decrease:
- Chain 2.
- FPDC into the first stitch.
- Combine the next 2 stitches with an FPDC.
- Continue this pattern around.
- Final Row of Decrease:
- FPDC decrease all stitches together until the top is almost fully closed.
Step 9: Single Crochets to Finish Closing the Top
- Chain 1.
- Single crochet together the next 5 stitches.
- Pull through all 6 loops to cinch the top closed.
- Continue this method around for the final round.
Conclusion
- Fasten off your work and weave in any loose ends.
- Admire your finished vintage-inspired cloche hat!


