Add a splash of charm to your hairstyle with our free crochet hair bows pattern perfect for creating cute and stylish accessories for all ages.
This lovely accessory, made with soft yarn and careful stitches, finishes with a charming, delicate bow perfect for any occasion. Thanks to the clear and friendly guide from Mônica Moda Crochê, anyone can create this stylish piece with ease. The video shows how to make a beautiful bow that looks neat and professional, giving you a sense of pride in wearing or gifting it.
Free Crochet Hair Bows Pattern | Easy & Cute Accessories
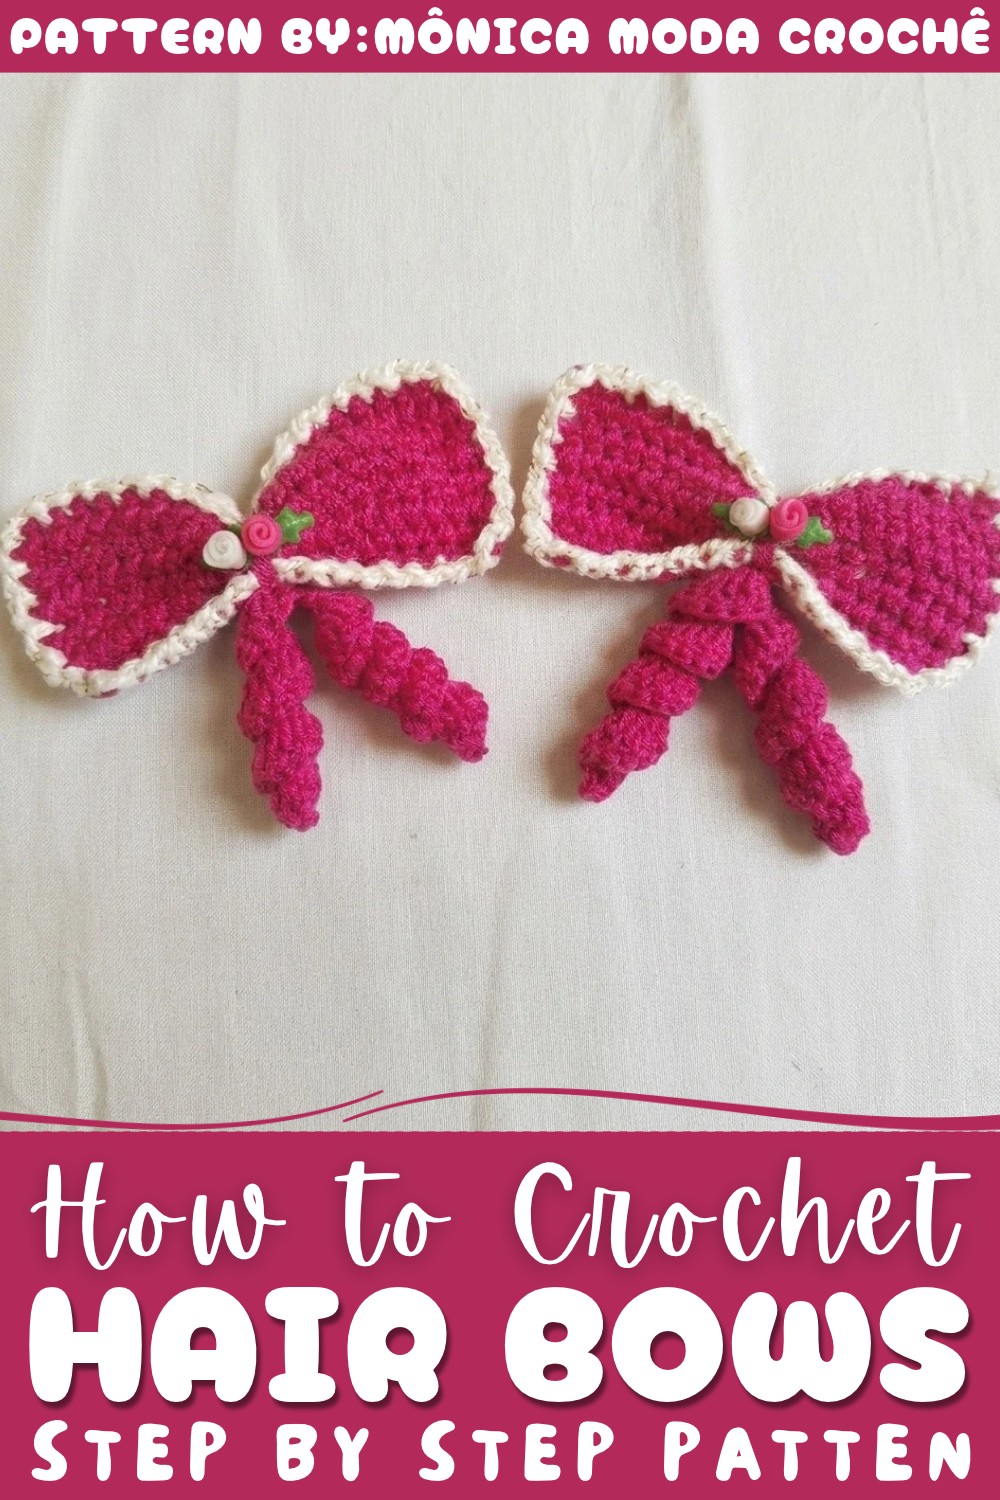
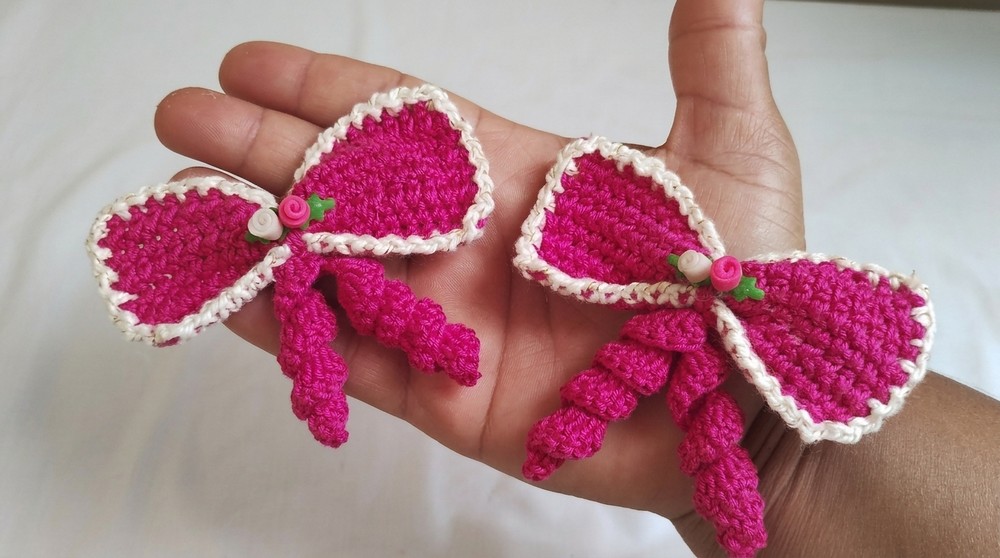
The bow has a wonderful firm shape with a smooth texture and a graceful curling ribbon effect that adds extra detail and beauty. Its simple, classic design fits well with all hair types and sizes, making it a versatile addition to daily wear or special events. The bow fastens easily with a clip on the back, which is strong and holds well, allowing it to stay in place comfortably all day.
Using quality threads in pretty colors adds sparkle and shine, while the option to add a small bead or decoration on the front makes each bow unique. This project is excellent because it is quick to make, needs only simple tools, and results in a strong, long-lasting hair accessory. The structured shape and well-joined edges give the bow an attractive finish that stands out with elegance and charm.
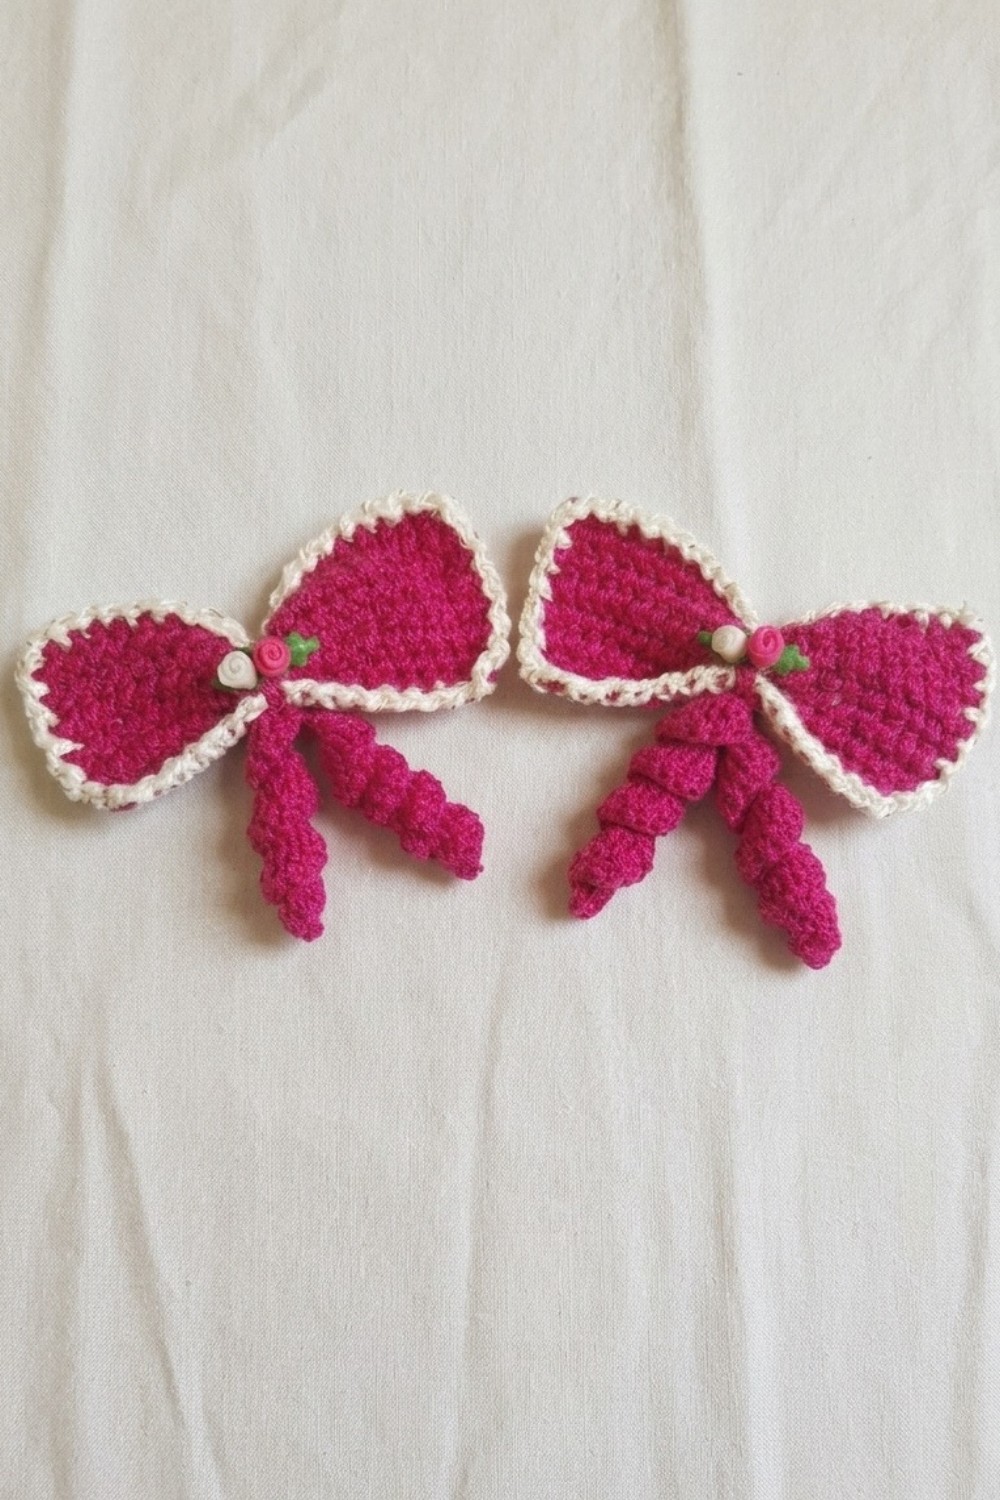
Crochet Hair Bow Pattern
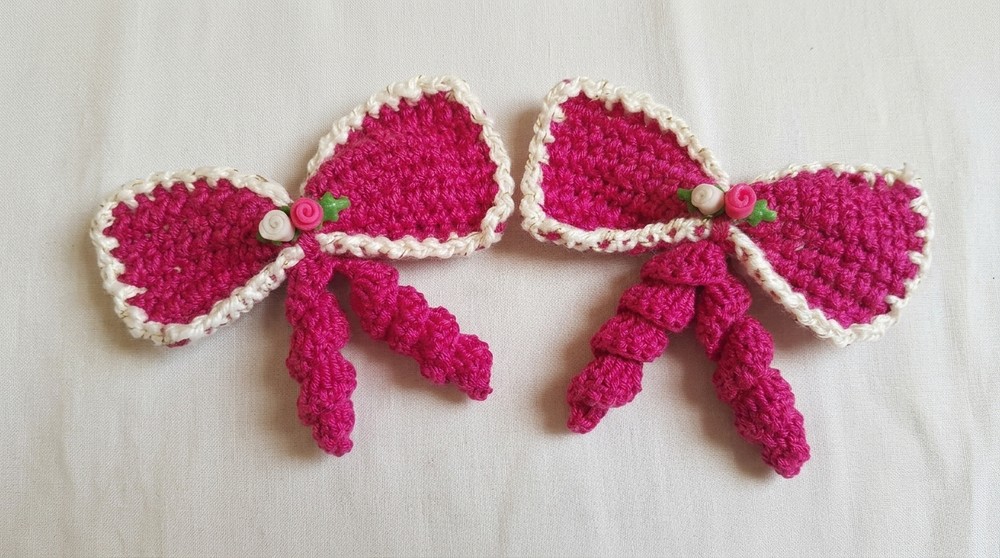
This crochet hair bow combines structure and elegance through simple techniques, making it a perfect accessory for any occasion. With its soft texture, bright colors, and decorative curls, the bow is lightweight, customizable, and easy to assemble onto a clip.
Skill Level
Beginner
This pattern is suitable for beginners who are familiar with basic crochet stitches, including chain stitches, half-double crochets, slip stitches, and double crochets.
Materials Required
- Yarn:
- Cléa Duplo: Hot pink yarn used for the bow body and curls.
- Anne Brilho: Off-white/cream yarn used for the decorative border.
- Tools and Accessories:
- 4.0mm crochet hook: Suitable for lightweight yarn and ensures smooth stitches.
- Silicone glue: For attaching decorative elements and securing the hair clip.
- Hair clip: Duckbill-style clip for attachment to hair.
- Optional decoration: A biscuit-style ornament or pearl embellishment for the bow center.
Special Stitches Used
- Chain Stitch (Ch):
- Yarn over, pull through the loop on the hook to create a new chain.
- Half-Double Crochet (Hdc):
- Yarn over, insert hook into the stitch, yarn over again, pull through (3 loops on hook). Yarn over and pull through all 3 loops at once.
- Double Crochet (Dc):
- Yarn over, insert hook into stitch, yarn over again, pull through (3 loops on hook). Yarn over, pull through first 2 loops, yarn over again, pull through remaining 2 loops.
- Slip Stitch (Sl St):
- Insert hook into stitch, yarn over, pull through the stitch and the loop on the hook.
Stitch Abbreviations
- Ch: Chain
- Hdc: Half-Double Crochet
- Dc: Double Crochet
- Sl St: Slip Stitch
Useful Tips
- Tension Control: Maintain a uniform tension to achieve clean edges and smooth curls. Loosening your grip slightly during the curl-making section can help enhance the coiled effect.
- Corner Stitches: When working around corners during the border section, ensure proper pivoting by using two slip stitches in the corner spaces. This will create a professional-looking finish.
- Center Wrapping: Tighten the yarn securely when wrapping the bow's center to help create a well-shaped bow and prevent unraveling.
- Curl Formation: For smooth, even curls, consistently work 3 double crochets per chain stitch without skipping or adding extra stitches.
- Attachment: Use silicone glue sparingly to avoid mess. Allow the glue to dry thoroughly before using the bow.
Pattern Instructions
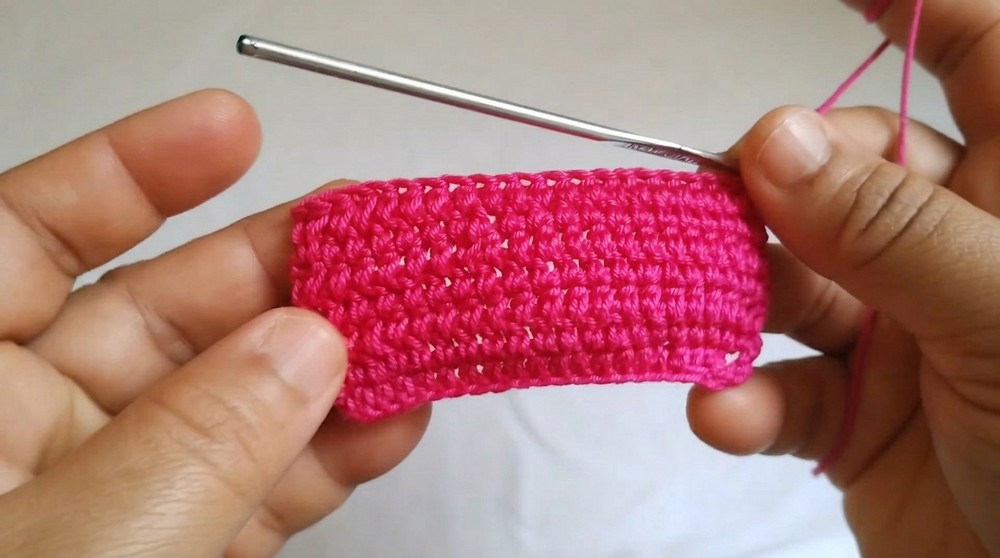
Phase 1: Main Bow Body
Foundation:
- Using Cléa Duplo yarn, Ch 20 stitches to begin.
- Add 2 extra chains, making the total 22 chains (these 2 extra chains act as a buffer and do not count toward the design).
Row 1:
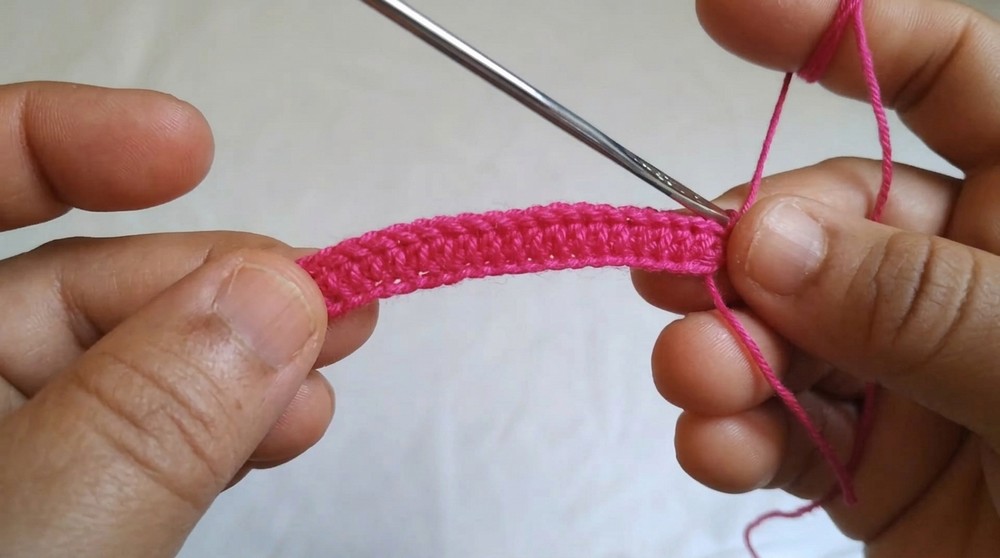
- Work Hdc stitches into the chain stitches starting from the 3rd chain from the hook. Continue across the entire row.
Rows 2–7:
- Turn your work, Ch 2, and continue working rows of Hdc stitches into each stitch. Repeat this for a total of 7 rows, ensuring even edges and a rectangular shape.
Phase 2: Border Construction
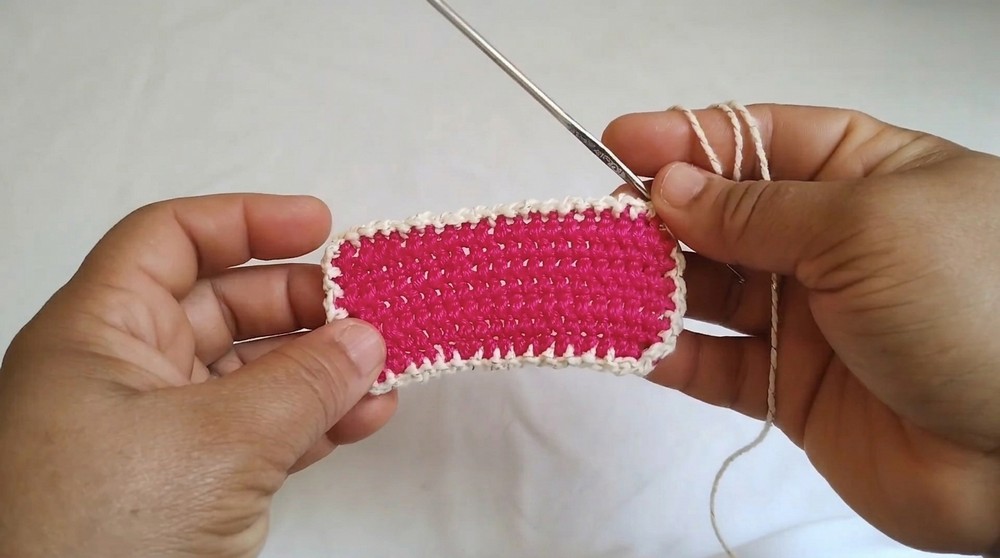
- Switch to Anne Brilho yarn to add a decorative border to the rectangle base.
- Begin by working Sl St evenly along the edges. Use the following sequence for the corners:
Cornering:
- In each of the 4 corners, work 2 Sl St into the same stitch to pivot and neatly turn the design.
Edge Detailing:
- Along the sides of the rectangle, work the following sequence:
- 1 Ch followed by 1 Sl St into each stitch.
- This creates a light, textured framing for the bow. Work around all edges of the rectangle until finished and fasten off.
Phase 3: Assembly and Center Wrapping
- To form the bow shape:
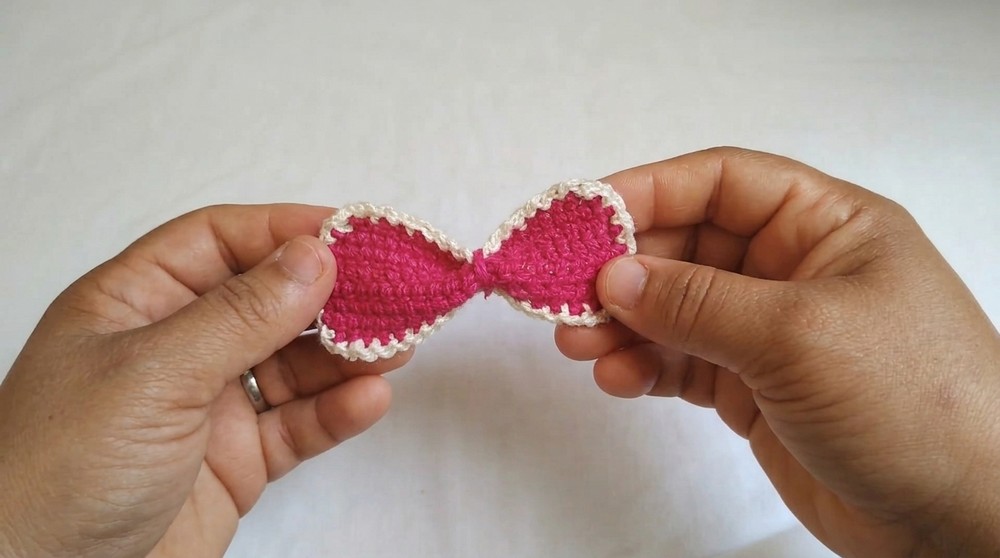
- Pinch the center of the rectangle with your fingers to create the bow structure.
- Take Cléa Duplo yarn and wrap it tightly around the pinched center about 4 times.
- Once wrapped:
- Tie two secure knots on the back of the bow to hold the shape.
- Trim any excess yarn and hide loose ends at the back.
Phase 4: Decorative Curls
Attaching Yarn:
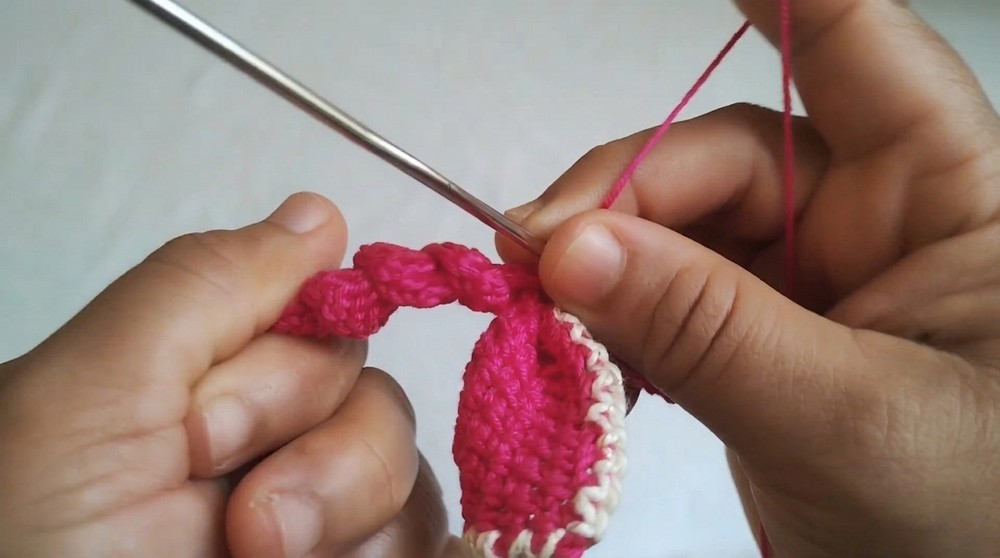
- Attach Cléa Duplo yarn at the center wrapping of the bow. Secure it with a Sl St.
Curl Formation:
- Begin with Ch 15 to form the foundation for the curl.
- Work 3 Dc into each chain stitch from the foundation chain.
- This will create a coiled effect as you progress.
- When you reach the end of the chain:
- Secure the curl by returning to the wrapping in the center, attach with a Sl St, and fasten off.
- Repeat this process to create a second curl on the other side of the bow. Ensure both curls are symmetrical and securely attached to the center wrapping.
Phase 5: Final Finishing
Hair Clip Attachment:
- Take the duckbill hair clip and attach it to the back of the bow using silicone glue.
- Press firmly and allow the glue to dry completely for a secure fit.
Optional Decoration:
- If using biscuit-style decoration or pearls:
- Attach them to the front center of the bow using silicone glue.
- Allow the glue sufficient time to dry before handling.
Final Measurements
- Bow Size: Approximately 7cm x 10cm, depending on yarn tension.
- Curls Length: Approximately 9cm per curl, creating a playful accent to the bow design.
Conclusion
This crochet bow pattern combines simplicity and elegance, making it a perfect accessory to complement hairstyles. Its sturdy construction, highlighted by decorative curls and borders, ensures both beauty and durability. Personalize the design with your favorite colors, yarns, and embellishments to create a unique handmade accessory that stands out.