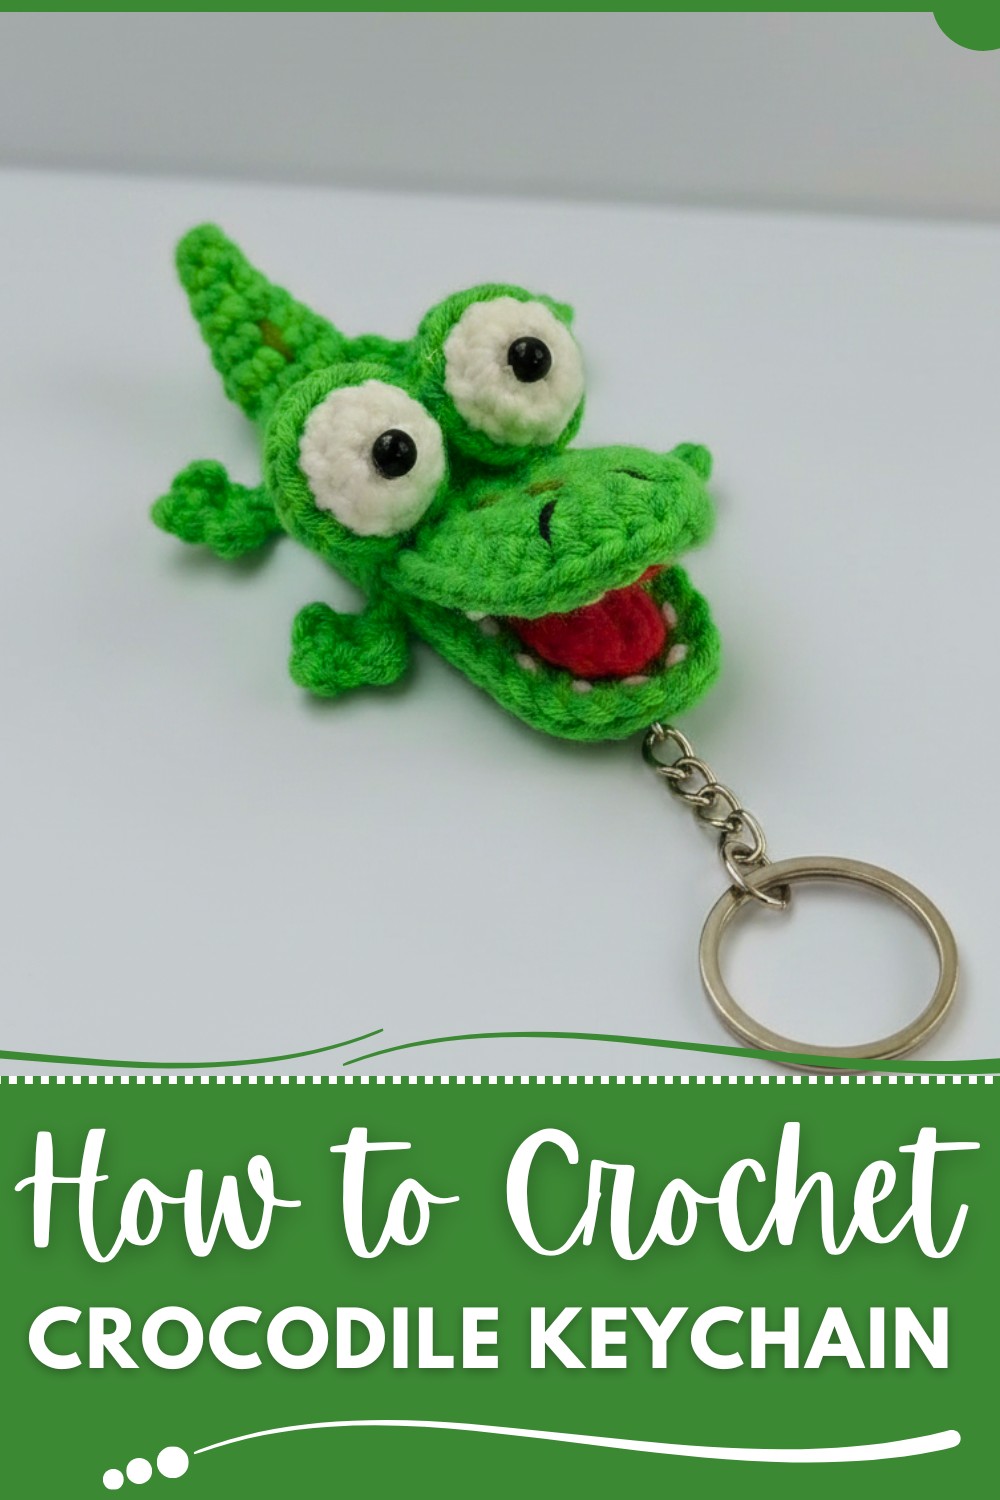
Bring personality to your accessories with this Free Crochet Crocodile Keychain Pattern, featuring adorable & fun details everyone will love.
Nothing beats the charm of a handmade accessory, especially when it’s as playful and versatile as a crocheted crocodile keychain. This pocket-sized pattern is perfect for adding personality to your everyday essentials. With its lifelike textured scales and adorable details, this keychain pattern is more than just an accessory, it’s a conversation starter. Whether you attach it to your keys, hang it on a purse, or use it as a bag charm, this mini crocodile is guaranteed to draw smiles wherever you go.
Free Crochet Crocodile Keychain Pattern to Spruce Up Your Accessories
Beyond its aesthetic appeal, this pattern is an excellent choice for crocheters of all levels. From practicing basic shapes to assembling details like tiny legs and expressive eyes, you’ll enjoy every step of the process. It’s also a sustainable project perfect for using up leftover yarn from your stash. Plus, it makes for a thoughtful, one-of-a-kind gift for animal lovers of all ages.
The pattern’s compact size makes it a quick and satisfying project, ideal for a weekend or an evening of relaxation. Functional and decorative, this crochet crocodile keychain pattern combines practicality with playful creativity. It’s proof that sometimes, the smallest creations leave the biggest impressions.
Materials Needed:
- 5-ply milk cotton yarn (Green, White, Red, Black)
- 2.5mm crochet hook
- Sewing needle
- Scissors
- Stuffing (optional, for a more plush design)
- Fabric glue (optional)
Special Features & Difficulty Level:
- Features: Three-dimensional design with a realistic mouth, separate limbs, and tiny details like teeth and tongue. Ideal for gifting or small accessories.
- Difficulty Level: Beginner to Intermediate—some small parts may require precision.
Step-by-Step Pattern:
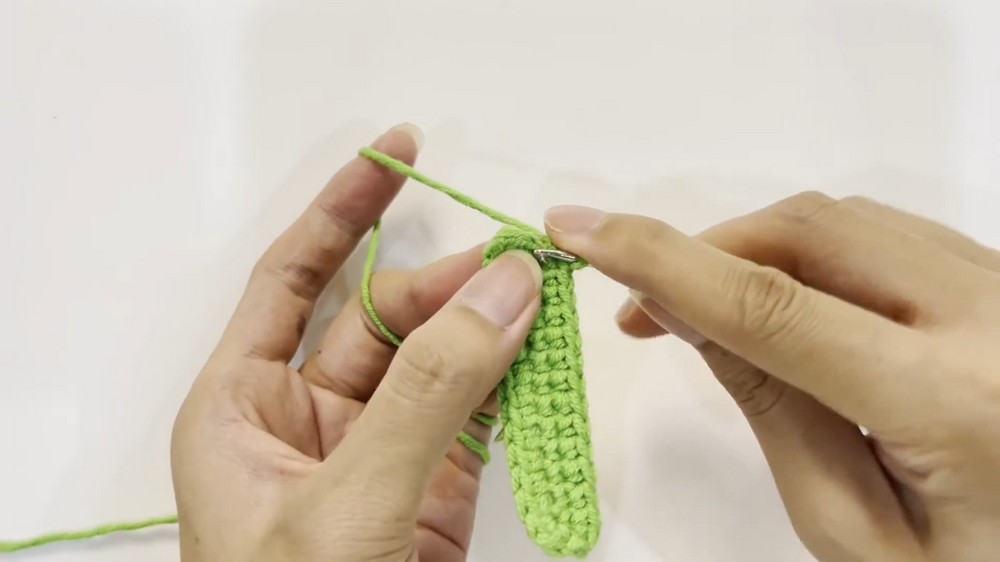
Step 1: Crochet the Body
- Begin with Slip Stitches:
- Start by making a slip knot.
- Crochet 15 chain stitches.
- Round 1:
- Work back into the chain:
- Crochet 13 single crochet stitches (SC) along the chain.
- At the last stitch, crochet 3 SC in the same stitch to create a rounded edge and turn to the opposite side.
- Crochet 12 SC along the opposite edge of the chain.
- At the final stitch, crochet 2 SC.
- Join with a slip stitch to the first stitch to complete the round.
- Work back into the chain:
- Round 2:
- Begin with a standing stitch.
- Mark the first stitch and crochet 12 SC around.
- Add 3 SC at the top three stitches to create rounded shaping.
- Continue with 12 SC on the other side and add 2 SC in the last two stitches.
- Join with a slip stitch to finish.
- Round 3:
- Crochet a standing stitch and crochet 1 SC in each stitch around, ensuring to create smooth edges.
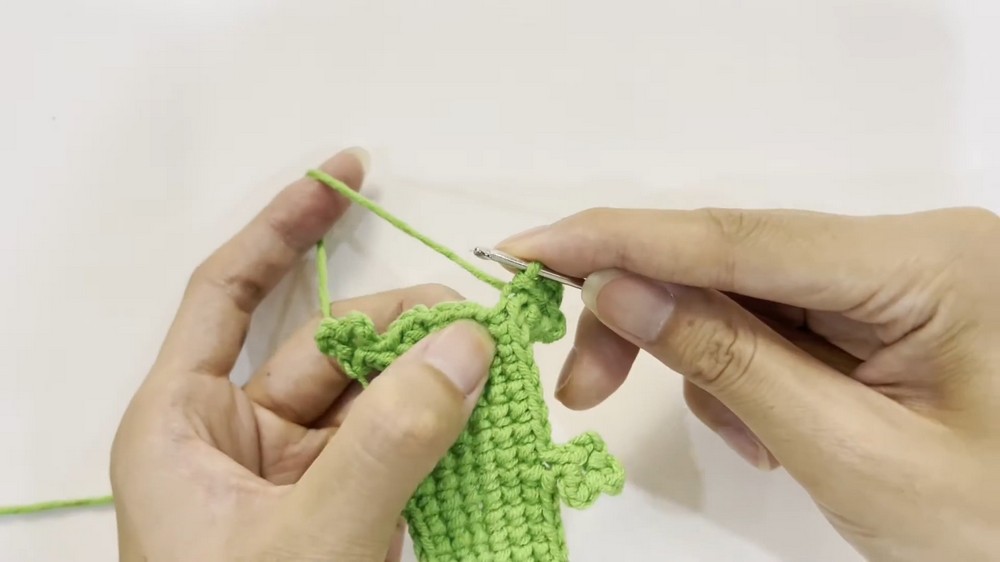
2: Crochet the Legs
For each leg:
- On the body, choose a stitch where the leg will go.
- Crochet 6 chain stitches.
- Skip two stitches, and work slip stitches (SL) back into the chained stitches to form a tiny leg.
- Repeat for all four legs, placing them symmetrically.
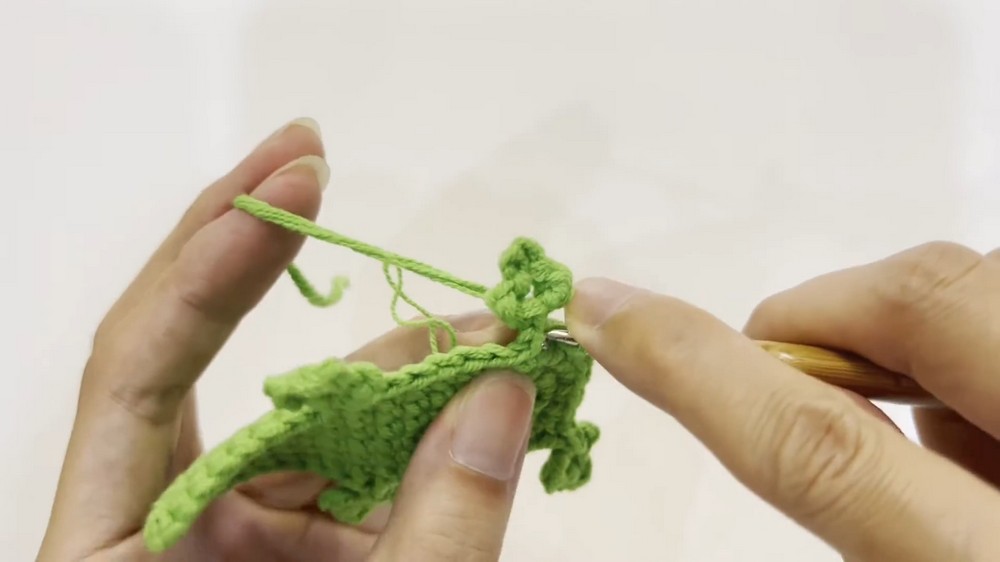
3: Crochet the Tail
- Start with a magic ring and crochet 4 SC inside the ring.
- Gradually increase following the pattern:
- Round 1: Crochet 1 SC, 1 increase, repeat twice.
- Round 2: Crochet 2 SC, 1 increase, repeat twice.
- Continue increasing evenly for a slight taper and desired tail length.
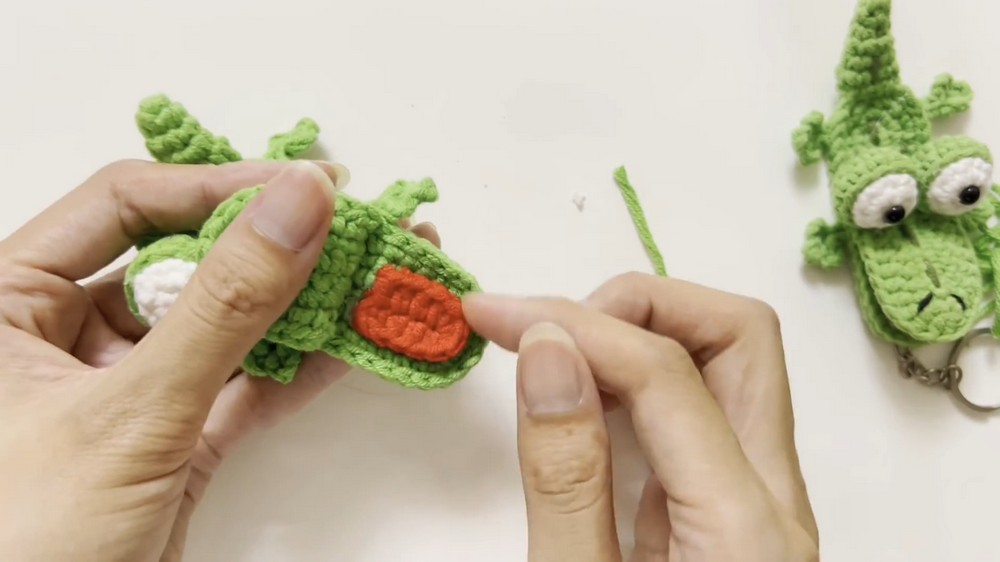
4: Crochet the Mouth
- Using green yarn, create 7 chain stitches.
- Work SC around the chain, placing 3 SC at the turning points to round out the mouth shape.
- Layer the tongue and teeth:
- For the tongue, use red yarn. Create 5 chain stitches, turn, and work 4 half-double crochets (HDC) back.
- For the teeth, use white yarn. Crochet a small row of slip stitches along the edge of the mouth and create tiny "peaks" by adding decreases for sharpness.
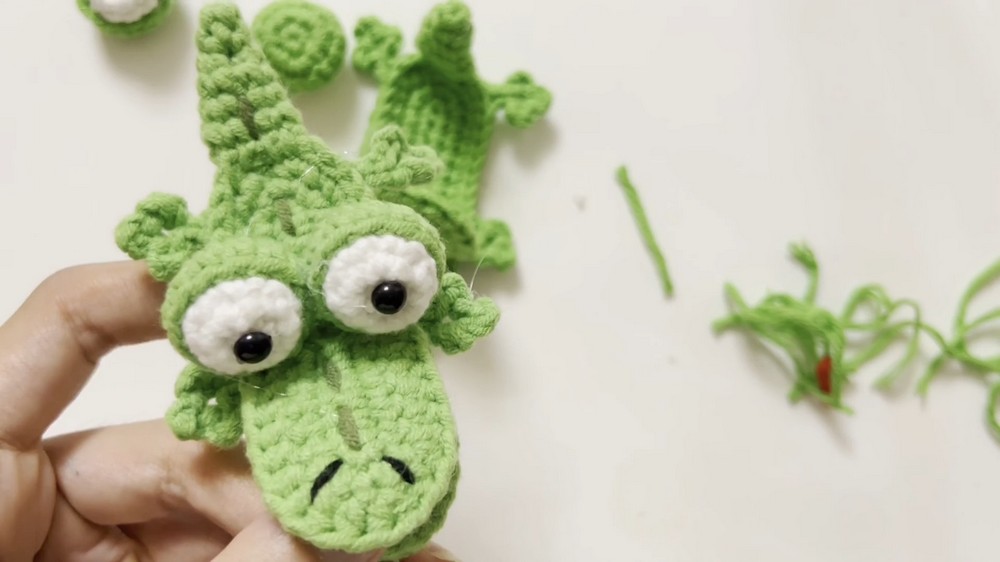
5: Crochet the Eyes
- For each eye:
- Create a magic ring.
- Crochet 6 single crochets inside the ring.
- Tighten the loop and join with a slip stitch.
- Make two small eyelids using green yarn. Repeat the same pattern but increase slowly to keep the eyelid slightly larger than the eyeball.
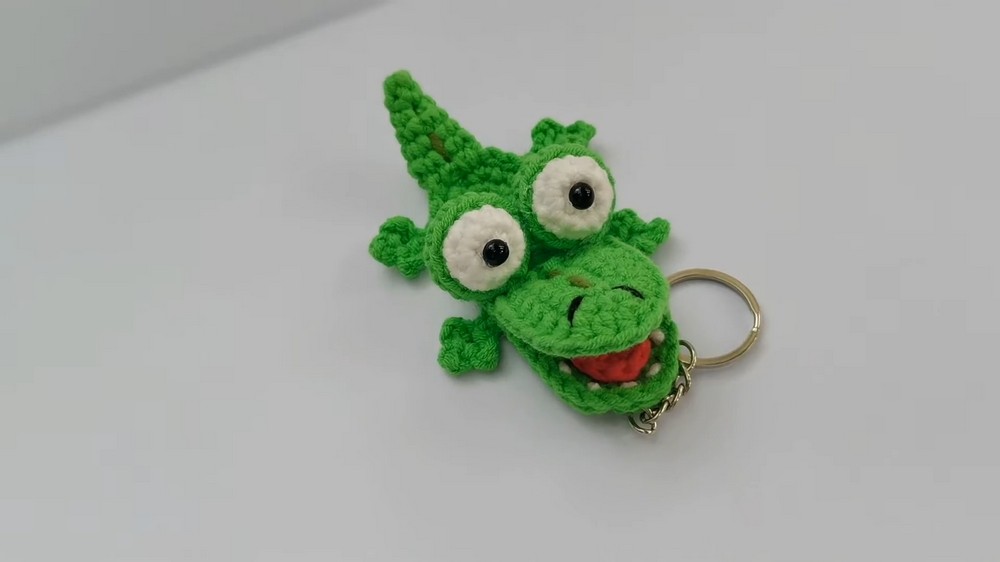
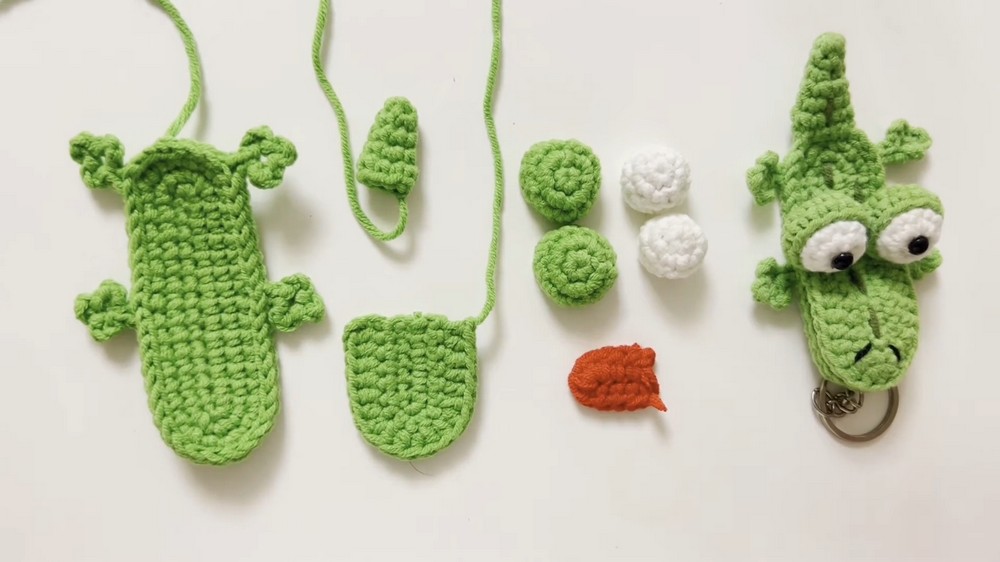
6: Assemble the Crocodile
- Attach the Tail: Sew the tail securely to the back of the body.
- Assemble the Mouth: Layer and sew the teeth and tongue inside the jaw. Once shaped, attach the mouth to the front of the crocodile's body.
- Add the Eyes: Glue or sew the eyeballs to the top of the head. Use black yarn to add small pupils for expression.
- Add Details: Use dark green yarn to add texture or stripes to the body for a more realistic look.

Uses
- Attach as a keychain or backpack charm.
- Use as a hair clip for children.
- Feature as a decoration for desks, shelves, or plants.
- Makes for a creative and unique gift for animal-themed occasions.
Tutor’s Suggestions
- Work with proper lighting, as small parts like teeth and limbs need precision.
- To make the crocodile extra sturdy, glue the smaller pieces in place before sewing.
- Experiment with different colors or yarn textures for a personalized design.
Tip:
For added flair, use sparkly yarn for the eyes or iridescent thread for accents. It brings an extra "wow" factor to the design!
Conclusion
This adorable crochet crocodile hanger is small in size but packed with charm and creativity. Whether you're making them for personal use, gifting, or selling at craft fairs, these mini crocodiles are sure to be a hit. With clear steps and just a little patience, you'll have a delightful project that’s as fun to make as it is to use.