Bring vibrant rose to life with this free crochet Rose Granny Square Bag pattern, blending floral charm and functionality into the perfect carryall for any outing.
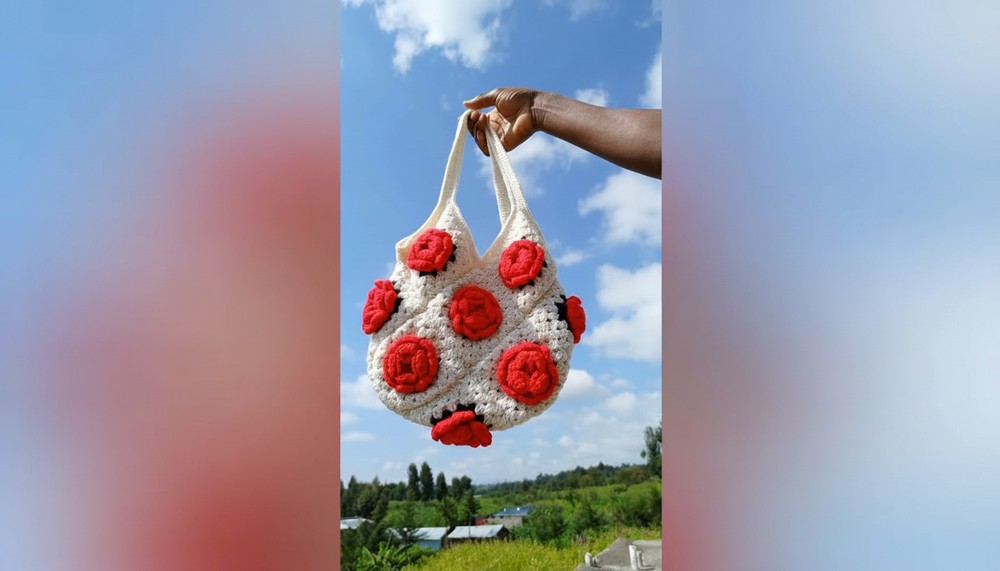
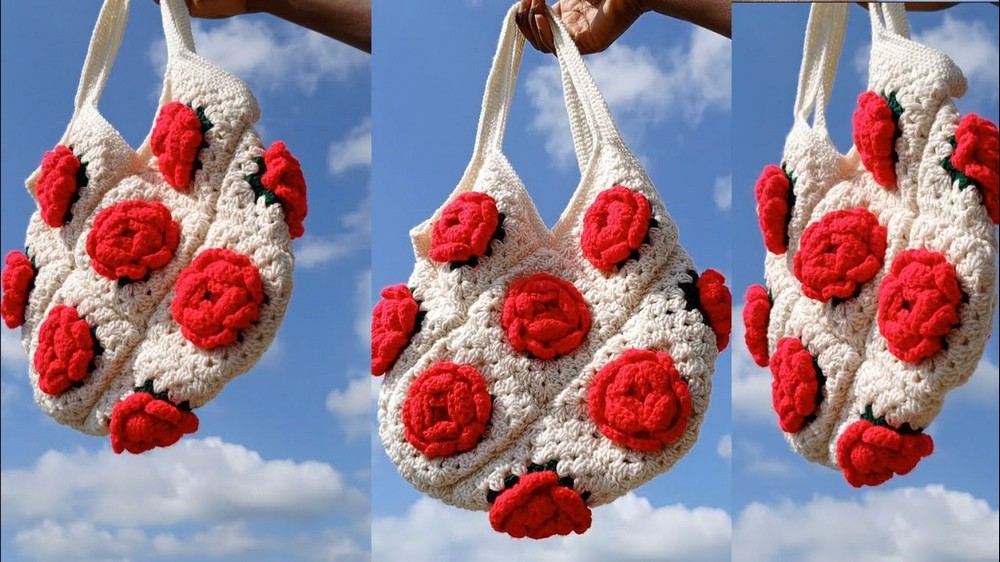
This tote bag stands out with its charming rose flower granny squares, forming a beautiful arrangement that catches the eye. The "Free Crochet Rose Granny Square Bag Pattern" shows how to combine both style and functionality with soft yet durable yarn and secure single crochet stitches for sturdy straps. Its floral-inspired texture adds a touch of elegance, making it perfect for daily errands, a day at the beach, or casual outings. The vibrant colors and thoughtful details ensure it’s the perfect accessory for anyone who appreciates handmade beauty.
Crochet Rose Granny Square Bag: Quick & Easy Instructions
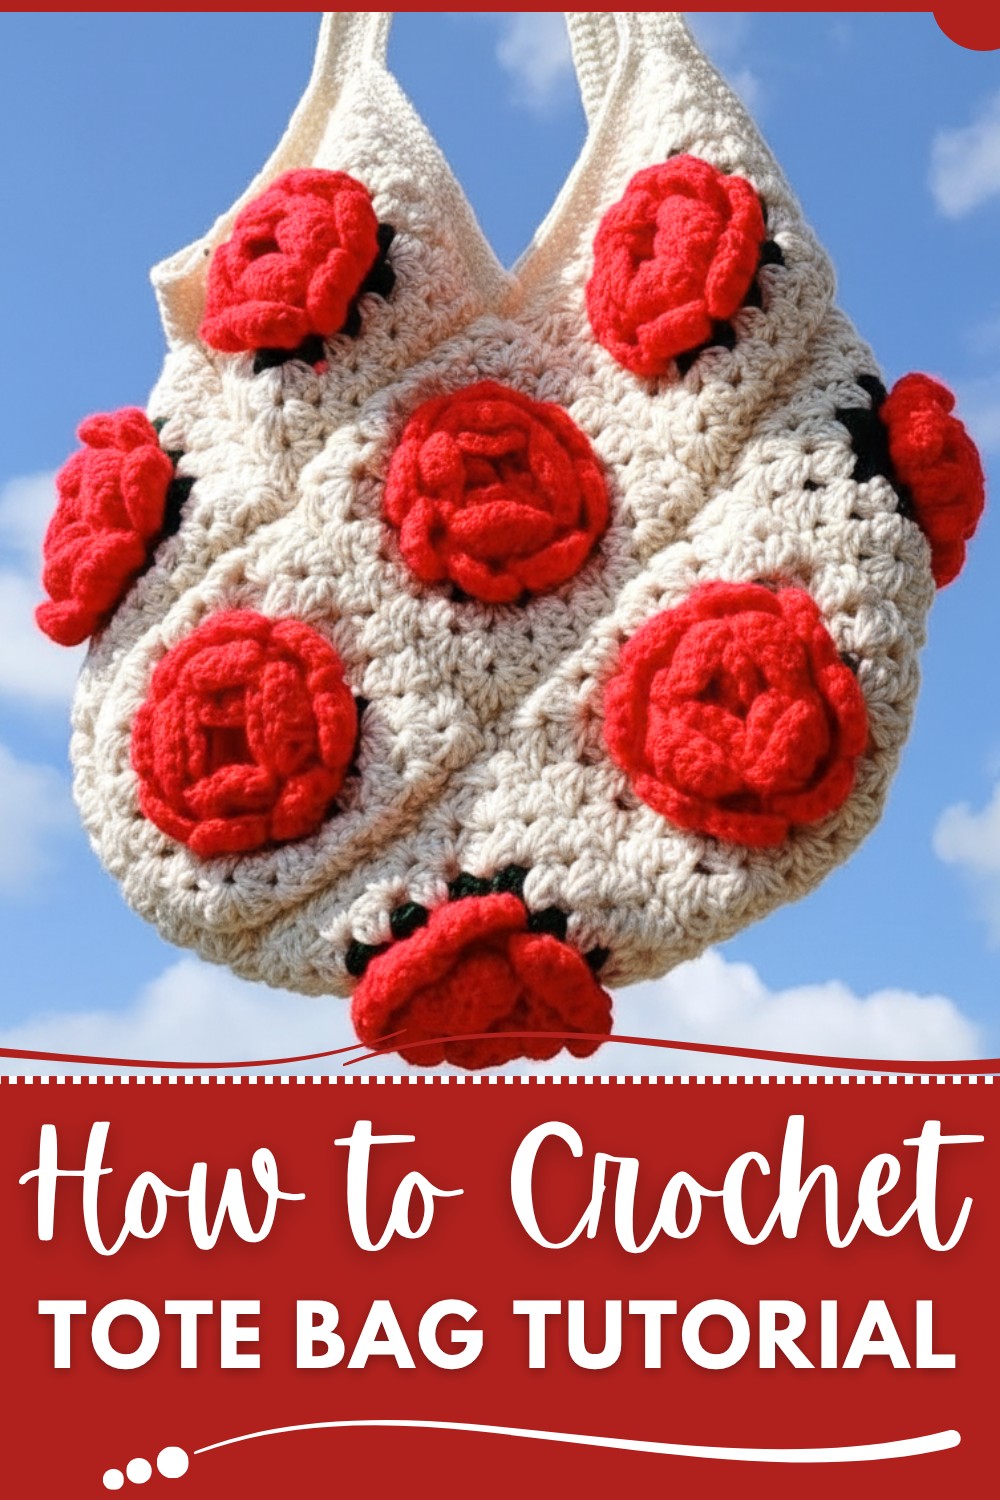
Lightweight yet durable, this tote can carry your essentials with ease, all while showcasing a delightful, artistic style. Whether gifting it to someone special or using it as an eco-friendly everyday bag, this tote brings a lovely blend of charm and practicality. With techniques such as magic rings, simple stitches, and granny square assembly, this is an approachable project for beginners and seasoned crocheters alike. Bring this timeless accessory to life and enjoy the satisfaction of carrying something made with care and attention to detail.
Crochet Rose Granny Square Bag Pattern
Finished Size
- Tote Bag Dimensions: Approximately 12" x 10" (when using fingering weight yarn and recommended crochet hook).
- Straps: Adjustable for preferred length, approximately 18"-20".
Materials
- Yarn:
- Fingering weight yarn (two strands held together) for rose granny square pieces.
- Contrasting fingering weight yarn for joining and borders.
- Crochet Hook:
- Size 3.5mm (E/4) or hook size suitable for achieving gauge.
- Scissors.
- Stitch Markers: To join squares seamlessly.
- Darning/Weaving Needle: For weaving in ends.
Gauge
- Gauge for the Granny Square: One completed Rose Flower Granny Square measures approximately 4" x 4" after blocking.
Special Techniques
- Magic Ring: Used to start the center of each granny square.
- Front Post Single Crochet: To emphasize shapes and add texture.
- Slip Stitch Joining: For seamless assembly.
Pattern Instructions
Step 1: Crochet the Rose Flower Granny Square
Follow the instructions below to make 14 rose flower granny squares for the tote bag.
Round 1:
- Begin with a magic ring.
- Chain 3 (counts as your first double crochet).
- Place 15 double crochets into the magic ring for a total of 16 double crochets (including the chain-3).
- Tip: Ensure stitches are evenly distributed around the ring.
- Tighten the ring by pulling the tail yarn, then slip stitch into the top of the chain-3 to close.
Round 2:
- Chain 1 and place a single crochet into the same stitch.
- Chain 3, skip 1 stitch, and place a single crochet in the next stitch.
- Repeat chain 3, skip 1 stitch, and single crochet until the end.
- Slip stitch into the first single crochet to close.
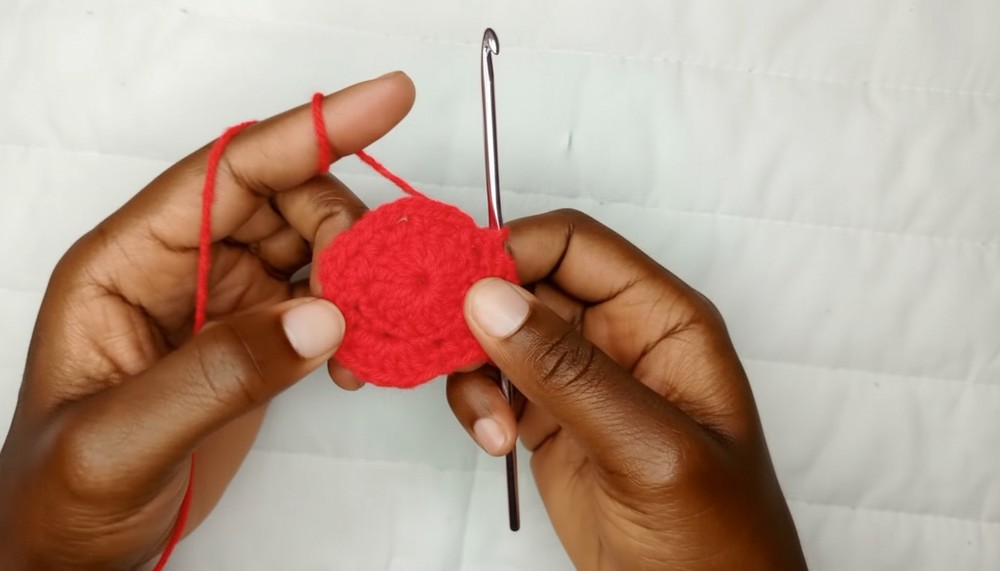
Round 3:
- Chain 1.
- Place 1 single crochet into the first chain space.
- Into the next chain space, place 6 double crochets.
- Alternate 1 single crochet in the next chain space and 6 double crochets in the following chain space all around.
- Slip stitch into the first single crochet to close.
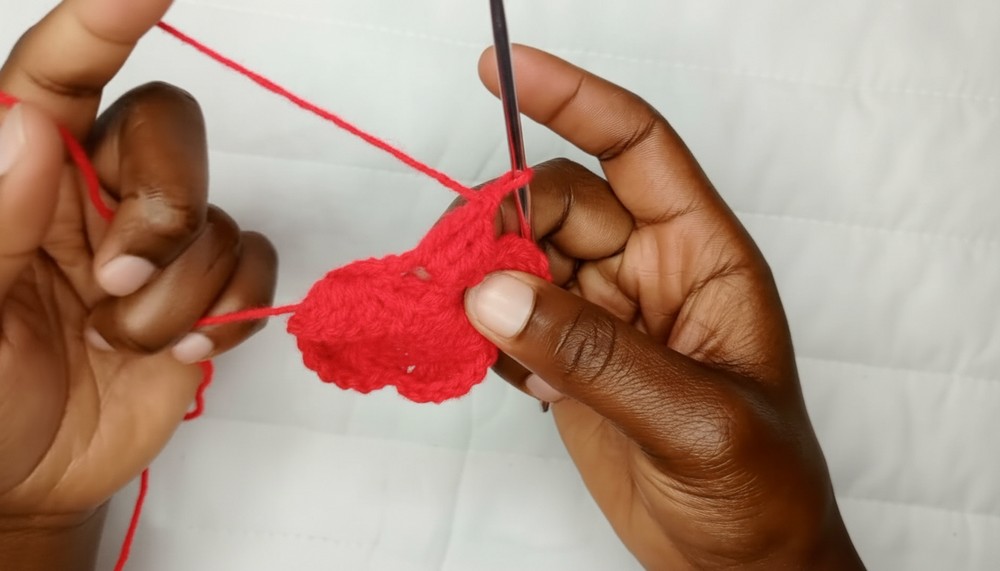
Round 4:
- Start by placing front post single crochet into the single crochets from Round 2. Insert your hook around the post, pull up a loop, and complete a single crochet.
- Chain 3, then repeat the front post single crochet in the next single crochet of Round 2.
- Continue the pattern all around.
- Slip stitch into the first stitch to finish the round.
Round 5:
- Into each chain space created in Round 4:
- Place 1 double crochet.
- Place 5 triple crochets (yarn over twice, pull through in stages).
- Finish with 1 double crochet.
- Into the next chain space, place 1 single crochet.
- Repeat this pattern around, alternating chain spaces.
- Slip stitch into the first double crochet.
Round 6:
Repeat Round 4, creating front post single crochets and chains for texture.
Round 7:
Repeat Round 5, maintaining the same sequence (double crochet, 5 triple crochets, double crochet, and single crochet).
Rounds 8-12:
Transition into creating the granny square base.
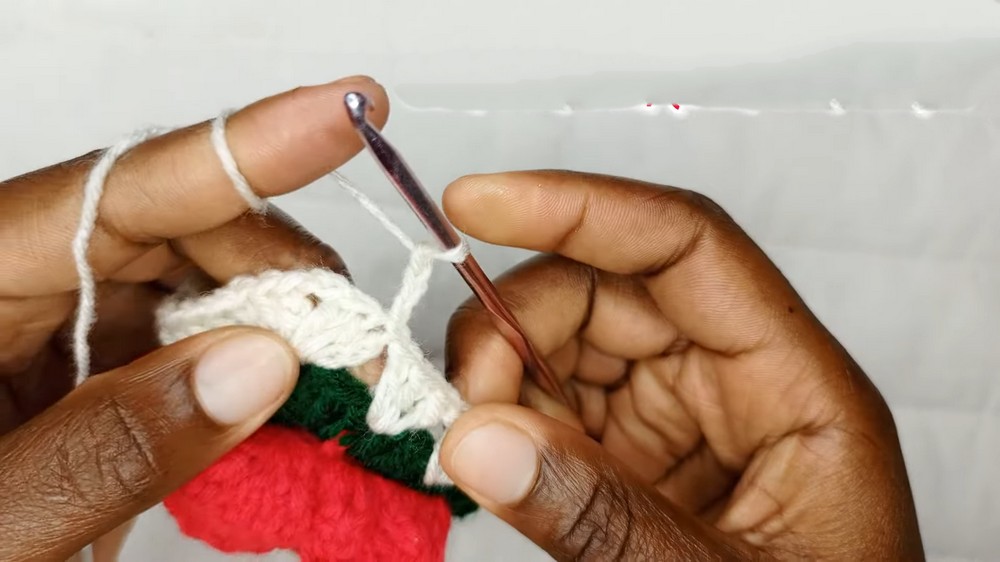
- Attach a contrasting yarn.
- Work 3 double crochets into each chain space.
- For corners: Place 3 double crochets, chain 2, 3 double crochets into the corner chain spaces.
- For rounds 9-12, gradually increase the number of chain spaces and work 3 double crochet stitches between each corner.
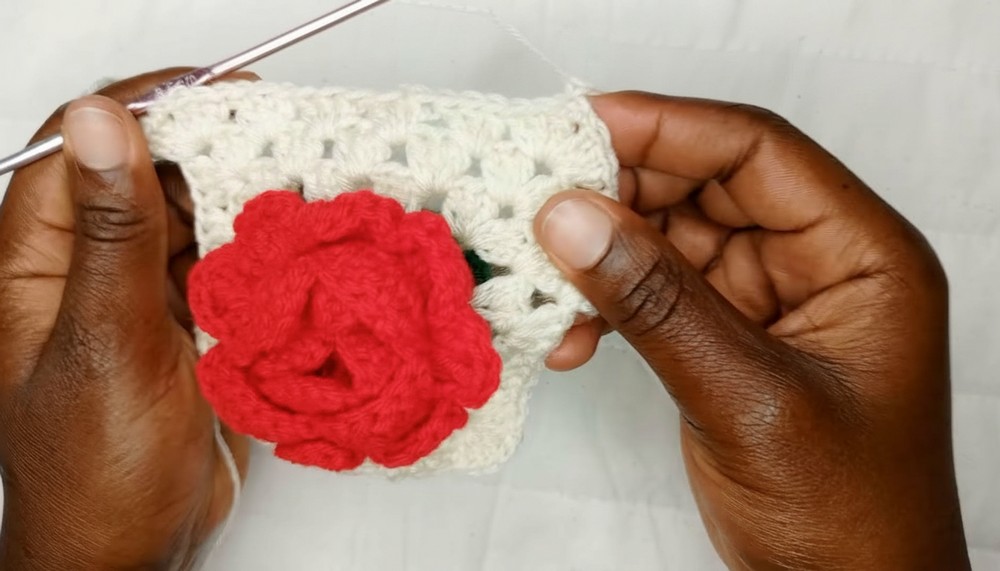
Step 2: Assemble the Tote Bag
- Take 14 completed squares. Arrange them in a rectangular pattern (e.g., 5 squares wide and 2 high for the main bag panel, plus 4 for the side gussets).
- Use slip stitch to join the squares together.
- Tip: Place squares with right sides facing and join along their edges into the desired placement.
- Slip stitch across edges while ensuring stitches align seamlessly.
Step 3: Reinforce the Edges
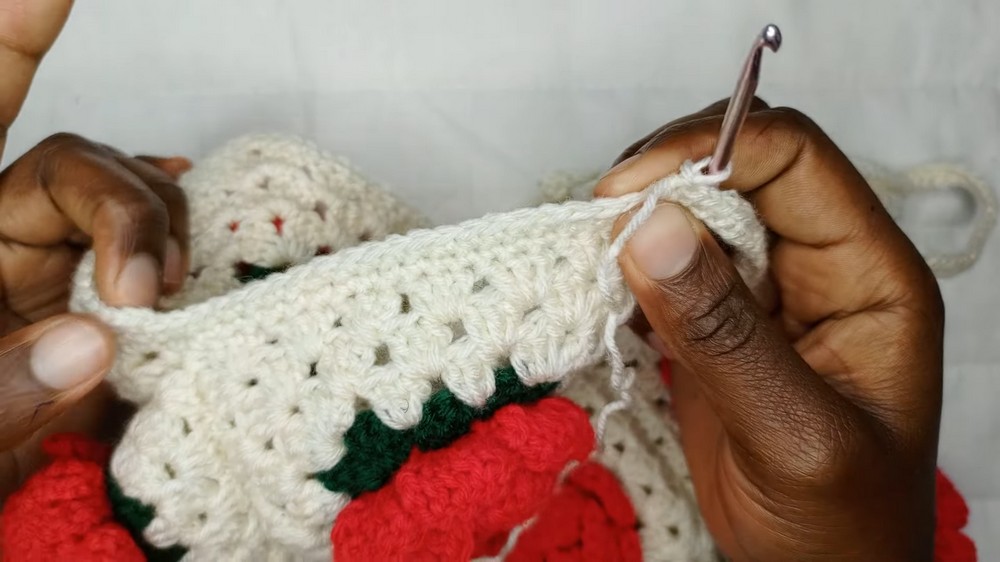
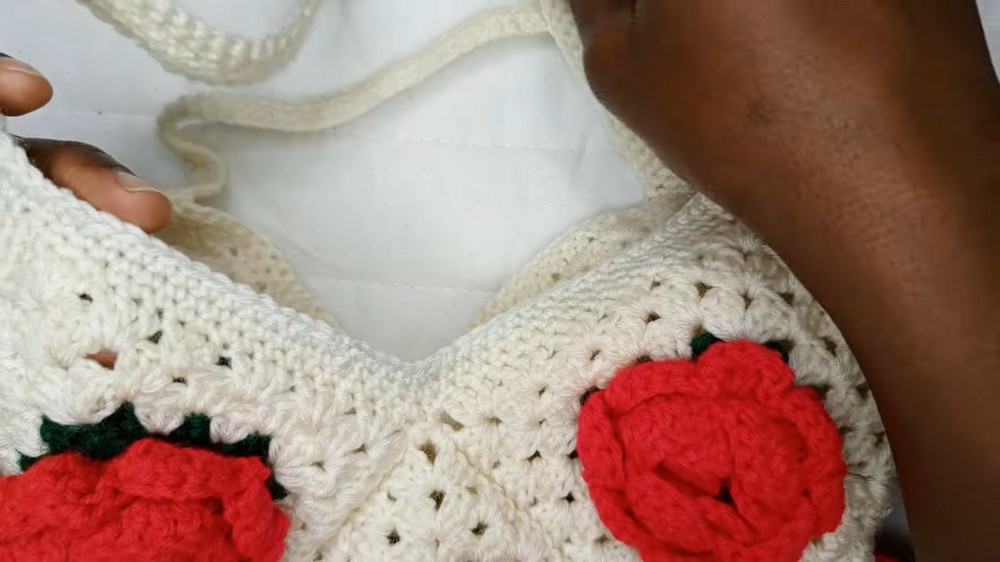
- Single crochet border: To ensure strength and neatness, work single crochet stitches all along the bag's top edge.
- For corners, work 2 single crochets into corner spaces for a smoother transition.
Step 4: Create the Strap
- Decide the length of your straps based on personal preference. Start with 80 chains for each strap.
- Work single crochets across the chains to build up thickness.
- Attach the straps to the top of the bag using slip stitches and reinforce the attachment with extra single crochets.
Customization Ideas
- Color Variations: Use different colors for roses and backgrounds to create a multi-tonal design.
- Strap Length: Modify the number of chains based on preference.
- Lining: Sew fabric lining inside for added durability.
Tips for Success
- Blocking: Block each granny square for uniform size before assembly.
- Stitch Markers: Use markers to align corners when joining squares.
- Durability: Consider using cotton yarn for a sturdier tote.
Conclusion
Once completed, your rose flower granny square tote bag will be both beautiful and functional. The textured floral motif adds sophistication to this design, while the reinforced straps ensure durability. Perfect for casual outings or gifting!
Remarks:
- This pattern is versatile and beginner-friendly.
- Remember to secure all loose ends and admire your work.