Fill your spring days with fun using this Crochet Easter Cake Free Pattern to make a lovely cake that looks beautiful on shelves and party tables.
Easter decorations become more cheerful when sweet little food designs are part of the display. @CrochetToysIryna shares the original idea for this lovely project, bringing a festive cake to life through crochet.
This Crochet Easter Cake is a cute decorative piece that looks like a miniature holiday dessert. Its rounded shape, soft surface, and pretty details give it a sweet appearance. The lovely mix of colors makes the cake look bright and inviting, while the neat crochet texture adds a beautiful handmade finish.
Cute Little Crochet Easter Cake Free Pattern For Play Kitchens
This little cake is a wonderful choice for decorating Easter tables, kitchen shelves, or holiday baskets. You can place it beside colorful eggs, flowers, or bunny decorations to create a happy spring setting. Unlike real cakes, this sweet decoration can be kept and enjoyed year after year.
Another nice thing about this project is the freedom to choose your favorite colors. Soft pink, cream, yellow, or light green can give the cake a lovely spring look. Small decorative touches can also help each finished piece feel different and personal.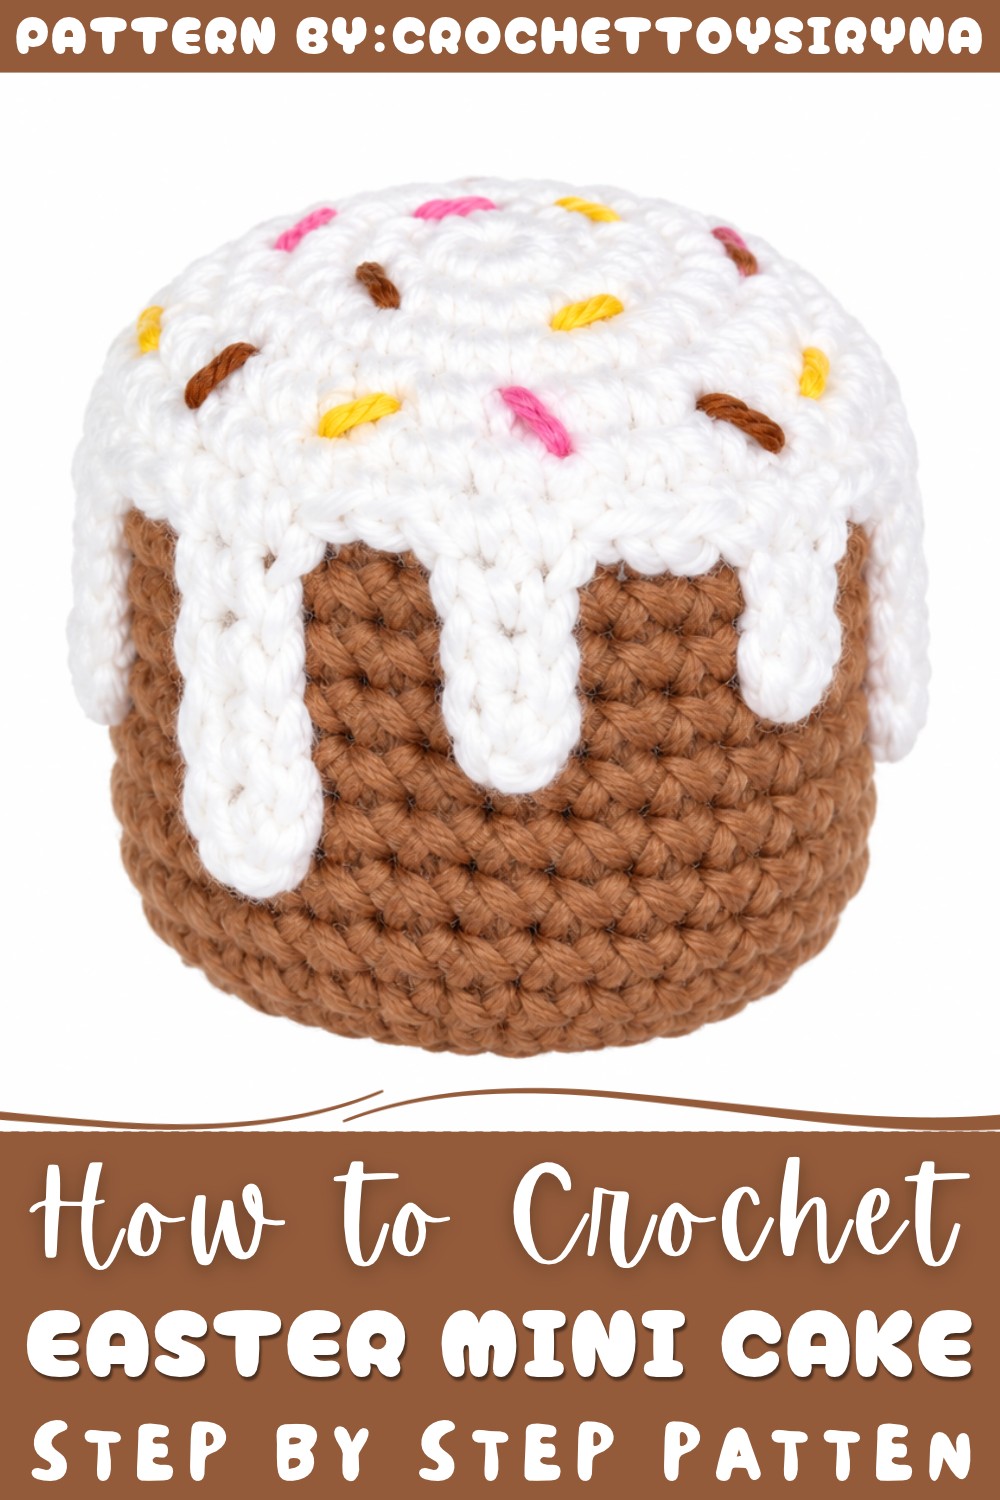
The project can be made by working crochet stitches in rounds to form its main body. Careful shaping helps create its rounded appearance, while the finishing details give it a fun dessert-inspired style.
This charming little sweet also makes a thoughtful Easter gift for family and friends. Bring some extra sweetness to your holiday decorations by trying this free crochet pattern!
Easter Cake Amigurumi Crochet Pattern (4 cm Tall)
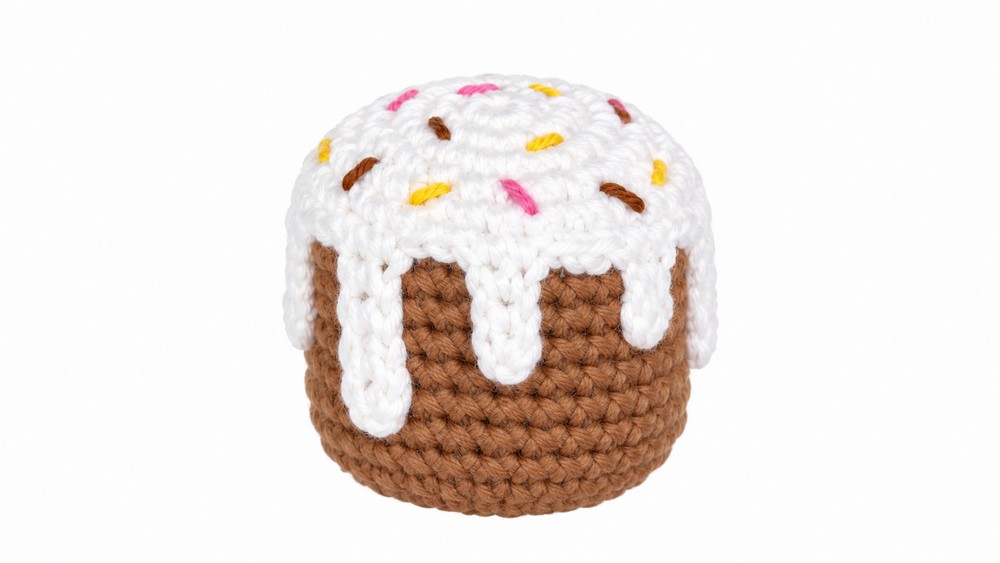
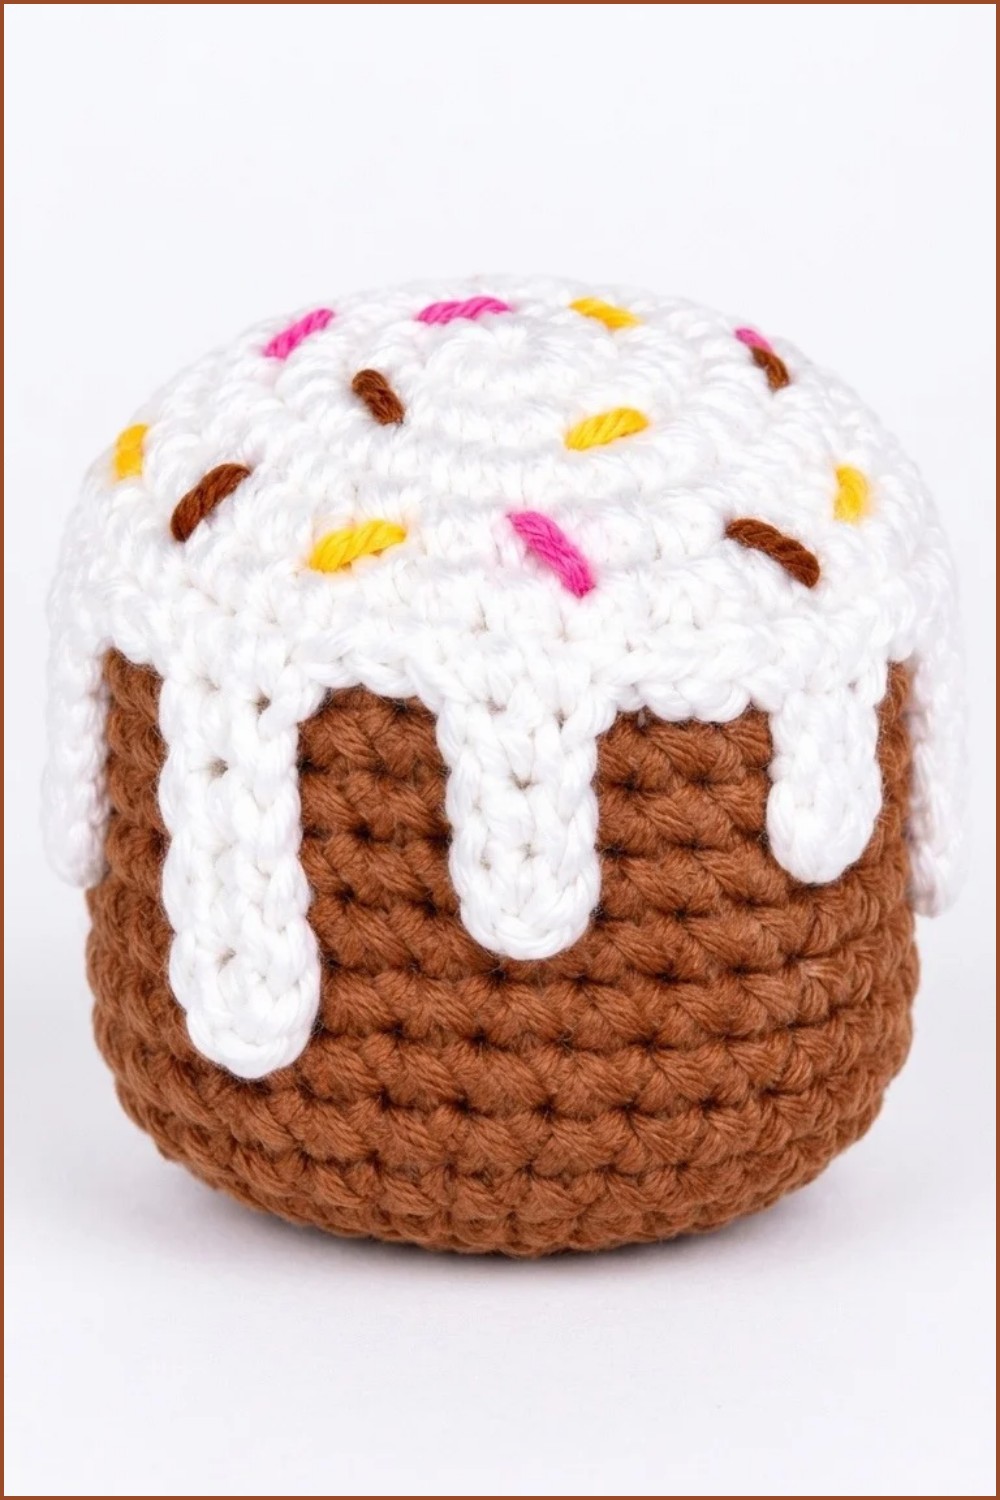
Crocheting a miniature Easter cake offers a joyful way to celebrate spring and seasonal traditions. Designed at just 4 cm tall, this little cake displays realistic layers by separating its “glaze” and “cake” components using strategic yarn changes and surface details. The wavy white icing drips and colorful sprinkled embroidery provide a delightful finishing touch. Its compact size makes it an ideal quick project for décor, gifting, or play.
Pattern Basic Points
Construction Features
- Two-Part Structure: The top (glaze) and base (cake) are worked in continuous rounds before being joined with surface drips and embroidery.
- Seamless Transition: Color changes and loop manipulation create a realistic distinction between the cake and its icing.
- Firm Base: The use of pre-cut cardboard in the bottom ensures the cake stands flat and stable.
Design Highlights
- Embroidered Details: Surface embroidery represents sprinkles, enhancing realism and color.
- Wavy Icing Drips: Chains and slip stitches recreate the gentle run of glaze down the cake sides.
Special Notes
- All rounds are worked in a spiral; use a stitch marker at the first stitch of each round.
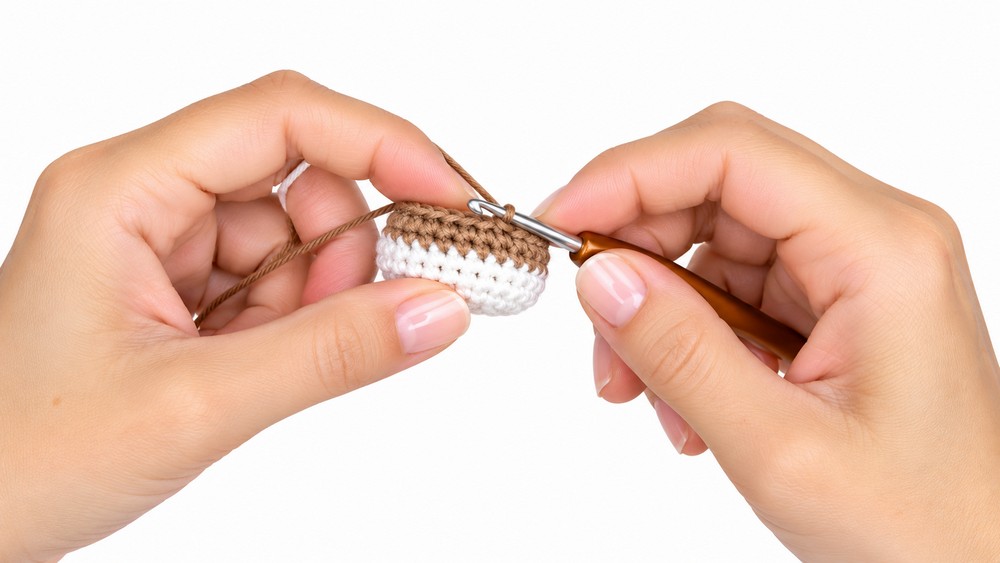
- The back loop only (BLO) technique is used during the color change to define the glaze edge, so do not skip this step.
- Adjust chain length and placement of glaze drips for a naturally uneven, flowing effect.
- Insert the cardboard base after stuffing but before closing, for neatness and added support.
- Embroider sprinkles after completing the main body, using scraps of colored floss or light yarn for best effect.
- This design, while compact, is ideal for learning color changes, shaping with increases/decreases, and adding surface embellishments.
Skill Level
Beginner to Advanced Beginner:
The project uses single crochet in the round, basic increases and decreases, simple color changes, back loop only work, some surface embroidery, and minimal assembly. It’s suitable for those with a little experience in amigurumi or circular crochet.
Materials
- Yarn:
- White and brown cotton/acrylic blend (suggested: YarnArt Jeans or equivalent DK/light worsted)
- Small scraps in yellow, pink, blue, green, etc., for embroidery
- Hook:
- 2mm crochet hook
- Notions:
- Yarn needle for sewing and embroidery
- Stitch marker
- Small amount of polyester fiberfill for stuffing
- Pre-cut cardboard circle (approx. 2.8–3 cm in diameter, for firm base)
- Scissors
Measurements & Gauge
- Finished Size:
- Height: ~4 cm
- Diameter: ~3–3.5 cm
- Gauge:
- Gauge is not crucial; firm stitches are preferable so stuffing does not show.
- For amigurumi: approx. 24 sc/28 rows = 10 x 10 cm.
Stitch Abbreviations
- MR: magic ring
- ch: chain
- sc: single crochet
- inc: increase (2 sc in same stitch)
- dec: decrease (sc two together)
- sl st: slip stitch
- BLO: back loop only
- st(s): stitch(es)
- rep: repeat
Special Stitches
- Single crochet through the back loop only (BLO): Insert hook under only the back loop of the stitch.
- Invisible decrease: Insert hook into the front loop only of each of the next two stitches, yarn over, pull through both loops, yarn over and pull through remaining loops.
- Surface embroidery: Use a needle to sew lines (for sprinkles) or French knots onto the cake’s surface.
Pattern Instructions
White Part (The Glaze)
- MR: With white yarn, create a magic ring and work 6 sc into the ring. (6 sts)
- Round 1: Inc in each st around (2 sc in each). (12 sts)
- Round 2: 1 sc, inc, rep 6 times. (18 sts)
- Round 3: 2 sc, inc, rep 6 times. (24 sts)
- Round 4: 3 sc, inc, rep 6 times. (30 sts)
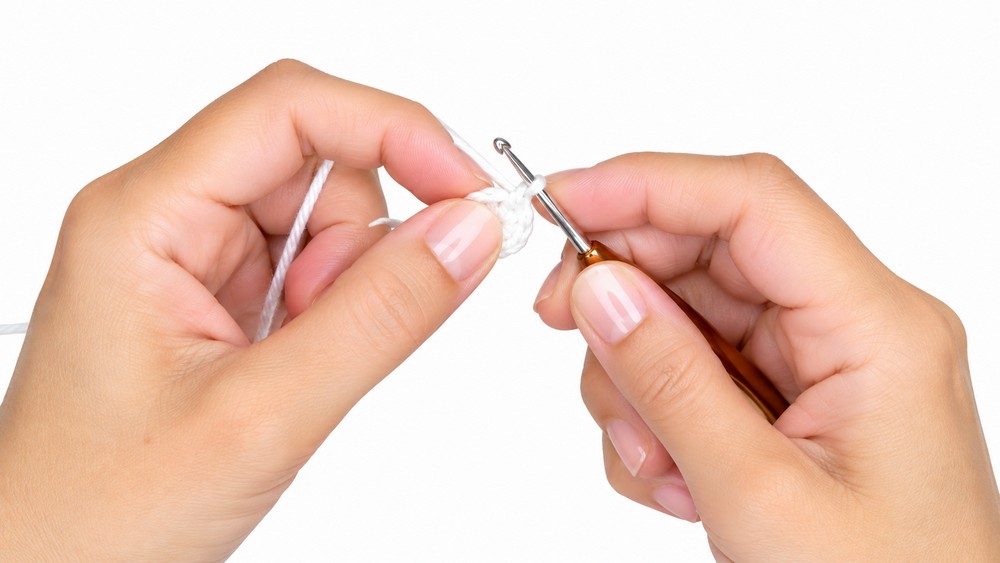
Do not fasten off white. Change to brown in the next round.
Brown Part (The Cake Base)
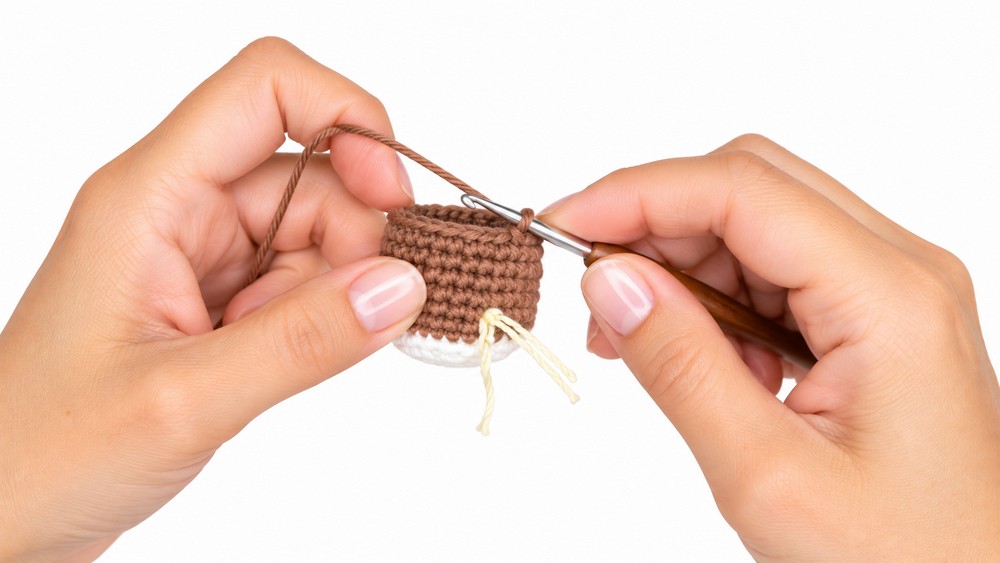
- Transition (Round 5): Attach brown yarn; work 30 sc in BLO around. (30 sts)
- Round 6: 30 sc through both loops.
- Round 7: 8 sc, dec, rep 3 times. (27 sts)
- Rounds 8–10: 27 sc in each round.
- Round 11: 4 sc, dec, 7 sc, dec, 7 sc, dec, 3 sc. (24 sts)
- Rounds 12–13: 24 sc in each round.
- Round 14: 2 sc, dec (BLO), rep 6 times. (18 sts)
Add a little polyfill stuffing, shaping gently. Cut a cardboard circle that fits neatly into the base, push it inside on top of the stuffing for structure. - Round 15: 1 sc, dec, rep 6 times. (12 sts)
- Round 16: 6 dec. (6 sts)
Cut yarn, thread tail through remaining 6 sts, and pull to close tightly. Weave in the end.
Final Details
Glaze Drips:
- Rejoin white yarn to any of the front loops remaining from Round 5 (where the brown was introduced).
- [For each drip:]
- Ch 5, turn and work sc back down each ch (4 or 5 sc).
- Join to next available loop of the round with a sl st.
- Repeat around, varying drips in length (ch 3–5) and skipping occasional loops for a natural, irregular edge.
- Once all desired drips are made, flatten along brown cake and tack in place with the yarn needle and white yarn tail.
Sprinkle Decoration:
- Using colored embroidery floss or thin yarn, embroider straight lines, dashes, or French knots across the glaze. Spaces these randomly as candy sprinkles for a festive look.
- Weave all ends inside the cake.
Assembly & Finished Size
The main structure is seamless, with the base stabilized by a cardboard circle hidden under the stuffing. Once the amigurumi is fully closed, all extra details—icing drips, embroidery sprinkles—are added for realism. The finished cake is approximately 4 cm tall, perfectly palm-sized and sturdy enough to stand upright.
Final Words
This Easter cake amigurumi pattern provides a quick, decorative project with big visual payoff in a small package. Through careful shaping, loop manipulation, and simple embellishment, the cake closely resembles a traditional glazed Easter sweet. Whether gifted, displayed, or added to a holiday collection, this miniature cake is a cheerful, hands-on way to celebrate festive creativity.