Fill your spring days with joy using this Crochet Bunny Free Pattern to make a charming little rabbit that looks cute in any toy collection.
Soft and round, these animals have kind and gentle faces that feel warm and friendly. A Crochet Bunny Design By @CrochetToysIryna is very special because it has big eyes and a small smile. Both kids and grown-ups love it.
Sweet Crochet Bunny Free Pattern For Easter Basket Gifts
Crochet bunnies come in many colors. Light pink, soft blue, pale green, cream, and light brown all look nice. This gives each bunny its own style. The yarn is soft and nice to touch. It is strong and safe for people who have sensitive skin.
Making a crochet bunny helps people learn patience and focus. Stitching is slow and calm, so many find it relaxing. It also feels good to finish making something with your hands. These bunnies make thoughtful gifts too. Each one is different because it is handmade. Using yarn and making by hand is better for the earth than factory toys.
More than just looking good, crochet bunnies give comfort. These are soft to hold and their gentle faces make people smile. They fit well anywhere — in a child’s room, a living room, or an office. They add a happy and calm feeling to a space.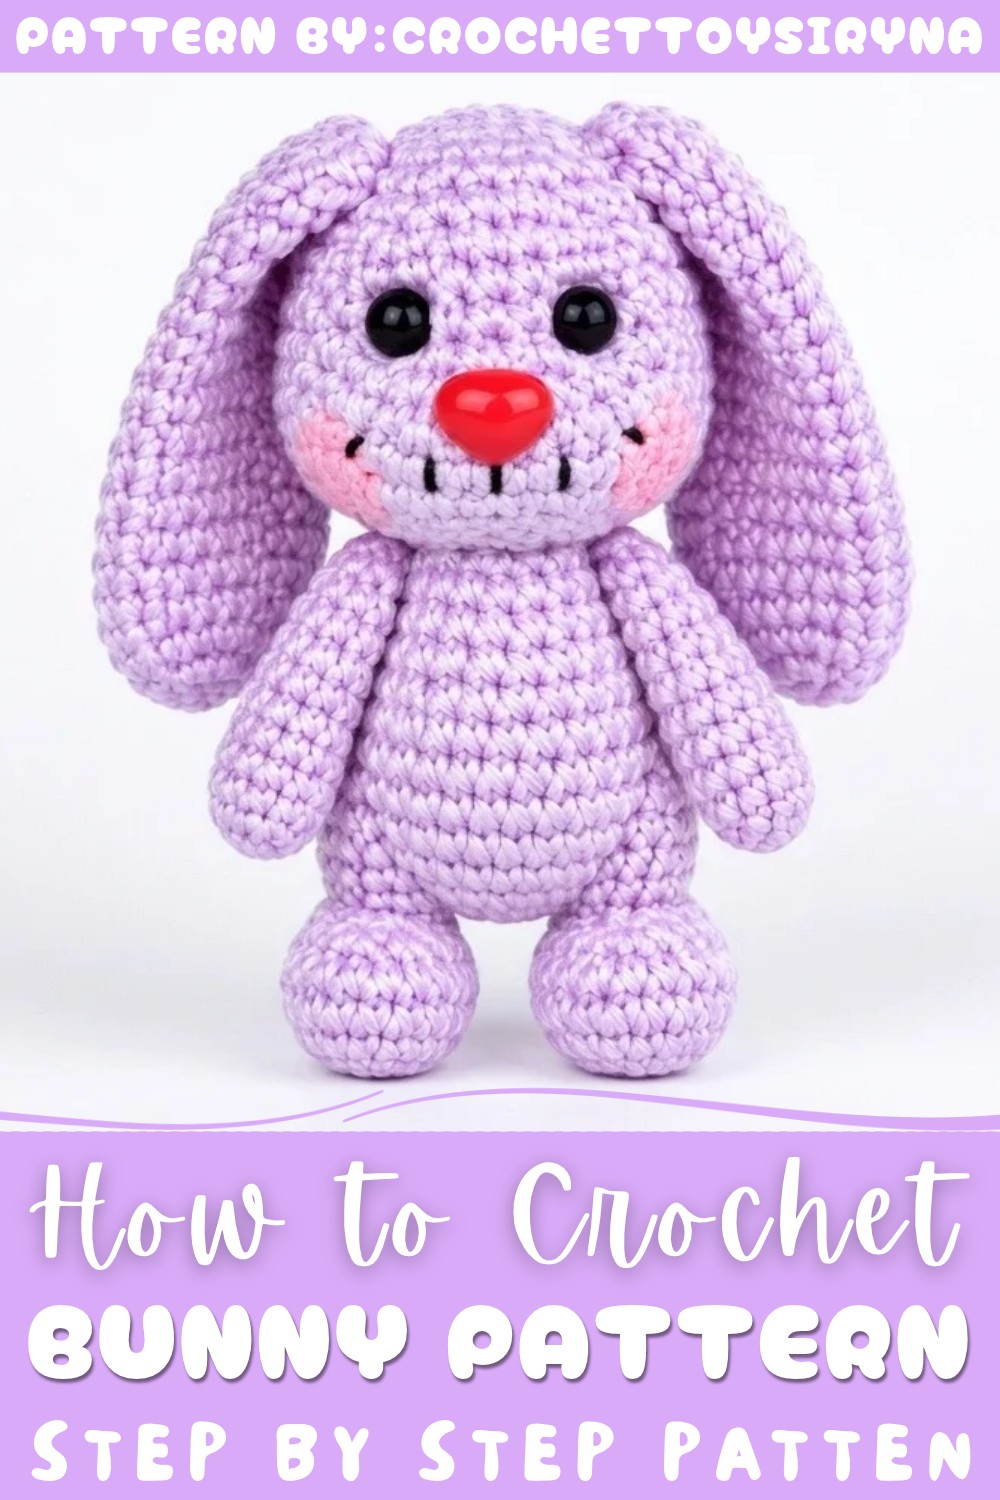
In short, a crochet bunny is soft, friendly, and full of charm. Making one helps you relax, and having one brings joy. It is a lovely friend or gift that people of all ages can enjoy.
About the Pattern
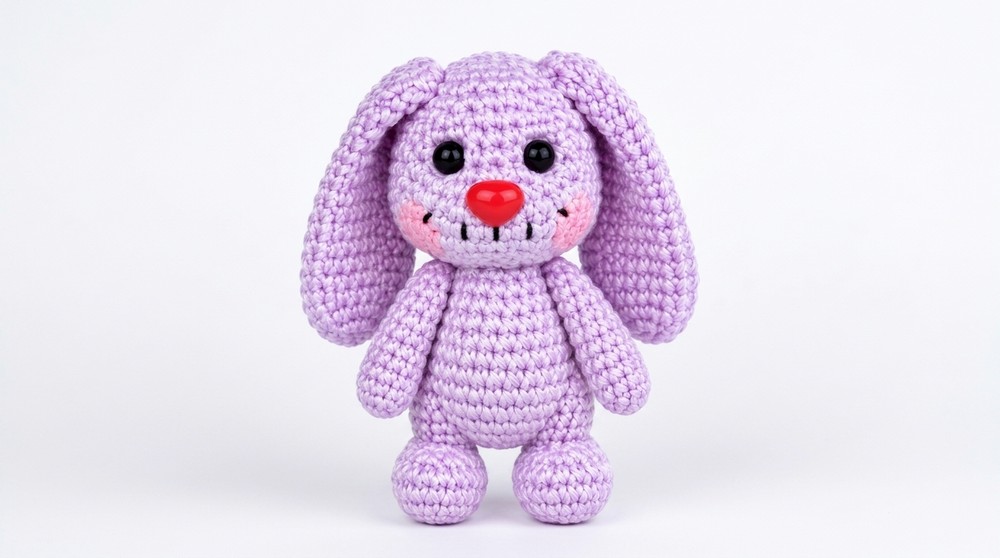
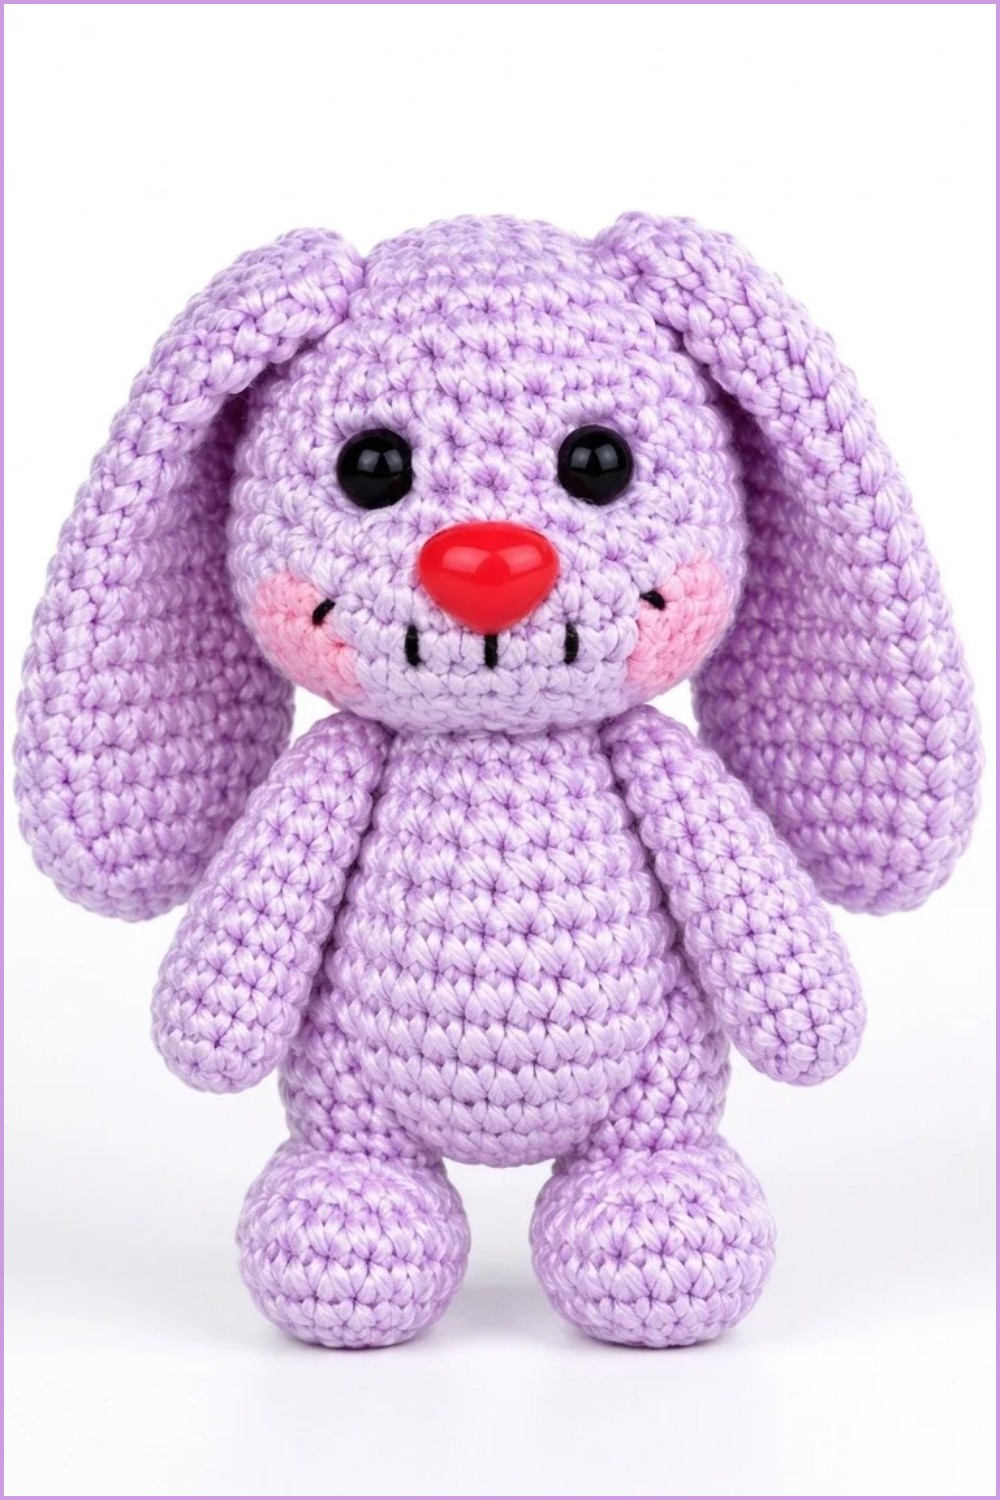
This pattern is for a charming 10.5 cm little bunny, thoughtfully constructed with compact, seamless shapes and delicate features. Using fine yarn and thread joints for movable limbs, it captures classic amigurumi style. The pattern is composed of detailed sections: body and head as a continuous piece, sculpted cheeks, flat crocheted ears, stuffed arms and legs, a compact tail, and embroidered facial accents. The thread-jointing method for attaching limbs allows them to move, enhancing the bunny's playfulness and poseability.
Key Pattern Details
- The bunny is crocheted in the round, with the body and head constructed as one piece.
- Sculpting of the cheeks is completed after the head is closed, giving a gentle facial contour.
- Movable limbs are created with a thread-joint method, allowing the arms and legs to rotate.
- The ears are crocheted with turning rows to create a subtle curved shape.
- The tail is a compact, rounded detail, attached securely to the back.
Important Notes
- Each section begins with a magic ring, ensuring a tight start and no gaps.
- Safety eyes are inserted after a specific round in the head sequence, guaranteeing precise placement.
- The bunny’s features are enhanced with embroidery and blush.
- Stuff firmly but not overstuff, as the shaping and sculpting will benefit from some flexibility.
Difficulty Level
This pattern is best suited for intermediate crocheters. Familiarity with magic ring, increases, decreases, continuous rounds, thread-joints, and basic embroidery techniques is recommended.
Supplies Needed
- YarnArt Jeans yarn, suitable for amigurumi
- 1.5 mm crochet hook
- Safety eyes (recommended size: 6 mm)
- Embroidery thread (for whiskers and other facial details)
- Stuffing (polyester fiberfill)
- Needle for sewing and sculpting
- Scissors
- Stitch marker (optional, for tracking rounds)
- Blush or fabric paint for cheeks
Size & Measurements
When crocheted with recommended yarn and hook, the bunny will measure approximately 10.5 cm tall.
Gauge & Stitch Details
Gauge is not critical for toys, but the stitches should be tight enough that stuffing is not visible. As a general guideline, aim for 6 single crochets over 2.5 cm. Adjust hook size if necessary to achieve a firm fabric.
Crochet Abbreviations
- MR: Magic Ring
- SC: Single Crochet
- Inc: Increase (2 SC in one stitch)
- Dec: Decrease (single crochet two stitches together)
- Ch: Chain
- St(s): Stitch(es)
Special Stitch Guide
- Magic Ring: Create a loop, work SCs into the ring, then pull tail to close.
- Thread Joint: Using yarn and needle, pass through the limb and body to create a movable attachment. Knot securely inside the body.
Complete Crochet Pattern
Body (Rounds 1–14)
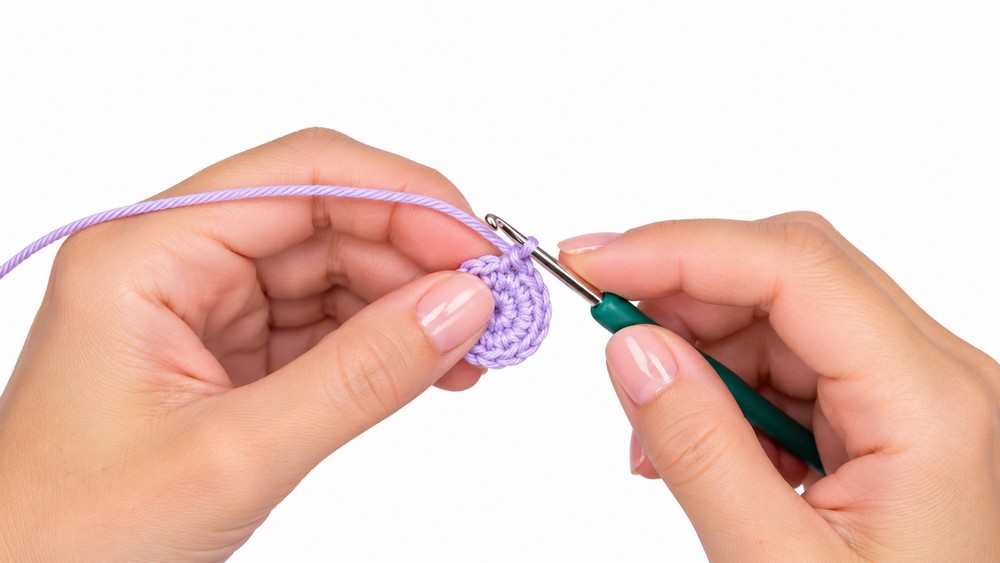
- Round 1: MR, 6 SC
- Round 2: Inc in each st (12 SC)
- Round 3: (1 SC, Inc) x 6 (18 SC)
- Round 4: (2 SC, Inc) x 6 (24 SC)
- Round 5: (3 SC, Inc) x 6 (30 SC)
- Rounds 6–8: 30 SC in each round
- Round 9: (3 SC, Dec) x 6 (24 SC)
- Rounds 10–11: 24 SC
- Round 12: (2 SC, Dec) x 6 (18 SC)
- Round 13: 18 SC
- Round 14: (1 SC, Dec) x 6 (12 SC)
Stuff the body evenly.
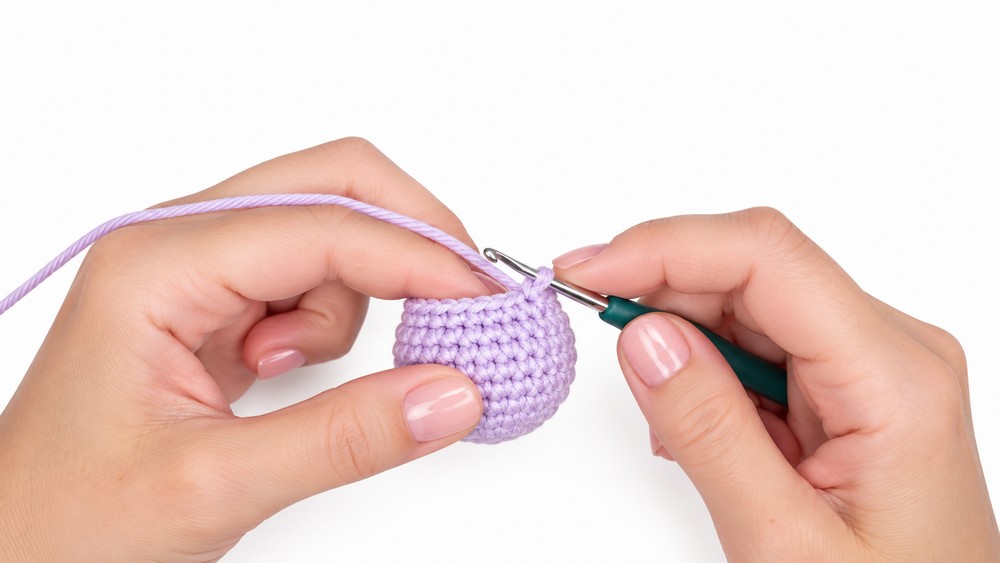
Head (Rounds 15–24)
- Round 15: (1 SC, Inc) x 6 (18 SC)
- Round 16: (2 SC, Inc) x 6 (24 SC)
- Round 17: (3 SC, Inc) x 6 (30 SC)
- Round 18: (4 SC, Inc) x 6 (36 SC)
- Rounds 19–20: 36 SC
- Round 21: (4 SC, Dec) x 6 (30 SC)
- Round 22: (3 SC, Dec) x 6 (24 SC)
- Round 23: (2 SC, Dec) x 6 (18 SC)
Insert safety eyes after this round, space them evenly. - Round 24: (1 SC, Dec) x 6 (12 SC)
Stuff the head firmly.
Close the opening, pass yarn through the final stitches and draw tight.
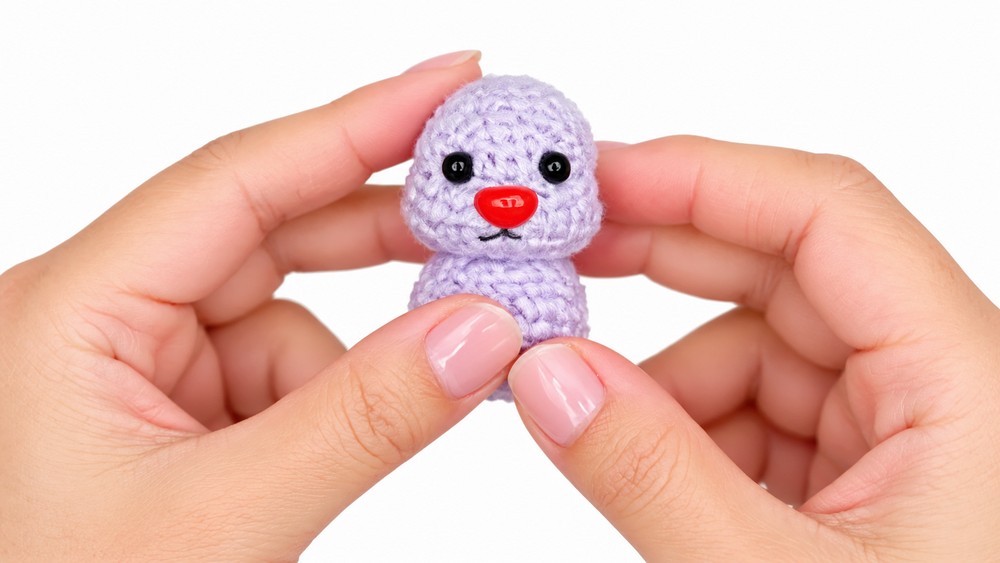
Sculpting the Cheeks
Using a needle and yarn, insert at the base of the nose and bring the yarn out below the eye. Repeat to shape symmetrical cheeks. Secure and hide the ends inside the head.
Ears (Make 2)
- Foundation Chain: Ch 4
- Work back along the chain:
- Row 1: SC across (3 SC)
- Row 2: Ch 1, turn, SC across (3 SC)
- Continue working turning rows, increase to 5 SC wide, stop at 19 rows height
- Row 20–22: Gradually decrease to shape ear tip
Fasten off, shape gently, and leave a long tail for sewing.
Arms (Make 2)
- Round 1: MR, 6 SC
- Round 2: (1 SC, Inc) x 3 (9 SC)
- Rounds 3–10: 9 SC in each round
Stuff lightly. - Round 11: (1 SC, Dec) x 3 (6 SC)
Close the opening and leave a tail for thread jointing.
Legs (Make 2)
- Round 1: MR, 6 SC
- Round 2: Inc in each st (12 SC)
- Round 3: (1 SC, Inc) x 6 (18 SC)
- Shape the foot using Dec as needed
- Round 4–5: Decrease by working (2 SC, Dec) for shaping
- Round 6–10: Continue to form the foot and lower leg
Increase back up to 18 SC for upper leg - Round 11–19: Work even rounds and decrease to close
Stuff firmly and leave a long tail for thread jointing.
Tail
- Round 1: MR, 6 SC
- Round 2: Inc in each st (12 SC)
- Round 3: 12 SC
- Round 4: (1 SC, Dec) x 6 (6 SC)
Close the opening and leave a tail for sewing.
Joining & Final Size
- Attach legs and arms to the body using the thread-jointing method. Pass a needle with yarn through the limb, then through the body, back through the opposite limb. Secure and allow limbs to rotate freely.
- Sew tail to the lower back securely.
- Sew ears to the head, spacing them evenly on top.
- Embroider imitation whiskers with embroidery thread, add blush or pink paint to cheeks for the final effect.
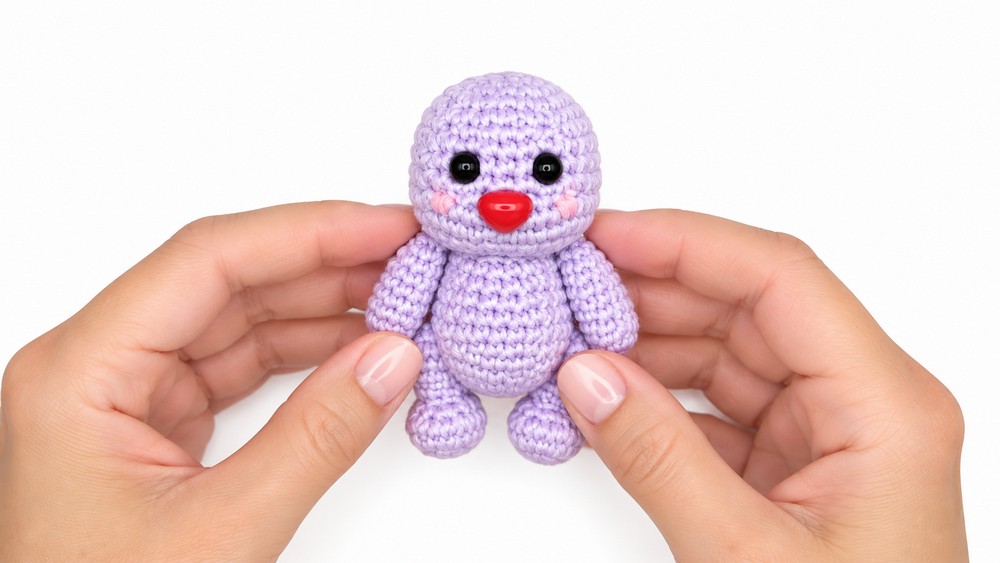
The final bunny stands at approximately 10.5 cm tall, with movable arms and legs, a sturdy tail, and gently sculpted cheeks for endearing expression.
Final Words
This bunny pattern captures endearing proportions and subtle shaping through seamless rounds, sculpted details, and movable limbs. The combination of fine stitches, thread joints, and subtle embroidery yields a toy that is not only playful but also visually delightful. With thoughtful assembly and gentle finishing, the piece conveys personality and charm, making it suitable for gifting, display, or creative play. By following the structured rounds and assembly steps, one can create a lovely keepsake—a bunny with classic amigurumi appeal and modern poseability.