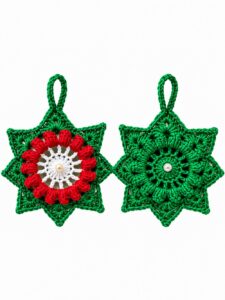
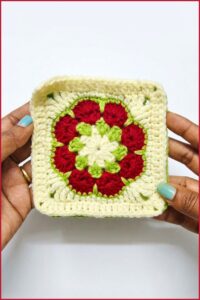
Light up the season with this free crochet Christmas wreath pattern that turns simple materials into eye-catching festive decorations everyone will admire.
Getting your home ready for the holidays is such a joyful time. Making your own decorations adds a special, heartfelt touch that you just can't buy in a store. This Free Crochet Christmas Wreath Pattern is perfect for creating something sweet and festive. It’s a wonderful project for a cozy afternoon, and you can find this great idea on the Cozy Crochet Love YouTube channel. This pattern helps you create a tiny wreath ornament that is perfect for your tree or as a thoughtful handmade gift.
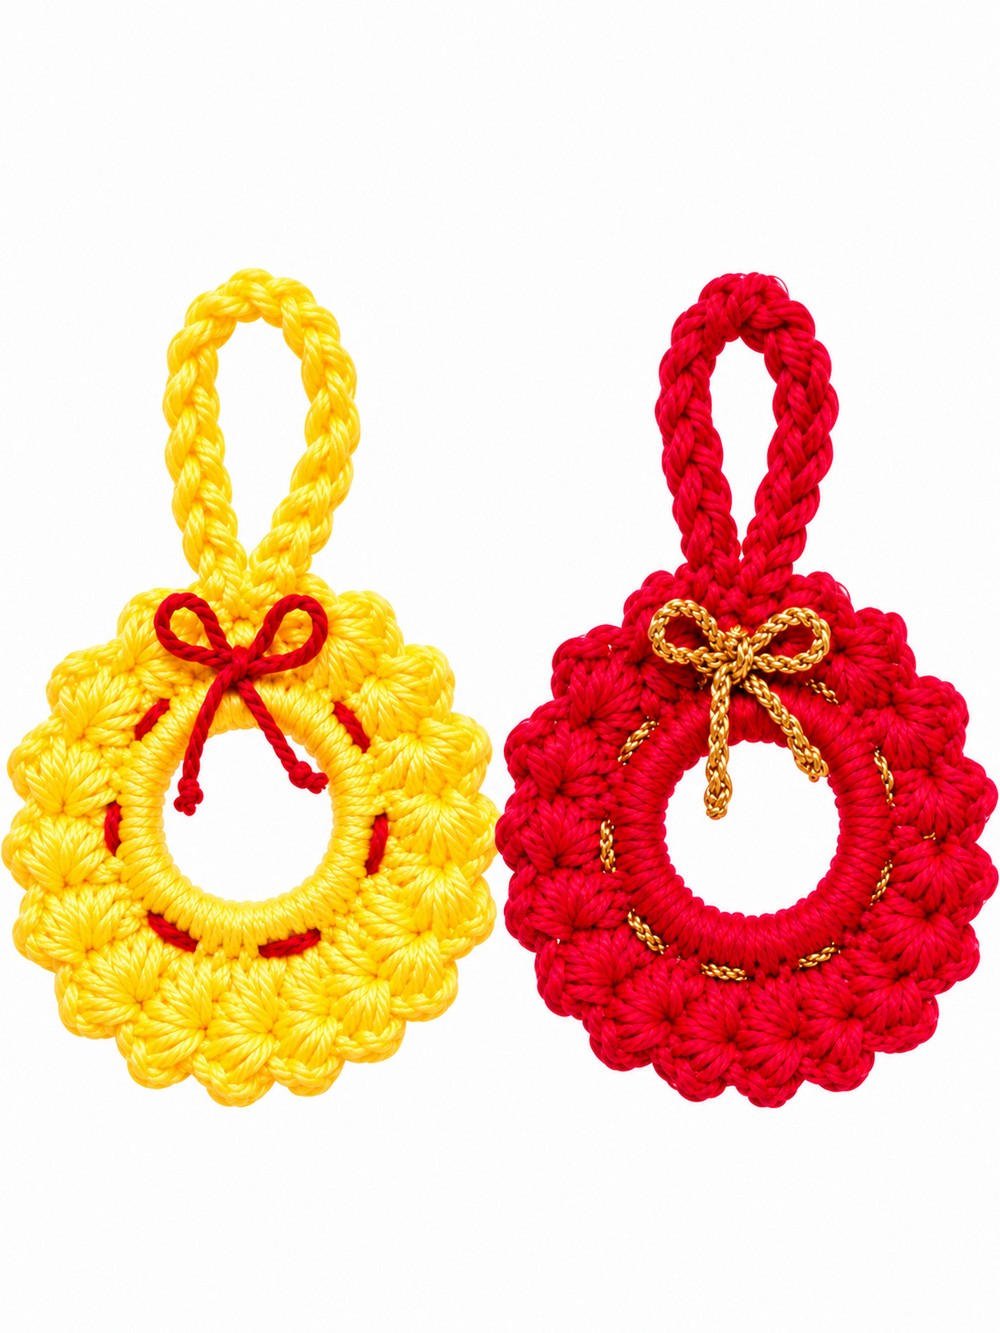
This little crochet wreath is incredibly charming and looks just like a classic Christmas decoration, only in a miniature size. It has a lovely, round shape made with puffy green stitches that give it a lush, textured feel, like a real pine wreath. The standout feature is the tiny, bright red bow tied neatly at the bottom.
Free Crochet Christmas Wreath Pattern for Modern Look
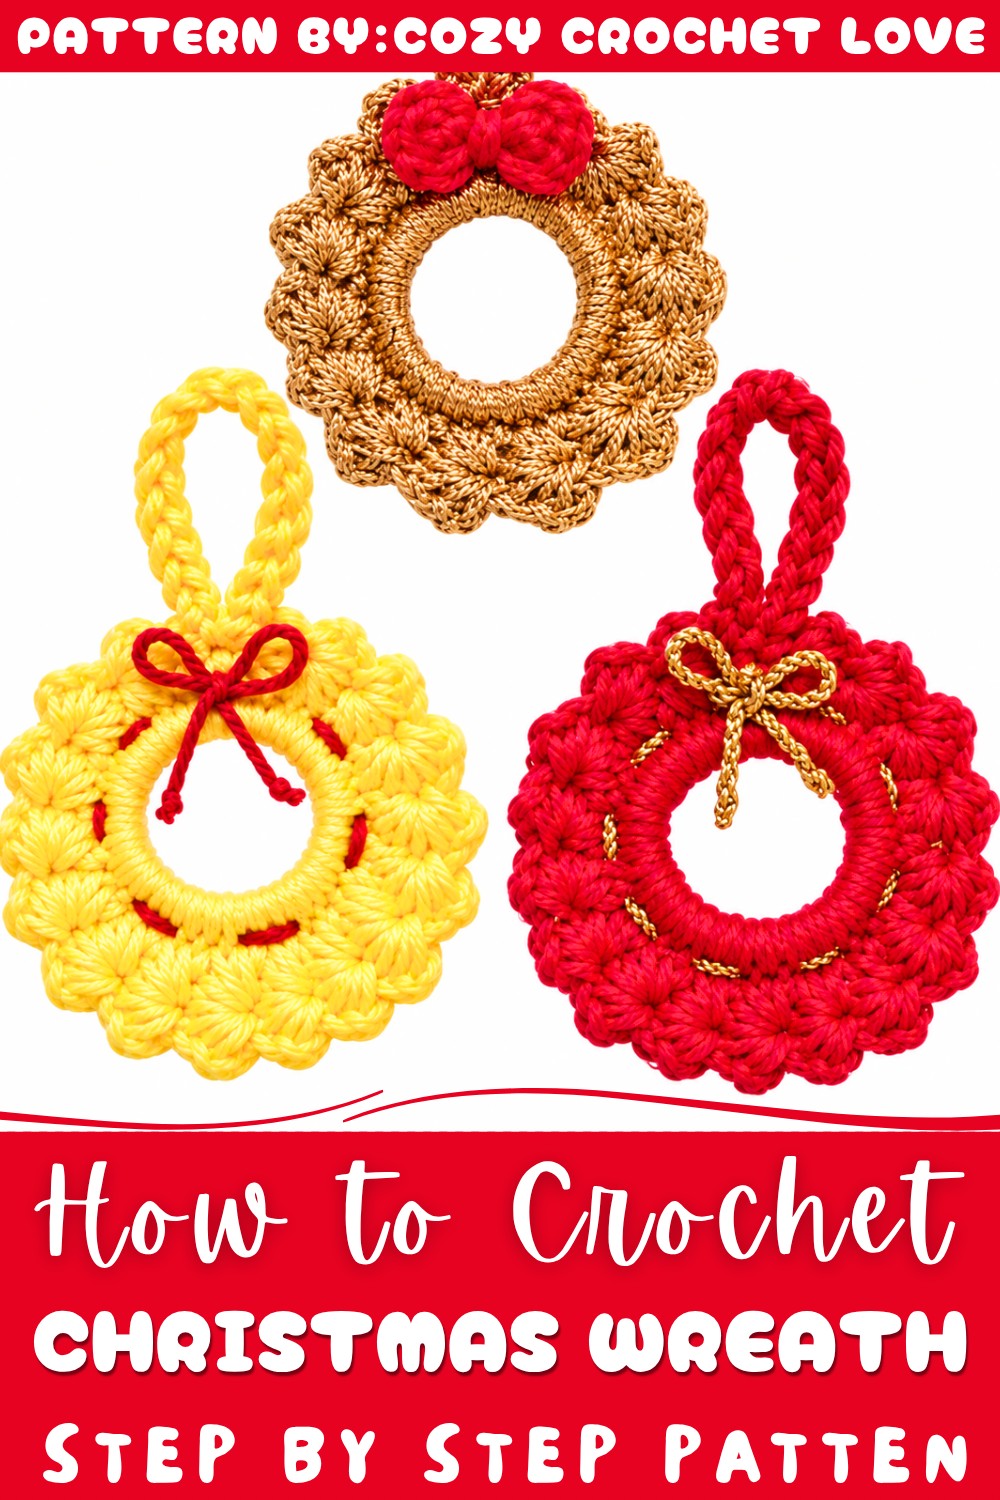
This little detail adds the perfect pop of holiday color and makes the whole design feel complete. A simple loop at the top makes it ready to hang anywhere you like. Because these wreaths are so small and cute, you can use them in many fun and creative ways. They look amazing hanging on the branches of a Christmas tree, tied onto a wrapped present as a special gift topper, or even dangling from a doorknob to spread some holiday cheer.
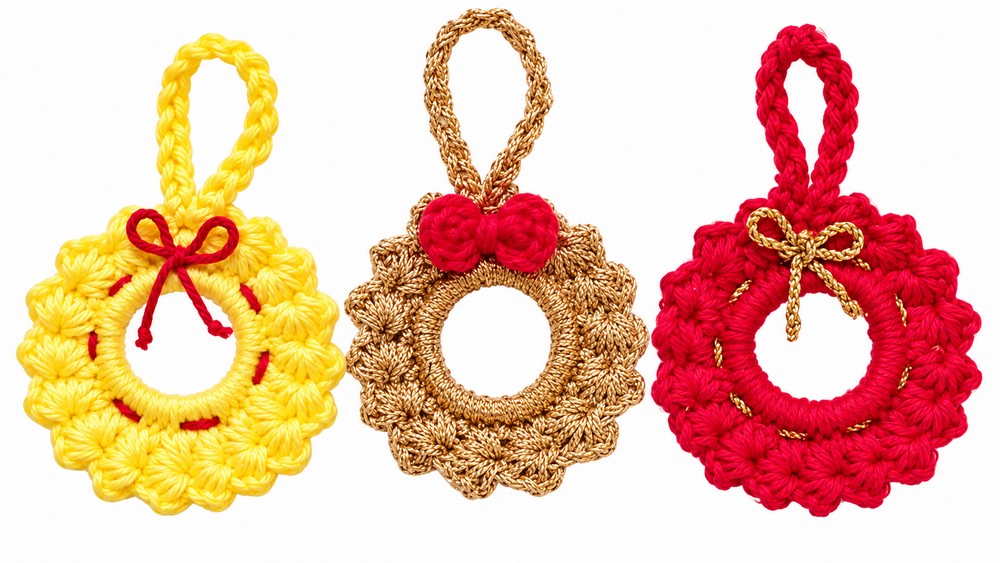
This project is fantastic because it's super quick to make, so you can create a whole bunch of them in just one afternoon. Making these little treasures is a wonderful way to get into the holiday spirit and handmade decorations that your family will love for years to come.
Crochet Christmas Wreath Pattern
This pattern creates a beautiful crochet Christmas wreath featuring a stunning star stitch-inspired texture. Using cotton yarn or three strands of shimmery yarn held together with a 3.5 mm crochet hook, you will work a foundation circle, build a richly textured wreath body using a unique loop-gathering technique, add a hanging loop, and finish with a charming handmade bow for a festive and elegant holiday decoration.
Quick Overview of Pattern
- Foundation Circle: Built from a slip knot and a chained ring filled with single crochet stitches
- Textured Wreath Body: Created using a star stitch-inspired loop-gathering technique that pulls 8 loops onto the hook at once for a rich and dimensional texture
- Hanging Loop: A simple 20-chain loop for easy and neat wreath display
- Handmade Bow: Constructed from double crochet stitches and chain spaces, then wrapped and secured at the center for a classic bow finish
- Yarn Options: Works beautifully in cotton yarn or three strands of shimmery yarn held together for a festive sparkle effect
Notes
- When working the foundation circle, pull up a loop and close it after joining the first round of single crochets to avoid confusion when beginning the textured pattern row
- The chain 5 at the beginning of the textured round is essential for setting up the correct stitch height; do not skip or shorten this starting chain
- Maintaining exactly 8 loops on your hook before each pull-through is critical for keeping the star stitch texture consistent and even throughout the wreath
- When repeating the loop-gathering sequence, pull up loops from the chain, the gap, and the next stitches in the correct order to maintain the proper stitch structure
- To close the textured round, skip the first two of the starting 5 chains and slip stitch into the 3rd chain specifically for a neat and invisible join
- Use shimmery yarn in three strands held together for a glittery festive effect, or cotton yarn for a more classic and matte finished appearance
- Weave in all yarn ends thoroughly using a tapestry needle to ensure a clean and professional finished wreath
Skill Level
Intermediate
This pattern is suitable for crocheters comfortable with:
- Creating a slip knot and a chained foundation ring
- Working single crochet stitches into a center ring
- Managing multiple loops on the hook simultaneously
- Constructing a double crochet bow
- Neat finishing and weaving in ends
Materials
- Yarn: Weight cotton yarn or 3 strands of shimmery yarn held together
- Crochet Hook: 3.5 mm crochet hook
- Additional Tools:
- Tapestry needle for weaving in ends
- Scissors
Measurements / Sizing
- Finished Wreath Diameter: Approximately 8 to 10 cm
- Hanging Loop Length: Approximately 5 to 6 cm
- Bow Width: Approximately 3 to 4 cm across
- This wreath is designed as a miniature decorative ornament suitable for hanging on a Christmas tree or gifting as a handmade holiday decoration
Gauge
- Approximately 18 sc x 20 rows over a 10 cm square using the recommended yarn and a 3.5 mm hook serves as a general tension reference
- Gauge is not strictly critical for this decorative project; however, maintaining consistent tension ensures the wreath body lies flat and the textured stitches appear even and uniform throughout
- Working too loosely may result in a wreath that loses its defined circular shape and textured appearance
Stitch Abbreviations
| Abbreviation | Full Stitch Name |
|---|---|
| ch | Chain |
| sl st | Slip Stitch |
| sc | Single Crochet |
| dc | Double Crochet |
| yo | Yarn Over |
| loop | Pull up a loop onto the hook without completing the stitch |
| star st | Star Stitch (loop-gathering technique, see Special Stitches) |
Special Stitches
Star Stitch (Loop-Gathering Technique)
This is the signature stitch of this wreath pattern and creates its beautiful dimensional texture. Follow these steps carefully to master this stitch before beginning the wreath body.
How to Work the Star Stitch:
- Insert the hook into the specified stitch or space
- Yo and pull up a loop (do not complete the stitch and keep it on the hook)
- Repeat this insertion and loop-pulling process across the next specified stitches until you have exactly 8 loops sitting on your hook at once
- Yo and pull through all 8 loops at once to close the star stitch
- Lock the stitch by chaining as specified to secure the gathered loops in place
Locking the Stitch
After pulling through all 8 loops, work the specified number of chains immediately to lock and secure the completed star stitch before beginning the next repeat.
Beginner Tip: Practice the star stitch on a small swatch before beginning the wreath so you feel comfortable managing 8 loops on your hook at once. This makes working the actual wreath much easier and more enjoyable.
The Crochet Pattern!
Part 1: Foundation Circle
Purpose: This section creates the circular base ring onto which the entire textured wreath body will be worked.
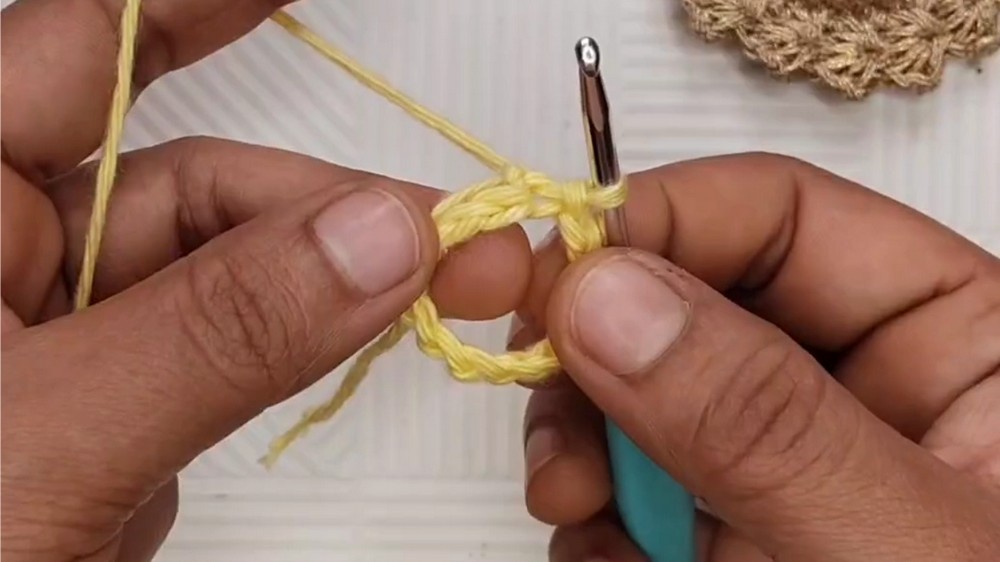
Step 1: Starting the Circle
- Make a slip knot and place it onto your hook
- Ch 14
- Insert the hook into the very first chain made
- Sl st to join the chain into a closed ring
Step 2: Filling the Circle with Single Crochets
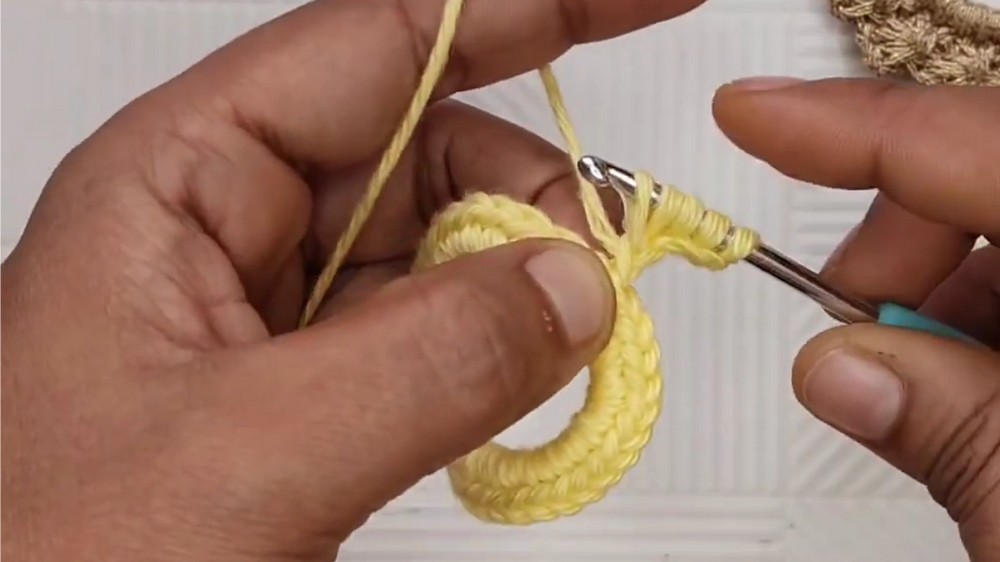
- Ch 1 (does not count as a stitch)
- Work 35 sc all into the open center space of the ring
- Insert your hook into the center hole of the ring rather than into individual chain stitches
- Work all 35 sc evenly spaced around the inside of the ring
- Join with a sl st into the first sc made to close the round
Stitch Count: 35 sc total around the foundation ring
Step 3: Securing Your Place
- After joining, pull up the working loop slightly and close it loosely to mark your place
- This prevents the round from unraveling and helps you identify your starting position clearly when beginning the textured pattern in the next section
Beginner Tip: You can place a stitch marker into the first sc of this round to help you identify your joining point clearly throughout the next steps.
Part 2: Creating the Textured Wreath Pattern
Purpose: This section builds the rich star stitch-inspired texture across the entire wreath body by gathering multiple loops onto the hook and pulling through all at once.
Step 1: Beginning the Textured Round
- Ch 5 to begin the textured round
- This starting chain sets up the correct height and structure for the first star stitch repeat and is essential for a neat beginning
Step 2: Working the First Star Stitch
Follow these steps carefully to work the very first star stitch:
- Insert the hook into the 2nd chain from the hook
- Yo and pull up a loop (keep it on the hook — 2 loops on hook)
- Insert the hook into the 3rd chain from the hook
- Yo and pull up a loop (keep it on the hook — 3 loops on hook)
- Insert the hook into the 4th chain from the hook
- Yo and pull up a loop (keep it on the hook — 4 loops on hook)
- Insert the hook into the 5th chain from the hook
- Yo and pull up a loop (keep it on the hook — 5 loops on hook)
- Continue inserting the hook into the next stitches and pulling up loops until you have gathered exactly 8 loops total sitting on your hook at once
- Yo and pull through all 8 loops at once to close the first star stitch
- Ch 2 immediately to lock the stitch and secure the gathered loops in place
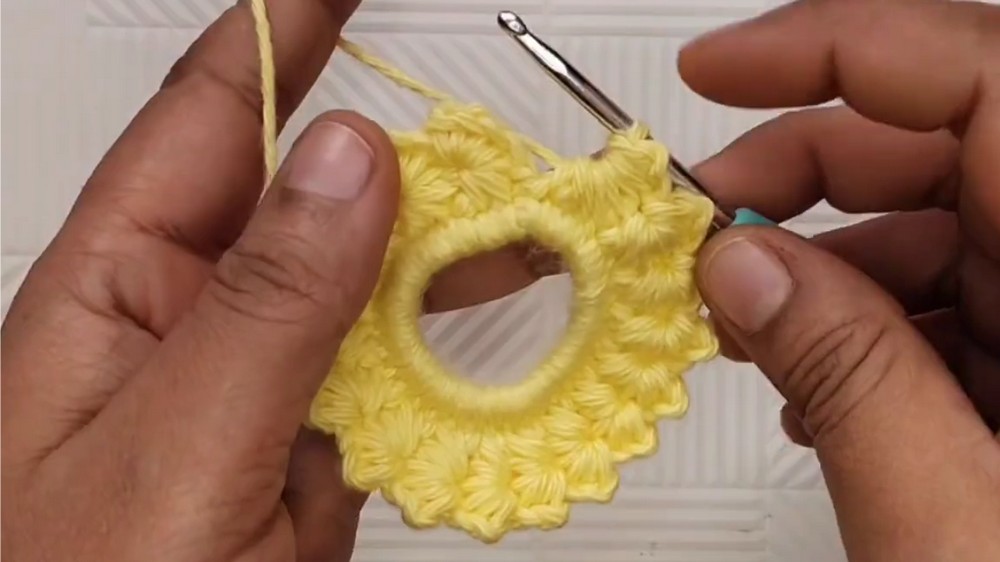
Important: Always count your loops carefully before pulling through. Having fewer or more than 8 loops will affect the consistency and appearance of the star stitch texture across the entire wreath.
Step 3: Repeating the Star Stitch Pattern
Repeat the following sequence all the way around the foundation circle:
- Pull up loops from the ch 2 space, the gap between stitches, and the next sc stitches of the foundation circle in order, always gathering exactly 8 loops onto your hook before each pull-through
- Yo and pull through all 8 loops at once
- Ch 2 to lock the stitch
- Move forward and repeat the loop-gathering sequence into the next stitches of the foundation circle
Continue repeating the star stitch sequence all the way around the circle until you return to the beginning chain 5.
Step 4: Closing the Textured Round
- At the end of the round, skip the first 2 chains of the starting ch 5
- Sl st into the 3rd chain of the starting ch 5 to close the round neatly and invisibly
Beginner Tip: Before closing, count your completed star stitches to make sure they are evenly distributed around the wreath. The wreath should look full and consistent all the way around with no gaps or crowded areas.
Part 3: Hanging Loop
Purpose: This simple chain loop allows the finished wreath to be hung neatly and securely for holiday display.
Step 1: Working the Hanging Loop
- Ch 20
- Sl st back into the same space where the chain began to form a closed loop
- The hanging loop is now complete and securely attached to the top of the wreath
Step 2: Fastening Off
- Fasten off the yarn leaving a sufficient tail for weaving in
- Using your tapestry needle, weave in all loose yarn ends thoroughly and securely into the back of the wreath fabric
- Trim any excess yarn neatly once all ends are fully secured
Part 4: Making the Bow
Purpose: The bow adds a classic and charming finishing detail to the completed wreath, giving it a festive and polished appearance.
Step 1: Starting the Bow
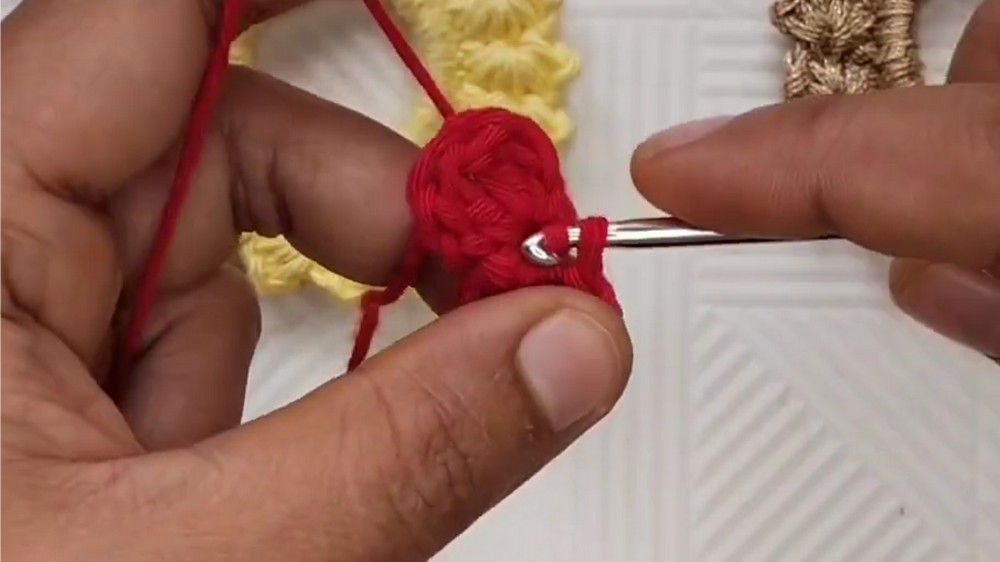
- Make a slip knot and place it onto your hook
- Ch 3
Step 2: Working the First Half of the Bow
- Work 2 dc into the very first chain
- Ch 2
- Sl st to complete and close the first half of the bow
Step 3: Working the Second Half of the Bow
- Ch 2
- Work 2 dc into the same space as before
- Ch 2
- Sl st to complete and close the second half of the bow
Step 4: Finishing and Attaching the Bow
- Take the remaining yarn tail and wrap it firmly around the center of the bow several times to gather and define the bow shape
- Tie a secure knot at the back of the wrapped center to hold everything in place
- Position the finished bow onto the wreath at your preferred location along the bottom or side
- Use the yarn tail and your tapestry needle to sew the bow securely onto the wreath body with several stitches
- Trim any excess yarn neatly to finish
Beginner Tip: Hold the bow against the wreath in a few different positions before sewing it on to find the placement that looks most balanced and attractive to you before committing to the final attachment.
Assembly and Finished Size
This crochet Christmas wreath requires minimal additional assembly beyond attaching the bow. The foundation circle, textured wreath body, and hanging loop are all worked as one continuous piece with no seaming required. Once the bow is completed separately, it is wrapped, knotted, and sewn directly onto the wreath at the desired position using the yarn tail. When fully assembled and finished, the wreath measures approximately 8 to 10 cm in diameter with a hanging loop of approximately 5 to 6 cm and a bow of approximately 3 to 4 cm across, creating a beautifully proportioned miniature Christmas ornament ready for display or gifting.
Conclusion
This crochet Christmas wreath is a truly delightful and festive project that combines a unique star stitch-inspired texture with a classic handmade bow finish for a charming and elegant holiday ornament. The loop-gathering technique may feel unfamiliar at first, but with careful loop counting and consistent tension it produces a beautifully dimensional and professional result that is sure to impress.
Whether made in sparkling shimmery yarn for a glamorous tree ornament or in classic cotton yarn for a more traditional look, this mini wreath makes a wonderful handmade Christmas gift, tree decoration, or seasonal home accent. Make several in different colors for a festive and coordinated holiday display.