Stitch a lovable teddy bear with easy-to-follow instructions, turning soft yarn into a cuddly treasure perfect for heartfelt gifts and cheerful decor.
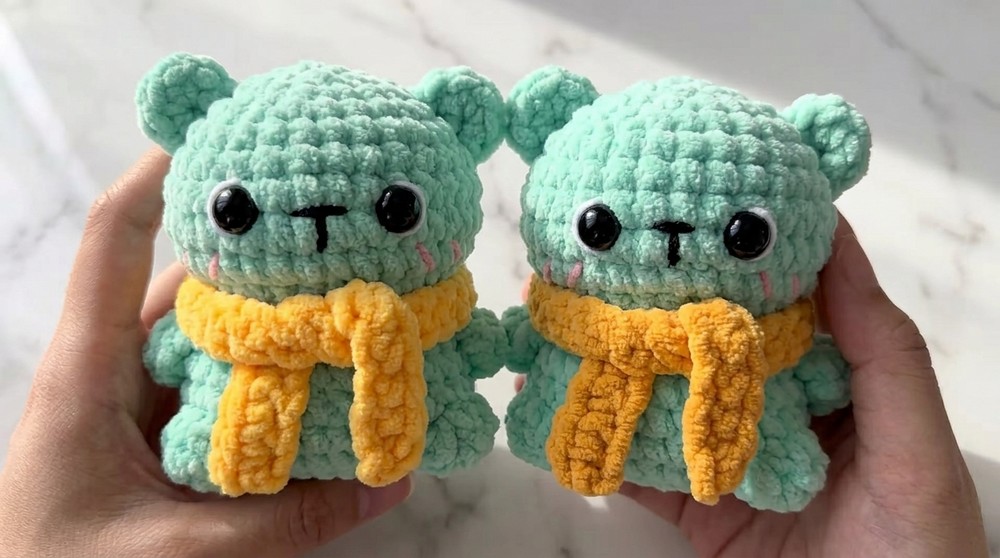
A crochet teddy bear is the perfect combination of charm and personality, stitched entirely from yarn. Small, cuddly, and full of character, it’s an exciting project that lets you shape every detail into something truly special. From floppy arms and button noses to cheerful little bears dressed in miniature outfits, every detail can reflect your unique style.
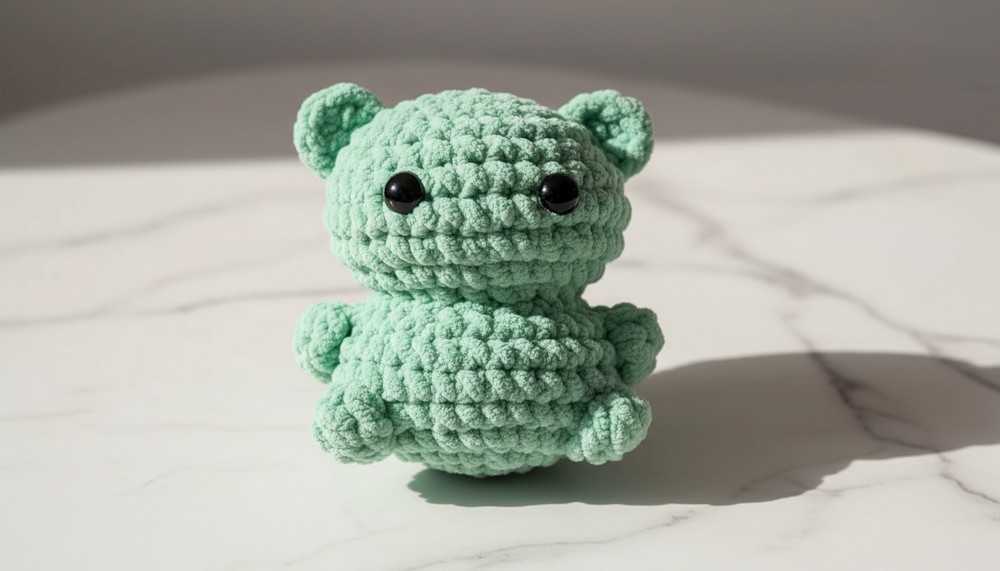
Charming Crochet Teddy Bear Pattern for Baby Showers
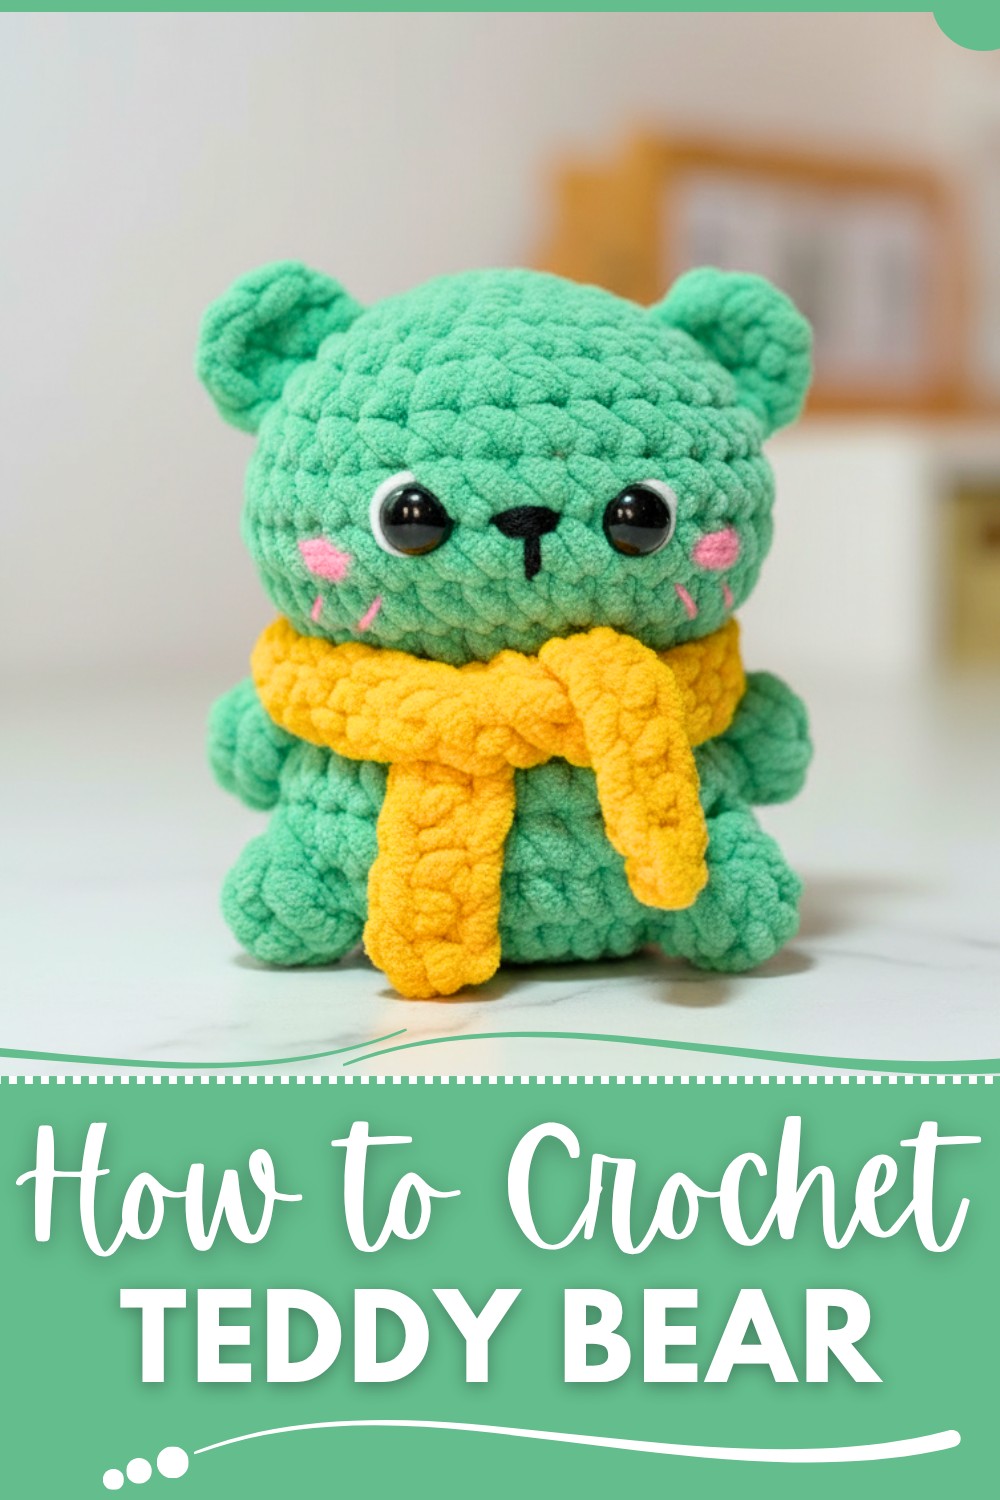
Teddy bears aren’t just adorable; they hold a timeless appeal, making them cherished gifts for birthdays, baby showers, or comforting keepsakes. What’s more, this project is perfect for using up leftover yarn, aligning practicality with fun. You can personalize it further by stitching in a name, crocheting tiny accessories, or even matching the bear’s colors to someone’s favorite sweater. With patience and a few soft stitches, a crochet teddy bear can be both a rewarding hobby and an irresistible one-of-a-kind gift that anyone would adore hugging tight.
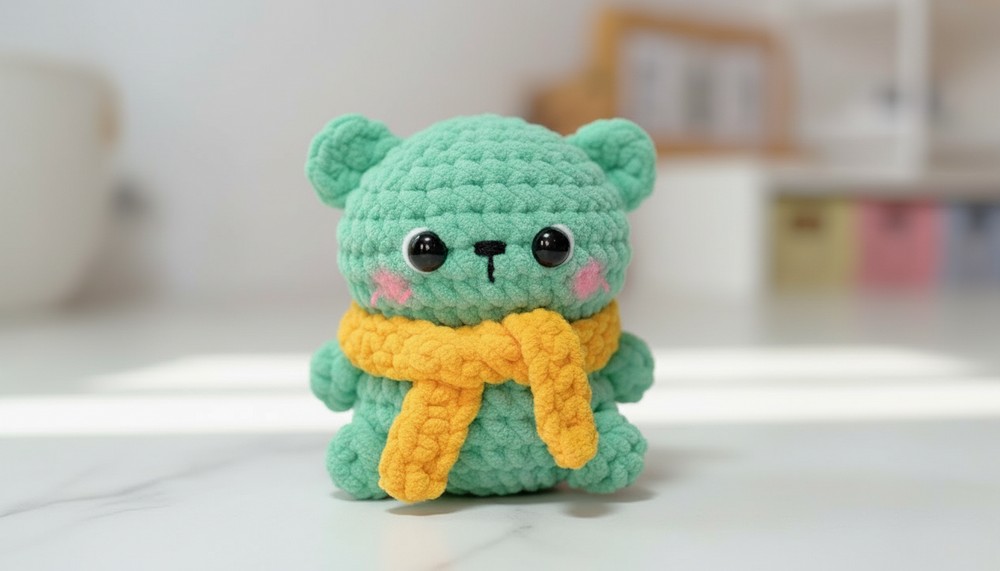
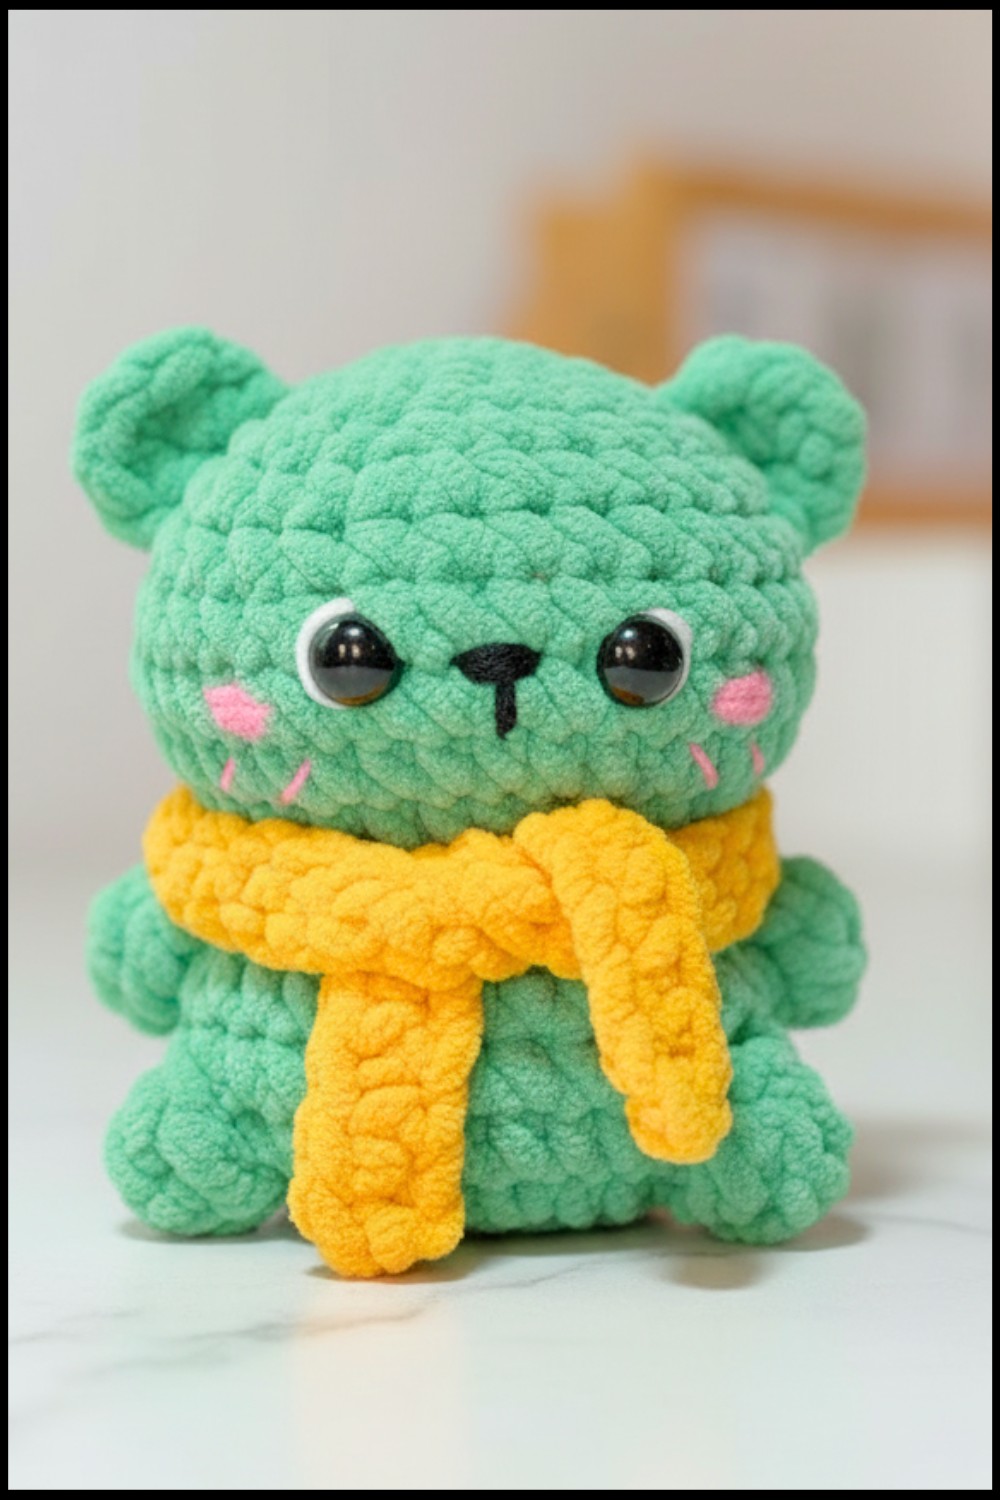
Crochet Cute Teddy Bear Pattern
Materials
- Yarn:
- Main body: Mint Green chenille yarn.
- Details:
- Black yarn (for nose embroidery).
- Pink yarn (for blush).
- White yarn (for eye outline embroidery).
- Yellow yarn (for scarf).
- Scrap yarn for optional embroidery details.
- Crochet Hook: 5.0 mm hook.
- Additional Tools:
- Safety eyes (10 mm).
- Fiber stuffing.
- Tapestry needle (for sewing and embroidery).
- Stitch markers.
- Scissors.
Skill Level
- Intermediate: Familiarity with creating magic rings, basic stitches (SC, HDC, DC), increases, decreases, and embroidery techniques is required.
Key Abbreviations
- MR: Magic Ring
- ST: Stitch
- SC: Single Crochet
- INC: Increase (2 SC in same ST)
- DEC: Invisible Decrease (crochet 2 STs together only through the front loops)
- CH: Chain
- HDC: Half Double Crochet
- TRC Cluster: 4 Triple Crochet Cluster
Special Notes
- Crochet Terms: Written in US crochet terminology.
- Gauge: Not critical for this pattern but ensure your stitches are tight enough to prevent stuffing from showing through.
- Stuffing: Add stuffing as you go to evenly fill the bear's parts.
- Safety Precautions: If gifting to a small child, securely attach safety eyes or use yarn to embroider the eyes instead.
Pattern Instructions
Body (Rounds 1–9)
Round 1:
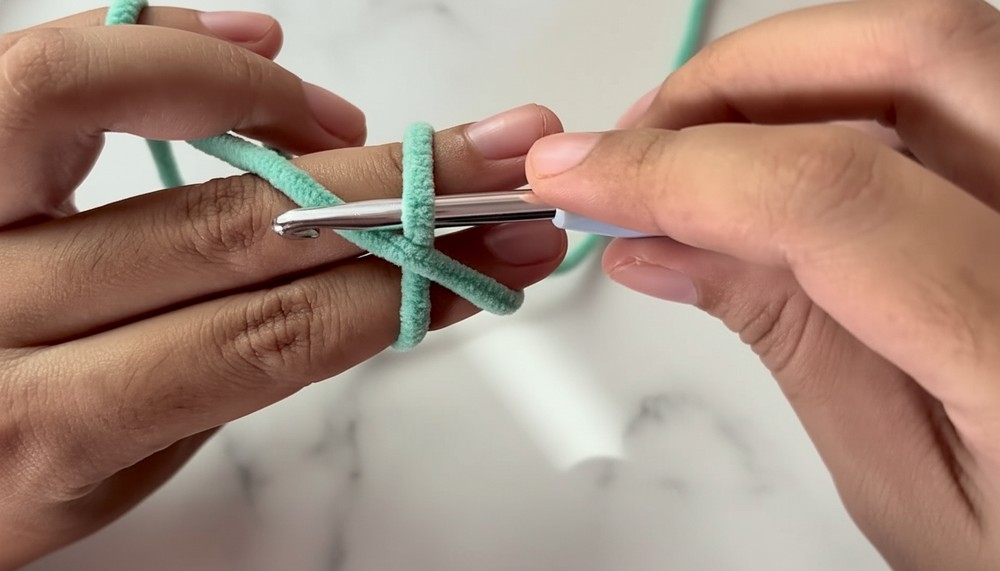
- Start with a MR.
- Work 8 SC into the magic ring. Pull the tail to close the ring tightly.
- Place a stitch marker in the first ST and move it up as you complete each round. (8 ST)
Round 2:
- Work 1 INC in each ST around. (16 ST)
Round 3:
- Repeat: 1 SC, 1 INC across the round. (24 ST)
Round 4:
- Repeat: 2 SC, 1 INC across the round. (32 ST)
Round 5:
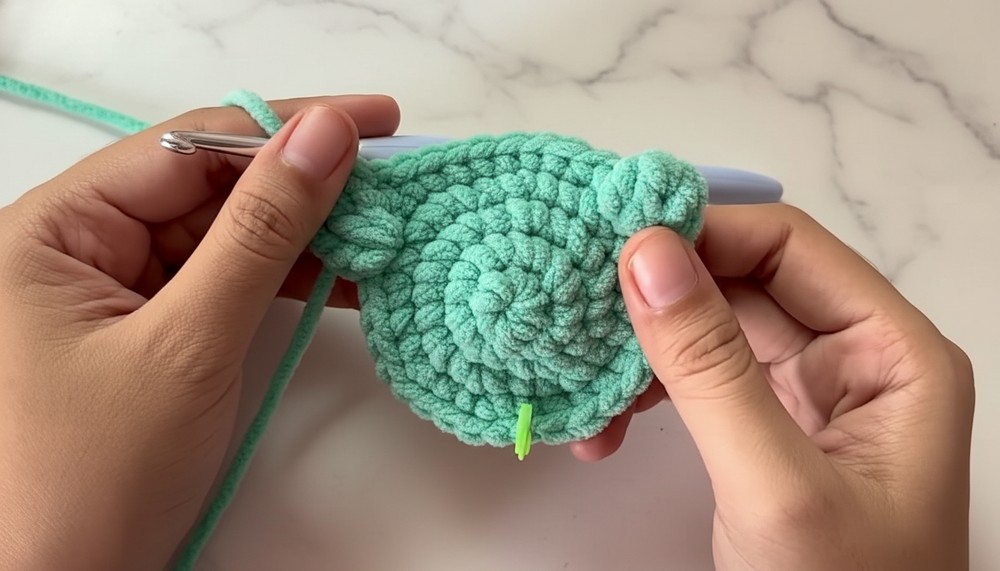
- SC in the next 10 ST. Work 1 TRC Cluster (explained below) in the next ST, then SC in the next 10 ST. Create another TRC Cluster in the next ST. Finish off with SC in the remaining ST. (32 ST)
How to make a TRC Cluster:
- Yarn over twice, insert hook into the ST, pull up a loop (4 loops on hook).
- Yarn over, pull through the first 2 hooks. Yarn over, pull through the next 2 loops. (2 loops remain.)
- Repeat steps 1 and 2 three more times (working into the same ST). You will have 5 loops on the hook.
- Yarn over and pull through all 5 loops.
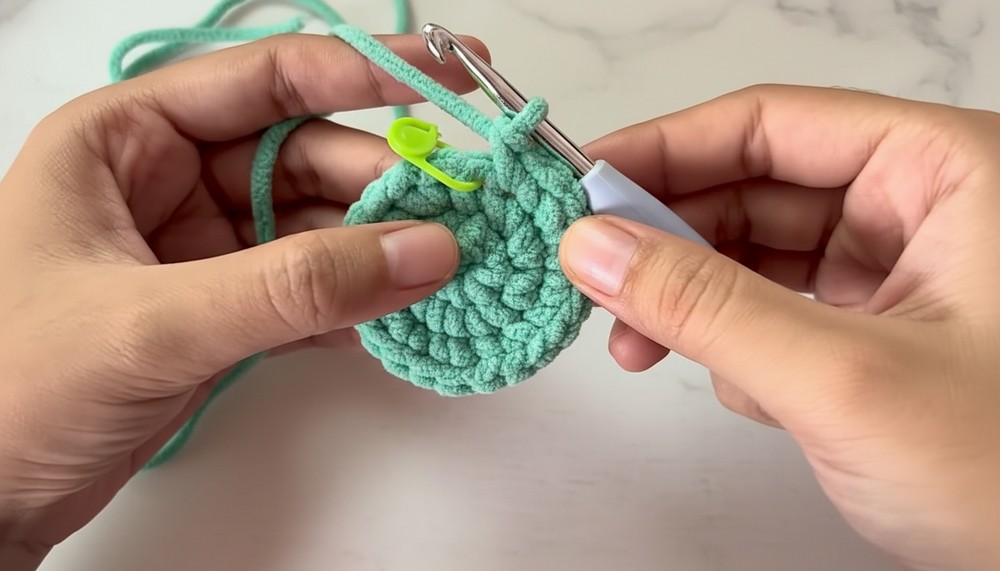
Rounds 6–8:
- SC in each ST around. (32 ST per round)
Round 9:
Repeat: 2 SC, 1 DEC across the round. (24 ST)
Head (Rounds 10–19)
Round 10: (Work in the Front Loop Only – FLO)
- Repeat: 1 SC, 1 INC in FLO across the round. (36 ST)
Round 11:
- Repeat: 2 SC, 1 INC across the round. (48 ST)
Rounds 12–13:
- SC in each ST around. (48 ST per round)
Round 14:
- Repeat: 2 SC, 1 DEC across the round. (36 ST)
Round 15:
- Repeat: 1 SC, 1 DEC across the round. (24 ST)
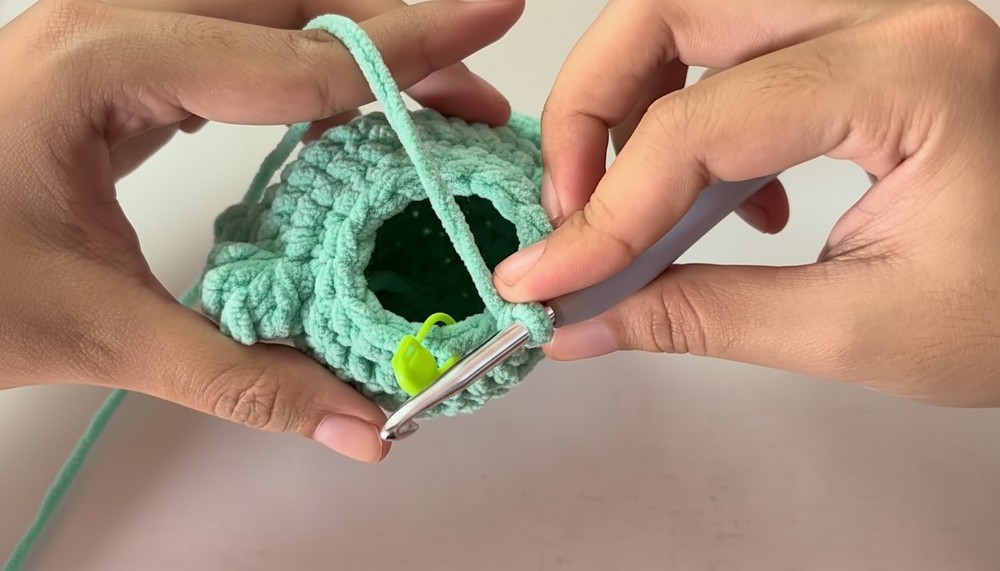
Round 16: (Insert fiber stuffing before fully closing)
- DEC in each ST around. (12 ST)
Round 17:
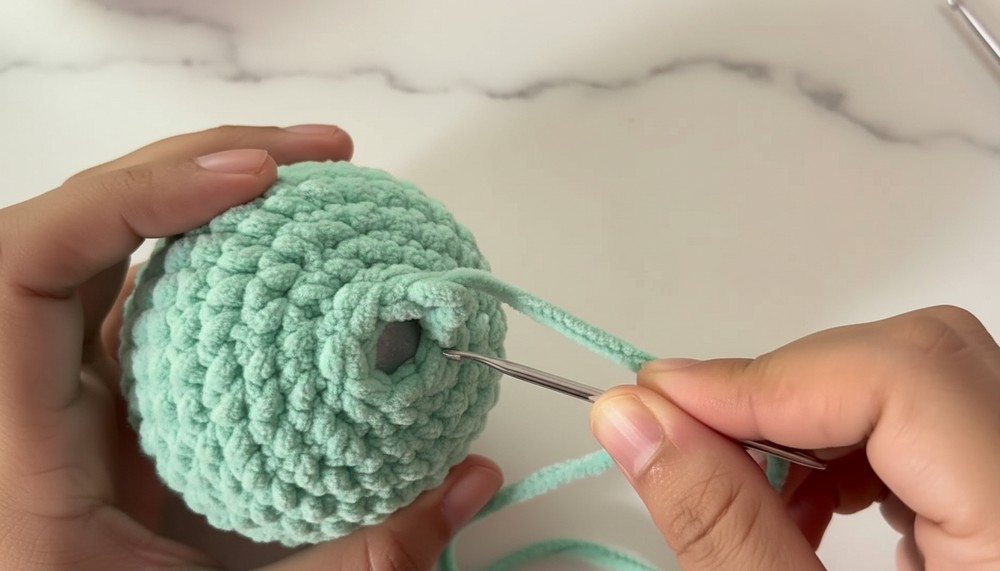
- DEC in every ST (7 DEC total). Pull the opening closed using a yarn needle and fasten off. Weave in all loose ends.
Ears (Make 2)
Round 1:
- Create a MR.
- Work 5 SC into the ring. Close the ring tightly. (5 ST)
Fasten Off:
- Leave a long tail for sewing.
Arms and Legs (TRC Clusters from Body Rounds 5 & 7)
- The TRC Clusters created in those rounds will naturally form the teddy bear’s arms and legs. No additional parts need to be crocheted for these limbs.
Face Details
- Eyes: Attach the safety eyes between Rounds 13 and 14, leaving about 4 ST of space between them. For added cuteness, embroider a white outline around the eyes using white yarn.
- Nose: Using black yarn, embroider an oval-shaped nose starting between the eyes in the middle. Ensure the nose is centered to maintain symmetry.
- Blush: Use pink yarn to add embroidered blush just below each eye.

Scarf
Foundation:
- Make a slip knot and chain 41 CH.
Row 1:
- Starting from the 2nd CH from the hook, work 1 SC in each CH. (40 ST)
- Fasten off, leaving yarn tails for weaving.
Finishing the Scarf:
- Weave in both yarn tails and trim the excess. Wrap the scarf around the bear's neck and knot it gently for a snug finish.
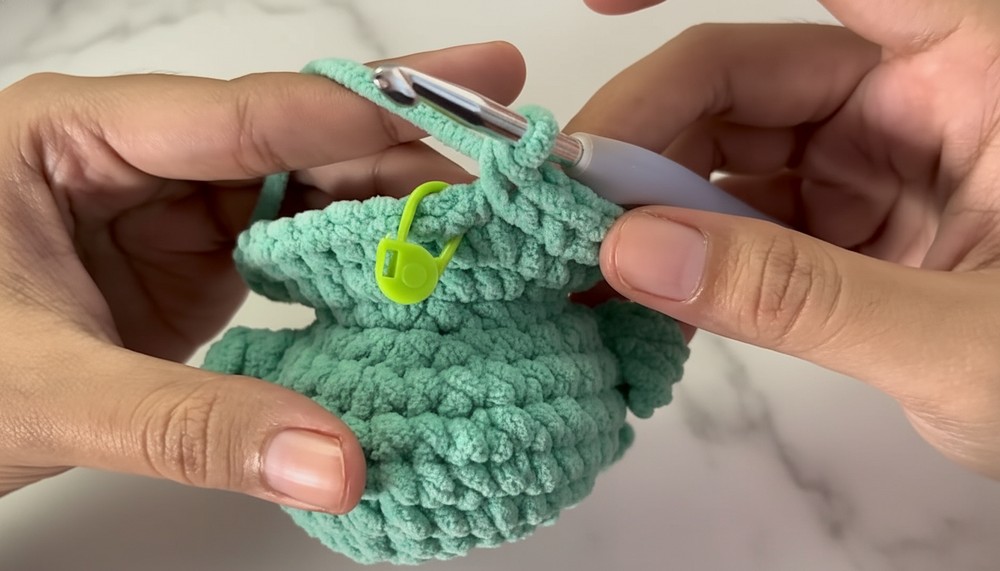
Finishing and Assembly
- Attach Ears:
- Sew the ears to the head between Rounds 15, 16, and 17, positioning them just behind the arms.
- Final Stuffing: Ensure all parts are firmly stuffed before closing any open sections.
Conclusion
Congratulations! You’ve just created a delightful crochet teddy bear. With its simple yet adorable design, this teddy bear makes a perfect gift or decoration. The charming scarf and embroidered details bring it to life, showcasing your crochet skills.
Tips
- Avoid Visible Seams: When sewing parts together, use the whip stitch or backstitch for a neater finish.
- Customize Colors: Swap out the brown yarn for pastel shades or variegated colors to personalize your project.
- Safety First: For baby-safe toys, embroider the eyes and nose instead of using plastic accessories.
Pattern Corrections
If during the decreasing rounds (e.g., Rounds 9, 15), stitch counts do not add up, recount and adjust by adding/removing an SC incrementally without disrupting the overall symmetry.