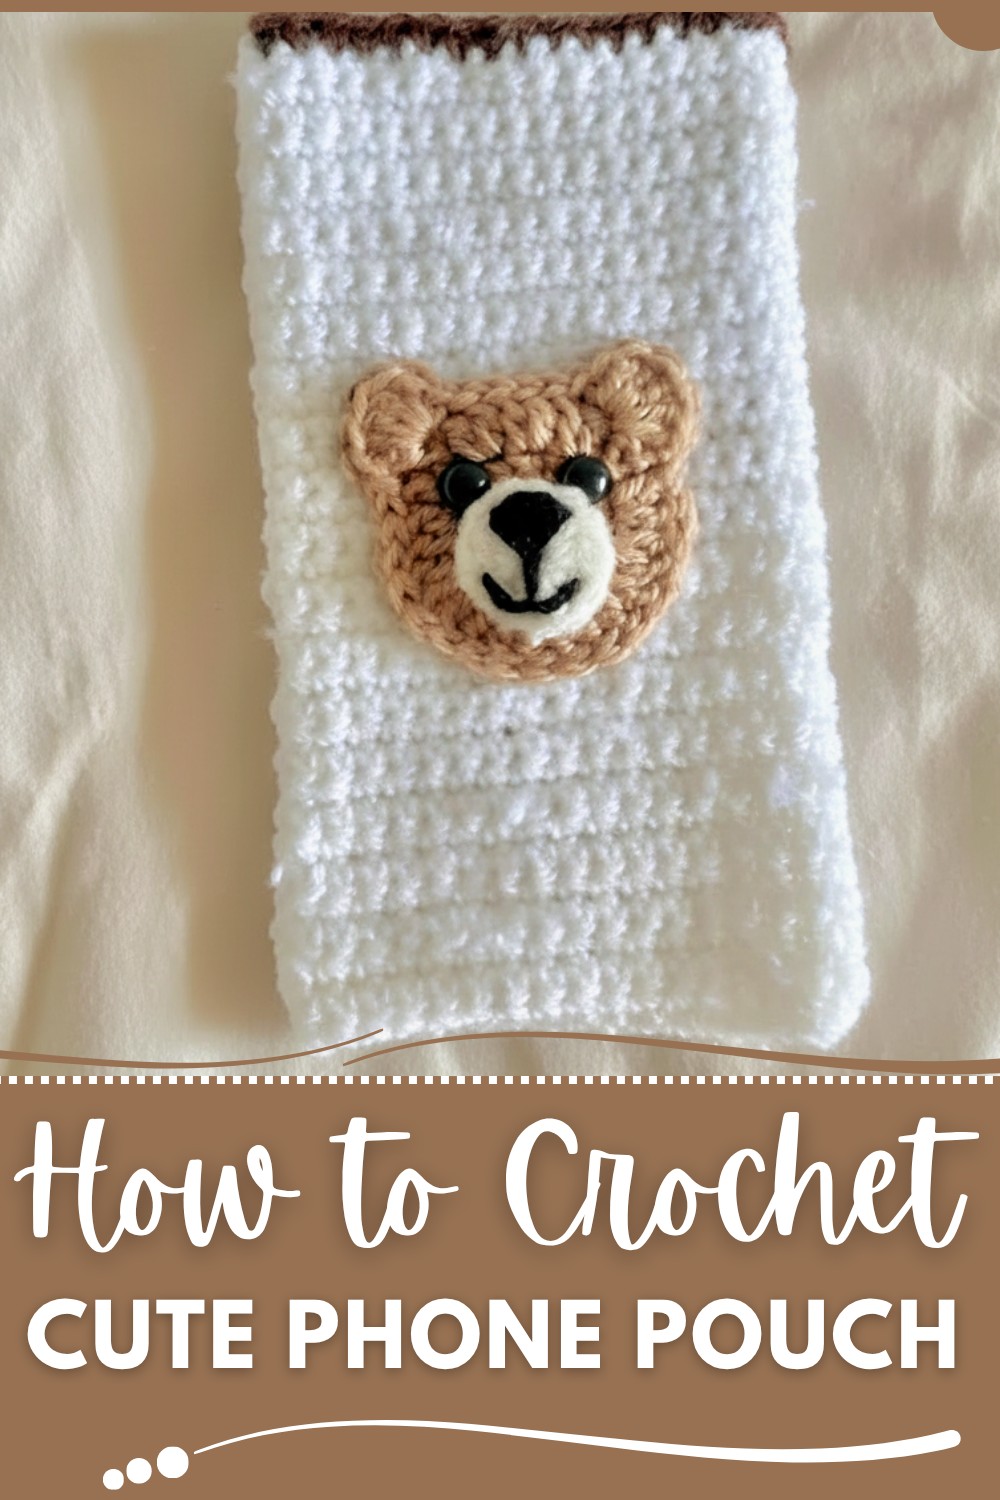
Protect your phone stylishly with a Crochet Phone Pouch Pattern that blends charm and creativity, offering a functional and personalized touch.
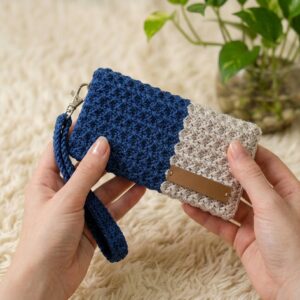
Don’t let your phone suffer scratches or damage when you can keep it safe with a Crochet Phone Pouch Pattern. This practical accessory combines functionality and style, offering a snug and protective casing for your device. With countless opportunities to personalize—such as adding vibrant color combinations, ornamental buttons, or even a detachable strap—this pouch provides utility and charm in equal measure.
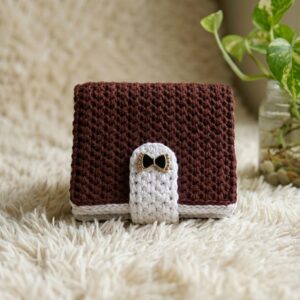
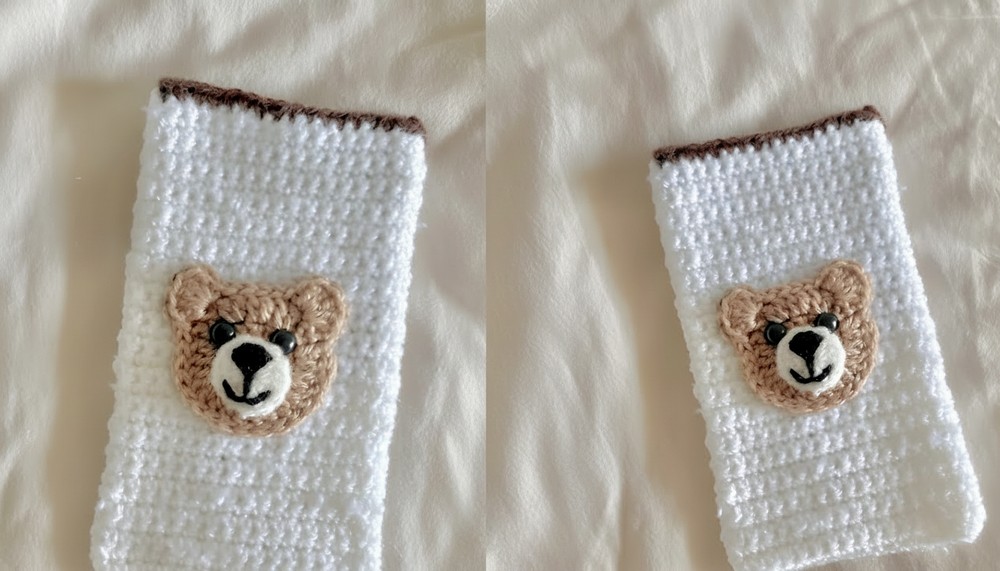
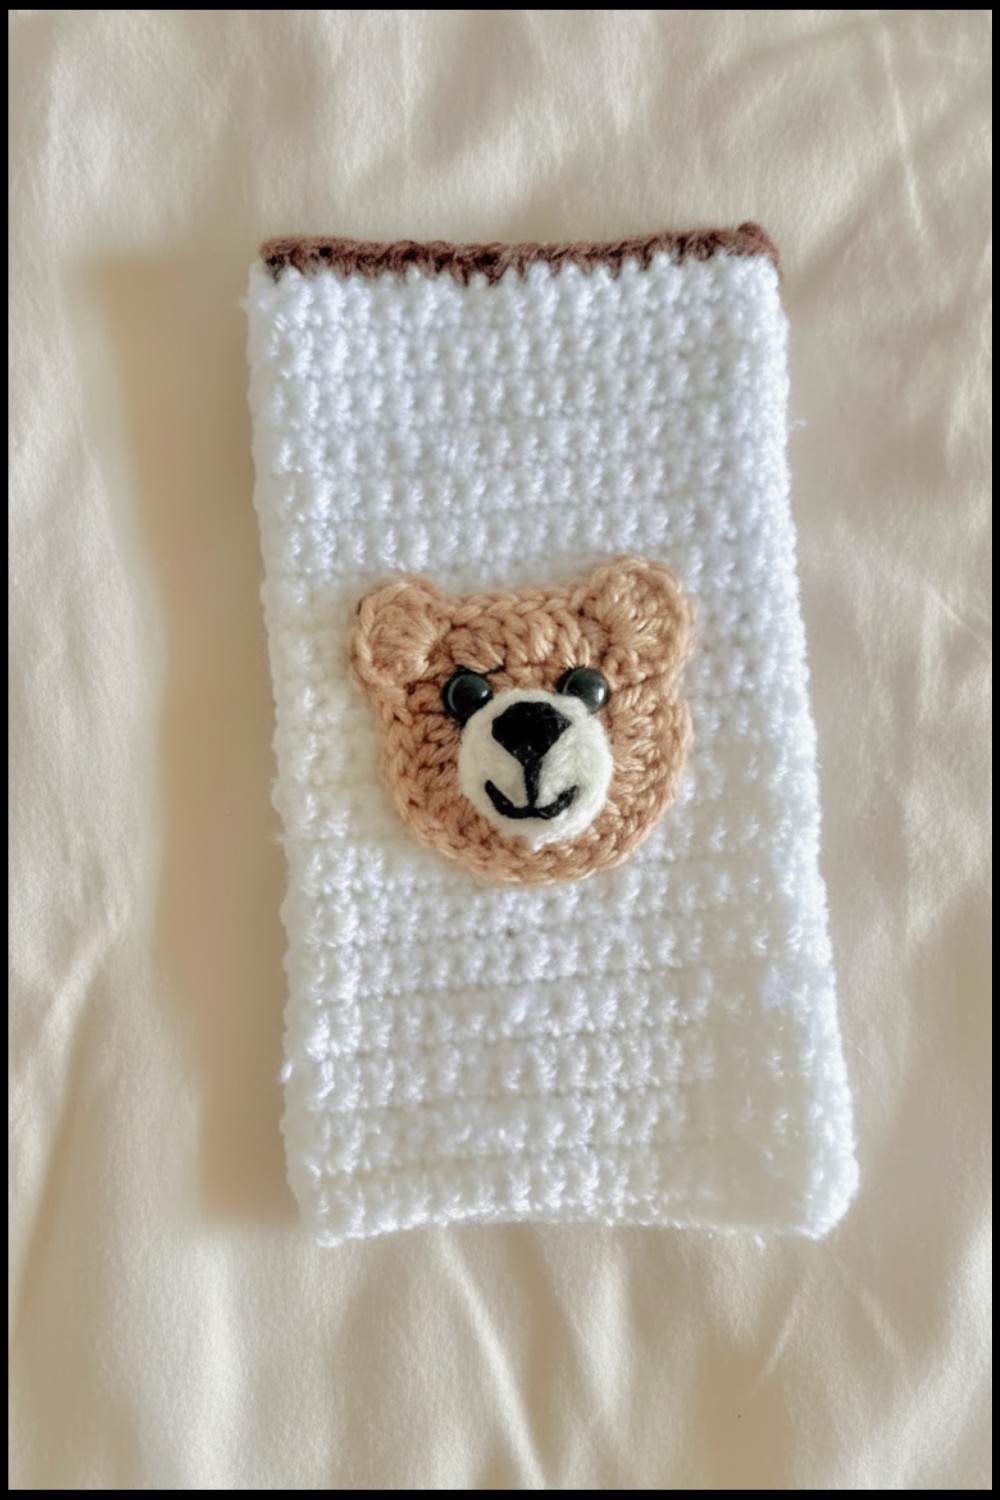
Free Crochet Phone Pouch That Keeps Your Device Safe
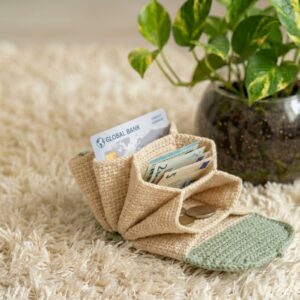
It also serves as a great project to reduce yarn waste, allowing crocheters to use leftover materials efficiently while producing something purposeful. Ideal for gifting or personal use, this phone pouch not only keeps your device safe but enhances its organization, all while showcasing your crochet skills in a compact yet impactful item.
Crochet Bear Phone Case – Step-by-Step Pattern
Materials Required
Yarn
- Type: DK weight yarn (Category 3) for sturdy and durable fabric
- Colors:
- Brown (Main body and bear head)
- White (Snout and decorative parts)
- Black (Eyes, nose, and mouth)
Hook
- Size: 3.0–3.5 mm crochet hook (Use the size your yarn recommends)
Additional Supplies
- Scissors
- Yarn needle (for sewing in ends and assembling components)
- Stitch markers (optional, recommended for beginners)
Skill Level
Intermediate to Advanced
You should be familiar with:
- Working in the round
- Single crochet (sc), double crochet (dc), slip stitch (sl st)
- Sewing crochet components together
- Using magic rings
Key Abbreviations (US Terminology)
| Abbreviation | Meaning |
|---|---|
| ch | Chain |
| sl st | Slip Stitch |
| sc | Single Crochet |
| dc | Double Crochet |
| YO | Yarn Over |
| st(s) | Stitch(es) |
Special Notes
- Starting Rounds: Use a magic ring technique to create a seamless center for circular pieces.
- Tension: Maintain consistent tension for uniformity; if curling occurs, slightly loosen your stitches.
- Assembly: Use stitch markers to ensure alignment when sewing components.
- Customization: Adjust the width and length of the phone case as per the dimensions of your phone.
Step-by-Step Instructions
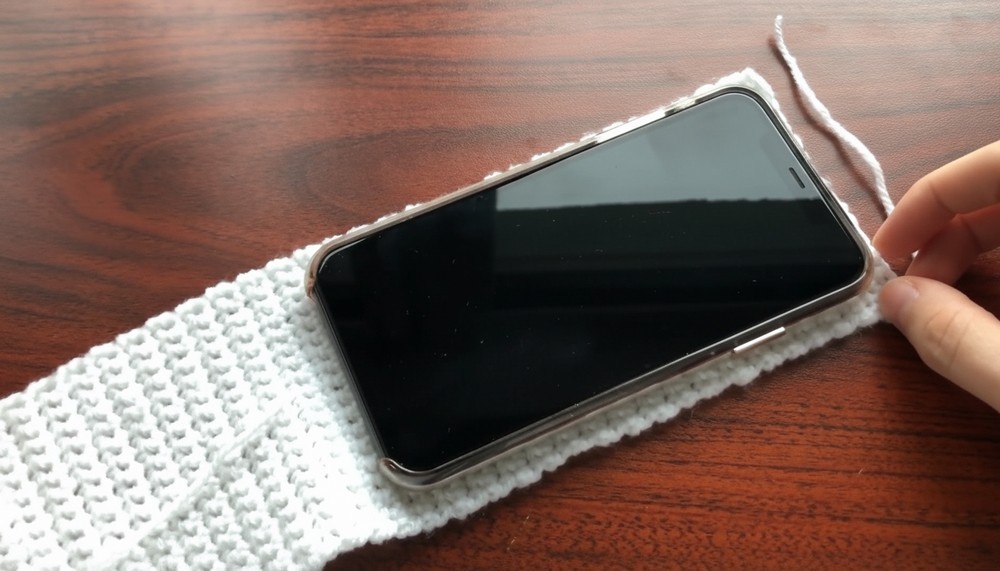
Part 1: Phone Case (Main Body)
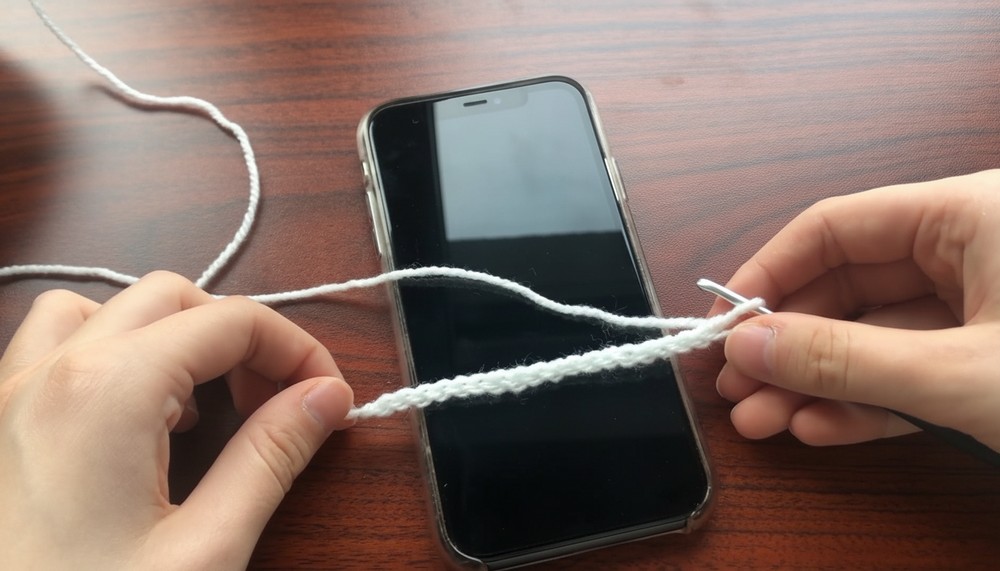
Step 1: Foundation
- Start with a slip knot.
- Chain a foundation row: Create sufficient chains to match your phone’s width. For example: Chain 22–30 sts for standard phones (adjust as needed).
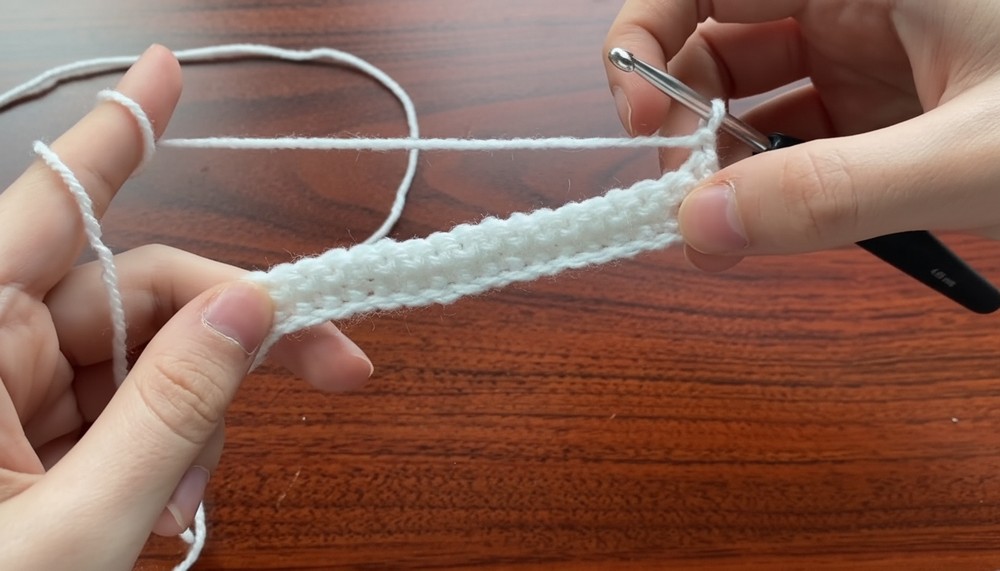
- Row 1:
- Skip the first chain, and work 1 sc into the second chain.
- Continue working 1 sc into each chain until the end of the row.
- Row 2 onwards:
- Ch 1, turn your work, and work 1 sc into each st across the row.
Step 2: Repeat Rows for Length
- Continue working rows of sc until the piece reaches the desired length to cover your phone completely.
- Match the dimensions: Place your phone next to the project periodically to ensure fit.
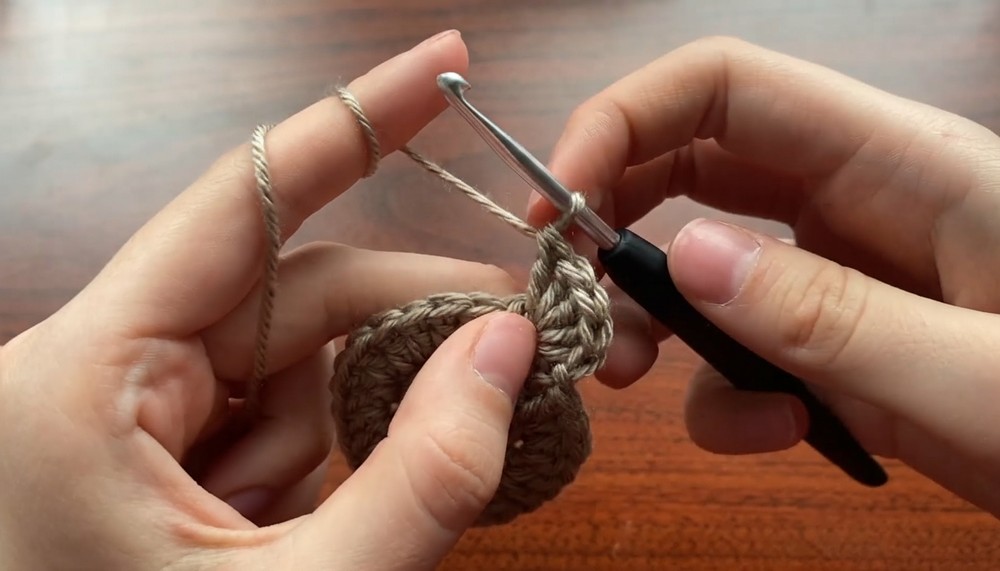
Part 2: Bear Head (Circular Base)
Step 1: Create Foundation Ring
- Make a Magic Ring: Hold the yarn and wrap it around your fingers, and then work into the ring.
- Round 1:
- Ch 2 (does not count as a st).
- Work 12 dc into the magic ring.
- Pull the ring tight, and sl st into the top of the first dc to close the round.
- Round 2:
- Ch 2, then work 2 dc into every st from the previous row (increase round). You should now have 24 sts.
- Sl st into the top of the first dc to close the round.
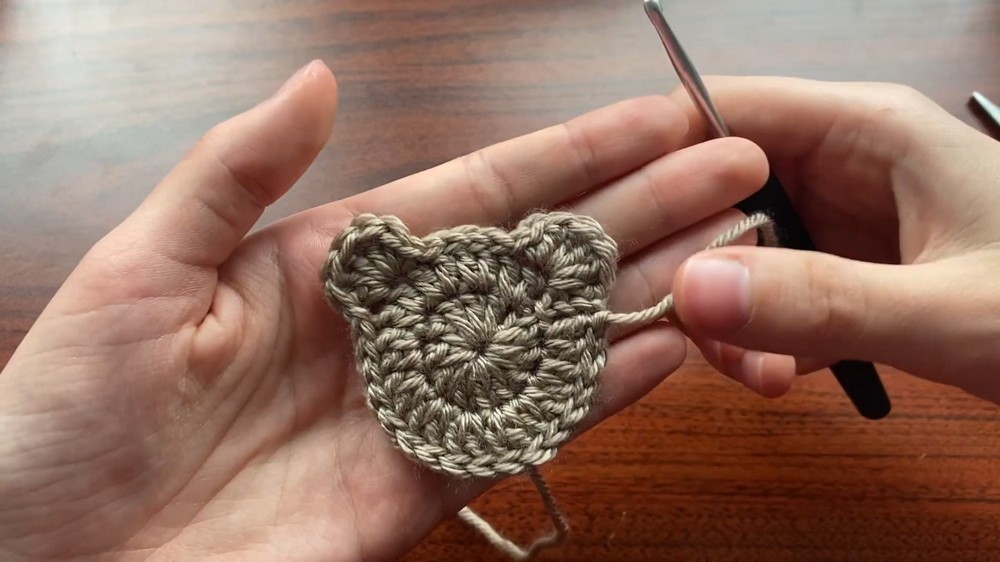
Step 2: Adding Decorative Texture
- Round 3:
- Add ear-like texture: Work 5 dc into the first st, and then follow it with 1 sc in the same st.
- Sl st across the next 5 sts.
- Repeat for the second ear: In the next st, work 5 dc followed by 1 sc, and then sl st in the next few stitches to the round’s end.
- Finish the round and weave in ends: Cut yarn, leaving a tail for sewing later.
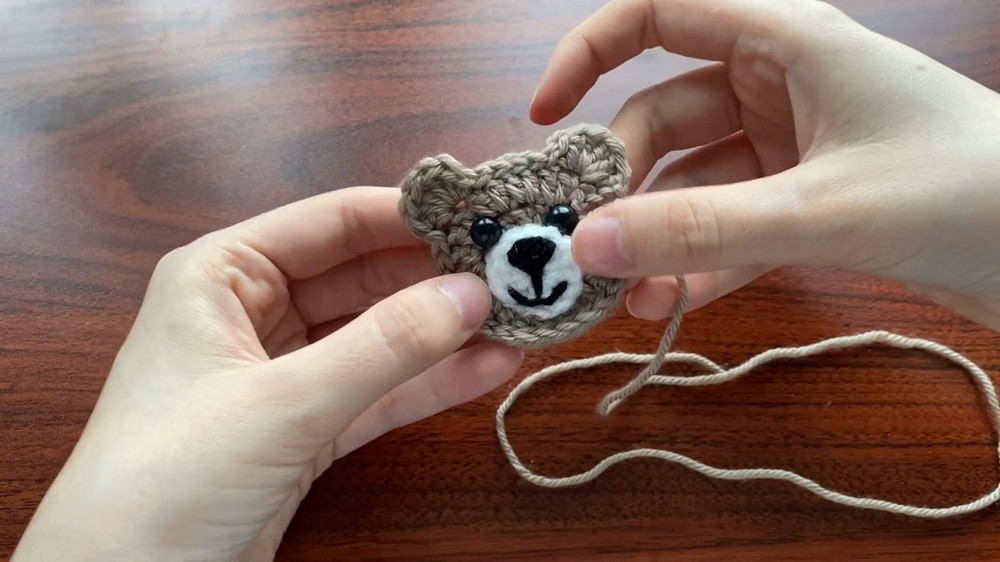
Part 3: Bear Snout
Step 1: Magic Ring
- Start with a magic ring.
- Round 1:
- Ch 1 and work 12 sc into the ring.
- Pull the ring tight, and sl st into the first sc to close the round.
Step 2: Round 2:
- Work sl st into every st from the previous row. Insert a stitch marker into the first sl st for reference.
- Finish the snout: Cut yarn, leaving a tail for sewing onto the head.
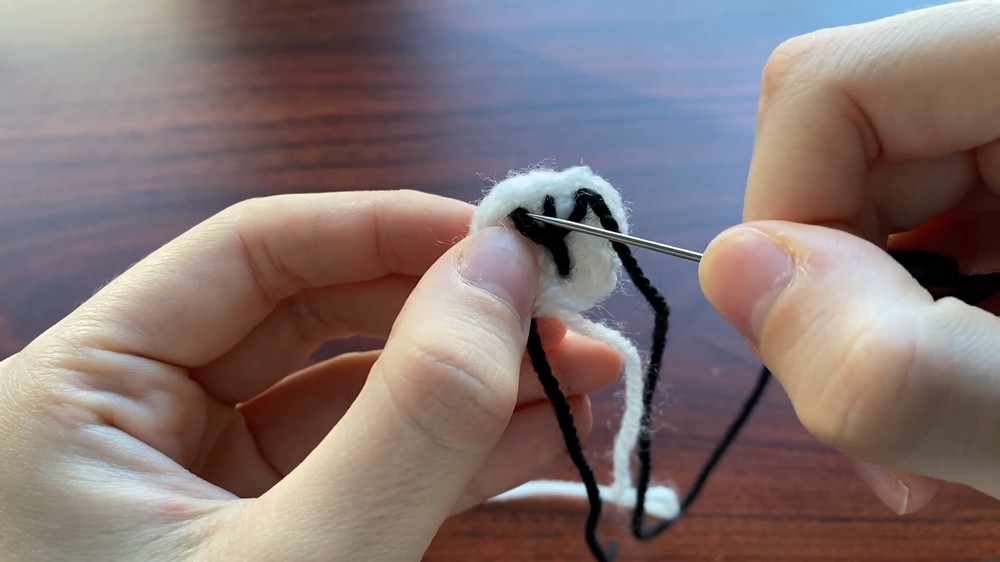
Step 3: Embroider Nose and Mouth
- Use black yarn, and embroider:
- A triangular nose, filling densely in the center of the snout.
- Small curved lines to define the mouth beneath the triangle.
Part 4: Attaching Features
Step 1: Sew Snout onto Bear Head
- Place the snout in the center bottom of the bear’s round head piece.
- Using the tail from the snout, sew along the edge, working through the back loops of the snout stitches and onto the head fabric.
Step 2: Add Eyes
- Position safety eyes or crochet small black ovals for eyes.
- Sew or insert eyes securely on either side of the snout.
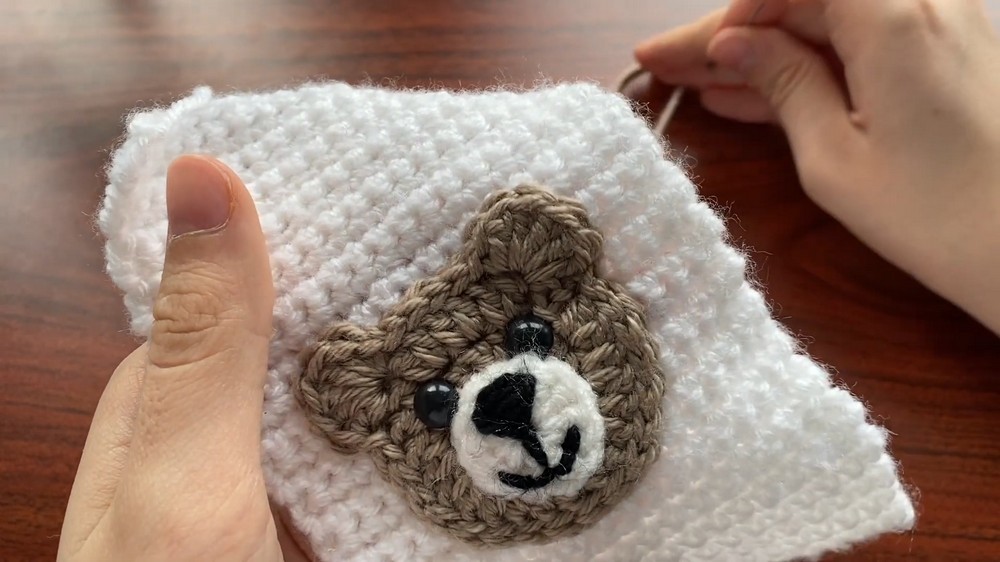
Part 5: Attach Bear Head to Phone Case
- Position the bear head at the center top of the phone case.
- Use the yarn tails from the head, sew it securely onto the case, working around the edges in small, even stitches.
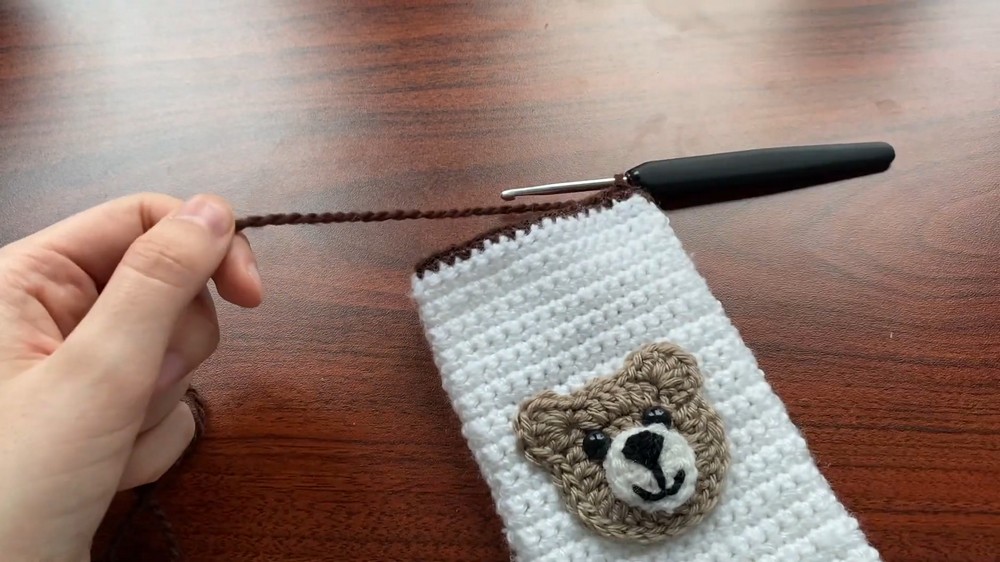
Part 6: Crochet the Top of the Case
- Turn the case inside out.
- Work 1 sc into every edge stitch around the top of the case to create a neat border.
- At the seam edges, ensure stitches are evenly spaced to avoid gaps.
Part 7: Sew the Case Closed
- Turn the case inside out.
- Using yarn and needle, sew the side edges of the phone case together.
- Securely knot ends and weave in all yarn tails.
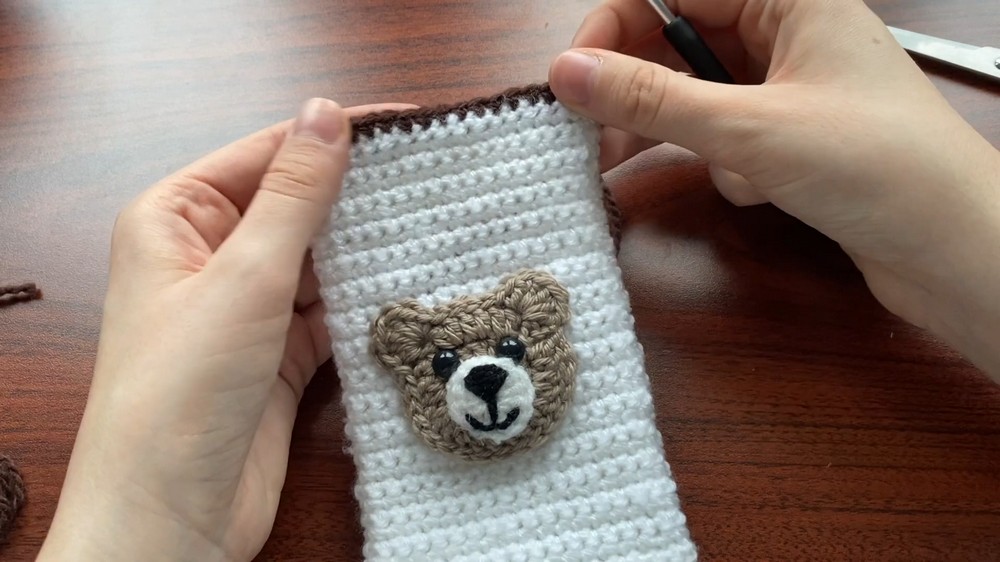
Conclusion
This Bear Phone Case combines functionality and charm, making it a delightful accessory or handmade gift. The bear’s head adds personality, while its sturdy construction ensures protection for your phone.
Pattern Corrections
- If stitches seem uneven, check for skipped stitches on key rows.
- Adjust stitch count in sizing steps to avoid distortions in the body or head.
Tips for Success
- Check your gauge: Place your phone next to the project periodically to ensure proper dimensions.
- Flatten curling edges: Gently stretch your work. If needed, block your crochet pieces before assembly.
- Secure assembly points: Double-check that the head, snout, and eyes are securely attached.