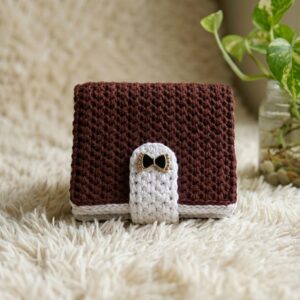
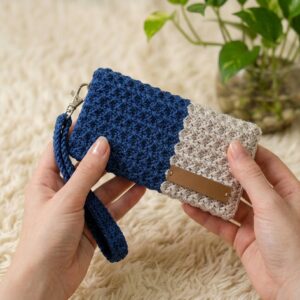
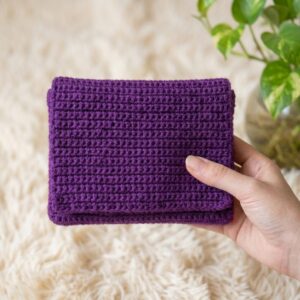
Weave a beautiful Crochet Granny Stitch Bag Pattern bursting with charm and color, perfect for crochet lovers seeking a functional yet stylish accessory.
Looking for a fun and practical crochet project? A crochet granny stitch bag pattern is the perfect blend of style and function. With its classic cluster design, this bag is both sturdy and eye-catching, making it ideal for errands, picnics, or everyday use. The pattern is easy to customize—try bold colors, soft pastels, or even mix-and-match yarn scraps for a unique look.
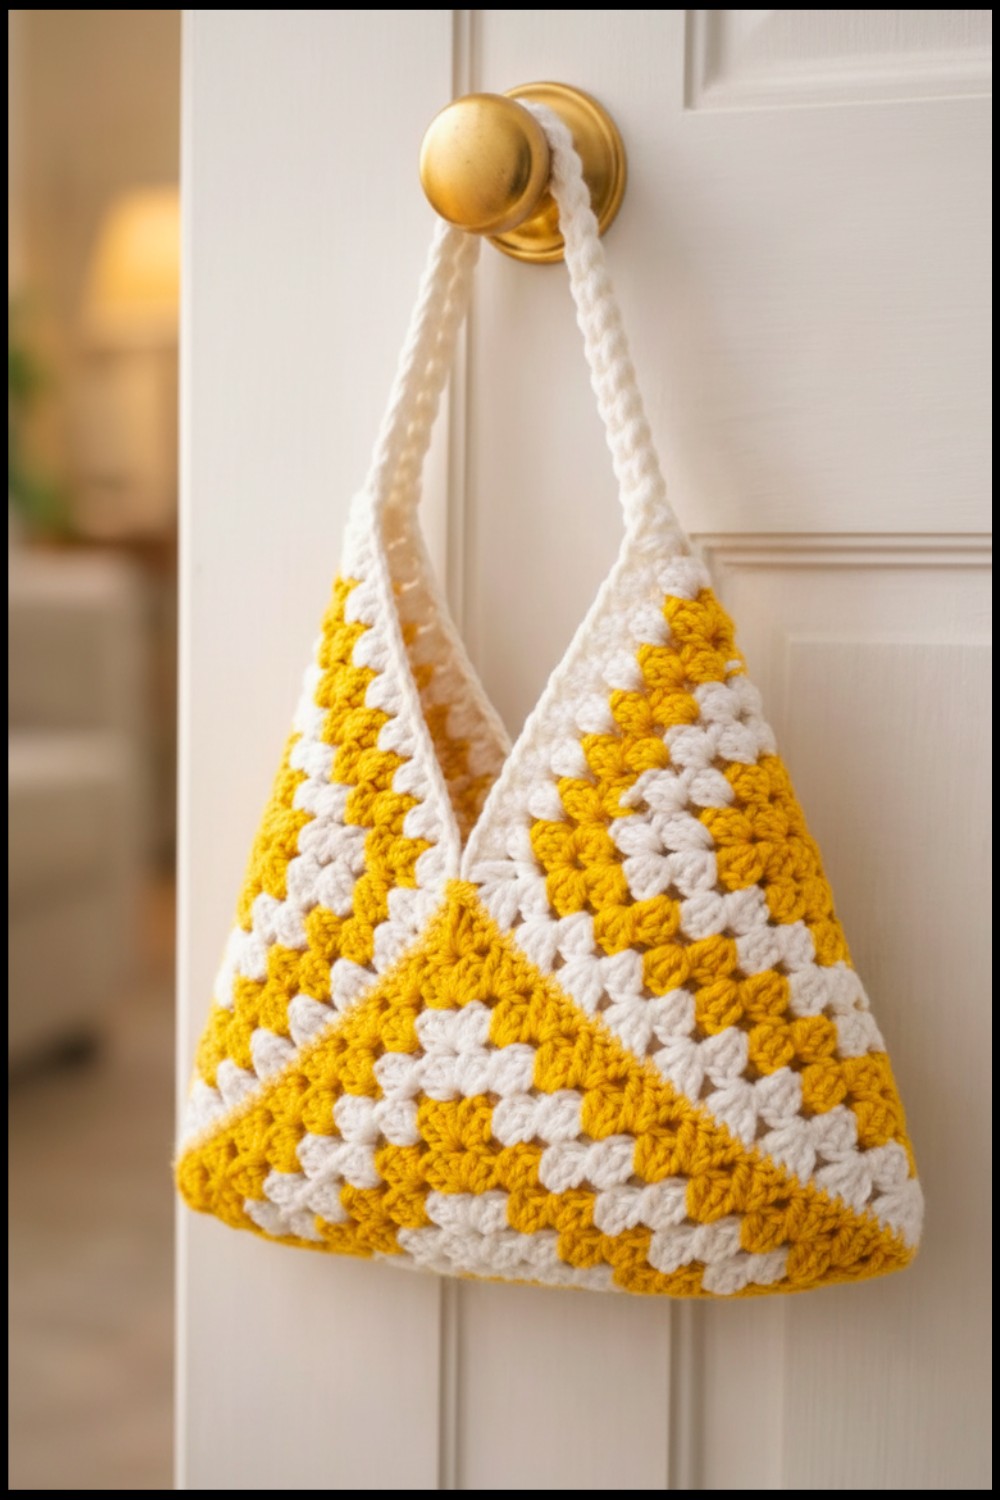
Crochet Granny Stitch Bag Free Pattern You’ll Love to Carry
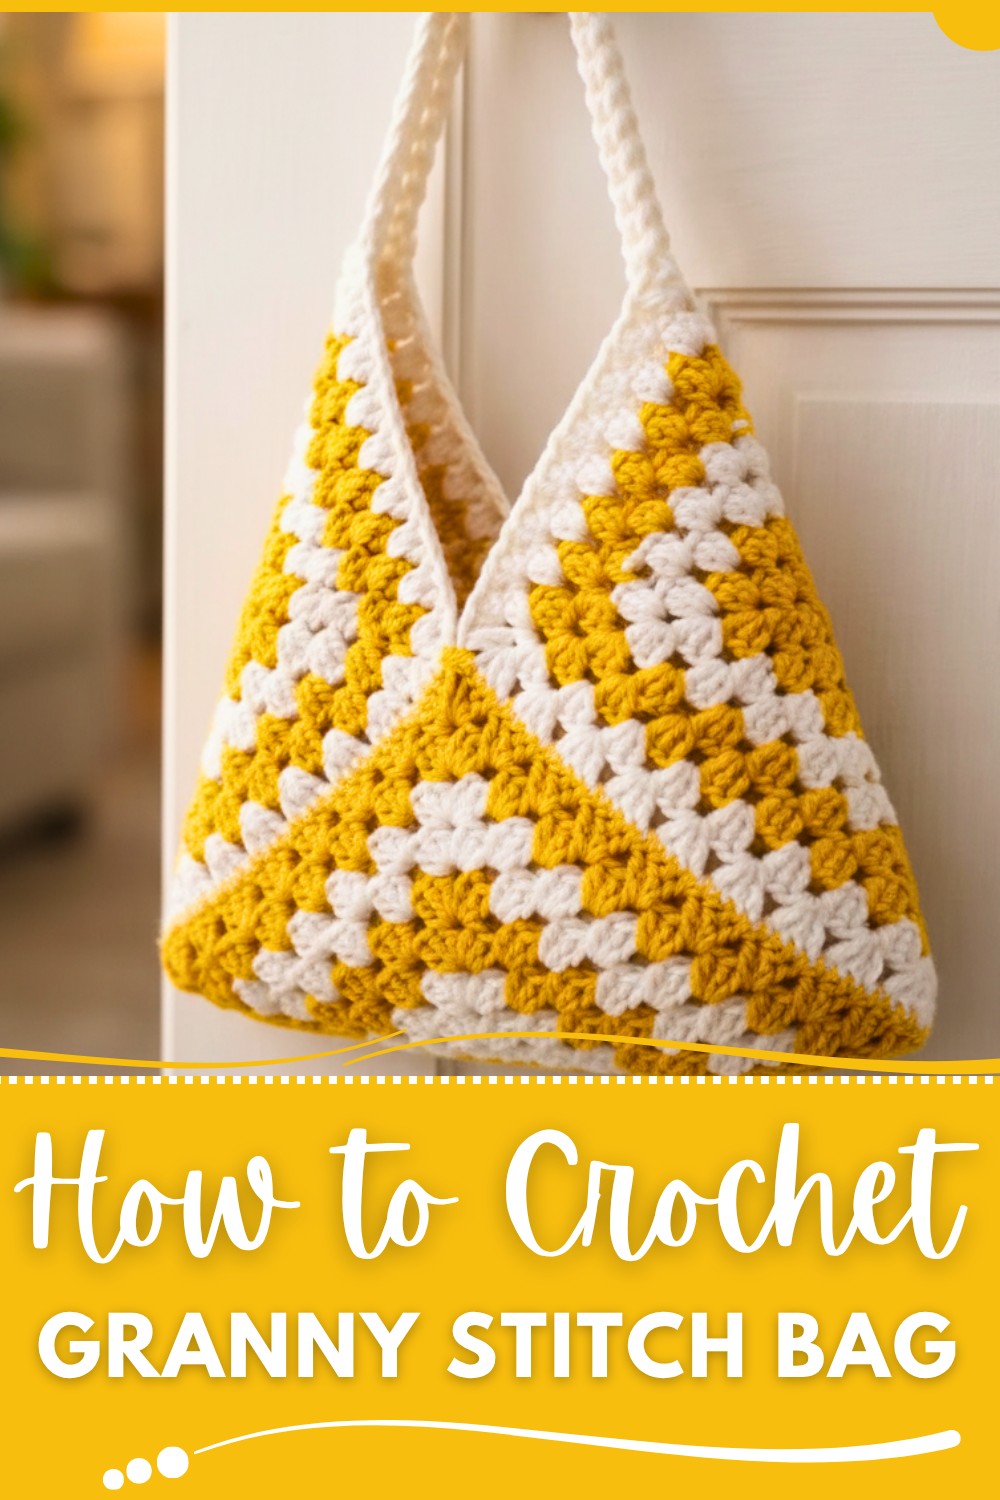
Add finishing touches like a lining, adjustable straps, or playful tassels to make it truly your own. Whether you’re a beginner or an experienced crocheter, this project offers a creative way to craft something beautiful and useful. A granny stitch bag is more than just a bag—it’s a handmade accessory with charm and versatility.

Step-by-Step Granny-Square Bag Crochet Pattern
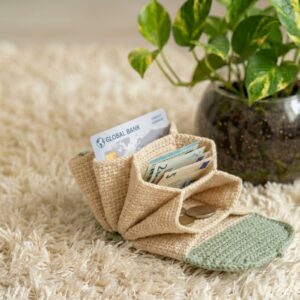
This detailed pattern guides you through creating a charming handmade granny-square bag. It consists of three crocheted square motifs, joined together to form the body of the bag, with a separate crocheted strap for added functionality.
Materials Required
Yarn
- Type: Sport weight (Category 2) or light DK weight
- Fiber: Cotton or cotton blend preferred (durable for bags)
- Amount: 2-3 skeins (exact yardage depends on your design customization)
Hook
- Size: 3.5 mm crochet hook
Additional Supplies
- Stitch markers
- Yarn needle (for sewing and weaving in ends)
- Scissors
- Measuring tape
- Optional: Fabric lining, needle & thread for sewing lining, magnetic clasp or buttons
Skill Level
Intermediate
You should be familiar with:
- Working in the round
- Granny-style construction
- Joining motifs
- Working flat rows of single crochet
Key Abbreviations (US Terminology)
| Abbreviation | Meaning |
|---|---|
| ch | Chain |
| sl st | Slip Stitch |
| sc | Single Crochet |
| dc | Double Crochet |
| sp | Space |
| ch-sp | Chain Space |
| rep | Repeat |
| YO | Yarn Over |
Special Notes
- Starting chain adjustment: In granny-square designs, the chains at the start of rows may not count as stitches unless otherwise specified.
- Tension check: Maintain consistent tension; too-tight stitches may cause pieces to curl. Flatten gently if curling occurs.
- Motif size: You can adjust motif size by adding or reducing rounds depending on your bag dimensions.
- Assembly alignment: Use stitch markers when joining motifs to keep edges perfectly aligned.
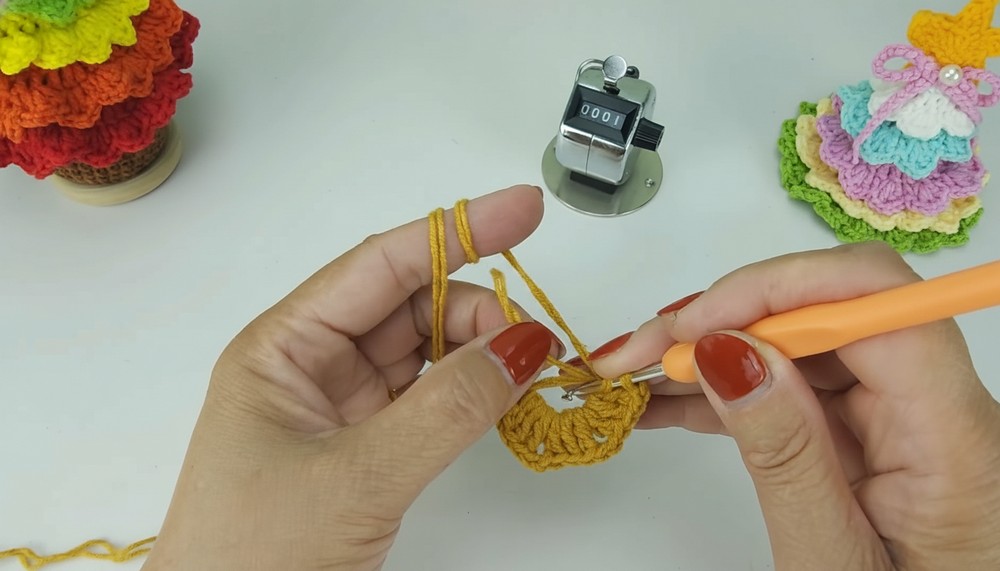
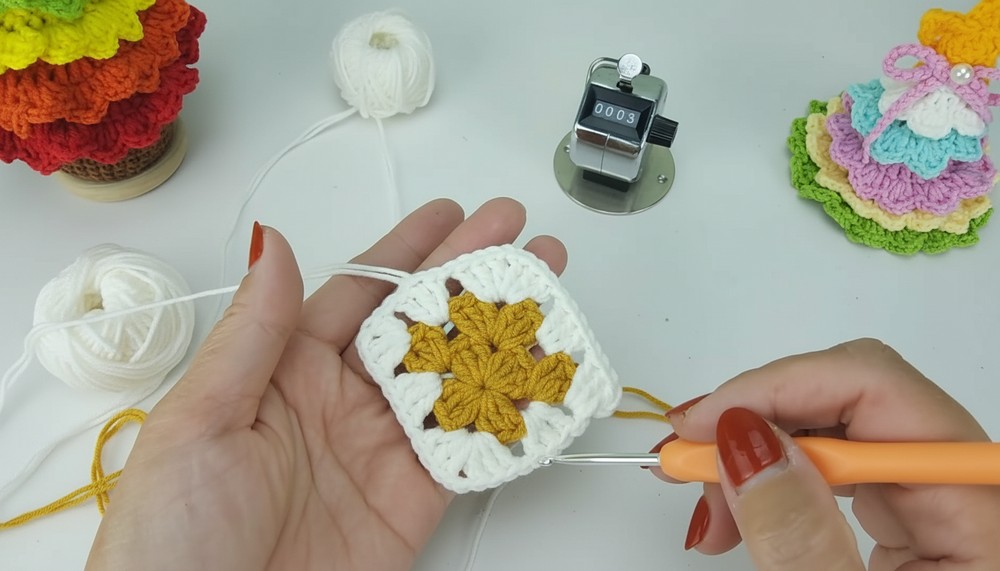
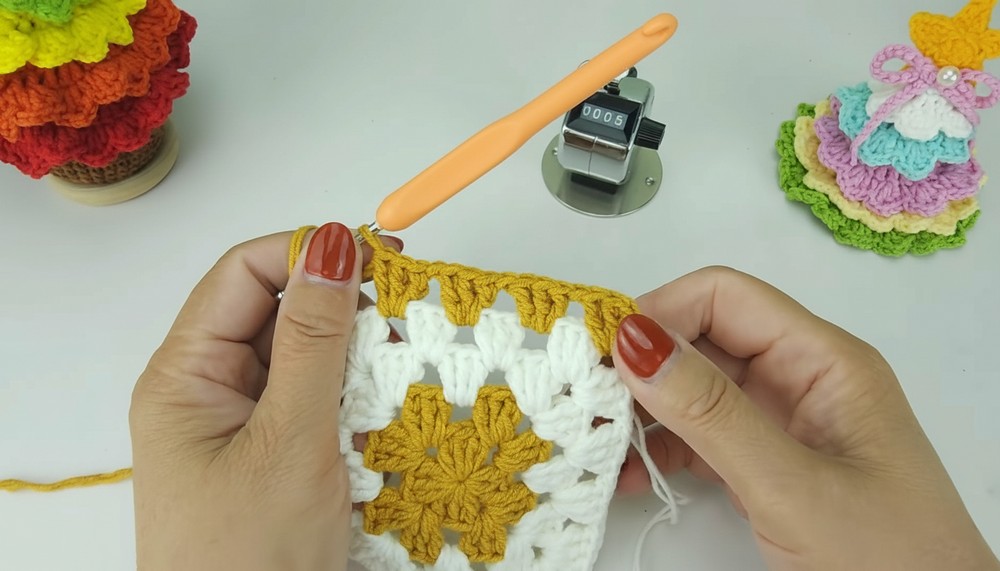
Granny Square Crochet Pattern (Make 3 Squares)
Round 1: Foundation
- Begin with a magic ring.
- Ch 2 (does not count as a dc).
- Into the magic ring, work:
- 3 dc, ch 2
- Repeat 3 dc, ch 2 three more times for a total of 4 corners.
- Slip stitch into the top of the first dc (or into the first 3-dc group).
- Tighten the ring gently to close the center neatly.
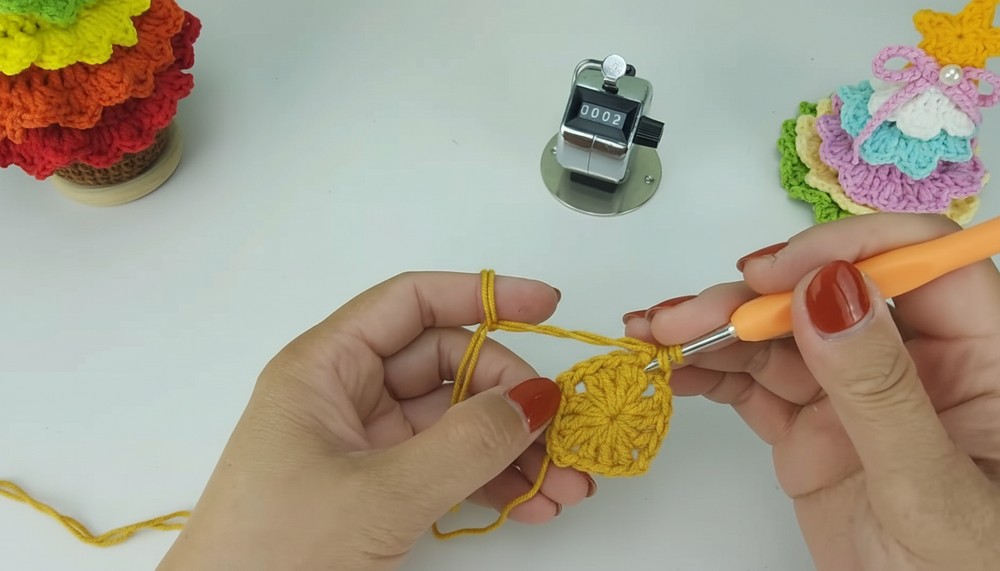
Round 2
- Sl st into the next corner space (ch-2 space).
- Ch 2, then work 3 dc, ch 1 into the same ch-2 space.
- In the next corner ch-2 space, work:
- 3 dc, ch 2, 3 dc, ch 1 (corner cluster).
- Continue:
- Repeat the corner cluster in each of the remaining corners.
- Between corners: ch 1 separates 3-dc groups.
- Join at the end of the round with a sl st.
Round 3
- Sl st into the next corner space (ch-2 space).
- Ch 2, then work 3 dc, ch 1, 3 dc, ch 1 into the same corner space.
- In the next corner ch-2 space, work:
- 3 dc, ch 2, 3 dc, ch 1.
- On the side spaces: Work 3 dc, ch 1 into the ch-1 space from Round 2.
- Continue the pattern:
- Repeat corner clusters and side clusters around the square.
- Finish with sl st to join the round.
Round 4
- Begin in a corner ch-2 space.
- Ch 2, then work 3 dc, ch 1 (corner-group starting).
- On side spaces:
- For every ch-1 space, work 3 dc, ch 1.
- In corners:
- Work 3 dc, ch 2, 3 dc, ch 1 to keep the square expanding.
- Continue corner and side spacing:
- Repeat around the square.
- Join via sl st at the end.
Rounds 5 to 8 (Optional: Expand the Square)
- Follow the same pattern for additional rounds to enlarge the square:
- Corner: (3 dc, ch 2, 3 dc).
- Sides: (3 dc, ch 1) in every space of the previous row.
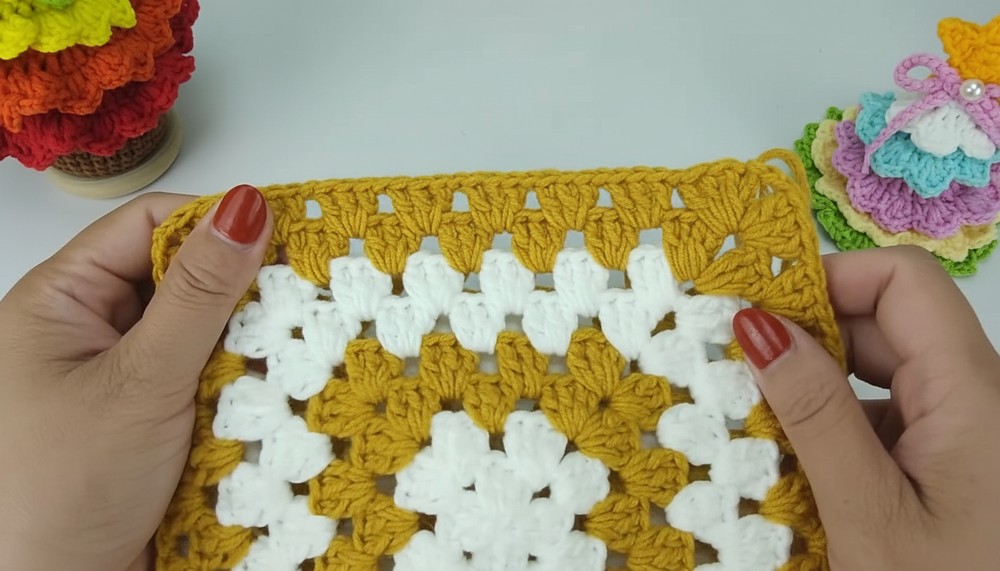
Finish each square by weaving in ends neatly!
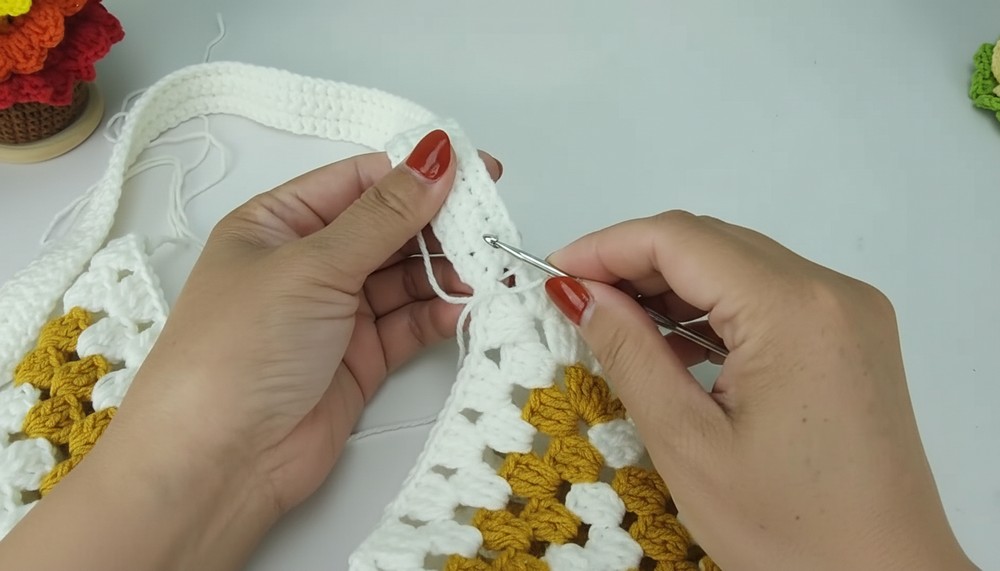
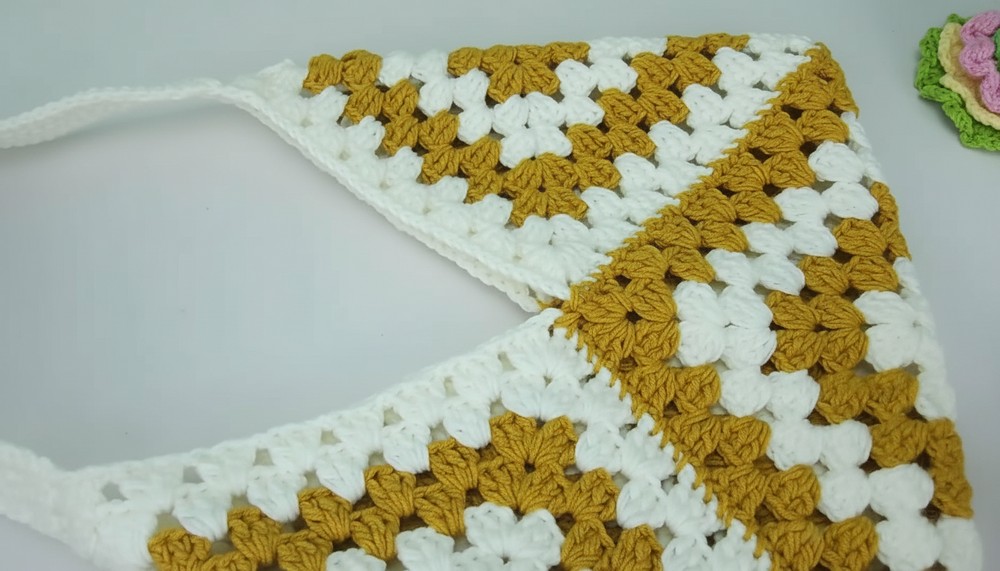
Assembly Instructions (Joining Squares)
- Lay pieces out: Arrange the three squares to form the desired shape of the bag.
- Two squares form the body (front/back).
- One square folds down to serve as the bottom of the bag.
- Join edges using sl st or whip stitch:
- Use stitch markers to align edges before joining.
- Work neatly along one loop of each edge for a seamless join.

Making the Strap
Foundation
- Chain 70 (or adjust for your preferred strap length).
- Starting in the second chain from the hook, sc across (Row 1: 69 sc).
Rows 2-4
- Ch 1, turn your work.
- Work 69 sc across.
Tip: Keep your stitches firm but not overly tight for a strong and flexible strap.
Finishing Touches
- Attach the strap securely to the top corners of the bag using sc stitches, securely looping through the edge stitches of the bag.
- Optional lining/sewing: Add fabric lining or a closure for increased durability and style.
Conclusion
This granny-square bag pattern is beginner-friendly yet provides options to customize size, color, and finishing details. Whether it’s for personal use or gifted as a handmade treasure, this project is versatile, fun, and practical.
Pattern Correction Tips
- Corners curling: If your square is curling, loosen your tension. Stretched fabric will correct this problem.
- Uneven edges: Count stitches carefully on each round to avoid missing corners/clusters.
Tips for Success
- Consistent stitch count and tension: Essential for symmetry!
- Block the squares: Flatten edges and corners for a professional finish.
- Experiment: Add embellishments like tassels, buttons, or beads for a personalized look.