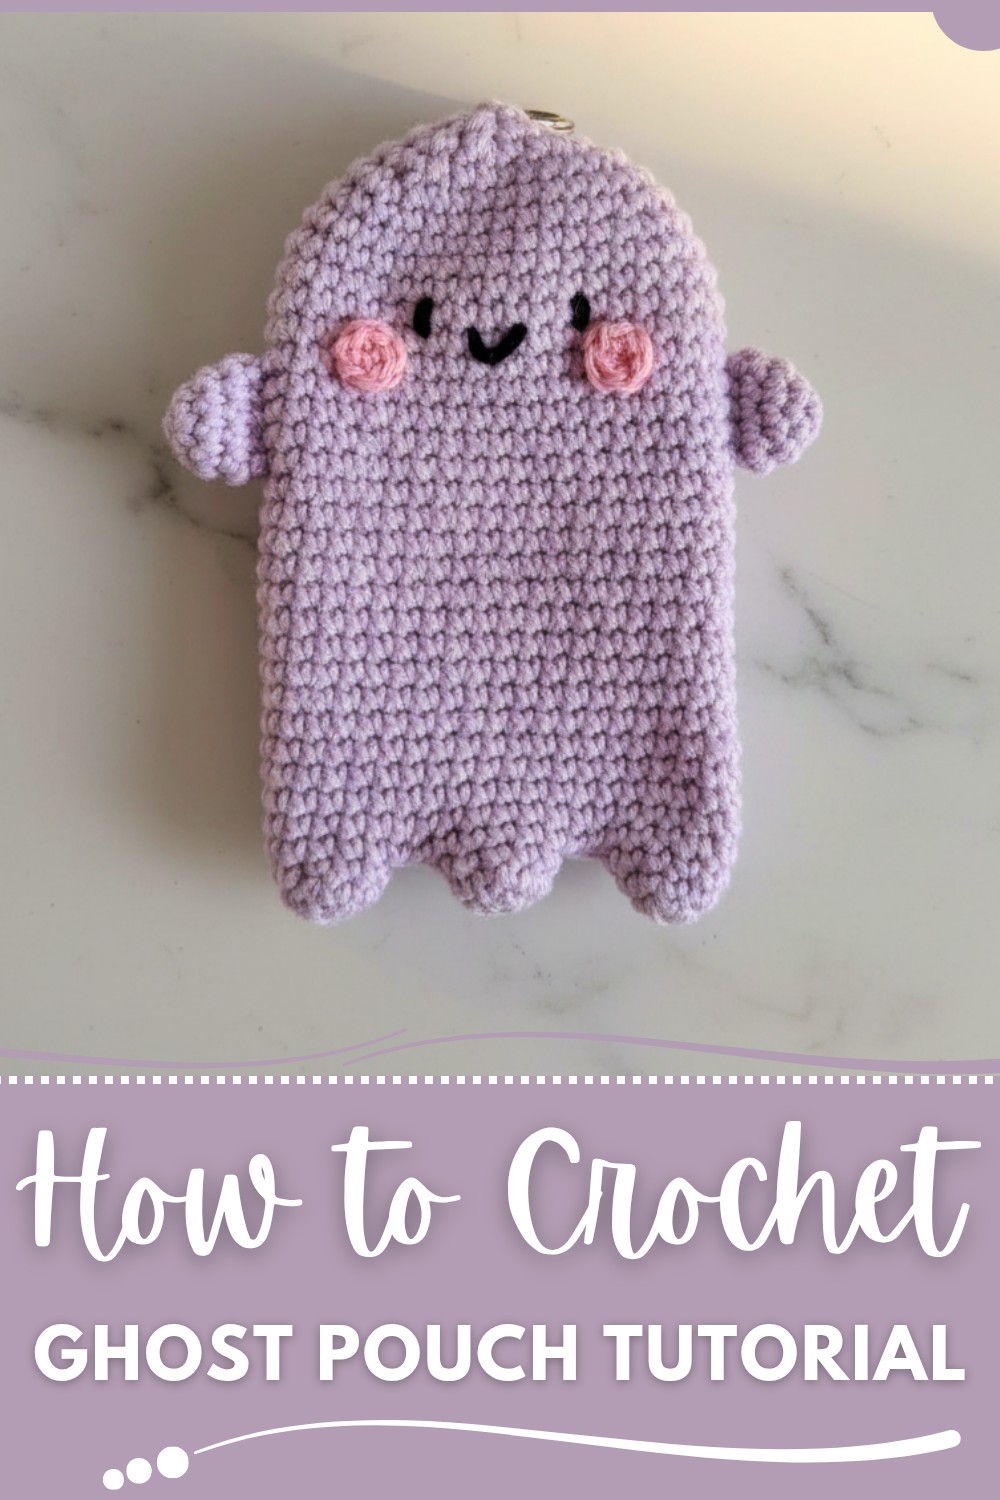
Jump into this fun and simple crochet ghost pouch idea, perfect for holding coins, candies, or tiny treasures with an adorable and spooky twist.
A ghost-themed crochet pouch is the perfect mix of fun, creativity, and usefulness. This Free Crochet Ghost Pouch Pattern lets you create an adorable little bag that looks like a cheerful ghost with big eyes and a cute smile. It’s small, lightweight, and perfect for holding coins, candies, jewelry, or other tiny treasures. Its playful design makes it a great accessory for Halloween or any time you want to add a fun and spooky touch to your day.
Adorable Free Crochet Ghost Pouch Pattern for Beginners
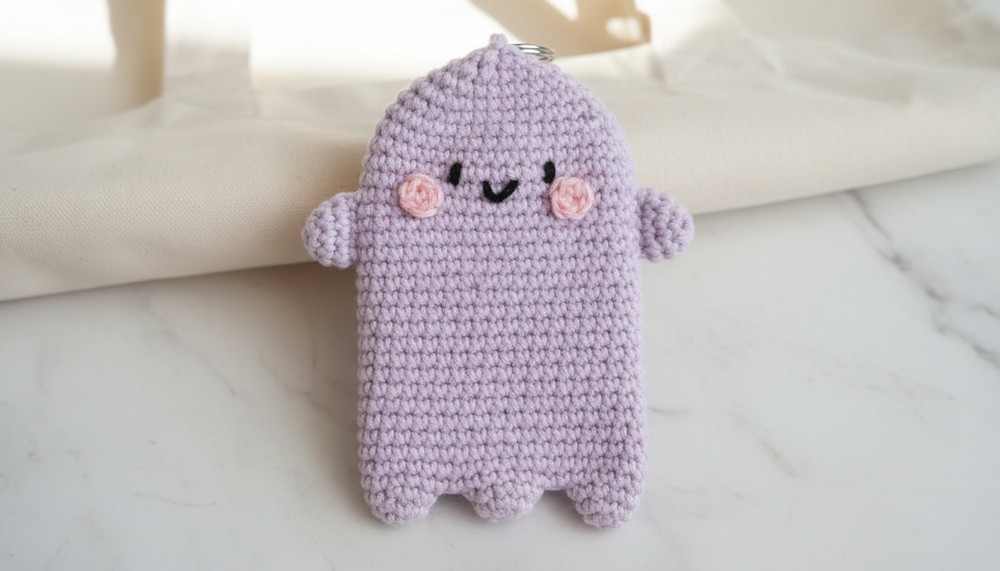
This project is beginner-friendly, with simple instructions that anyone can follow. The soft texture and unique ghost shape make it stand out, whether you use it as a small treat pouch, a mini decoration, or even as a thoughtful handmade gift. Both kids and adults will love its charm, making it a delightful creation to share or keep for yourself. This ghost pouch isn’t just fun to make—it’s a practical and whimsical item that’s sure to bring smiles.
Ghost Pouch Crochet Pattern
Skill Level
Intermediate: The pattern uses basic single crochet, slip stitches, and sewing techniques. Prior experience with crocheting in rounds and attaching embellishments is recommended.
Finished Size
Approximately 3.5–4 inches wide and 4–4.5 inches tall (not including frills). The pouch size can be adjusted by adding or subtracting rounds.
Materials
- Yarn:
- Light Purple Yarn: 4-ply milk cotton or equivalent for the ghost body.
- Black Yarn: For eyes and mouth details.
- Pink Yarn: For the blush.
- Hook Size:
- 3 mm Crochet Hook.
- Additional Supplies:
- Stitch Markers: To track rounds.
- Button: For closure.
- Scissors.
- Needle: For sewing parts and face details.
- Keychain Hook (Optional): To attach the pouch to a bag.
Key Abbreviations (US Terminology)
- ch: Chain.
- sc: Single Crochet.
- sl st: Slip Stitch.
- inc: Increase (2 sc in one stitch).
- dec: Decrease.
- st(s): Stitch(es).
- MR: Magic Ring.
Special Notes
- Working in the Round: The body is crocheted in continuous rounds, so use a stitch marker to indicate the beginning of each round.
- Face Assembly: The facial details can be sewn on midway through or once the body is complete.
- Customization: You can make a larger pouch by increasing the number of rounds in the body or widening the frill count.
Pattern Instructions
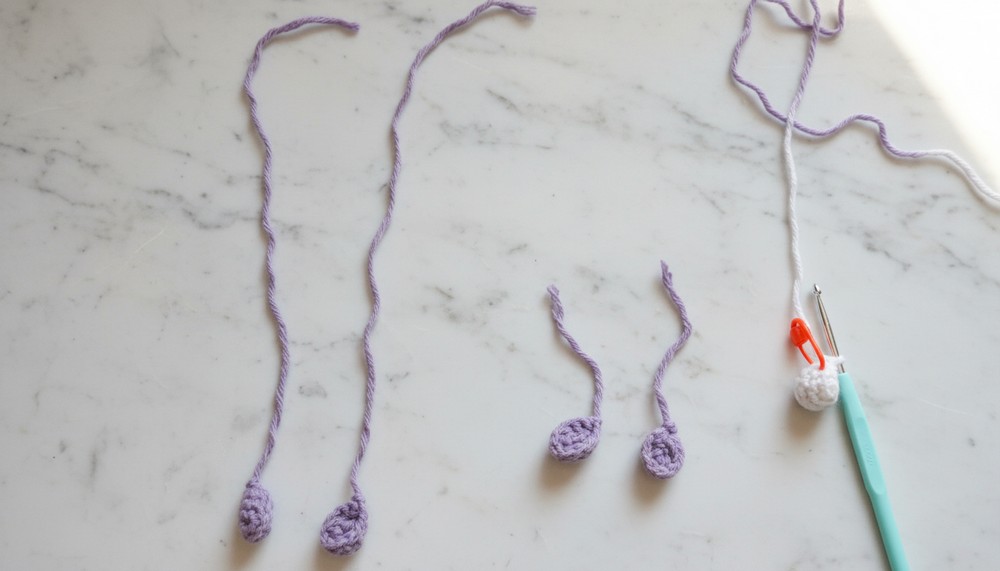
Step 1: Ghost Arms
- Round 1 (Arm Base):
- Make a Magic Ring (MR) and crochet 5 sc into the ring. Pull the tail tight to close the ring.
- Round 2 (Increase):
- Work 2 sc into each stitch around.
- Stitch Count: 10 sc.
- Rounds 3–4:
- Work 1 sc into each stitch around for 2 rows.
- Fasten off and leave a long tail (approximately 9 inches) for sewing.
- Repeat for the second arm.
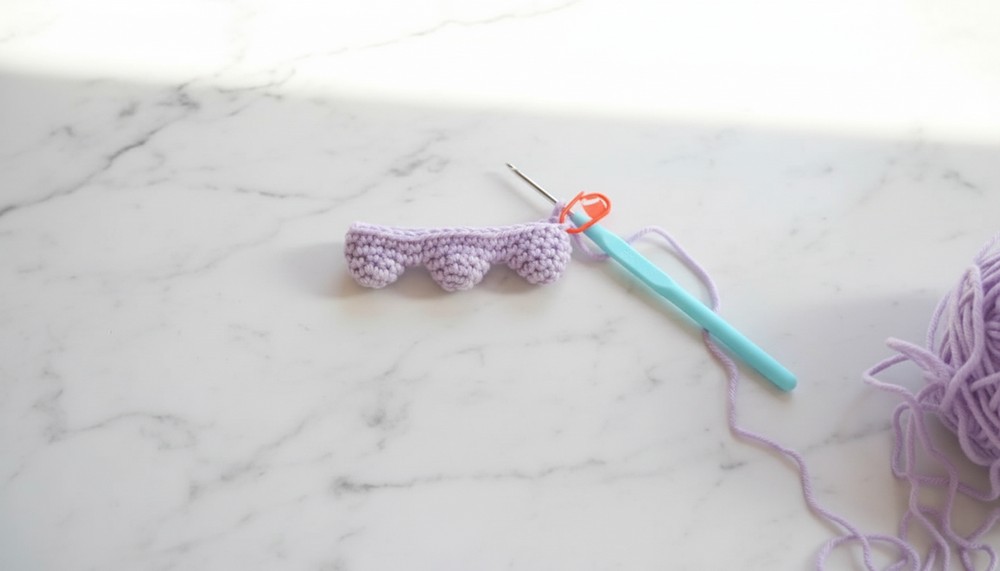
Step 2: Ghost Frills
- Round 1 (Frill Base):
- Make a Magic Ring (MR) and crochet 5 sc into the ring. Pull the tail tight.
- Round 2 (Increase):
- Work 2 sc into each stitch around.
- Stitch Count: 10 sc.
- Round 3:
- Work 1 sc into each stitch around.
- Fasten off for two frills but do not fasten off the third frill (this will be used to start the body).
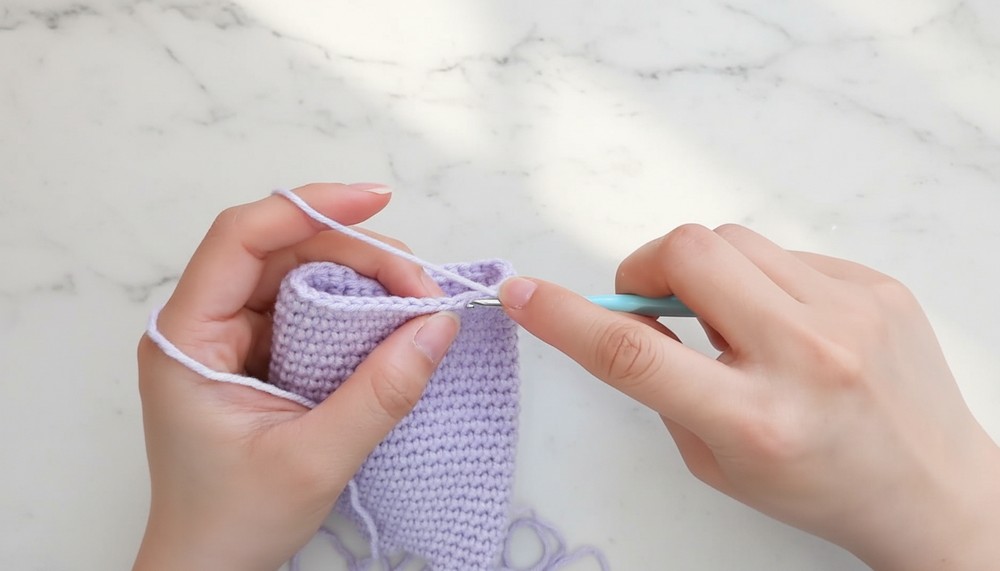
Step 3: Ghost Body
- Attach Frills:
- Begin with the third frill (still on the hook). Crochet 5 sc into the next 5 stitches of the working frill.
- Ch 2, and attach to the second frill by crocheting 1 sc into any stitch of the second frill.
- Work 4 sc into the next stitches of the second frill.
- Add the Final Frill:
- Ch 2, and attach the last frill by crocheting 1 sc into any stitch of the last frill.
- Work 9 sc around the final frill.
- Connect the Frills:
- Continue working around the frills. When you reach the chains, single crochet into the bottom of each chain stitch to secure the connections.
- After completing the round, you should have 38 sc stitches.
- Body Build-Up:
- Rounds 4–26: Crochet 1 sc into every stitch in the round.
- Stitch Count: 38 sc per round.
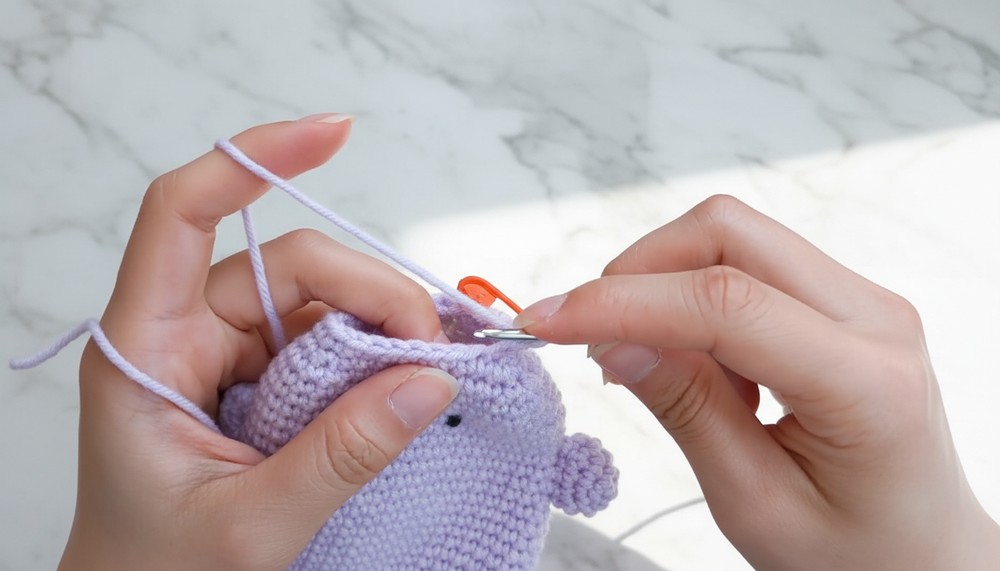
Step 4: Create the Pouch Opening
- Round 27:
- Work 21 sc, then ch 14 loosely to form the pouch opening.
- Skip 16 stitches from the previous round, and then sc into the last stitch of the round.
- Stitch Count: 36 sc.
- Rounds 28–29:
- Crochet 1 sc into each stitch, including the chains, for 36 sc per round.
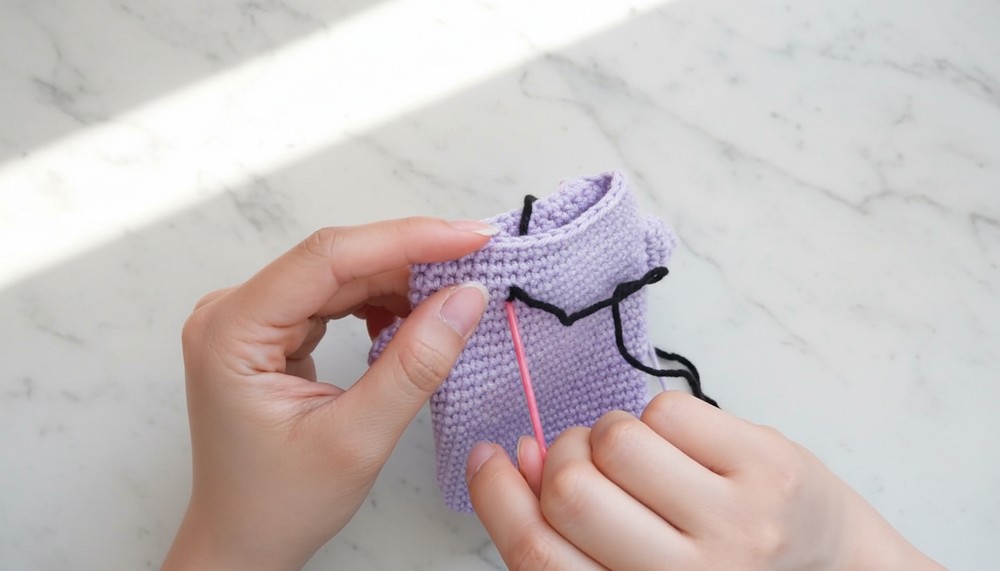
Step 5: Sewing the Face
- Eyes:
- Use black yarn and sew small oval shapes for eyes on round 26, leaving 6 stitches between them.
- Mouth:
- Sew a small smile shape between the eyes, slightly below on round 25.
- Blush:
- Using pink yarn, crochet 5 sc into a magic ring for each cheek, then sew them just below the eyes on rounds 23–25.
- Arms:
- Attach each arm to the body starting at round 24 with an even placement on both sides.
Step 6: Head and Closure
- Head Dome Shape:
- Round 30: Start Decreasing.
- Work 1 sc, 2 dec, 9 sc, 2 dec, and repeat.
- Stitch Count: 28 sc.
- Round 31: Work 1 sc into every stitch.
- Round 32: Decrease Again.
- Work 1 sc, 2 dec, 5 sc, repeat.
- Stitch Count: 20 sc.
- Round 33: Work 1 sc, 2 dec and repeat.
- Stitch Count: 12 sc.
- Round 34 (Final Round):
- Work 6 dec (or invisible decreases).
- Fasten off and sew the head closed.
- Round 30: Start Decreasing.
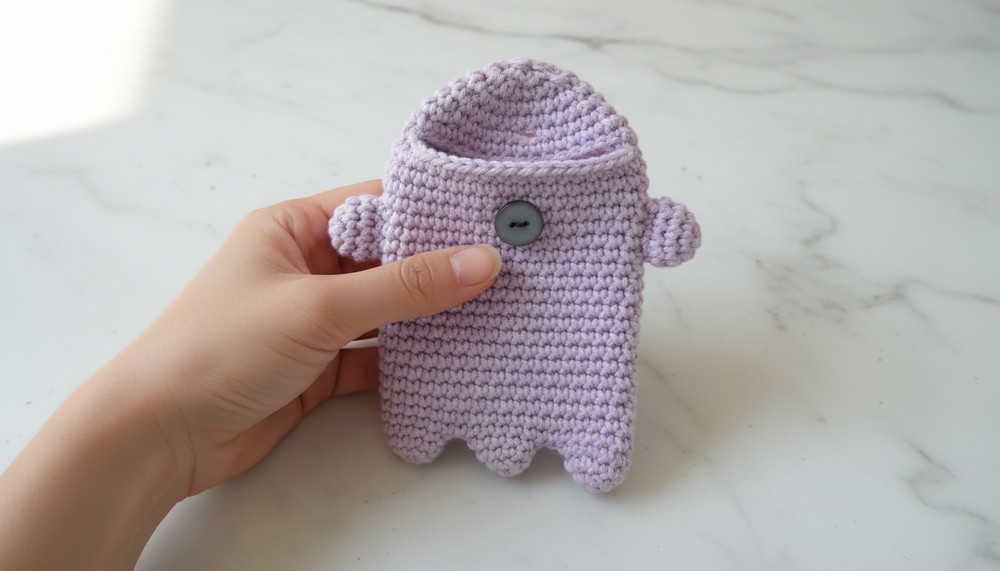
- Button Placement:
- Sew a small button at the back, being careful not to sew it too tightly.
- Loop Closure:
- Crochet a chain long enough to wrap around the button securely and attach it to the pouch.

Step 7: Keychain Hook (Optional)
- Attach Loop:
- Crochet a small chain and securely sew it to the pouch for a keychain hook attachment.
- Add Jump Ring:
- Attach the jump ring or hook to the sewn loop for easy bag attachment.
Finishing Touches
- Weave in Ends: Ensure all loose ends are hidden for a neat finish.
- Shape the Pouch: Stretch and shape the ghost gently to finalize its look.

Final Words & Tips
Congratulations on completing your Ghost Pouch! This charming and versatile accessory is perfect for Halloween or as a cute gift for friends and family. Experiment with colors or embellishments to make different variations of ghost pouches for added fun.
Tips for Success:
- Continuous Rounds: Use a stitch marker to track the beginning of each round for accuracy.
- Customize the Face: Play around with different expressions like winking eyes or a surprised mouth.
- Stitch Tension: Keep stitches loose when working decreases for a smooth dome shape.