Fill your seasonal decor with sweetness using this Crochet Easter Bunny Rabbit Free Pattern and enjoy a charming addition to festive celebrations.
Cozy Crochet Love offers a wonderful tutorial and full credit goes to the creator for providing such a clear and friendly guide. This project, the Crochet Easter Bunny Rabbit, is perfect for adding a handmade touch to your spring celebrations or Easter decorations.
Mini Crochet Easter Bunny Rabbit Free Pattern With Sweet Details
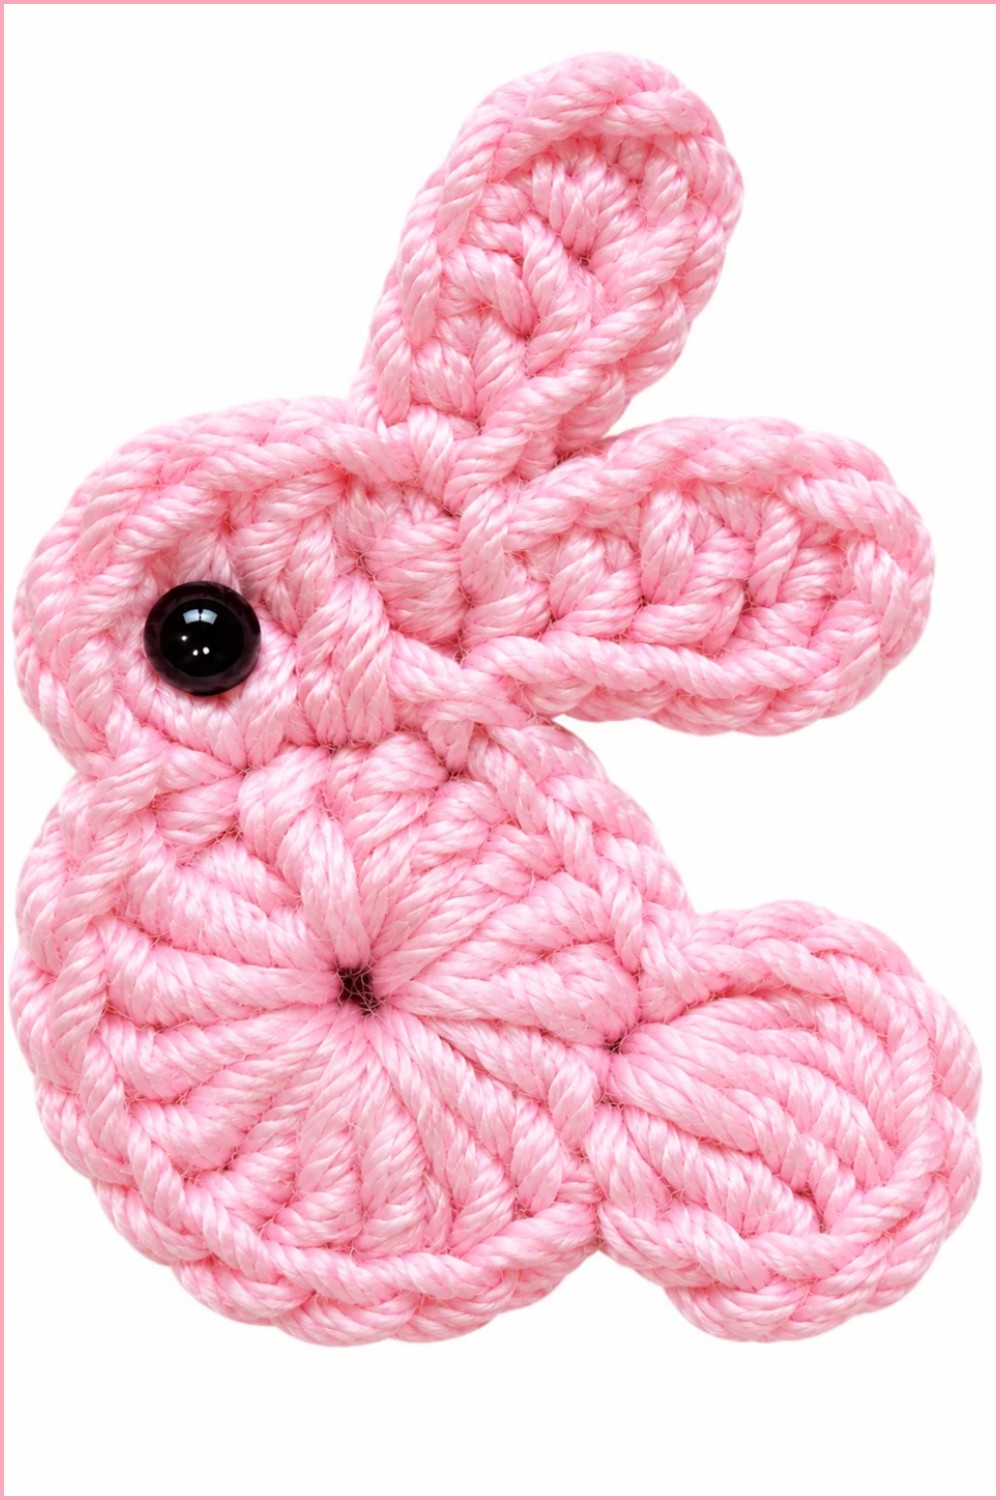
The Crochet Easter Bunny Rabbit is a small, soft toy featuring classic bunny details like long ears, a round body, and a fluffy tail. Its simple yet beautiful design showcases neat stitches and smooth shaping, making it a delightful piece to display on Easter tables, give as a gift to children, or keep as a seasonal decoration year after year.
What makes this project special is the option to customize the bunny’s colors. You can choose soft pastels for a gentle look or brighter colors for a fun twist. Adding tiny details like embroidered eyes or a small nose makes each bunny unique and full of personality.
The crochet steps are easy to follow, suited for beginners. The process begins by crocheting the bunny’s body in rounds using basic single crochet stitches. Then, the ears are made separately and sewn onto the head. A small, round piece is created and attached as a tail. Facial features are completed using simple embroidery or safety eyes.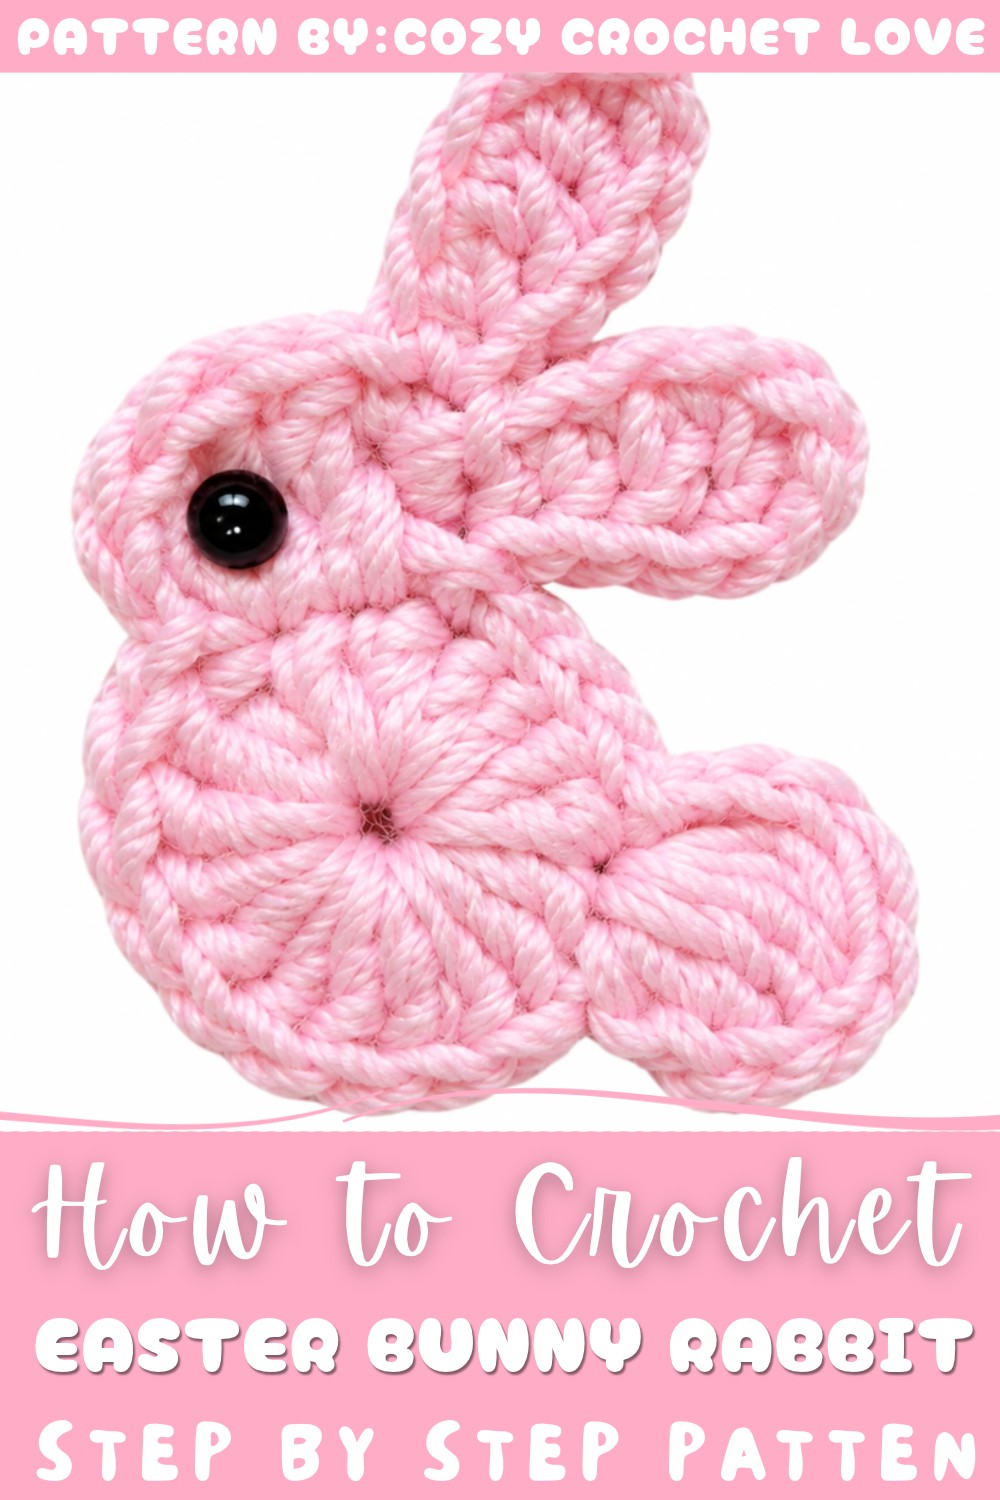
Thanks to Cozy Crochet Love’s helpful instructions, this Crochet Easter Bunny Rabbit is a lovely project that brings joy and a personal touch to Easter celebrations. Give this free tutorial a try and enjoy making your very own Easter friend!
Crochet Bunny Pattern
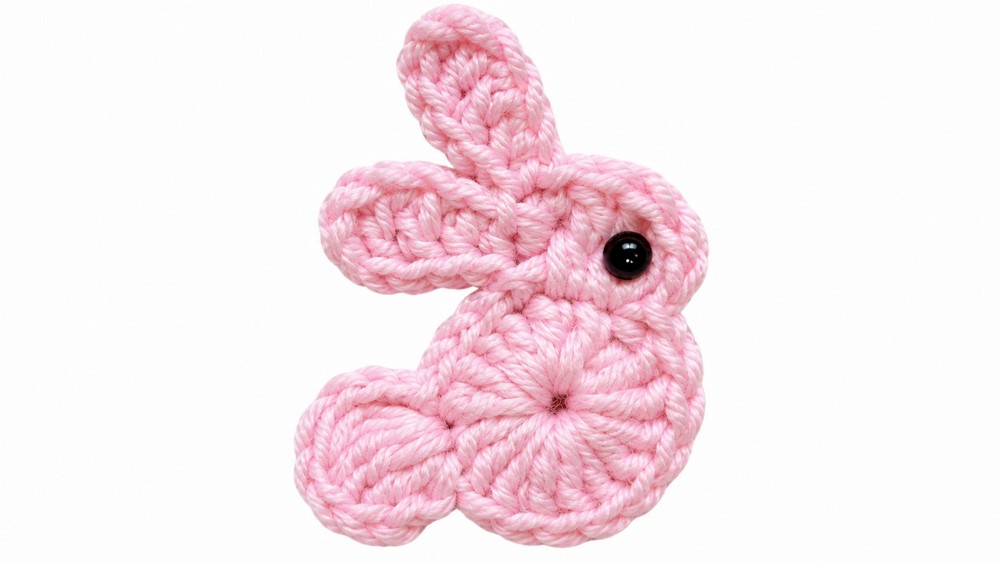
This charming crochet bunny is designed using weight 4 acrylic yarn and a fine 2.5 mm hook, producing a dainty yet sturdy piece well-suited for spring décor, children’s gifts, or festive accents. The compact body structure, long floppy ears, and puff stitch tail offer a tactile, playful finish. Each step introduces basic and slightly textured stitches, combining to form a recognizable seated bunny silhouette with an added touch of personality.
Pattern Basic Points
- Foundation ring technique: The bunny’s body begins with a dense double crochet ring for stability and definition.
- Layered body and head: Double crochet and triple crochet stitches sculpt the bunny’s seated stance.
- Long, textured ears: Built separately with a blend of dc, hdc, and sc for natural curve.
- Distinctive puff stitch tail: Yields a three-dimensional, fluffy accent.
- Embroidery and finishing options: Personalize with eyes, a nose, or added accessories.
- Compact and adaptable design: Sizing and details can be altered with minimal adjustments.
Special Notes
- Tight tension is essential to maintain form and highlight stitch textures.
- Tackling the puff stitch tail requires comfortable yarn management; work slowly to ensure no loops are missed.
- Weaving in ends thoroughly and firmly is crucial for durability, especially at limb and ear joins.
- Embroidered features are child-safe, while small safety eyes suit older children or display pieces.
- The pattern uses simple colorwork but encourages creative adaptation (contrast ears, pastel tails, etc.).
- This flat bunny construction is ideal as an applique, ornament, or brooch, and can be doubled and stuffed for extra dimension.
Skill Level
Beginner to Advanced Beginner
All skills involved are foundational, with some experience in shaping, puff stitches, and assembly helpful. A patient beginner will succeed; those familiar with basic amigurumi or motif craft can quickly master the process.
Materials
- Yarn: Weight 4 (medium/worsted) acrylic yarn in chosen bunny and tail colors.
- Crochet Hook: 2.5 mm (or size to achieve firm fabric).
- Tapestry Needle: For weaving and embroidery.
- Scissors
- Safety Eyes (optional) or black embroidery thread for eyes/nose.
- Stuffing (optional): For doubling and lightly filling bunny.
Measurements
- Finished Size: Approx. 5–7 cm tall and 4–5 cm wide, depending on tension and yarn.
- Tail puff extends about 1–1.5 cm from the back.
Gauge & Stitch Pattern
No strict gauge—fabric should be tight but flexible for shaping.
Test: 10 dc x 5 rows ≈ 5 cm x 5 cm with 2.5 mm hook and weight 4 yarn.
Stitch Abbreviations
| Abbreviation | Meaning |
|---|---|
| ch | chain |
| sl st | slip stitch |
| sc | single crochet |
| hdc | half double crochet |
| dc | double crochet |
| trc | triple crochet |
| puff | puff stitch (see below) |
Special Stitches
Puff Stitch:
Yarn over, insert hook into stitch, pull up a loop. Repeat this process five times (yarn over and pull up a loop total of five times—six loops on hook). Yarn over, pull through all loops, then chain to close puff.
Triple Crochet (trc):
Yarn over twice, insert hook, yarn over, pull through, (yarn over, pull through two) three times.
Pattern Instructions
1. The Base Ring
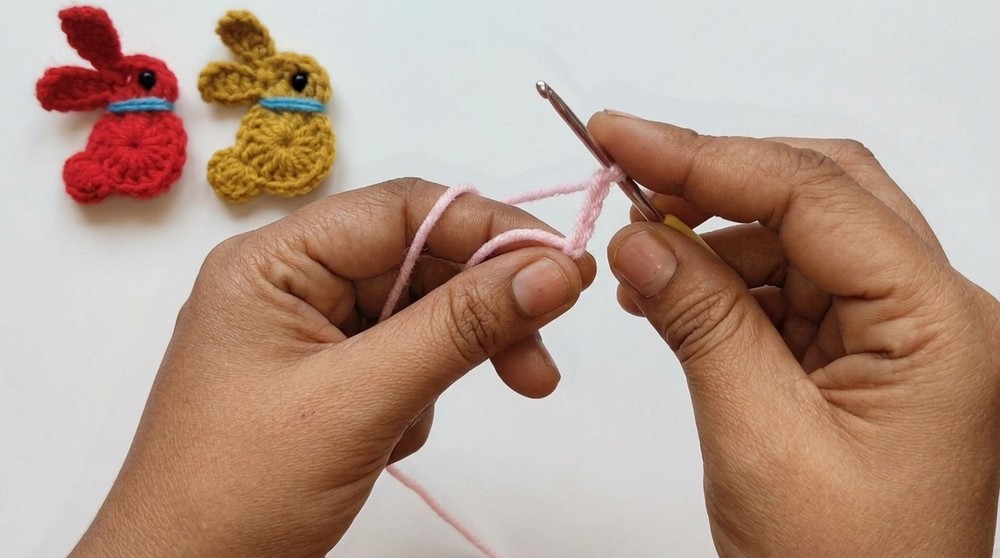
- Begin with a slip knot.
- Chain 3, connect the ends to form a ring.
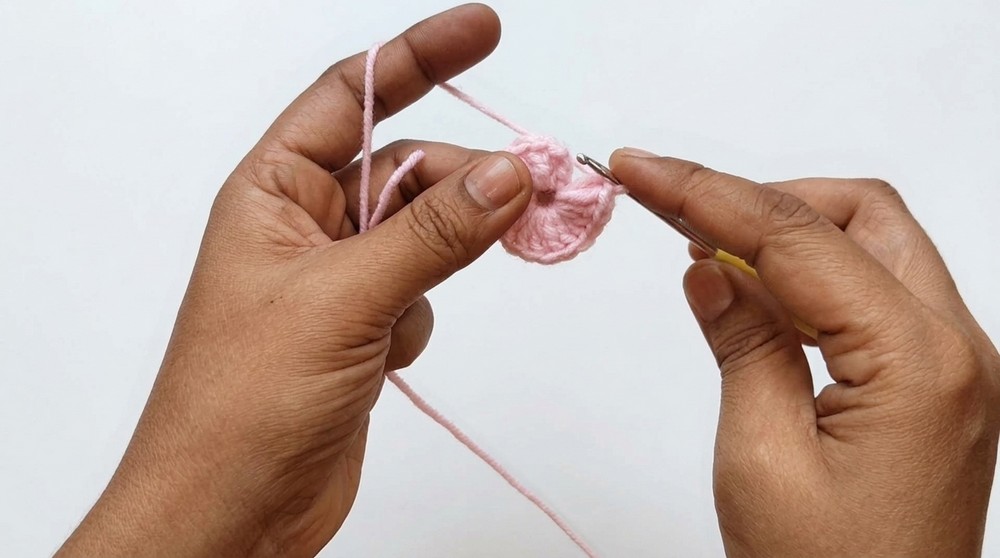
- Into the ring, work 16 double crochet (dc) stitches evenly around.
- Pull the initial tail to tighten and close the center.
- Slip stitch to the first double crochet to join the round.
2. Body and Head
- Chain 2 from the current stitch position.
- In the same chain gap (the base of the chain 2):
- Work 1 double crochet (dc).
- Work 1 triple crochet (trc).
- In the next stitch:
- Work 1 triple crochet (trc).
- Work 1 double crochet (dc).
- This sequence should form an arched shape atop the body ring, simulating the head-and-chest posture of a seated bunny.
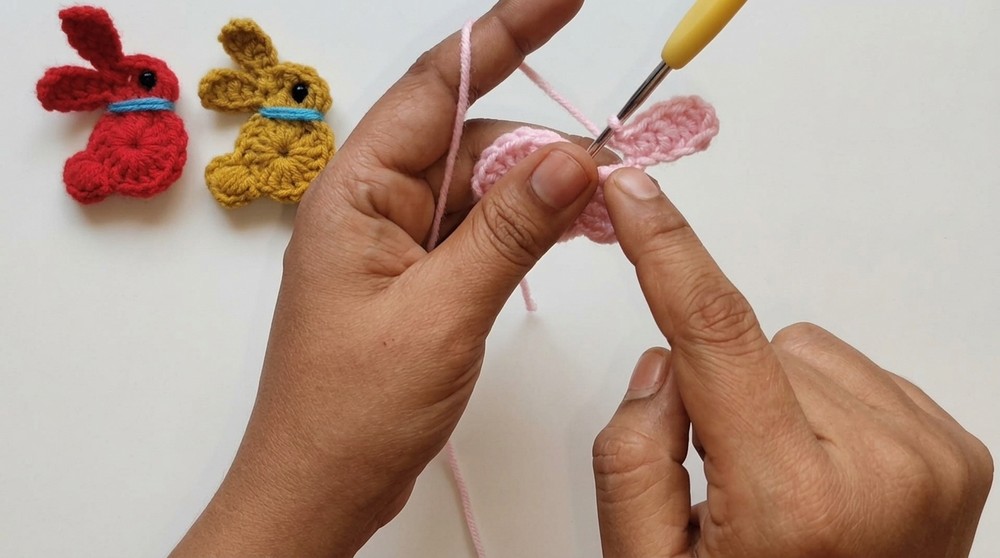
3. Ears (Make 2)
- Chain 7.
- In the 4th chain from the hook, insert:
- 1 double crochet (dc)
- In the next chain:
- 1 double crochet (dc)
- In the next chain:
- 1 half double crochet (hdc)
- In the last chain:
- 1 single crochet (sc)
- To secure the ear, slip stitch back to the base ring (joining near the head-top).
- Repeat the above steps for the second ear, placing it adjacent to the first for a balanced look.
4. Tail
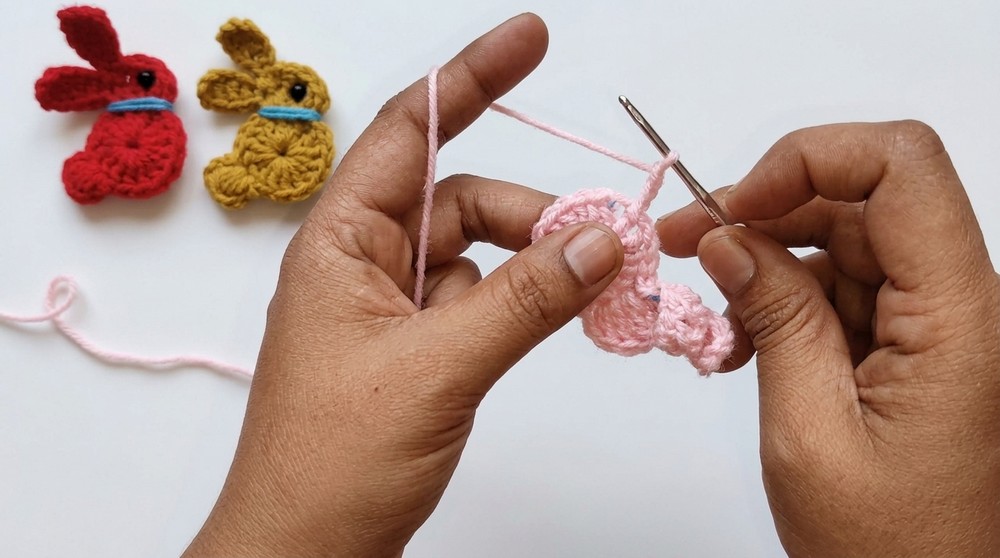
- Beginning from the end of the base ring or, if necessary, slip stitch around the edge to reach the desired tail position (usually 5 slip stitches from ear joins gets you to the lower back).
- Chain 3.
- Work a puff stitch: Yarn over, insert into chain or ring, draw up a loop (repeat until 5 YO and draws; 6 loops on hook), then pull through all loops.
- Chain 3.
- Slip stitch to secure the puff to the bunny’s body at the origin/starting point.
5. Finishing
- Chain 1 after tail completion and cut the yarn, pulling through to fasten off.
- Weave in all loose yarn ends using the tapestry needle, ensuring ends are hidden firmly within the work.
- Add facial features to the bunny:
- Attach safety eyes as directed by manufacturer, or use black embroidery thread to make small French knots or satin-stitched eyes and a few stitches for the nose/mouth.
- Optional: Add a small bow or flower applique at the neck or ear for extra charm.
Assembly & Finished Size
With its dense ring base, shaped body, and elongated ears, the bunny lays flat but displays strong silhouette definition. The puffy tail creates dimension and playful detail. Final size is about 5–7 cm tall, fitting easily in a child’s hand or on a greeting card, basket, or as an applique on accessories.
Conclusion
This crochet bunny pattern leverages foundational techniques—double and triple crochet, chain-based sculpting, and puff stitch—for a miniature yet expressive result. Careful shaping of the body and ears, together with the tactile tail and embroidered features, ensures variety and personality. Its flat construction and concise assembly make it ideal for quick gifts or last-minute celebration accents, while adaptability of detail allows for endless creative interpretation and variation. The project provides both immediate satisfaction and long-term utility as a multipurpose seasonal crochet motif.