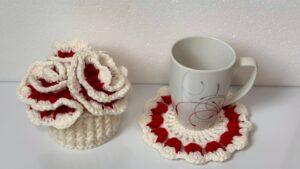
Bring life to your hair accessories with this free crochet scrunchie guide, offering simple instructions to make a soft and stylish addition to any look.
A small circle of yarn can change the look of a whole outfit. In a free crochet scrunchie pattern, a simple hair tie becomes something soft, pretty, and special. This scrunchie wraps around the hair with gentle ruffles, so it does not pull or hurt, and it looks full and fluffy. The yarn can be any color: bright for fun days, soft pastels for a cute style, or dark shades for a calm, elegant feel.
How to Crochet Scrunchie in Simple Steps
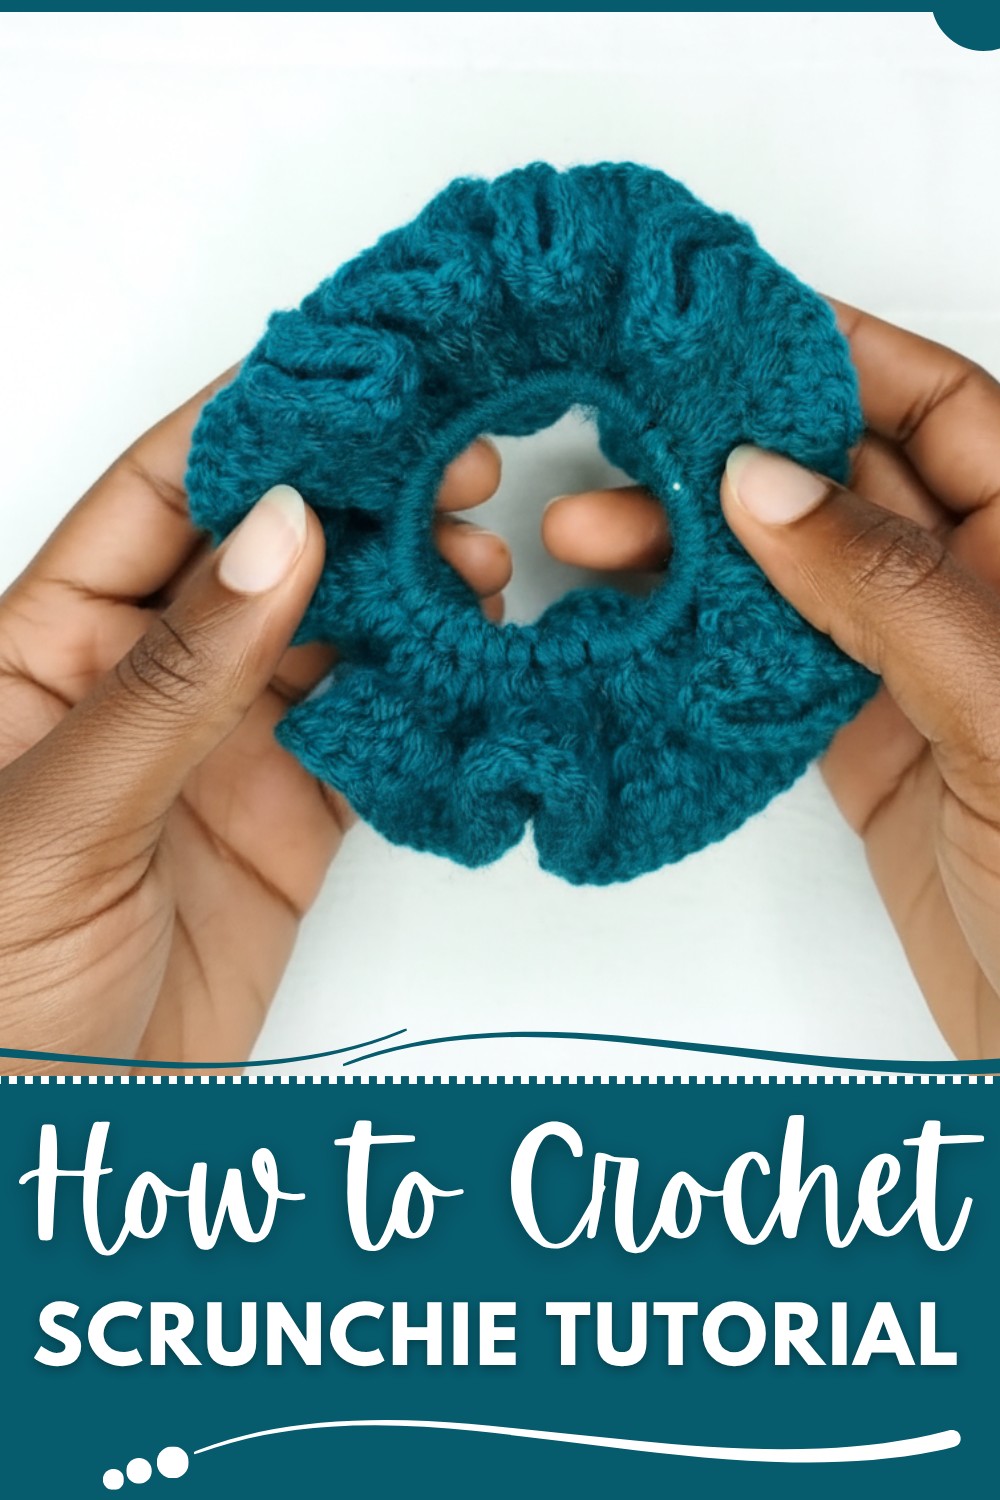
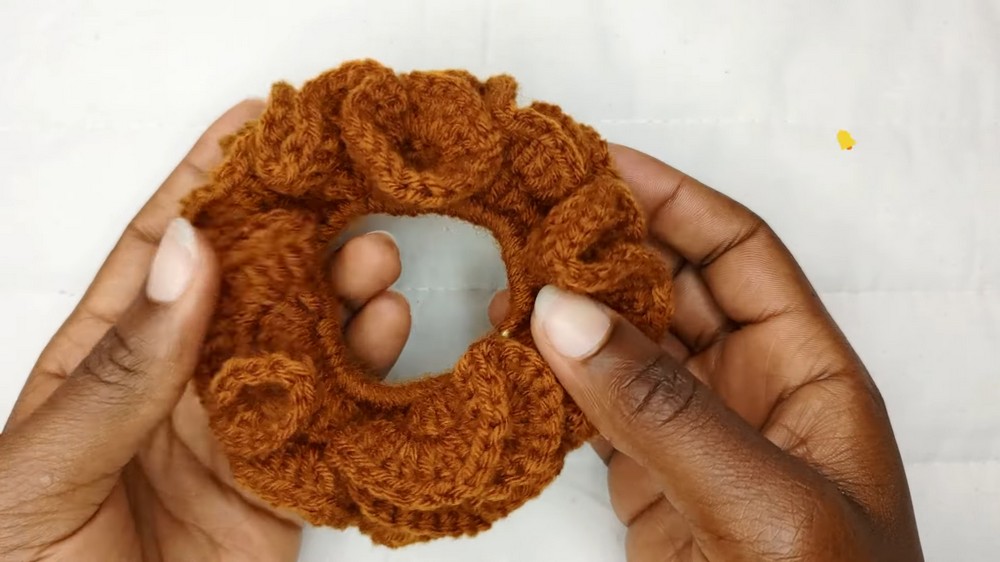
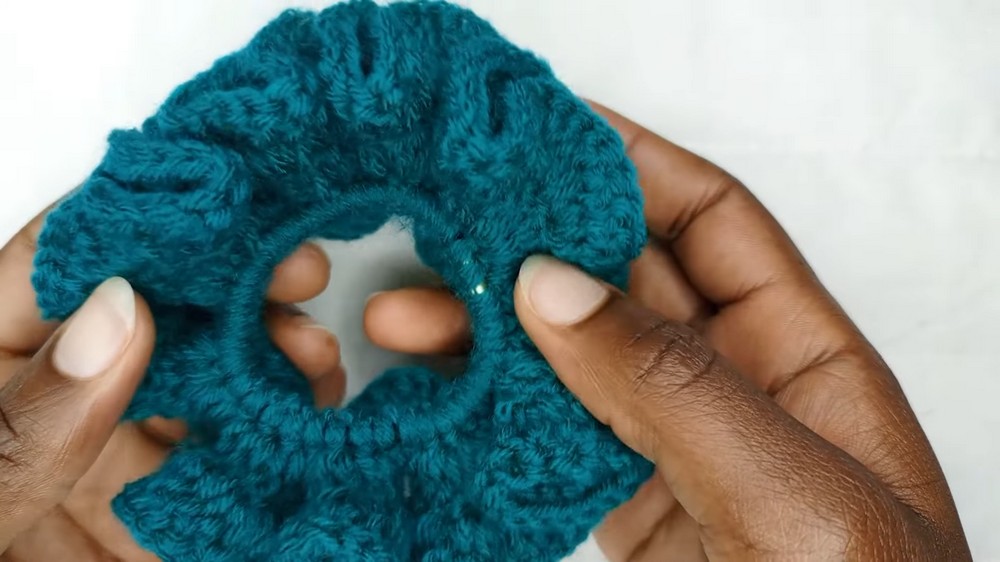
On the wrist, the scrunchie turns into a little bracelet, adding color and charm even when the hair is down. It is small, light, and easy to carry, so it can go anywhere in a pocket or bag. The shape is round, with layers of waves made from double crochet stitches worked around a hair tie, giving it a rich, curly look. This one tiny item makes the hair neater, the style prettier, and the person wearing it feel more confident and put together.
Crochet Scrunchy Pattern
Skill Level:
Beginner
Materials:
- Yarn:
- Any weight yarn can be used, but worsted weight works well for a fuller scrunchy.
- Crochet Hook:
- Use a size appropriate for your yarn weight (e.g., 5mm hook for worsted weight yarn).
- Hair Tie:
- Standard elastic hair tie.
- Scissors.
- Darning Needle:
- For weaving in ends.
Special Techniques:
- Magic Circle Alternative: Using a hair tie to begin crocheting around.
- Double Crochet (dc): Used to create the textured ruffle effect.
- Slip Stitch (sl st): For joining rounds.
Pattern Instructions
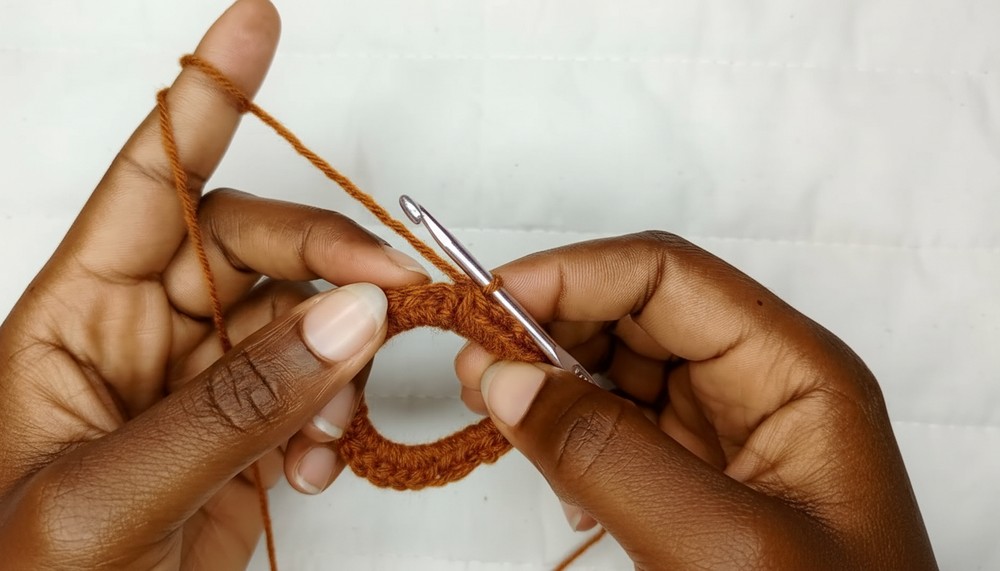
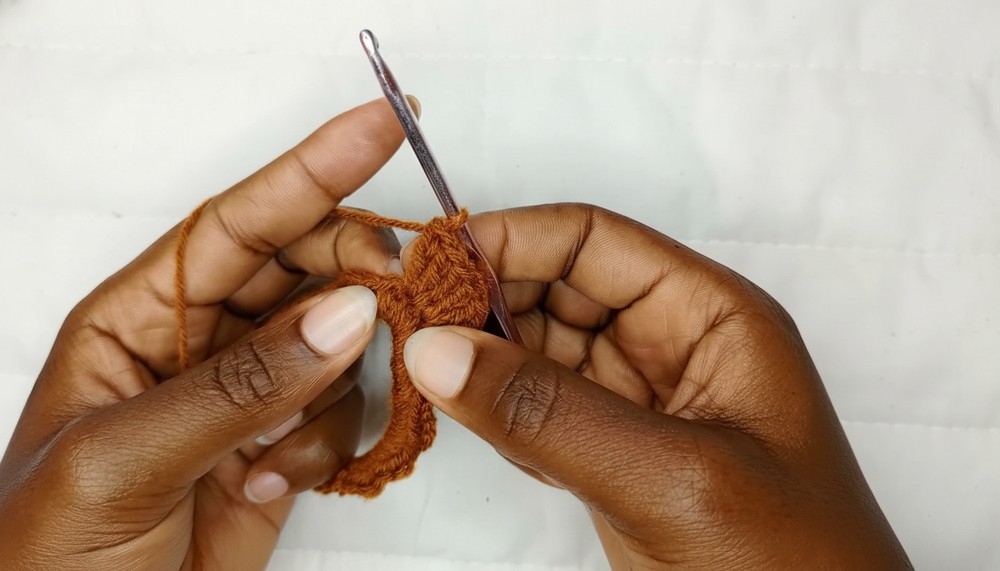
Attaching Yarn to Hair Tie
Begin:
- Make a Slip Knot: Slide it over your crochet hook and tighten it.
- Attach to Hair Tie: Insert your hook into the center of the hair tie, yarn over, and pull through both the hair tie and the loop on your hook to secure the yarn.
- Chain 1 (ch 1): This step anchors the yarn to the hair tie and begins your work.

Round 1: Single Crochet Base
- Single Crochet (sc) around the Hair Tie: Insert your hook into the center of the hair tie, yarn over, pull up a loop (2 loops on the hook), yarn over, and pull through both loops.
- Repeat until the hair tie is fully covered with single crochet stitches. The elasticity of the hair tie should ensure the single crochets sit closely together.
- Finish Round: Slip stitch into the first single crochet to join.
Round 2: Creating the First Ruffle Layer
- Chain 3 (counts as a double crochet):
- In the same stitch, place 2 dc to start the ruffle effect.
- Double Crochet (dc): Yarn over, insert hook into stitch, yarn over, pull up a loop (3 loops on hook), yarn over, pull through 2 loops, yarn over, pull through remaining 2 loops.
- In each stitch around, place 3 dc to form a ruffle. Each base single crochet should have 3 dc.
- Slip Stitch into the top of the beginning chain 3 to close the round.
Round 3: Adding Volume with Second Ruffle Layer
- Chain 3 (counts as a dc):
- Again, in the same stitch, place 2 more dc.
- Continue placing 3 dc in each stitch around, adding volume and fluff to your scrunchy.
- Finish the Round: Slip stitch into the top of the beginning ch-3.
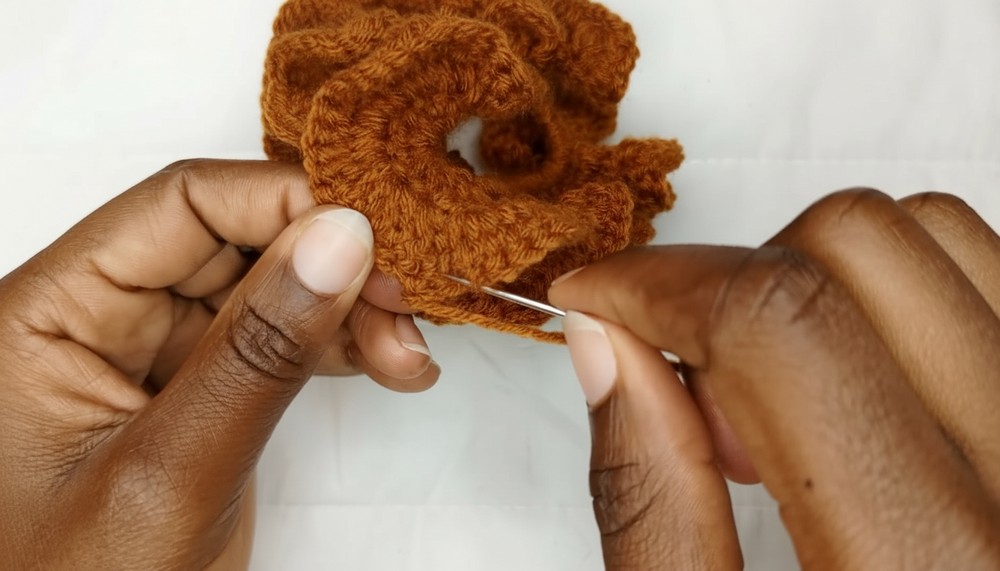
Finishing the Scrunchy
- Cut the Yarn: Leave a 6-inch tail.
- Fasten Off: Pull the tail through the loop on your hook and tighten to secure.
- Weave In Ends: Use your darning needle to weave in any loose ends neatly along the stitches to hide them within the work. Cut any excess yarn.
Final Words and Tips
- Experiment with Colors and Textures: Use multicolored yarns for a unique look, or metallic yarns for added elegance.
- Adjust Yarn Weight: Lighter yarn will create delicate scrunchies while bulky yarn results in a more prominent and structured scrunchy.
- Washing Care: Hand wash gently and lay flat to dry to maintain elasticity and prevent weakening the hair tie.
- Color Coordination: Make scrunchies in various colors to match different outfits, enhancing your accessory collection.