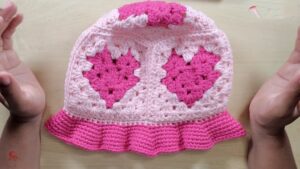
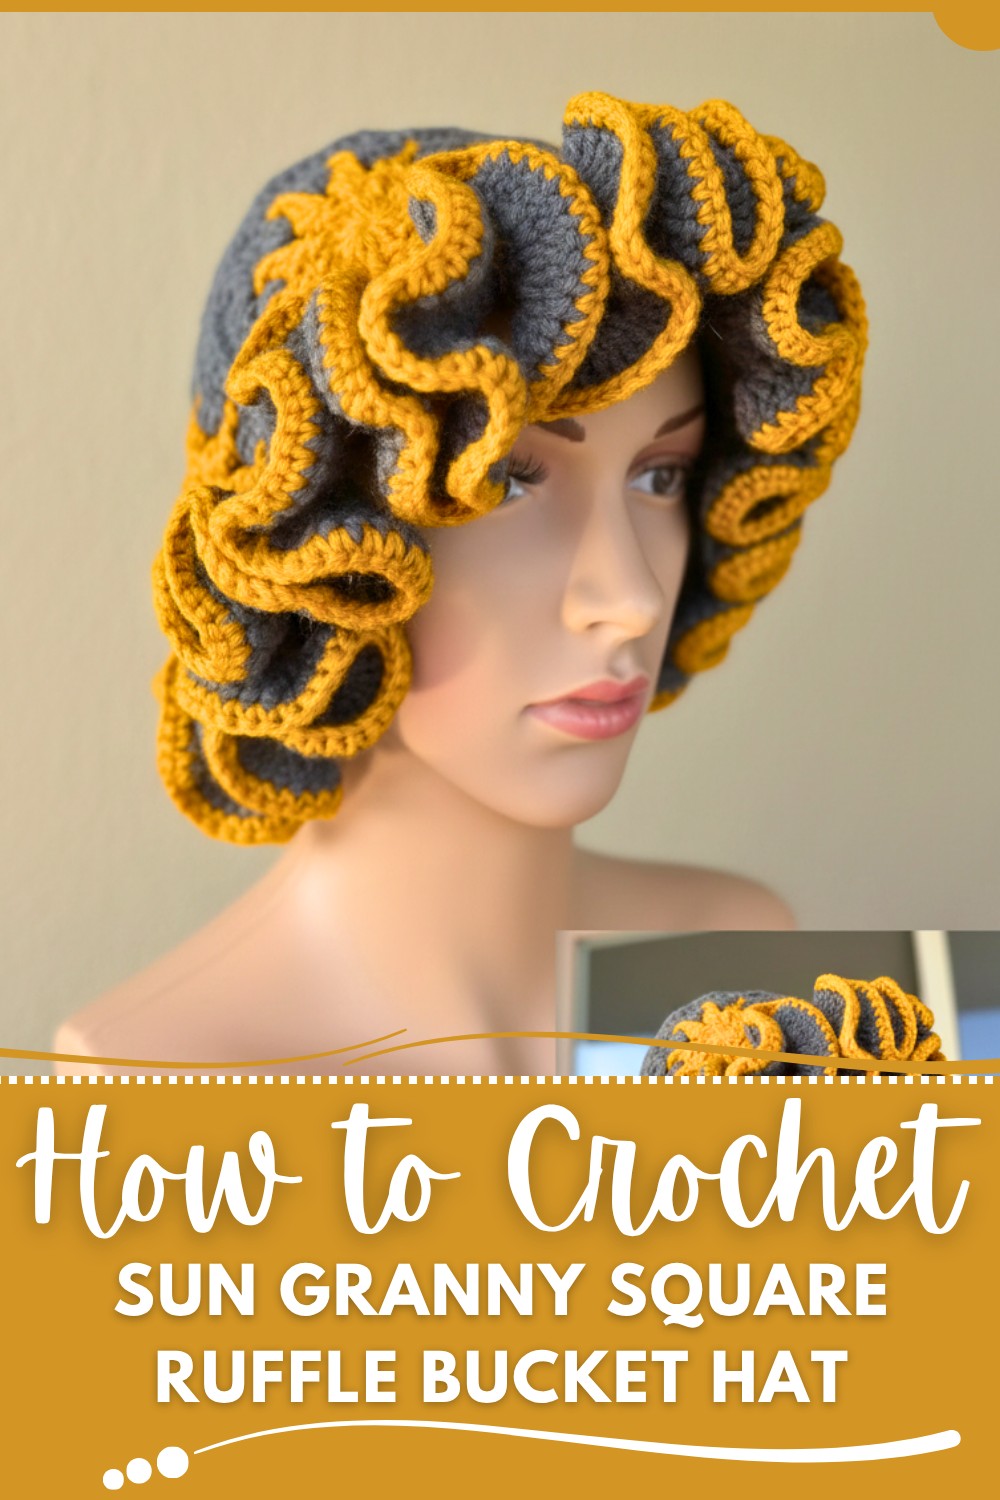
Enjoy this free crochet granny ruffle bucket hat that is soft, colorful, and stylish, making it a fun and practical accessory for all ages to wear.
This fashionable accessory is perfect for adding charm to your everyday look. Its cheerful and creative design makes it stand out, combining style with purpose. The crochet granny ruffle bucket hat brings a soft, textured feel and a playful ruffled edge that’s both eye-catching and unique. Whether you're enjoying a sunny day outdoors or just want to add a fun accent to your outfit, this hat is a great choice.
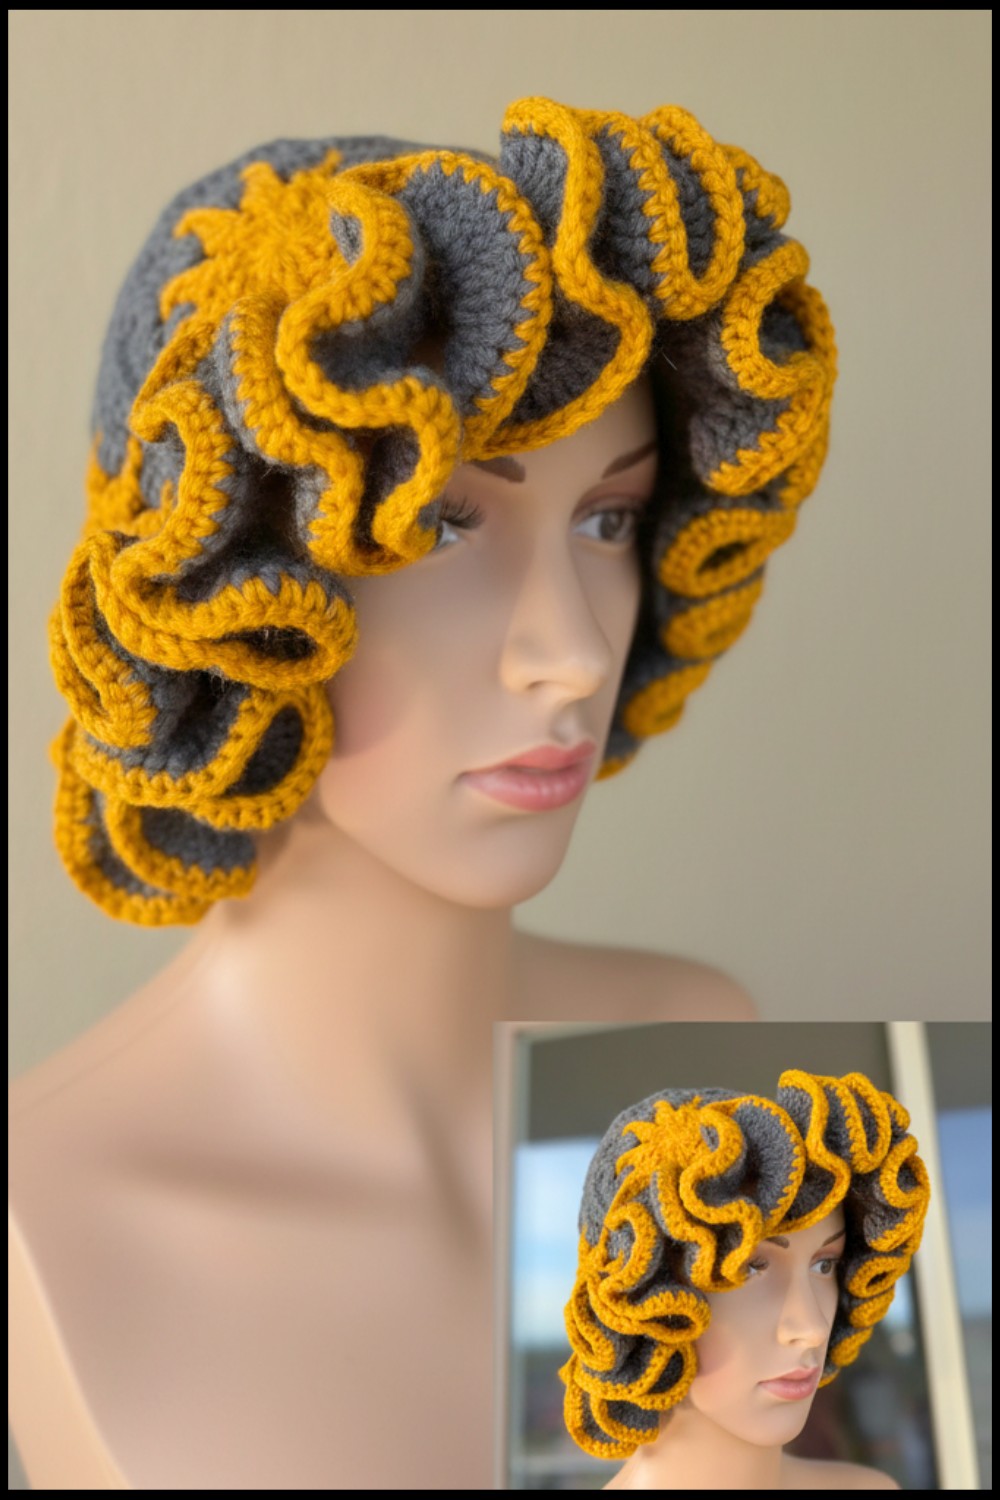
Free Crochet Granny Ruffle Bucket Hat Pattern for Vibrant Accessories
It’s lightweight, comfortable, and can be made in a variety of vibrant colors to suit anyone’s personal style. Designed to fit kids and adults alike, it’s not only practical but also a trendy addition to any wardrobe. Its versatility makes it an excellent gift idea or a fun project that’s as enjoyable to make as it is to wear. Perfect for all seasons, this piece is sure to keep you stylish and comfortable wherever you go.
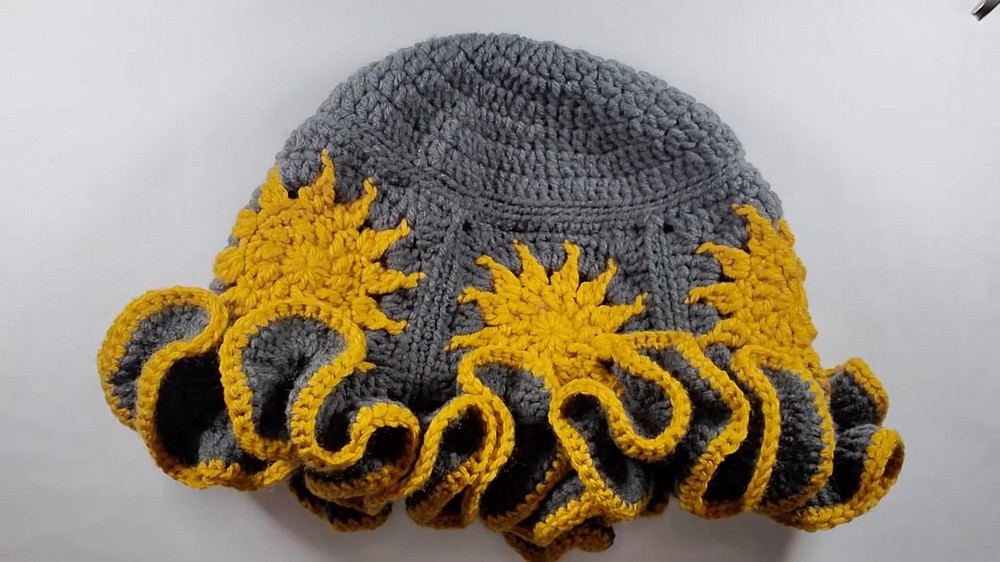
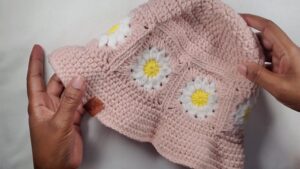
Crochet Sun Granny Square Bucket Hat with Ruffles
Materials Needed
Yarn
- Medium Weight Yarn (Size 4)
- Main Color (Color A): For the round base and squares (approximately 150–200 yards).
- Secondary Color (Color B): For the ruffles or accent rows (approximately 50–75 yards).
- Optional: Additional colors can also be incorporated into the squares.
Tools
- Hook: 4.5 mm crochet hook
- Scissors
- Darning/tapestry needle
- Optional: Stitch markers and measuring tape
Skill Level
Intermediate to advanced
Abbreviations (US Crochet Terminology)
- CH - Chain
- ST - Stitch
- SL ST - Slip Stitch
- SC - Single Crochet
- HDC - Half Double Crochet
- DC - Double Crochet
- YO - Yarn Over
Special Notes
- The chain 2 at the start of a round does not count as a stitch.
- To check the size, adjust tension, yarn, or hook as needed for a proper fit.
- Use invisible finishing methods (explained in step) for a clean look.
Pattern Instructions
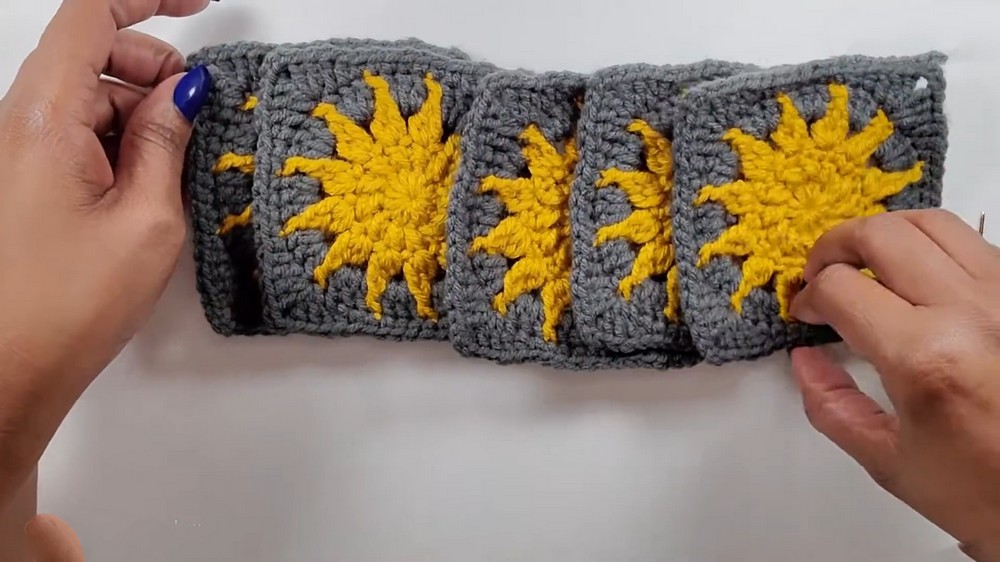
1. Sun Granny Squares (Make 5)
Refer to the linked sun granny square tutorial for detailed instructions on how to create the squares. Once completed, each square should have 17 stitches along its edge. When joined, the five squares will form the body of the hat.
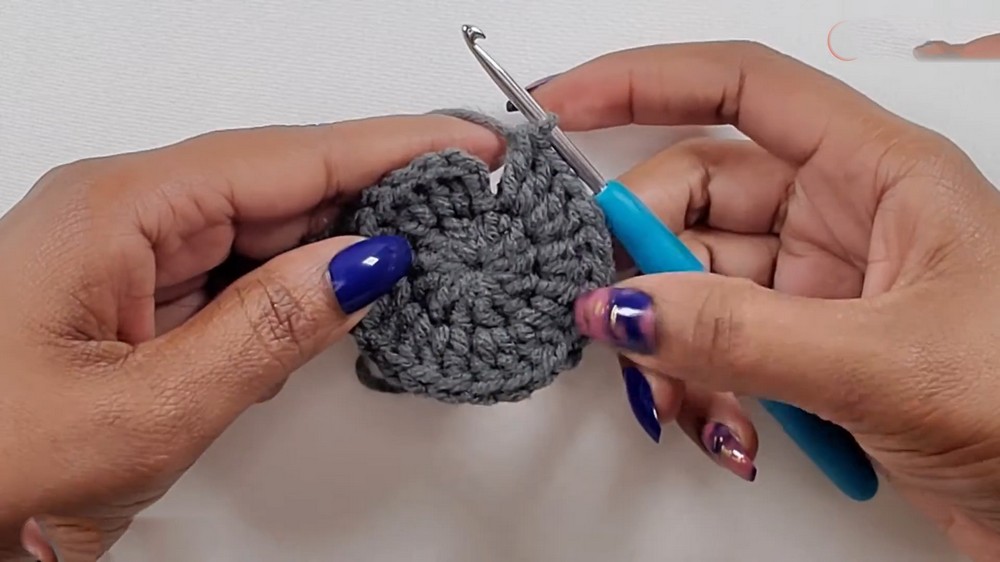
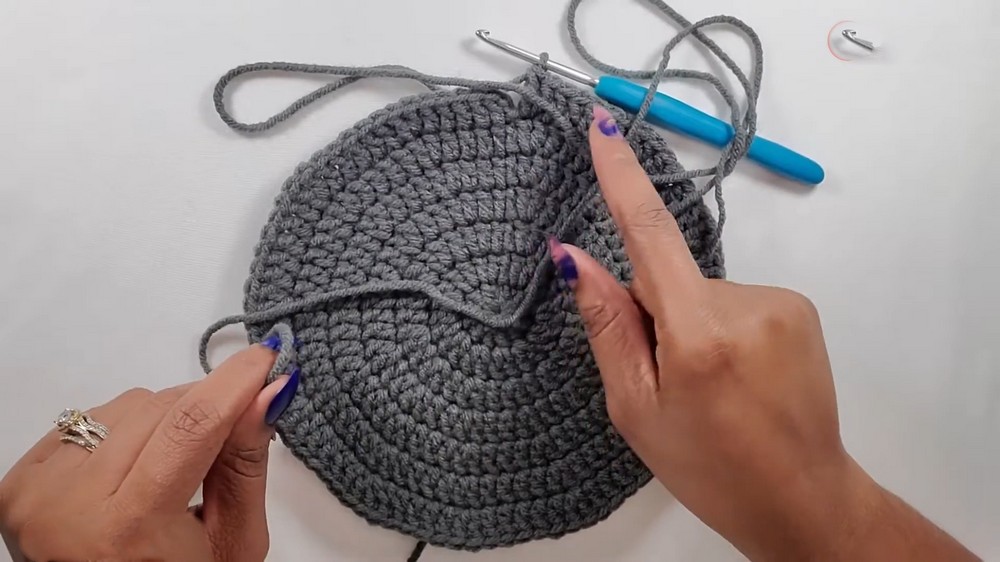
2. Hat Crown (Top of Hat)
- Foundation Round:
- Start with a magic ring.
- CH 2 (does not count as a ST). Work 12 DC into the ring. Tighten the ring and SL ST into the first DC to close. (12 DC)
- Round 2:
- CH 2. Work 2 DC in each ST around. SL ST to the first DC. (24 DC)
- Round 3:
- CH 2. (Work 1 DC in the first ST, then 2 DC in the next ST). Repeat from * to * around. SL ST to the first DC. (36 DC)
- Round 4:
- CH 2. (Work 1 DC in each of the next 2 STS, then 2 DC in the next ST). Repeat from * to * around. SL ST to the first DC. (48 DC)
- Round 5:
- CH 2. (Work 1 DC in each of the next 3 STS, then 2 DC in the next ST). Repeat from * to * around. SL ST to the first DC. (60 DC)
- Round 6:
- CH 2. (Work 1 DC in each of the next 4 STS, then 2 DC in the next ST). Repeat from * to * around. SL ST to the first DC. (72 DC)
- Round 7:
- CH 2. (Work 1 DC in each of the next 5 STS, then 2 DC in the next ST). Repeat from * to * around. SL ST to the first DC. (84 DC)
Note: Count stitches at the end of each round to ensure proper increases.
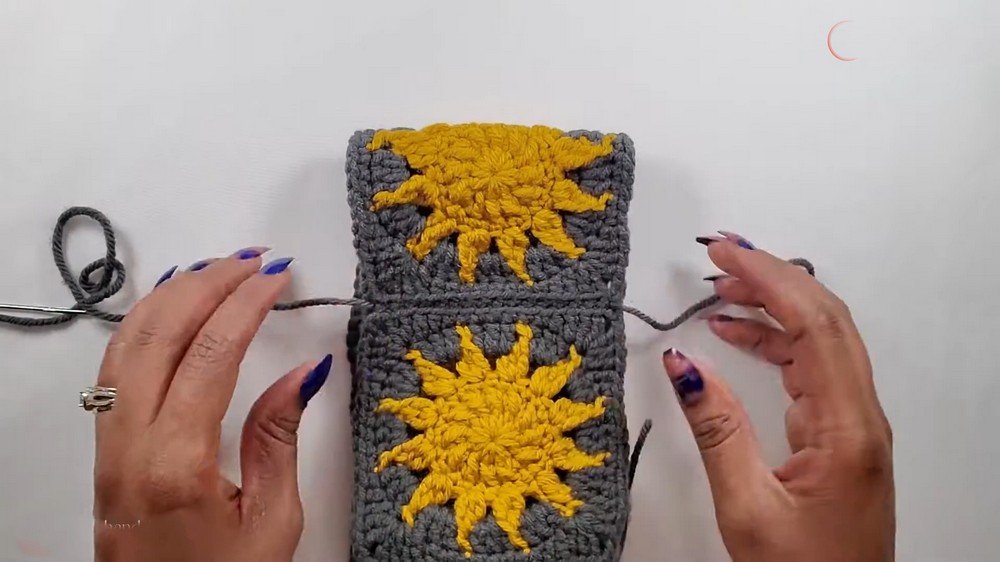
3. Attaching the Granny Squares
- Prepare the Squares:
- Align the squares with the wrong sides facing inward and edges flush.
- Sewing the Squares Together:
- Use a darning needle and sew through the back loops only of each square.
- Join all five squares side by side to form a long strip.
- Match the two ends of the strip and sew them together into a loop.
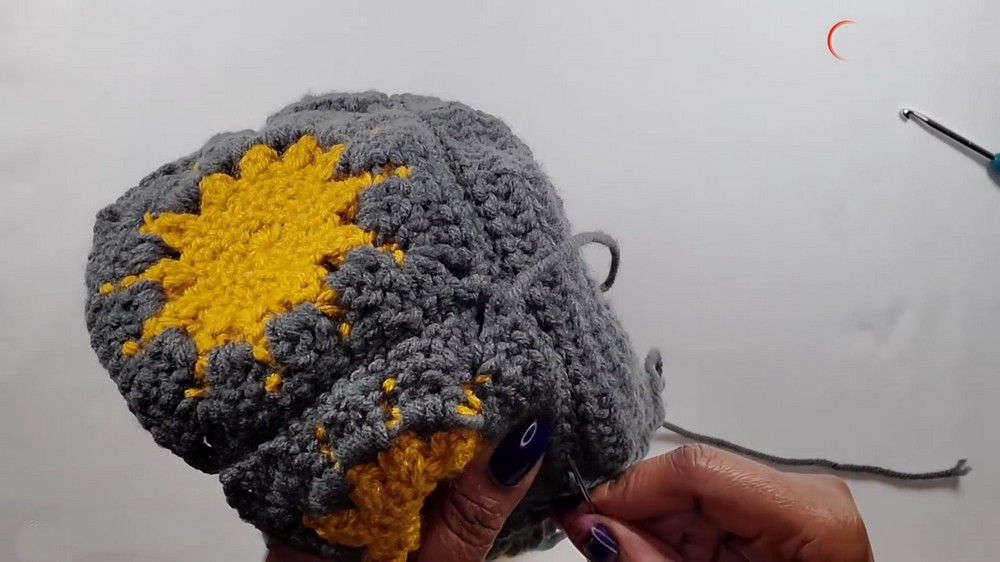
- Join the Top Circle to the Squares:
- Turn the hat body inside out to work. Align the circumference of the top circle with the joined squares.
- SL ST or sew through the top edges of the squares and the back loops of the top circle stitches.
- Stop periodically to ensure proper alignment.
4. Creating the Brim
- Round 1:
- Reattach yarn to the bottom edge of the squares.
- Work 1 SC in each ST around, ensuring there are 84 SCs (adjust by decreasing if necessary). SL ST to the first SC to close the round.
- Round 2 (Ruffle Base):
- CH 2. Work 3 DC in each ST around to create a ruffled texture. SL ST to the first DC.
- Round 3 (Increase Ruffles):
- CH 2. Work 3 DC in each ST, further emphasizing the ruffles. SL ST to the first DC.
- Optional Round 4 (Accent Edge):
- Switch to Color B. CH 1 and work 1 SC in each ST around for a polished edge.
Finishing the Hat
- Weave in All Ends: Use a darning needle to secure and weave in invisible ends.
- Invisible Seam (Optional):
- Pull the final loop through the next ST. Insert the needle under both loops of the first ST in the round.
- Pull tight and insert the needle back into the top of the last ST. Weave in remaining yarn.
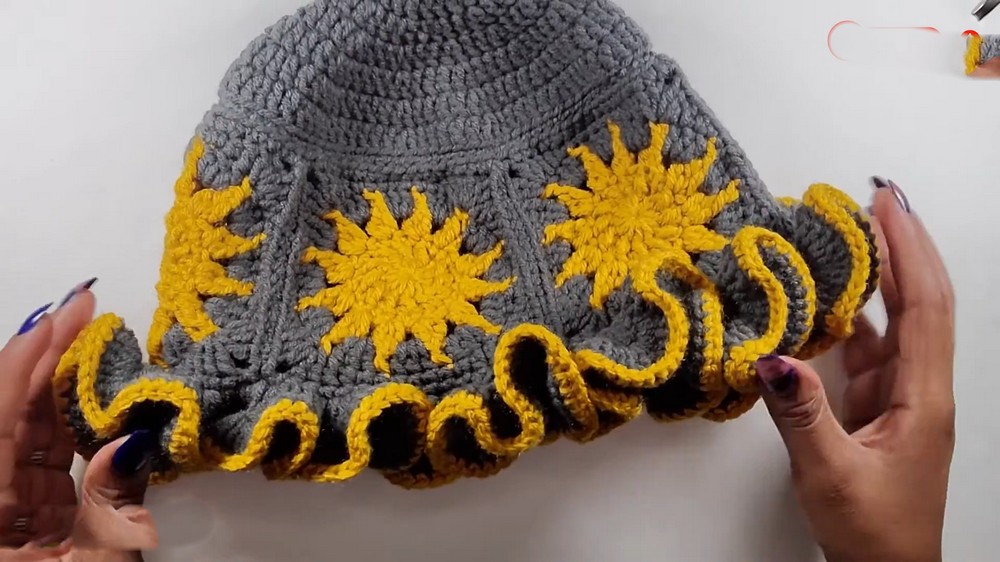
Conclusion
Congratulations! Your beautiful Sun Granny Square Bucket Hat with its ruffled brim is now complete. This hat is not only stylish but also showcases your mastery of assembling granny squares into a wearable masterpiece. Feel free to customize it further with your own creative color combinations or embellishments.
Pattern Correction
- Ensure stitch counts are carefully followed to avoid misalignment of squares or uneven edges.
- Always count stitches at the end of each row/round to avoid size inconsistencies.
Additional Tips
- Manage Yarn Tails Early: Weave in tails as you work through the square assembly to reduce the amount of finishing work.
- Customize Brim Size: Adjust the number of ruffle rows for a larger or smaller brim. More rows will give a deeper and fuller ruffle.
- Blocking: Lightly block your squares before assembly for crisp corners and even sizing.