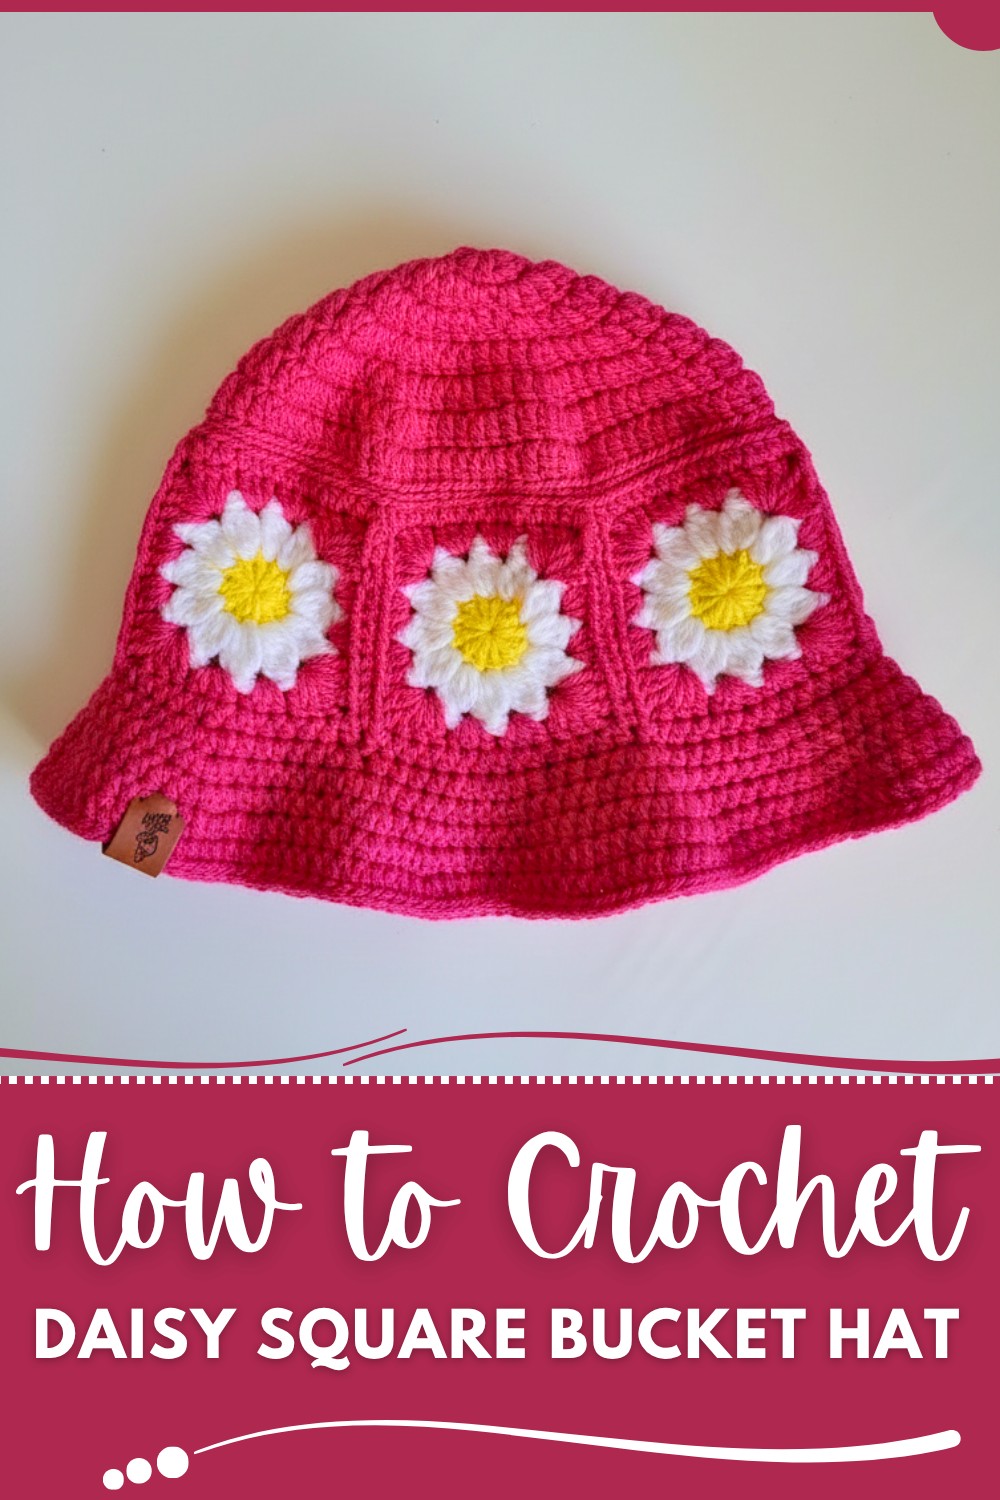
Start crocheting a soft and colorful daisy square bucket hat that is simple to follow, fun to wear, and perfect for casual outfits or sunny days.
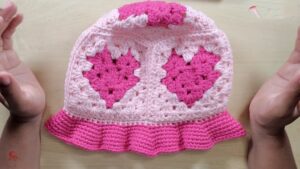
Soft yarn and beautiful floral designs come together to create a bucket hat that is both charming and useful. Featuring delicate daisy squares, it adds a bright splash of color and texture to any outfit, making it a joy to wear. Its wide brim offers shade on sunny days, while the lightweight feel ensures comfort throughout the day. The gentle patterns of daisies bring a touch of nature into daily life, giving the hat a warm and cheerful appearance that stands out.
Crochet Daisy Square Bucket Hat Pattern – Beginner-Friendly Instructions
Perfect for casual outings or gifting, this hat is a lovely way to celebrate creativity and craftsmanship. The design combines practicality with beauty, making it ideal for all ages to enjoy, whether as a fashion statement or simply as a thoughtful accessory. Its unique features and floral-inspired style make it more than just a hat, it’s a celebration of fun textures and playful patterns that brighten everyday moments. With its soft and inviting look, it’s an accessory that effortlessly combines comfort and elegance.
Crochet Pattern: Daisy Granny Square Bucket Hat
Materials Needed
Yarn
- 3 colors of yarn (Size 4 - Medium Weight):
- Color A (Daisy Center): Yellow or color of your choice.
- Color B (Petals): White or any light, contrasting color.
- Color C (Square and Circumference): Main color for the bucket hat.
- Approximate yardage required: 150–200 yards of main color, 75 yards of white, and 25 yards of yellow.
Tools
- Hook: 4.5 mm crochet hook
- Scissors
- Darning needle (Tapestry needle)
- Optional: Measuring tape, stitch markers
Skill Level
Intermediate to advanced
Stitches and Abbreviations (US Terminology)
- CH - Chain
- ST - Stitch
- SL ST - Slip Stitch
- SC - Single Crochet
- HDC - Half Double Crochet
- DC - Double Crochet
- YO - Yarn Over
Special Notes
- The chain 2 at the start of a round does not count as a stitch unless specified.
- This hat is worked in three parts: the granny squares (daisy motif), the crown (top circle), and the brim.
- Be consistent in your tension to ensure uniformity across the hat.
Pattern
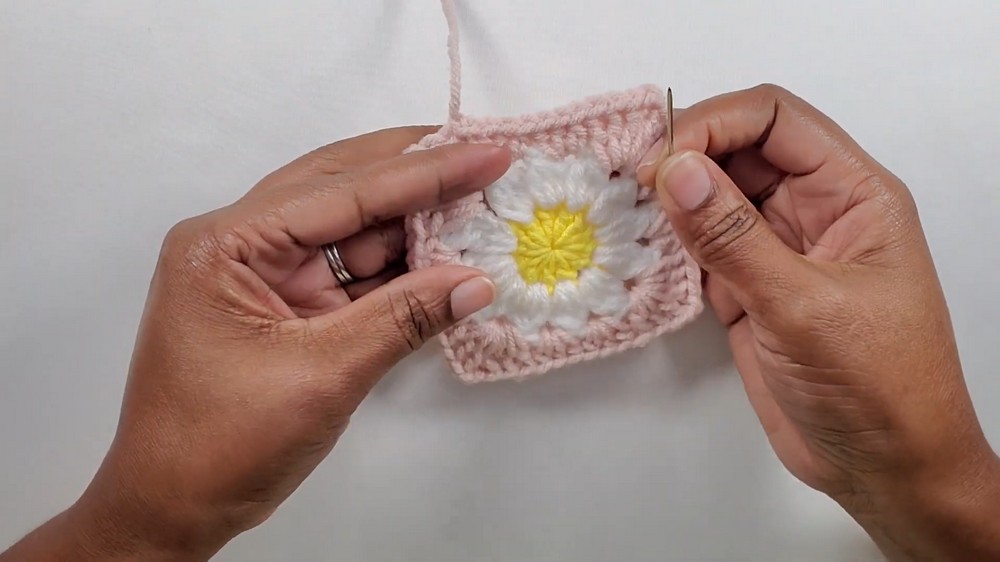
1. Daisy Granny Square (Make 6)
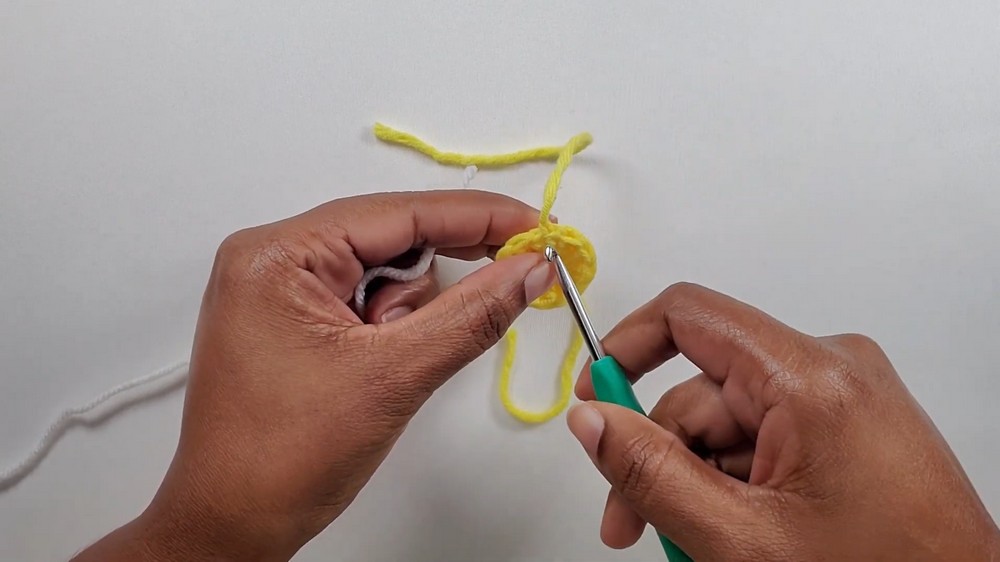
Part 1: Daisy Center
- Magic Ring: Using Color A, wrap yarn around your hand to create a magic ring. CH 2 (does not count as a stitch).
- Round 1: Work 12 DC into the magic ring. Pull the tail to close the center tightly. SL ST into the first DC. (12 DC)
- CH 1, fasten off Color A.
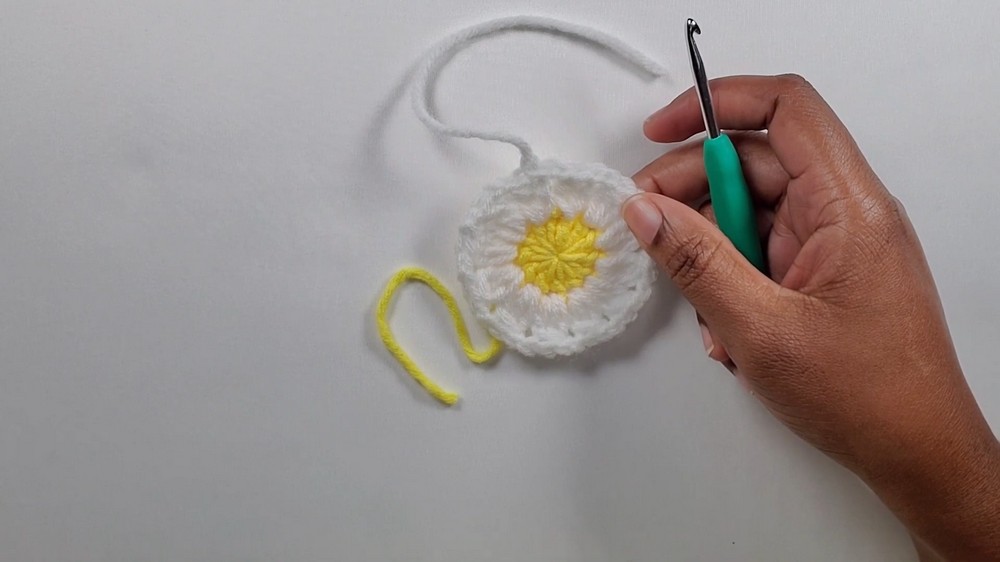
Part 2: Daisy Petals
- Round 2:
- Switch to Color B. Insert your hook into any ST between two DCs and pull up the yarn.
- CH 3 (counts as the start of a petal).
- In the same ST, work 2 unfinished DCs:
- YO, insert hook, pull up a loop, YO, pull through 2 loops (leave the last loop on the hook). Repeat one more time. You should now have 3 loops on your hook.
- YO, pull through all 3 loops. CH 2. This completes the first petal.
- Work the same petal cluster (3 unfinished DCs, YO, pull through all loops, CH 2) in the next 11 spaces. (12 petals)
- SL ST into the top of the starting CH-3 to close the round. CH 1, fasten off Color B.
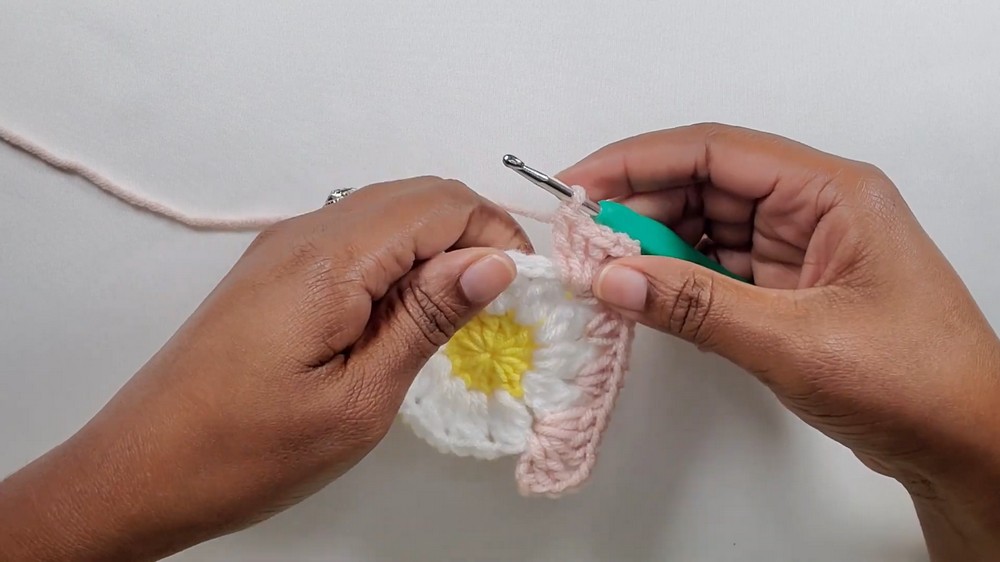
Part 3: Outer Square
- Round 3: Switch to Color C (main color). Insert your hook into any CH-2 space between petals. CH 3 (counts as DC), work 2 DC into the same CH-2 space. CH 2, work 3 more DC in the same space. This makes your first corner.
- Work 3 HDC into the next 2 CH-2 spaces.
- Create the next corner: In the next CH-2 space, work 3 DC, CH 2, 3 DC.
- Continue this sequence: corner, 2 groups of HDC, corner until you reach the start of the round.
- SL ST to the top of the first DC. CH 1, fasten off and weave in ends.
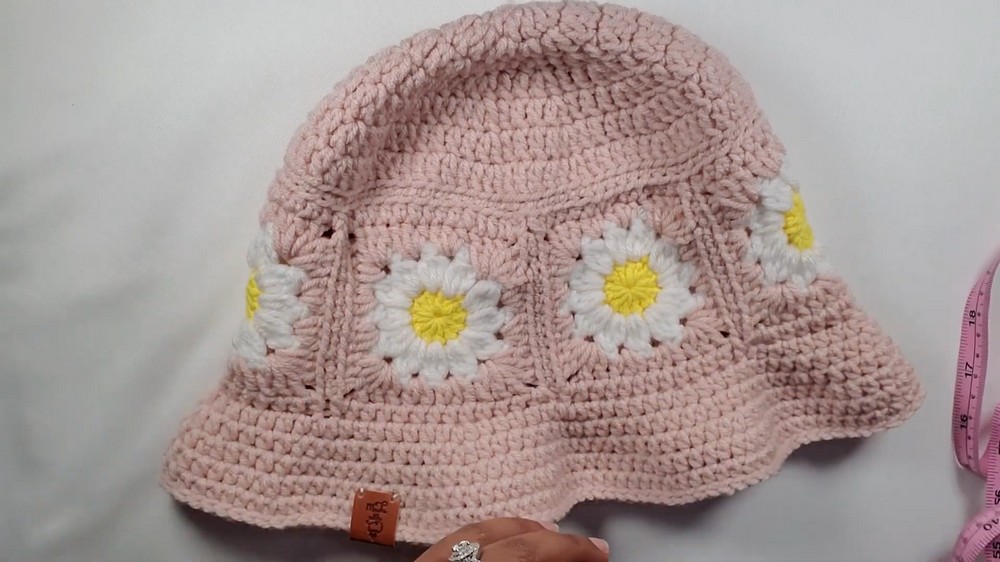
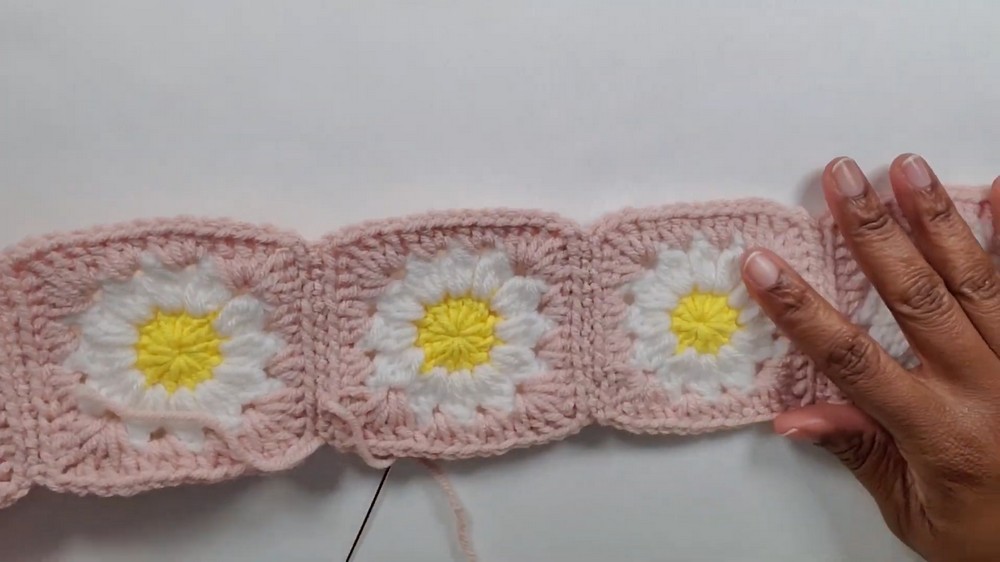
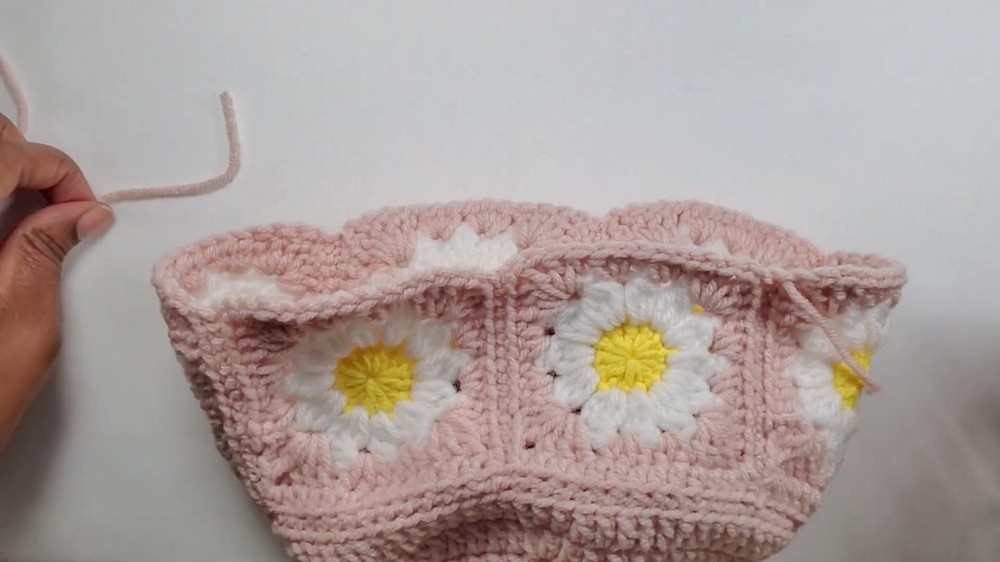
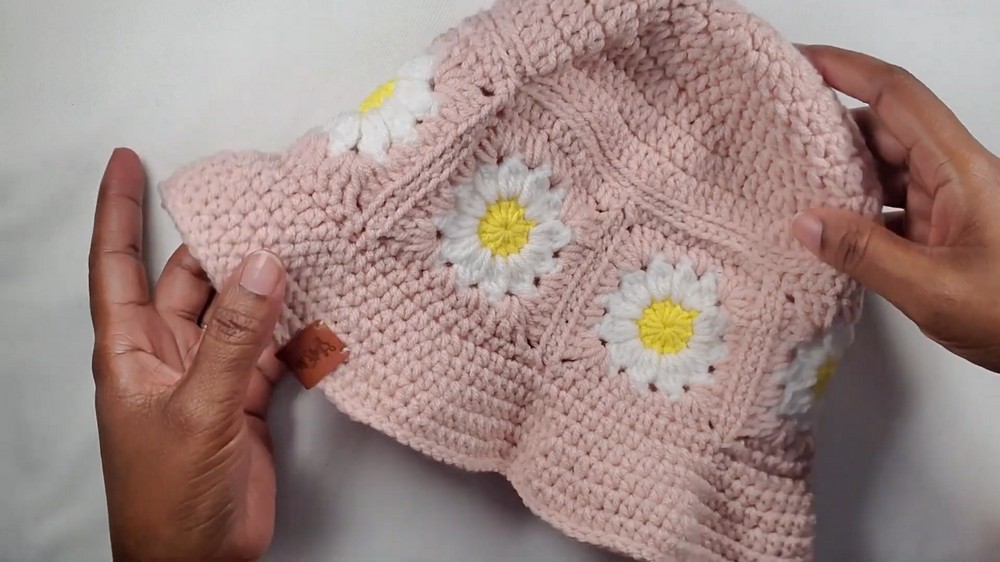
2. Assembling the Squares
- Layout: Arrange the six squares as follows:
- Create a single strip by attaching four squares side by side. Ensure that all sides with DCs (corners) are aligned for a neat finish.
- Use the remaining two squares: These will form the top of the hat.
- Joining:
- Place two squares right sides together. Work through the back loops only of both squares. Use your darning needle to whip stitch or slip stitch them together edge-to-edge.
- Join all squares in this pattern until you have a single strip of four squares and a seam on top with two squares attached to form a round (the top).
- Attach the strip of four squares to the top of the hat, forming a cylinder.
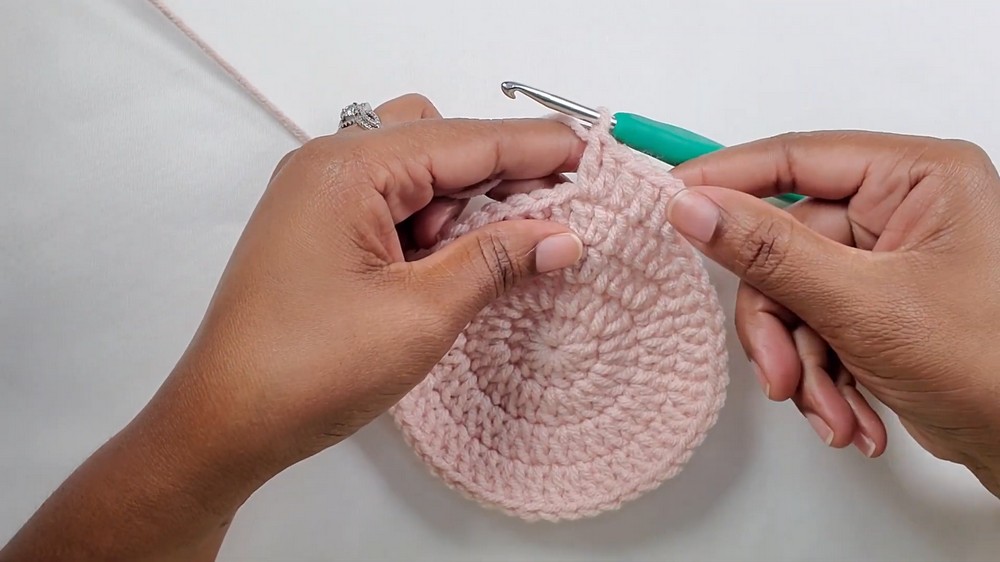
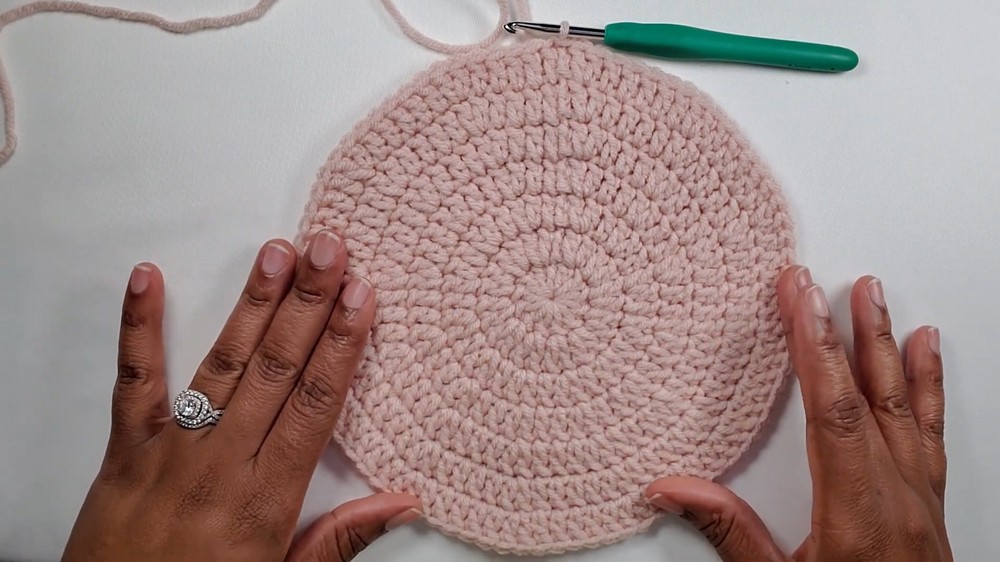
3. Hat Crown
- Base Circle:
- Start with a magic circle.
- Round 1: CH 2 (does not count as a ST). Work 12 DC into the ring. Close with a SL ST. (12 DC)
- Round 2: CH 2. Work 2 DC in each ST around. Close with a SL ST. (24 DC)
- Round 3: CH 2. (DC in next ST, 2 DC in next ST). Repeat from * to * around. (36 DC)
- Round 4: CH 2. (DC in next 2 STS, 2 DC in next ST). Repeat from * to * around. (48 DC)
- Round 5: CH 2. (DC in next 3 STS, 2 DC in next ST). Repeat from * to * around. (60 DC)
- Attach the crown to the main body of the granny squares by aligning stitches and sewing or slip-stitching through both loops.
4. Hat Brim
- Brim Foundation (Row 1):
Reattach Color C to the bottom edge of the hat. Work 1 HDC in each stitch around. (84 HDC) - Brim Rounds: Increase gradually as follows:
- Round 2: (HDC in next 6 STS, 2 HDC in the next ST). Repeat to the end.
- Round 3: (HDC in next 7 STS, 2 HDC in the next ST). Repeat to the end.
- Round 4: (HDC in next 8 STS, 2 HDC in the next ST). Repeat to the end.
- Continue this sequence, adding one extra HDC between increases in each round, until the brim reaches your desired width. For a subtle brim, stop after 2–3 increase rounds.
- Final Round: Work a round of slip stitches into each stitch for a polished brim. Fasten off and weave in all ends.
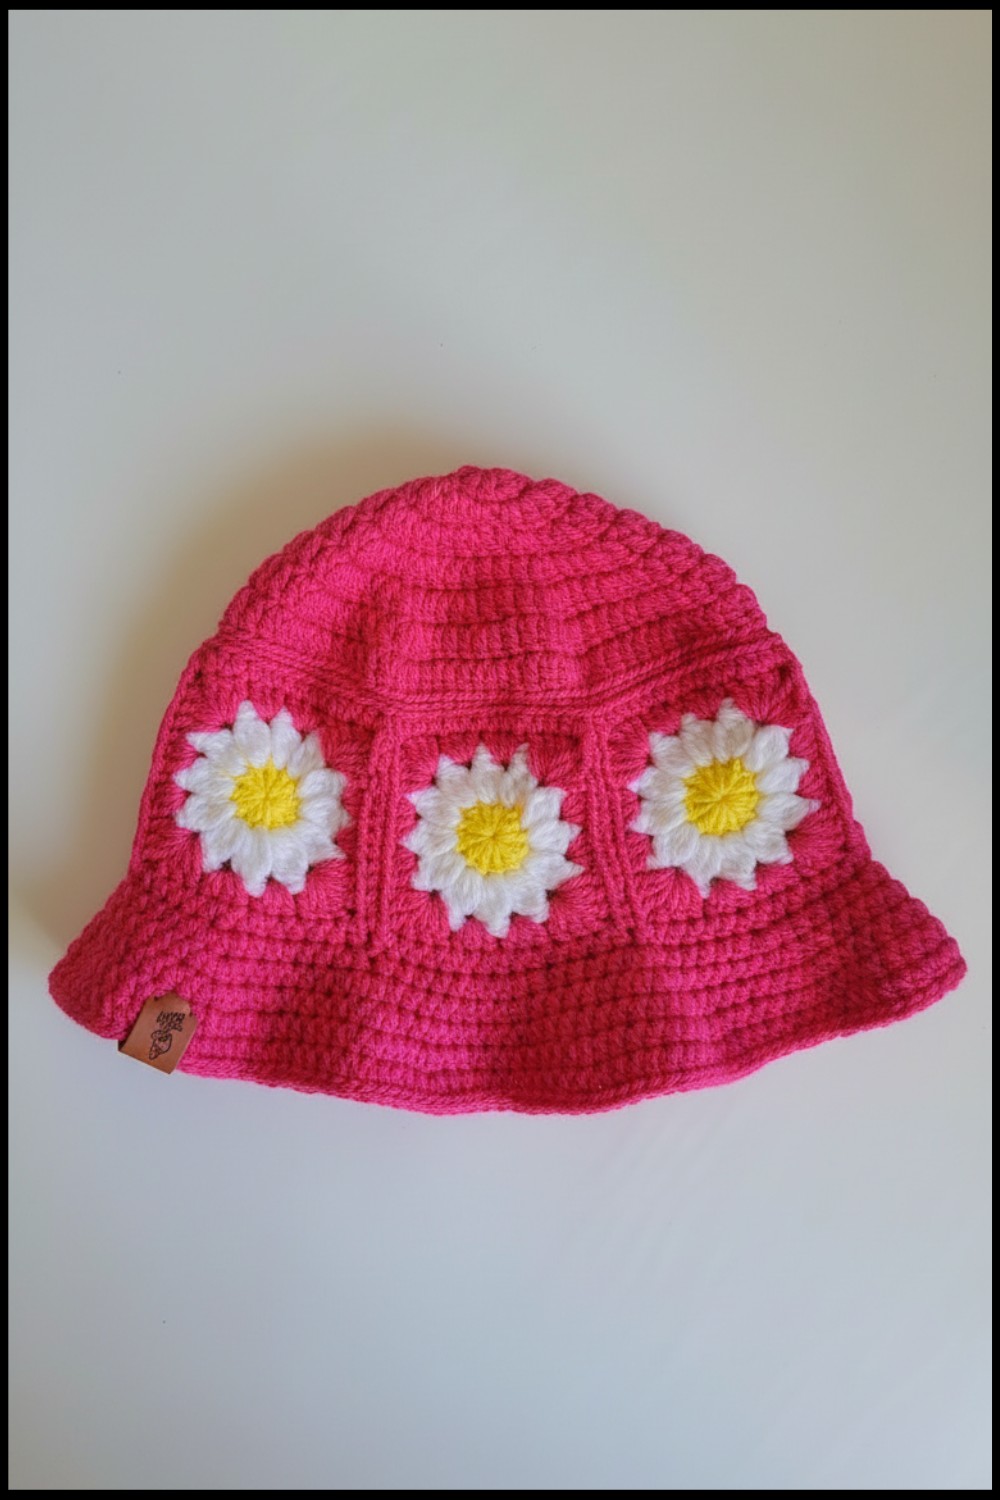
Conclusion
Congratulations! You've completed your beautiful Daisy Bucket Hat! With its playful granny square design and flattering shape, this hat is perfect for adding a touch of handmade charm to your wardrobe. The daisy motif can easily be customized with colors of your choice, making it the perfect accessory for any season or occasion.
Pattern Corrections and Tips
- Yarn Substitutions: If the recommended yarn is unavailable, any medium-weight yarn suitable for a 4.5 mm hook can be substituted. Pay attention to gauge and consistency across yarn types.
- Square Size Matching: Check that all granny squares are approximately the same size before joining to avoid buckling or unevenness.
- Blocking Tip: Block the completed squares to achieve uniform shapes before assembly.
Suggestions for Customization
- Swap out the daisy center/petal colors for seasonal or themed variations.
- Use variegated or gradient yarn for more color depth in the squares.
- Add a decorative tag or small embellishments for a personal touch.