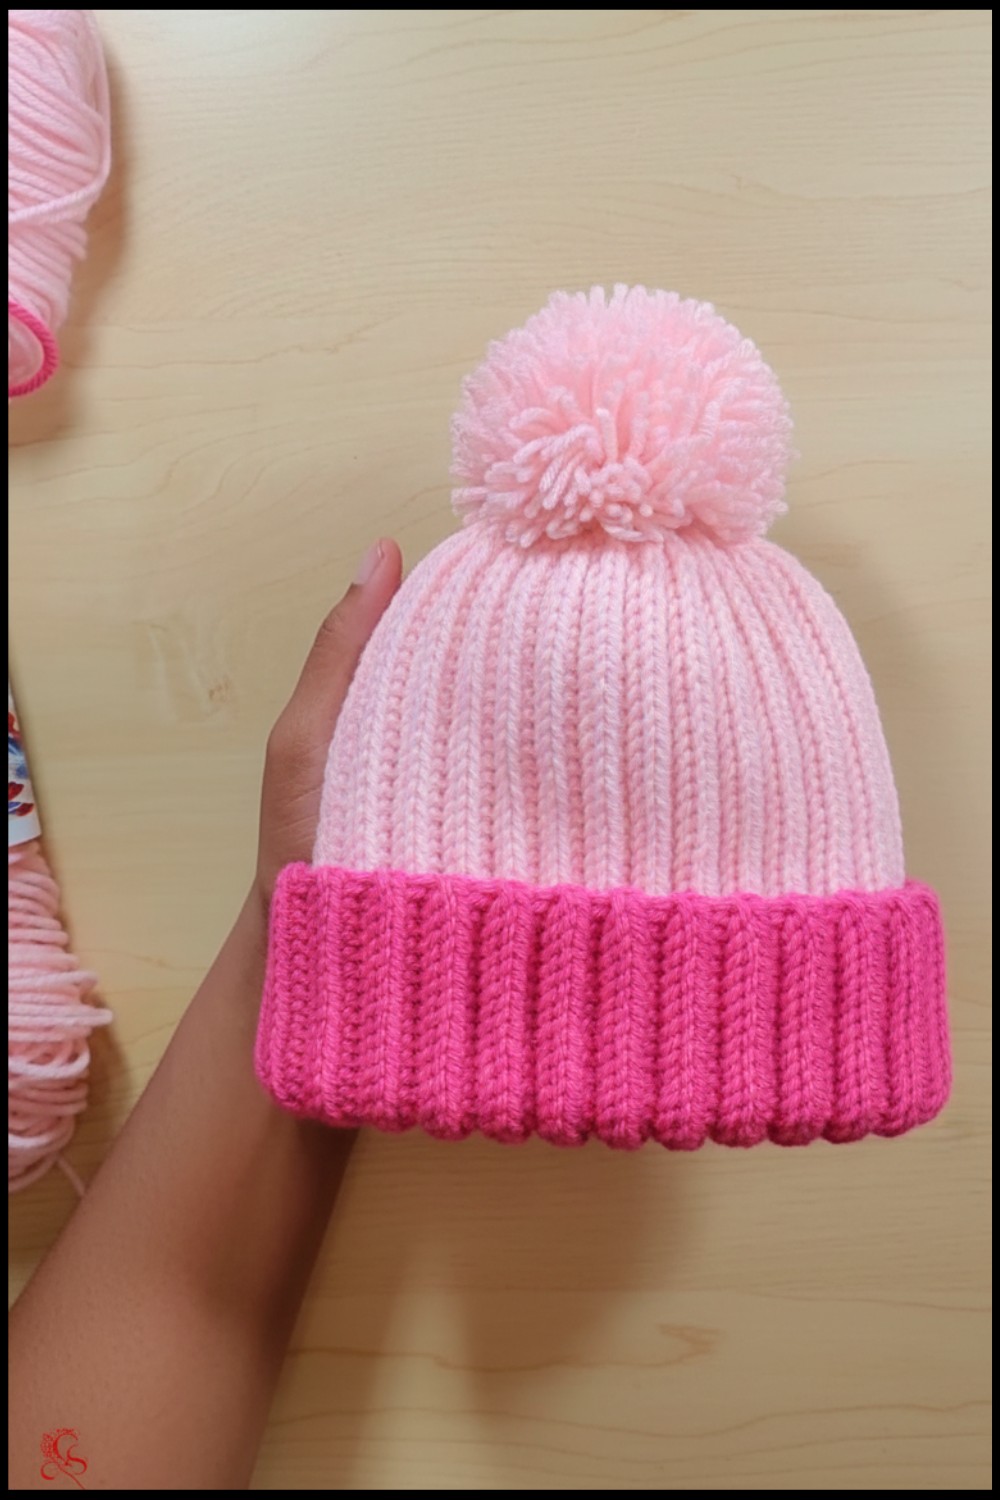
Warmth meets style for little ones with a free crochet toddler beanie pattern, offering cozy comfort and charming looks for every adventure.
Little heads need warmth and joy just as much as big ones, and nothing catches more smiles than a beanie made with love. Soft and cozy, this hat wraps gently around a toddler’s head, bringing comfort during play or sleep. The Crochet Toddler Beanie pattern gives each hat a sweet look, with gentle shapes and colors that fit any boy or girl. You can make one hat in your favorite color, or try many bright shades to match every outfit.
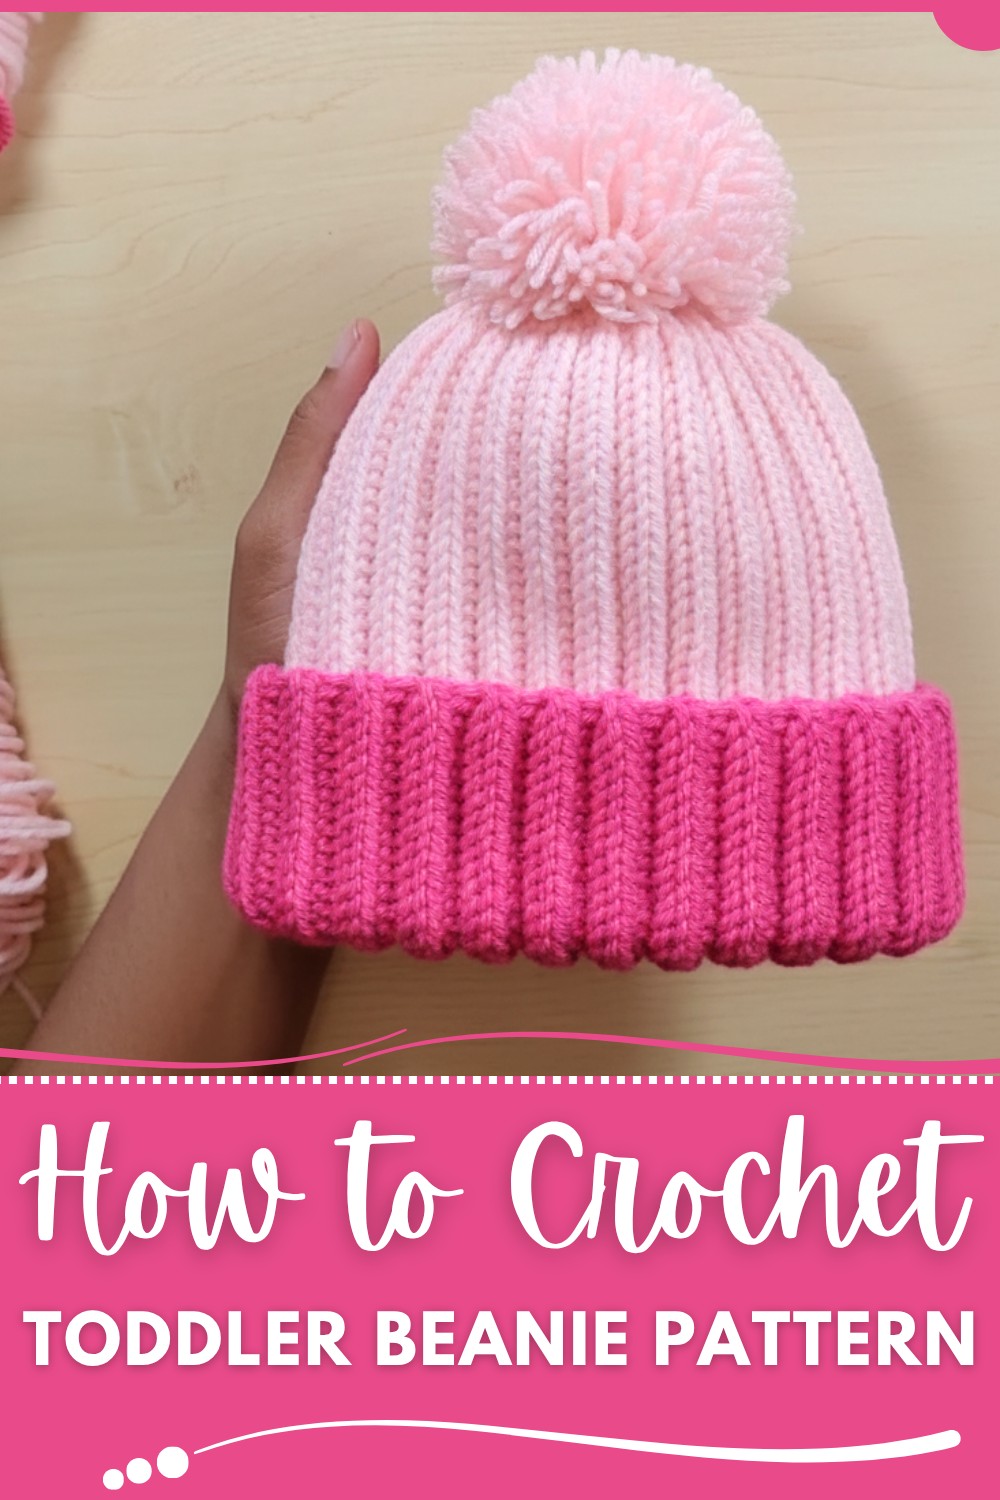
Perfect Free Crochet Toddler Beanie Pattern for Gifts
Its simple stitch and easy shape make it fun for beginners, and you can finish it quickly for a last-minute gift. On a windy day, the beanie hugs small ears and keeps little ones happy at the park or strolling outside. No two hats have to look the same, since you can always add flowers, buttons, or tiny ears for extra fun. The Crochet Toddler Beanie pattern is not just about keeping warm, but also about making memories. Soft to touch and light to wear, this beanie is made for special days and every little adventure.
Two-Color Toddler Beanie Pattern
Materials Needed
- Yarn: Worsted weight (Category 4) yarn in two colors of your choice
- Yarn A (top of the beanie)
- Yarn B (bottom of the beanie)
- Hook: 5.0 mm (H-8) crochet hook
- Notions: Yarn needle, scissors, pom pom (optional)
- Optional: Stitch marker (for marking edges), smaller hook for seaming
Key Abbreviations
| Abbreviation | Meaning |
|---|---|
| ch | chain |
| st(s) | stitch(es) |
| sc | single crochet |
| sl st | slip stitch |
| BLO | back loop only |
| EBsc | Earring Bone single crochet (explained) |
| rep | repeat |
Special Notes
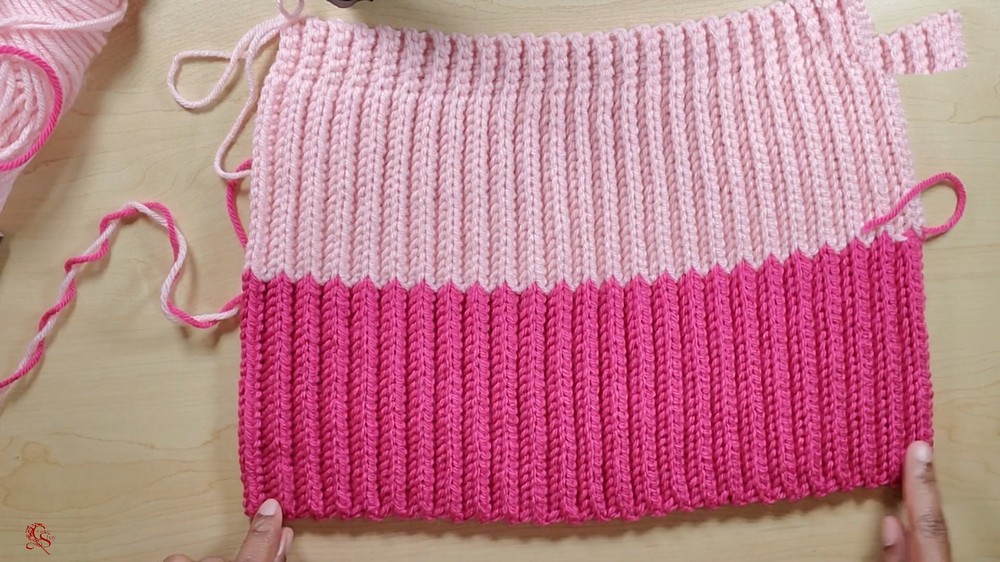
- The beanie is worked in a flat rectangle, then seamed and gathered at the crown.
- An Earring Bone Single Crochet (EBsc) in the back loop only (BLO) is used throughout, except for first/last several single crochets for edge stability.
- This pattern is for a toddler size (~15" wide before seaming; adjust the starting chain and rows for other sizes).
- Use the color you'd like at the top of your beanie for Yarn A; Yarn B for the brim/bottom.
Sizing Reference
- Toddler Size (1–3 years): Approx. 15" wide x ~8–9” tall before seaming/gathering.
- For larger/smaller hats, adjust starting chains (height) and/or continue your repeat row to reach desired hat width (circumference).
Pattern
1. Create Foundation Chains
With Yarn A (top color):
Ch 25.
With Yarn B (brim color):
Ch 25.
Lay chains side by side. This forms your foundation row, total 50 chains.
2. First Row (Setup Row)
- Working with Yarn B at one end, ch 1 more (for turning), turn your work.
- Sc in the first 5 chains (for brim stability).
- Begin Earring Bone Single Crochet (EBsc) BLO across the next 20 sts:
- Insert hook into BLO of current st, then into BLO of next st, yarn over and pull up a loop (3 loops on hook), yarn over and pull through all 3 loops.
- Repeat this across.
- Once you transition into Yarn A's 25-ch, continue EBsc BLO across, but stop with 5 sts left.
- Sc (regular) in each of the last 5 sts.
Tip: Use a stitch marker to mark last edge stitches to avoid losing count.
3. Row 2 (Main Row Repeat)
- Ch 1, turn.
- Sc in first 5 sts (BLO or both loops for edge firmness).
- EBsc BLO across next 20 sts (still on Yarn A section).
- EBsc BLO across to color change (now working into Yarn B chain section).
- Once 5 sts remain, work regular sc in those last 5 sts.
4. Continue Row Repeat
- Repeat Row 2 until the width of your work (measured across the short edge) equals your desired circumference (toddler = about 15").
- Each row will start with 5 sc, followed by EBsc BLO across middle, finish with 5 sc at the end.
Color Change:
- Each time you reach the end of one color and start the other, always keep the unused yarn at the edge to pick up as you turn (carry along or twist at row ends for a neat finish).
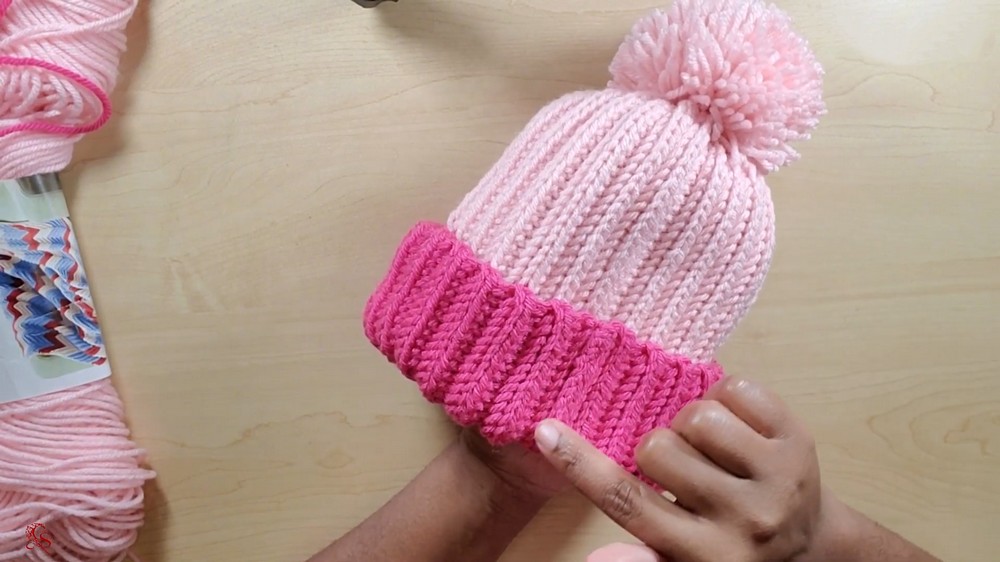
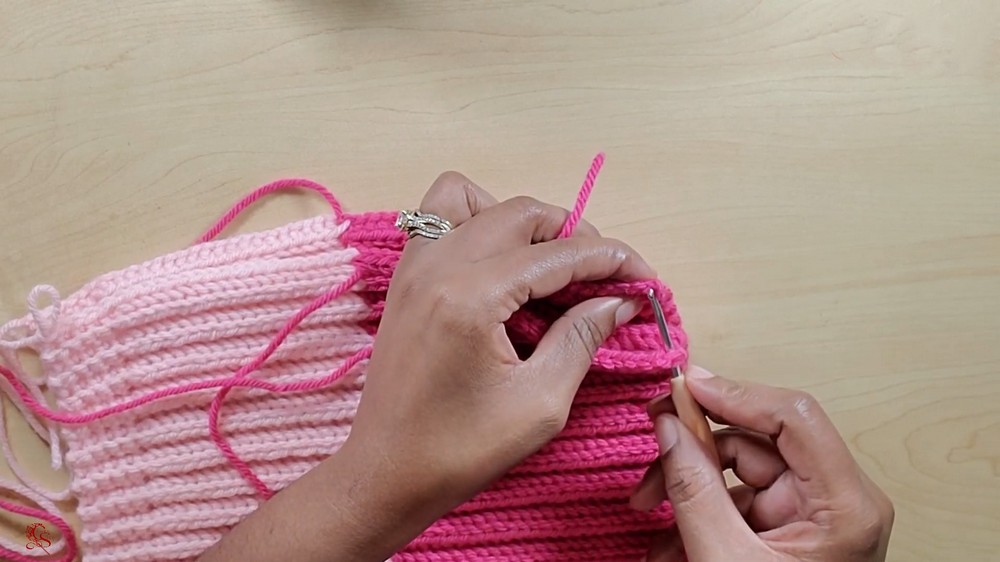
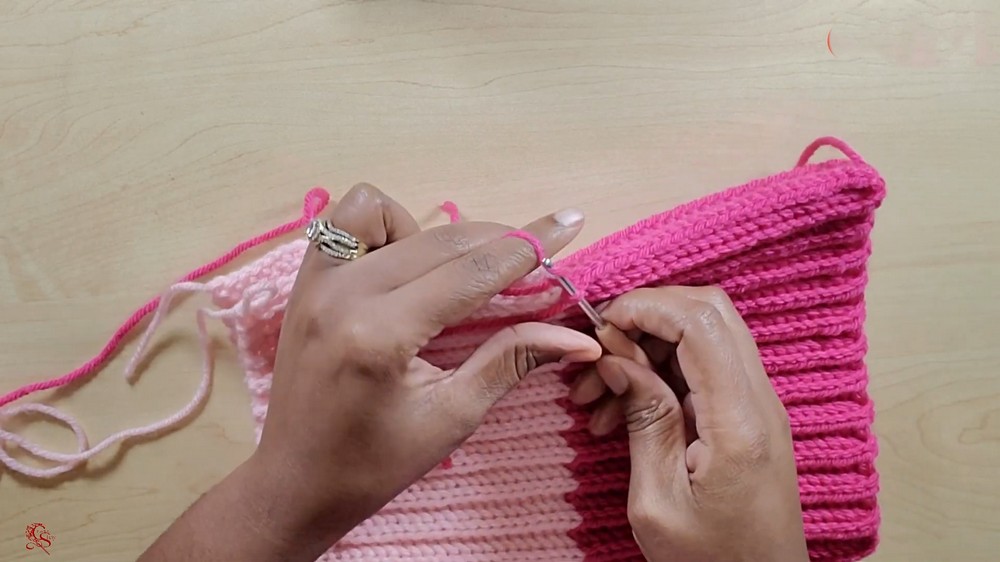
5. Finishing: Seaming and Closing
- Fasten off with a long tail for seaming.
- Fold the rectangle with right sides together, aligning edges (seam will be inside).
- Using the yarn needle or a smaller hook, slip stitch or whip stitch through both loops across the vertical edge to form a tube.
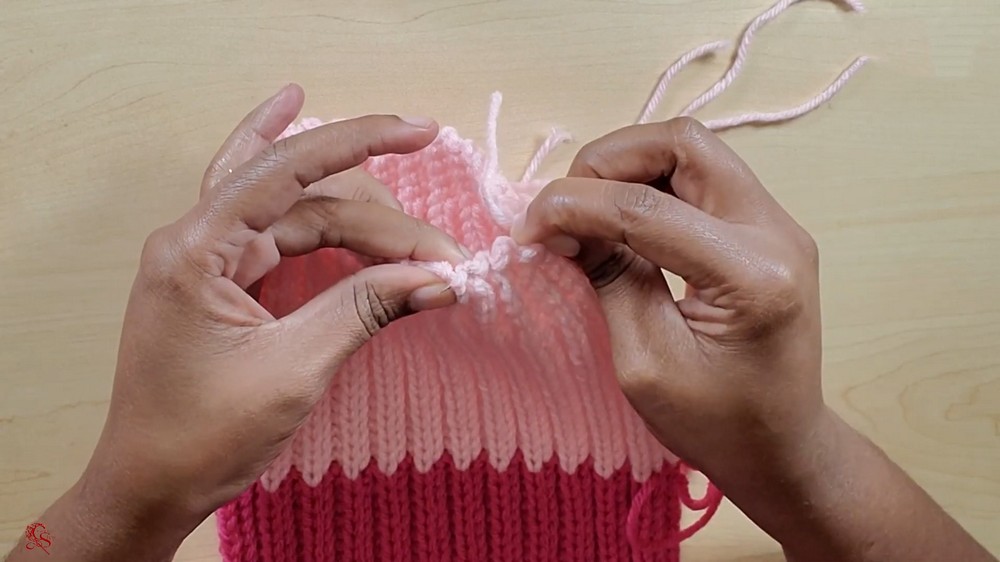
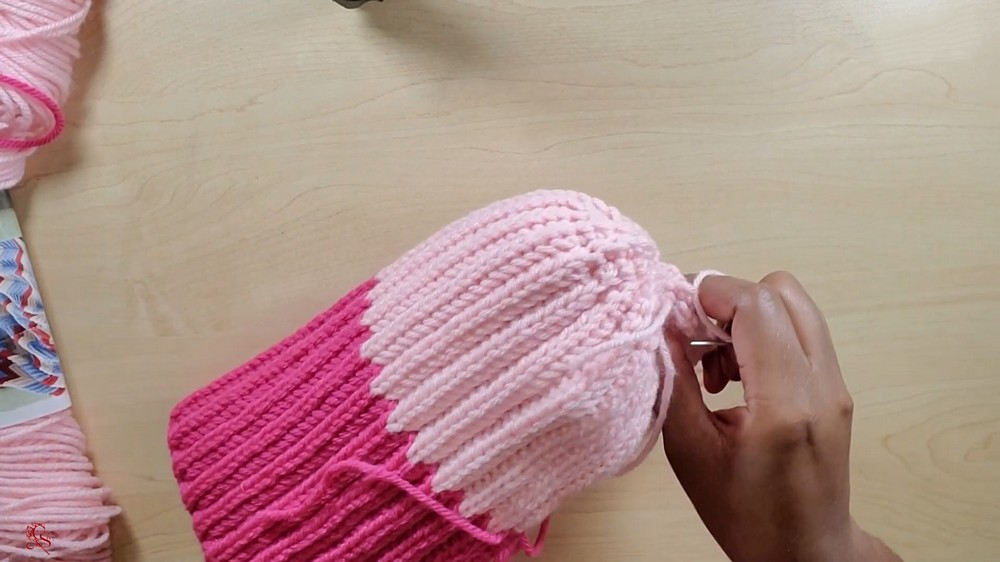
6. Cinch the Crown
- With your yarn needle and the leftover tail, weave in/out through the top (first or last row) stitches of the tube.
- Pull tight to cinch closed. Take care not to snap the yarn; secure with several strong stitches as you circle the crown for reinforcement.
- Weave in ends.
7. Weave in All Remaining Ends
- Weave yarn tails neatly into the matching color section for an invisible finish.
8. (Optional) Attach Pom Pom
- With a yarn needle, sew a pom pom to the top center of the beanie, securing tightly.
- Weave in and trim the pom pom’s tie ends on the inside.
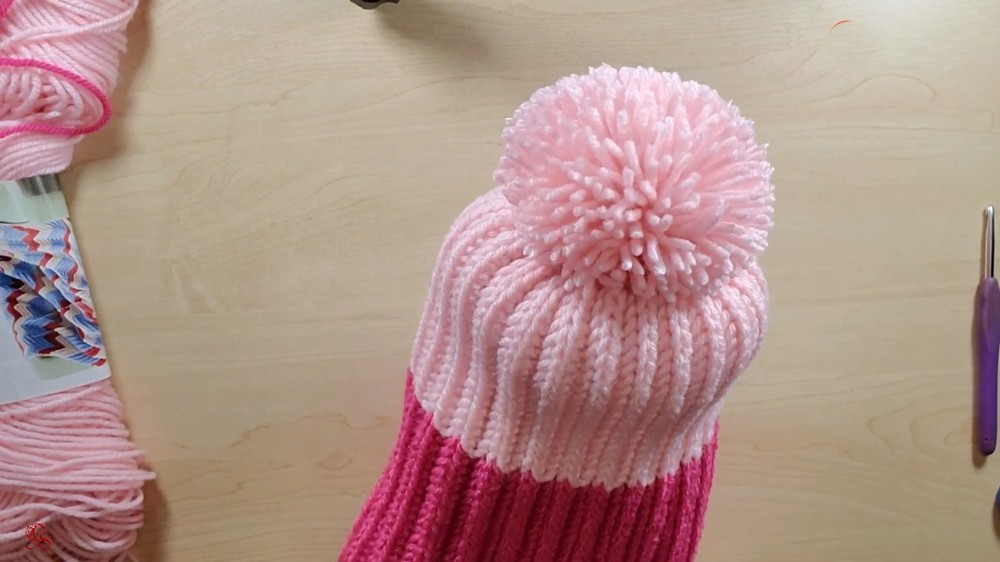
Conclusion
You have now completed a two-color toddler beanie with an earring bone single crochet texture. The unique vertical texture and color split create a playful, modern look, perfect for children.
Pattern Corrections and Tips
Pattern Corrections:
- If the initial chain seems too tight/loose, use a hook size up/down for the foundation, return to the main hook for body.
- Adjust the height (starting chain count) or width (number of repeats) as needed for different sizes.
Tips:
- Use stitch markers for the last edge stitches for a neat, even hat edge.
- Counting rows helps maintain consistent sizing and symmetry.
- When color-changing at row ends, always bring the new color up neatly, twisting with old color at edges to avoid holes or gaps.
- For best results, gently block hat before seaming if your tension differs a lot row to row.