A timeless wardrobe staple with both simplicity and elegance, the crochet round neck blouse pattern offers a classic neckline that frames the collarbone beautifully. Perfect for various occasions such as casual outings, date nights, or professional settings, this blouse offers versatility and charm.

Pair it with tailored trousers for a polished look, style it with a flowing skirt for an effortless vibe, or layer it over a camisole to suit warmer days. The lightweight design ensures comfort, while the round neck flatters all body types. This blouse pattern delivers not only style but also practicality, seamlessly working with any wardrobe to suit every season or event.
Fabulous Crochet Round Neck Blouse to Upgrade Your Style
Materials List
Required Supplies
- Yarn:
- Cotton Yarn (#6 or suitable medium-weight yarn).
- Each skein: ~200g (~452 meters / 494 yards).
- Adjust yarn choice for different climates or budgets.
- Crochet Hooks:
- G/4 mm hook (metal) for working the motifs.
- Smaller Hook (e.g., 3.5 mm) for tighter areas like neck finishes or armhole adjustments.
- Scissors
- Tapestry Needle for finishing.
- Stitch Markers for tracking rounds and sleeve separations.
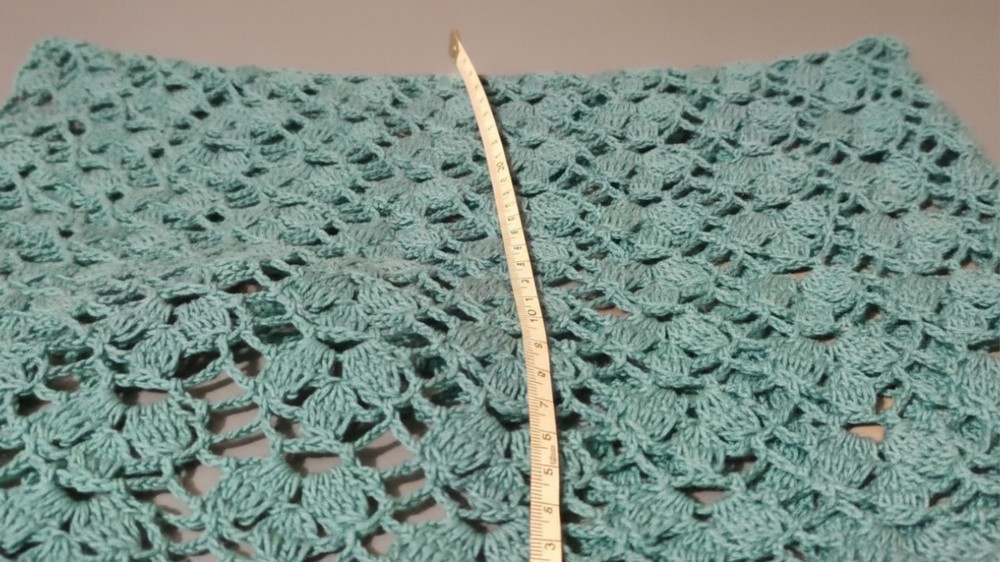
- Measuring Tape to check circumference, length, and bust fit.
Optional Supplies
- Light Steam Iron: For subtle blocking to enhance drape and lace texture.
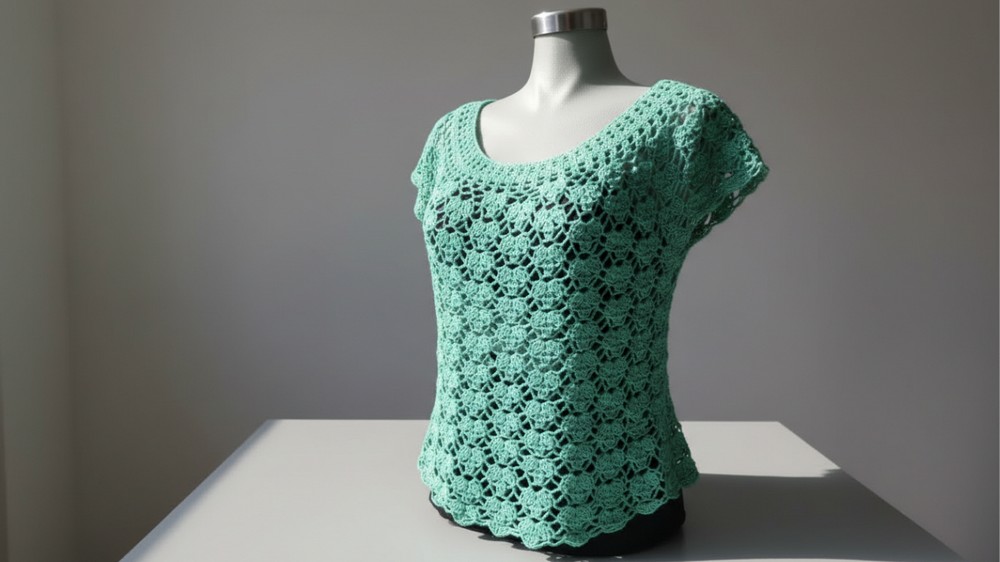
Elegant Crochet Blouse Pattern
This step-by-step guide outlines the creation of an elegant crochet blouse. Using the fan/lace motif, this design offers flexibility and sophistication, making it suitable for intermediate and advanced crocheters. The blouse includes a seamless approach for both the upper bodice and sleeves, with the option to customize sizing.
Key Abbreviations (US Crochet Terminology)
- CH: Chain
- SC: Single Crochet
- DC: Double Crochet
- SL ST: Slip Stitch
- HDC: Half Double Crochet
- YO: Yarn Over
Special Notes
- This pattern uses a lace fan and motif design that creates elegant texture and openness.
- Measurements are approximate and customizable based on specific sizing needs.
- Work in continuous rounds unless specified to ensure seamless construction.
Pattern Instructions
1. Blouse Neckline Foundation
Step 1: Foundation Ring (Circular Neckline)
- Using the G/4 mm crochet hook, create a slip knot.
- CH 3, then connect with SL ST into the first CH to form a small loop.
- Work 2 DC into the ring, forming the first “eye” or repeat motif.

Step 2: Building the Neckline
- CH 3, return to the first eye and work 2 DC into the space.
- Repeat to create 68 eye motifs for the neckline.
- Adjust motif count to match a circumference of approximately 76 cm (30 inches).
- Close the round with a SL ST to form a circular neckline.
2. Creating the Upper Bodice (Round Construction)
Round 1: First Layer of Motifs
- CH 3 (counts as the first DC).
- Work 1 DC into each DC below, creating 3 DC for every motif.
- Continue working in rounds, closing each round with a SL ST.
Round 2-3: Adding Separation Chains
- CH 3 (counts as the first DC of the next round).
- Add 2 CH between every 3-DC group for separation.
- Repeat this separation pattern:
- DC into the last and first stitch of neighboring groups to maintain the motif pattern.
Round 4-6: Expand the Lace Pattern
- Add 3 CH between DC groups for added openness.
- Work the same repetitive pattern of DC groups with appropriate chaining between groups.
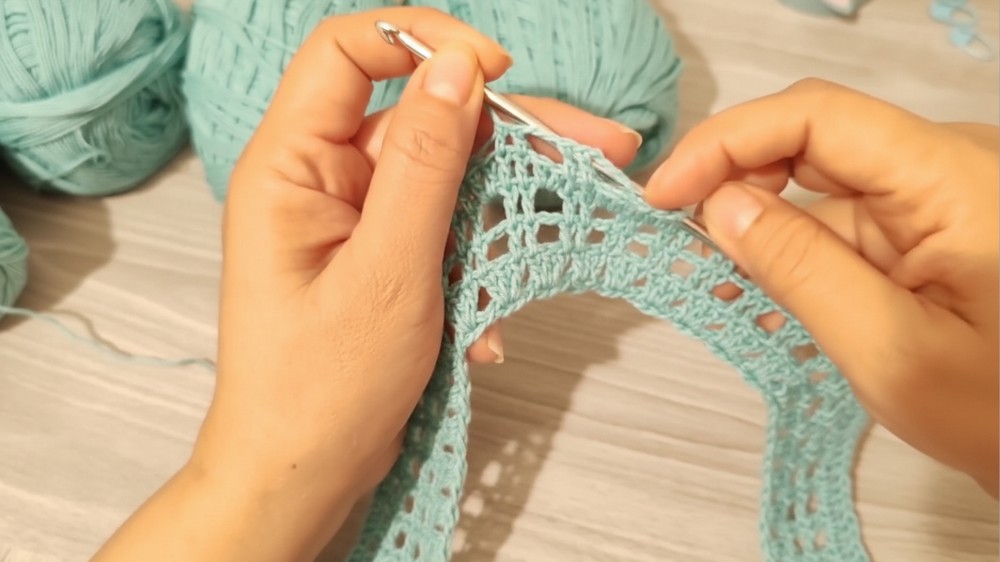
3. Transitioning to Lace Motifs
Step 1: Fan Stitch
- In each chain space, work 4 DC, followed by CH 1, then another 4 DC into the same space to form a fan.
- Anchor each fan with a HDC into the next chain space.
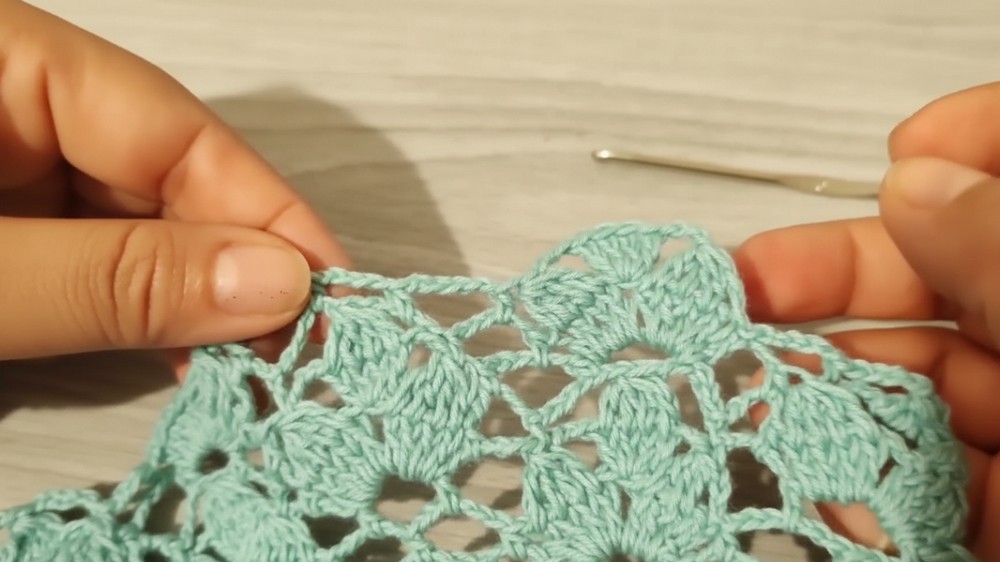
Step 2: Chain Bridges
- Add 5 CH between fans to form chain bridges:
- HDC into each previous row’s chain spaces.
4. Expanding the Blouse Length
Step 1: Continue Downward Motif Repeats
- Repeat the fan patterns across rounds, alternating between:
- Chain bridges (5 CH sections).
- Fan groups (4 DC, CH 1, 4 DC in each bridge space).
Step 2: Measuring and Adjusting Length
- For customization, continue crocheting until the desired length is reached.
- Average Suggestions: Around 40 cm (15.7 inches) from neckline to hem.
5. Sleeve Construction and Separation
Step 1: Sleeve Division
- Use stitch markers to divide the work into sleeve and body sections.
- Example for proportional distribution:
- Front: 9 motifs
- Back: 9 motifs
- Each Sleeve: 7 motifs.
- Example for proportional distribution:
Step 2: Connect Body and Sleeves
- Join motifs for the body (front and back sections) with HDC or SL ST, leaving sleeve sections open.
- Reinforce sleeve edges with single crochet rounds.
6. Sleeve Length Adjustment (Optional)
Step 1: Begin Sleeve Rounds
- Attach yarn to the armhole.
- Work downwards in small fan patterns (4 DC + CH 1 + 4 DC).
- For longer sleeves, extend until reaching your desired measurement.
7. Finishing Touches
Step 1: Hemline Edging
- Around the bottom edge of the blouse, add a final edging of SC or HDC for neatness.
Step 2: Weaving Ends
- Use a tapestry needle to weave and secure loose ends.
Step 3: Blocking
- Optional: Lightly steam block the blouse to highlight the lace pattern and ensure a perfect drape.
Conclusion
Your crochet blouse is now complete! With its intricate lace design and lightweight construction, it’s perfect for various occasions. Customize it further with contrasting colors or longer sleeves to suit your style.
Pattern Corrections
- Ensure exact stitch counts per round to maintain symmetry in motifs.
- Check measurements frequently to accommodate desired fit adjustments.
Tips for Success
- Use Stitch Markers: Mark beginnings of rounds and sleeve separations to keep track.
- Custom Sizing: Add/remove motifs based on the intended bust measurement.
- Practice Fans: Master the fan stitch separately before incorporating into the blouse.
- Reinforce Edges: Use additional SC edging at the neckline and armholes to prevent stretching over time.