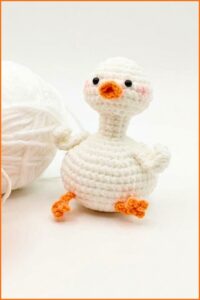
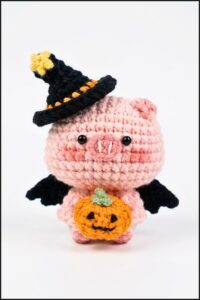
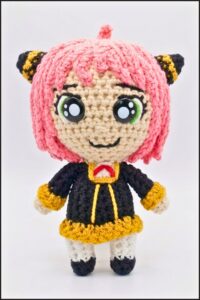
Style Halloween corners with Free Crochet Ghost Halloween Pattern that's featuring ghost charm and playful appeal for shelves, parties, tables, and home.
Halloween decorations can make a home feel more fun and ready for the season. The Free Crochet Ghost Halloween Pattern is a cute crochet decoration that brings a playful spooky touch to your space. The project is shared by WOWSUPRAVA, making it a fun choice for crochet fans who enjoy holiday project.
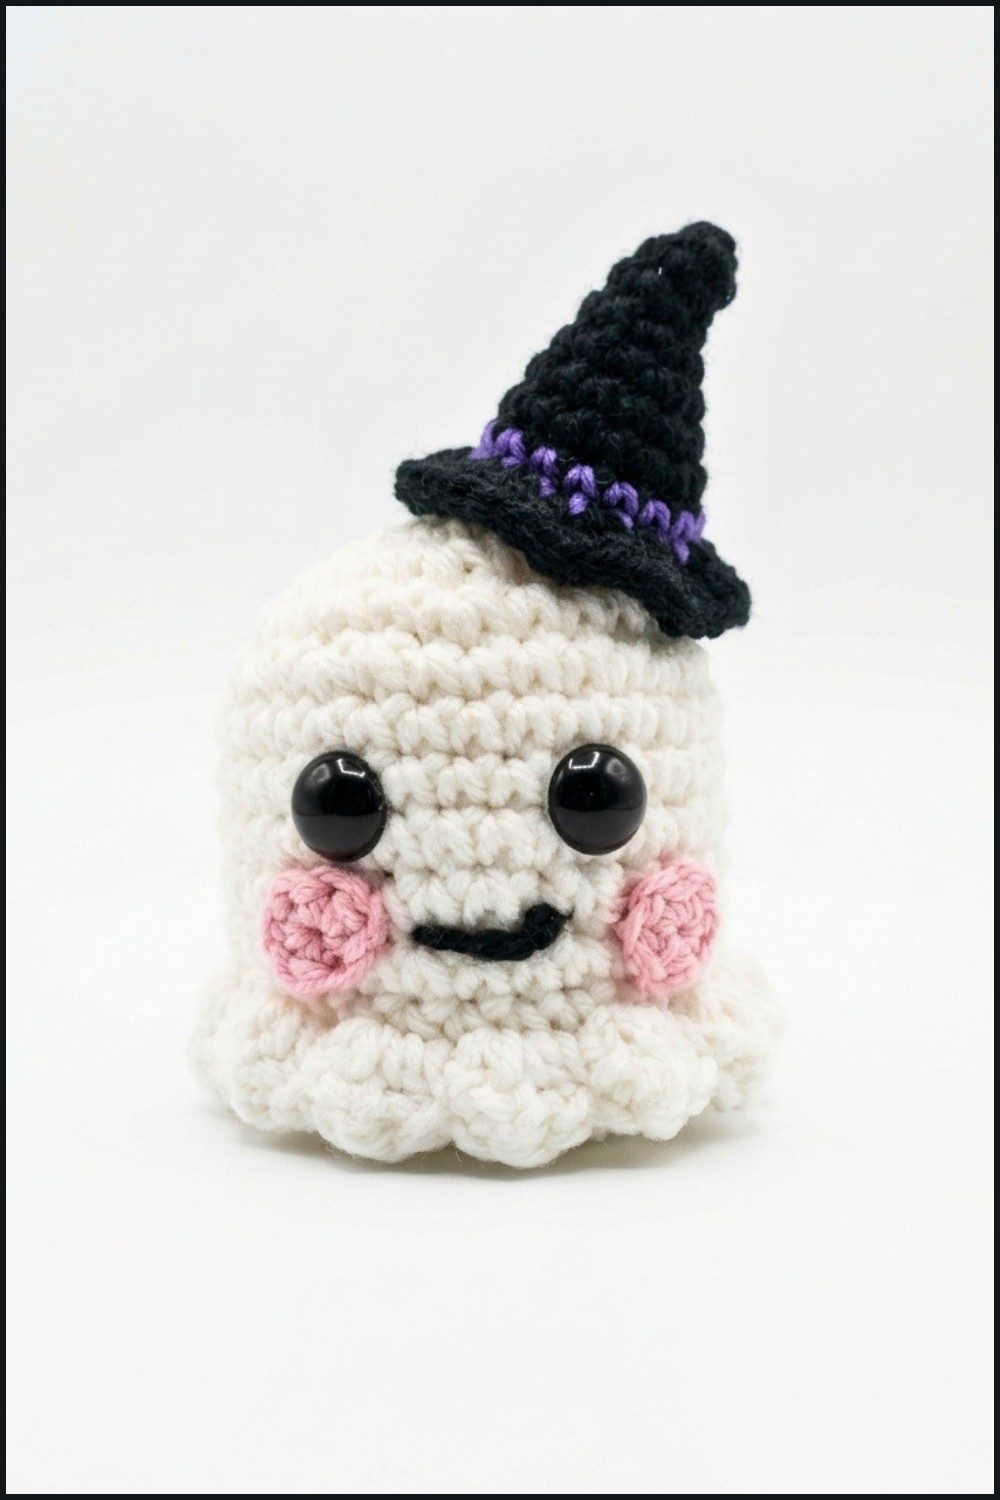
The finished ghost has a soft, rounded body with a flowing shape at the bottom. Its simple face gives it a friendly look instead of a scary one. The crochet texture adds a cozy handmade feel, while the light shape makes the ghost look like it is floating. These details give it a sweet Halloween style.
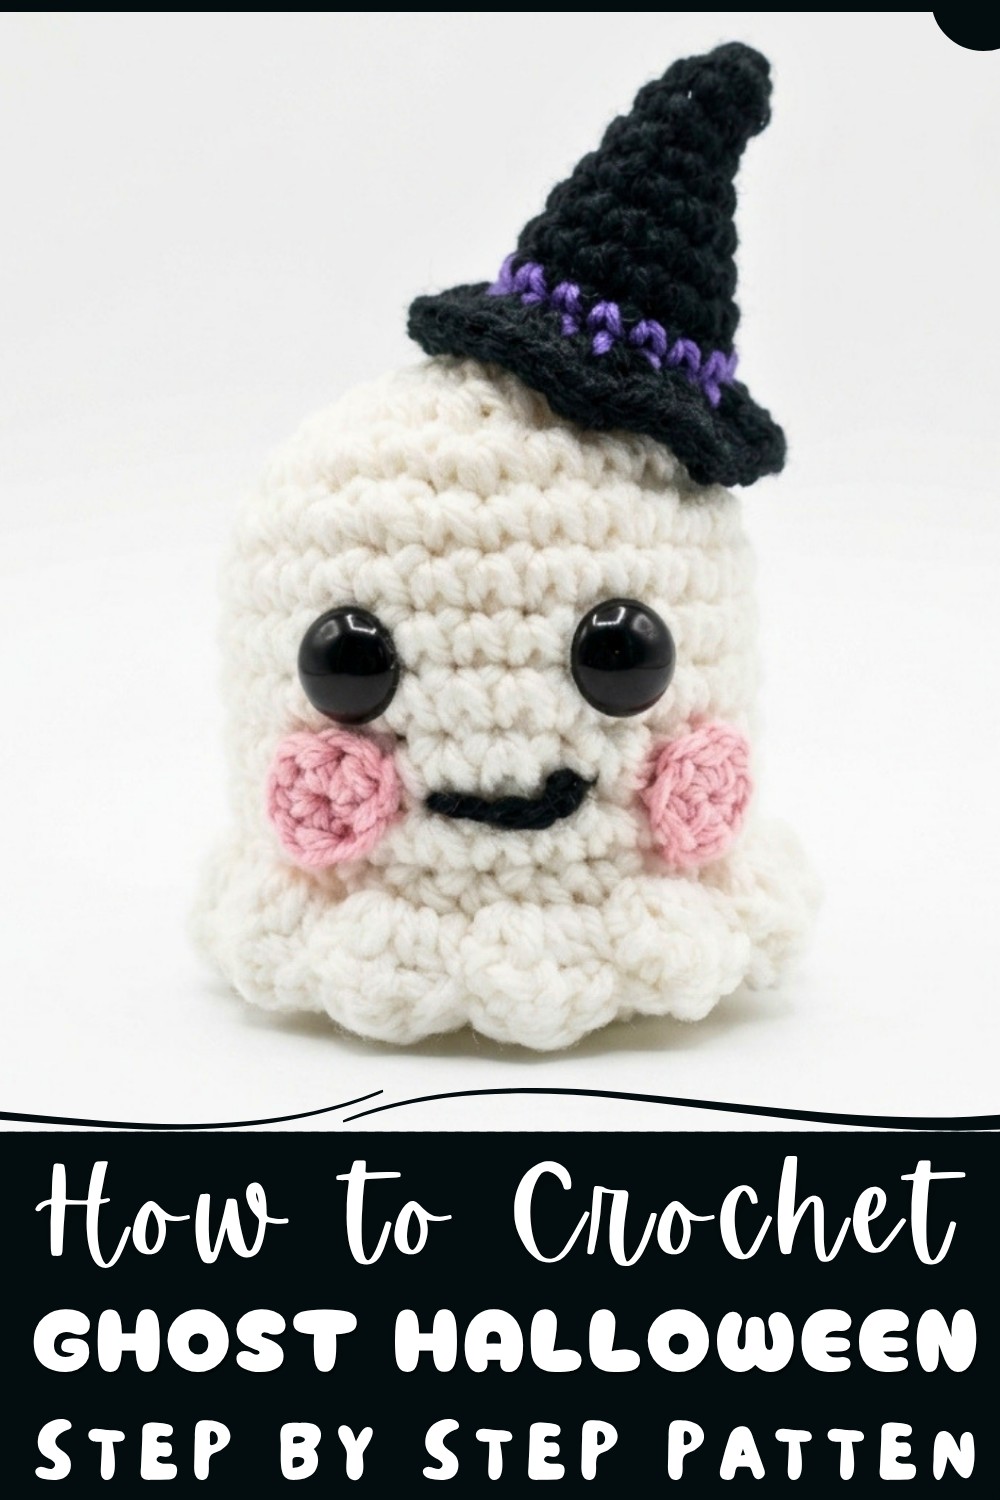
Ghost Halloween Free Crochet Pattern+Tutorial for Beginners
Place the ghost on a shelf, table, desk, or bedside stand during the Halloween season. It can also hang as part of a holiday display or sit beside pumpkins and other decorations. Its simple look can fit well in a child's room, party area, or cozy corner.
This crochet ghost can also make a fun seasonal gift. Give one to a friend, child, family member, teacher, or anyone who loves Halloween. It can be a cute birthday gift for someone born near Halloween, a party favor, or a little surprise for a holiday lover. Handmade decorations often feel extra special because they have a personal touch.
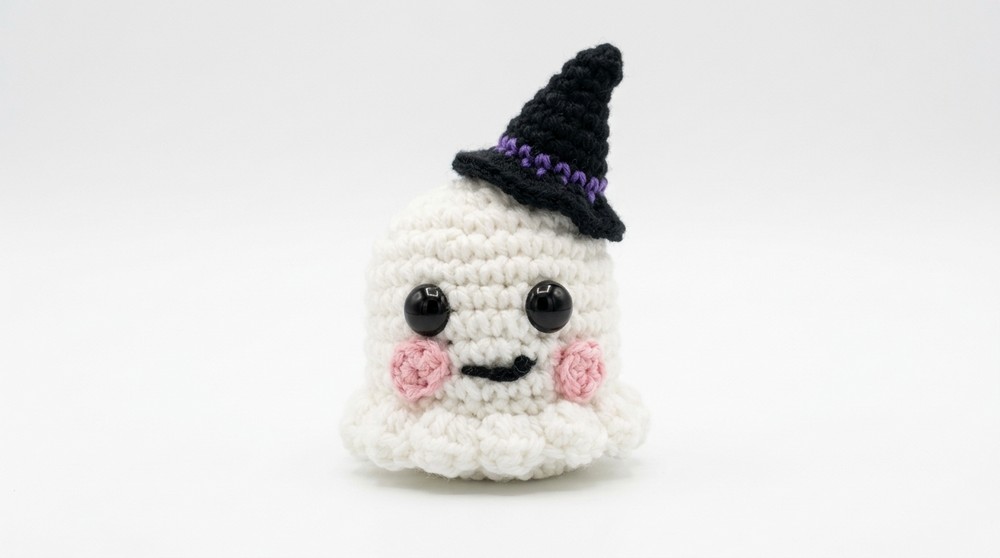
The soft body and friendly face are what make this ghost stand out. Its simple shape is easy to enjoy, while the Halloween theme gives it a clear place in seasonal décor. The gentle crochet texture also makes it feel warm and homemade.
For crochet lovers, this project is a fun way to bring Halloween into their handmade collection. The Free Crochet Ghost Halloween Pattern can add a playful spooky feeling to a room, shelf, or party table while giving you a cheerful decoration to enjoy year after year.
Crochet Baby Ghost with Witch Hat: Step-by-Step Pattern
This crochet project guides you through making an adorable baby ghost decorated with a charming witch’s hat. The ghost's body is worked from the bottom up in rounds, incorporating shaping through increases and decreases. The hat features a neat color change and a flared brim to complete the festive look. Detailed instructions and stitch-by-stitch guidance ensure this project is accessible, fun, and perfect for Halloween décor or gifts.
Pattern Highlights
- Worked entirely in rounds using single crochet (SC) and half-double crochet (HDC) stitches
- Starts with a magic ring for both ghost and hat to create tight, hole-free centers
- Uses increases and decreases to shape the ghost’s rounded body and the hat’s conical form
- Back-loop only stitches used to add shaping detail on the ghost
- Color change incorporated smoothly in the witch hat
- Decorative bottom frill and embroidered face add charm to the ghost
- Safety eyes add a professional finish to the ghost’s face
Notes
- Use a stitch marker to identify the beginning of each round, especially when working increases or decreases.
- Keep your tension consistent for smooth shaping and neat stitches.
- Work back loops only in Round 13 of the ghost to enhance shaping.
- Always complete color changes neatly by finishing the last stitch of the old color with the new yarn.
- Stuff the ghost firmly but gently before closing to maintain shape and softness.
- When embroidering the face, sew slowly and carefully to keep lines neat and proportional.
Skill Level
Intermediate beginner — you should be comfortable with:
- Magic ring (MR) technique
- Single crochet (SC)
- Half-double crochet (HDC)
- Making increases (INC) and decreases (DEC)
- Back loop only crochet
- Changing yarn colors
- Embroidery basics for facial details
Materials
- Medium worsted weight yarn in:
- White (ghost body and frill)
- Black (witch hat brim)
- Purple (witch hat body)
- 3.25 mm crochet hook
- Yarn needle for weaving ends and embroidery
- Scissors
- Stitch marker
- Safety eyes for the ghost’s face (size according to preference)
- Polyester stuffing
Measurements / Sizing
- Finished ghost approximately 8–10 cm (3.1–3.9 inches) tall excluding hat
- The witch hat sits delicately on the ghost's head, about 3–4 cm (1.2–1.6 inches) tall
- Both pieces are ideally sized for tabletop décor, keychains, or plush amigurumi accessories
Gauge and Stitch Pattern
- Gauge is flexible; focus on consistent tension for shaping.
- Entire ghost body and hat (excluding brim) are worked mostly in single crochet (SC) rounds.
- Bottom frill uses half-double crochet (HDC) clusters combined with slip stitches for texture.
Stitch Abbreviations
- MR = Magic Ring
- SC = Single Crochet
- INC = Increase (2 SC in one stitch)
- DEC = Decrease (single crochet two stitches together)
- HDC = Half Double Crochet
- CH = Chain
- SL ST = Slip Stitch
- BLO = Back Loops Only
Special Stitches
Magic Ring (MR):
Creates a tight, closed center by crocheting stitches into an adjustable loop.
Increase (INC):
Crochet two single crochet stitches into the same stitch to grow the round.
Decrease (DEC):
Single crochet two stitches together to reduce stitch count for shaping.
Back Loop Only (BLO):
Crochet using only the back loop of each stitch for added texture or shaping.
Pattern Details
Baby Ghost Body
Round 1:
- Begin with a Magic Ring (MR).
- Work 6 SC into the ring.
- (6 stitches)
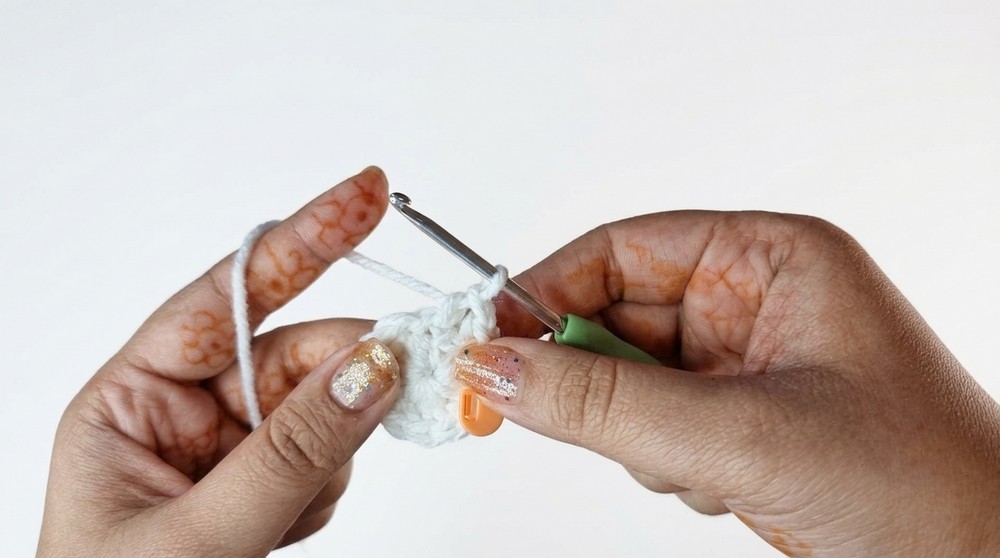
Round 2:
- INC in every stitch (2 SC in each stitch).
- (12 stitches)
Round 3:
- 1 SC, INC around.
- (18 stitches)
Round 4:
- 2 SC, INC around.
- (24 stitches)
Round 5:
- 3 SC, INC around.
- (30 stitches)
Rounds 6 to 12:
- Work 1 SC in each stitch for 7 rounds.
- (30 stitches each round)
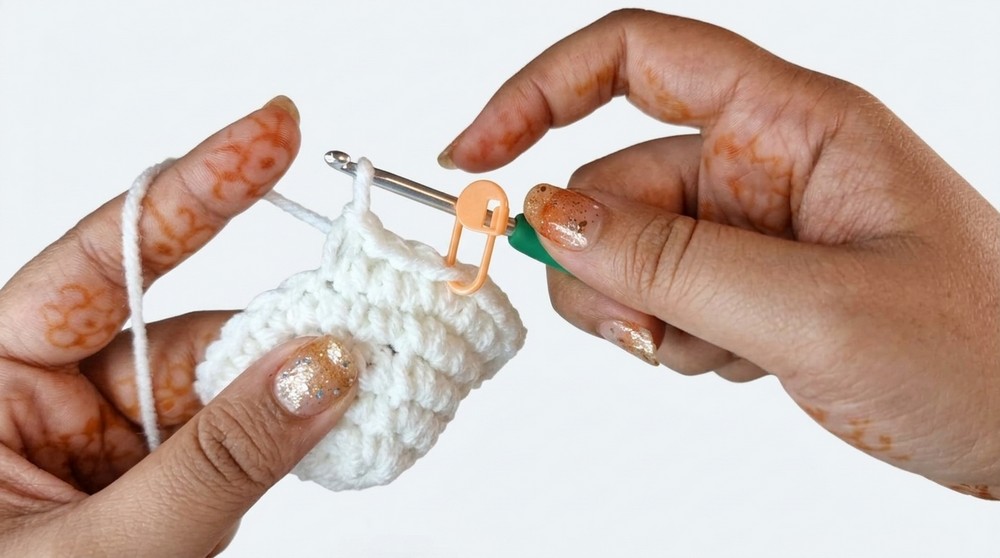
Round 13 (BLO):
- Work in Back Loops Only (BLO): 3 SC, DEC around.
- (24 stitches)
- Placement of safety eyes between Rounds 6 and 7 is recommended now.
Round 14:
- 2 SC, DEC around.
- (18 stitches)
- Stuff the baby ghost body firmly but gently at this stage to maintain shape.
Round 15:
- 1 SC, DEC around.
- (12 stitches)
Round 16:
- DEC around, 6 stitches remain.
- Close off the hole by sewing with a yarn needle.
Bottom Frill
- Join white yarn at the base of the ghost.
- Chain 2, then work 2 HDC in the same stitch.
- Skip 1 stitch, SL ST in the next stitch.
- 3 HDC in one stitch, skip 1, SL ST — repeat around the base for a ruffled effect.
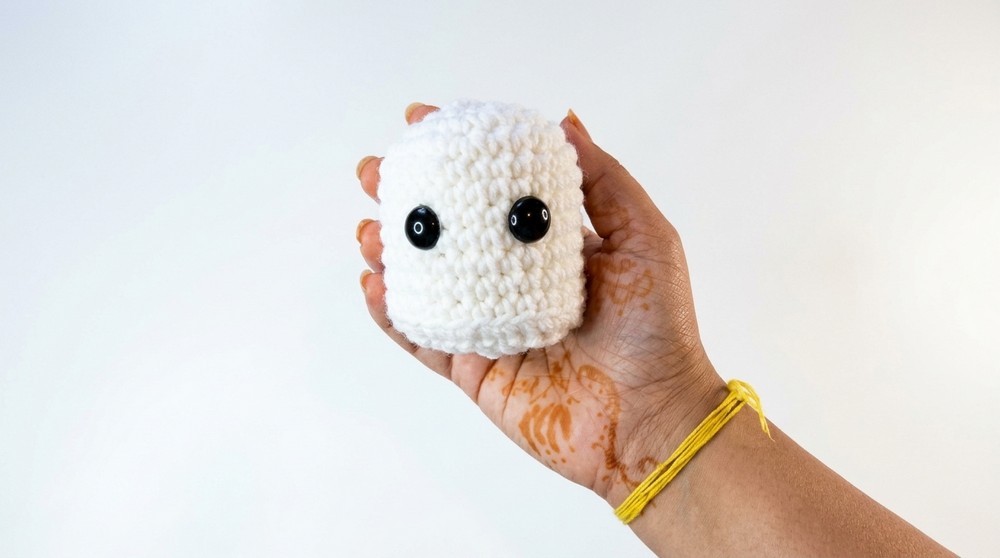
Facial Details
- Using yarn needle and black yarn or embroidery thread, stitch a small smile spanning about two stitches beneath the safety eyes.
Witch Hat
Round 1:
- Using black or chosen base color yarn, start with a Magic Ring (MR).
- Work 4 SC into the ring.
- (4 stitches)
Round 2:
- 1 SC, INC repeat.
- (6 stitches)
Round 3:
- 2 SC, INC repeat.
- (8 stitches)
Round 4:
- 3 SC, INC repeat.
- (10 stitches)
Round 5:
- 4 SC, INC repeat.
- (12 stitches)
Round 6:
- 5 SC, INC repeat.
- (14 stitches)
Round 7:
- 6 SC, INC repeat.
- (16 stitches)
- Switch to purple yarn at this point for the next rounds.
Round 8:
- Work 1 SC in each stitch around.
- (16 stitches)
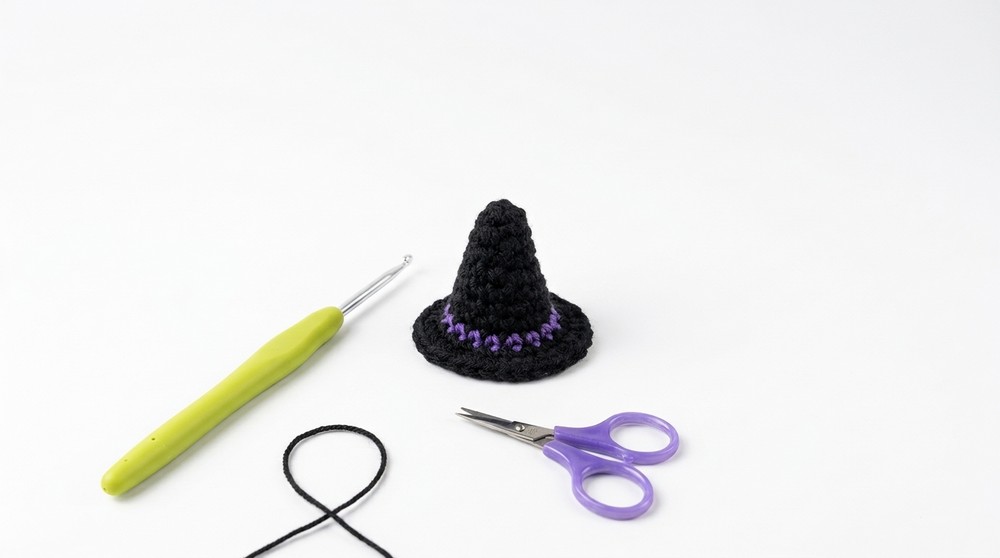
Brim:
- Change yarn to black.
- Work 2 HDC in every stitch around.
- Slip stitch to join and finish the brim.
Assembly & Finishing
- Attach the finished witch hat securely onto the baby ghost’s head by sewing around the base of the hat.
- Position and sew the safety eyes between rounds 6 and 7 on the ghost body before stuffing.
- Embroider the facial smile neatly after assembly to maintain stitch tension.
- Weave in all loose ends carefully inside the body or hat to create a polished finish.
Conclusion
This charming baby ghost with witch hat crochet pattern combines simple stitches and shaping techniques to achieve an adorable seasonal accessory. The step-by-step breakdown provides clear guidance for beginners building confidence in increasing, decreasing, color changes, and embroidery. The finished piece makes a perfect festive decoration, gift, or addition to amigurumi collections.