Add a cozy touch to your Halloween decor with a handmade Crochet Mini Pumpkin that brings warmth and charm to any festive space or gift.
Do you want to add some cute fall decorations to your home? The Crochet Mini Pumpkin created by UandYarn is a small, soft pumpkin that looks just like a real one! It has a round shape with little lines that make it look cozy and warm. This tiny pumpkin is perfect to put on your table, shelf, or window to make your space feel happy and festive.
Free Crochet Mini Pumpkin Pattern to Brighten Your Fall Décor
This little pumpkin is fun and easy to use. You can decorate your room for Halloween, Thanksgiving, or just because you love fall. It feels soft and nice to hold. You can even make more than one in different colors and sizes to make your home look even more special.
UandYarn made this design so beginners and experienced crocheters can enjoy it. It’s a simple and fun project that lets you create something pretty for fall. Making your own mini pumpkin is a great way to feel creative and have fun.
If you want to try making this lovely little pumpkin yourself, be sure to check out the free Crochet Mini Pumpkin pattern by UandYarn. You’ll love how easy and rewarding it is!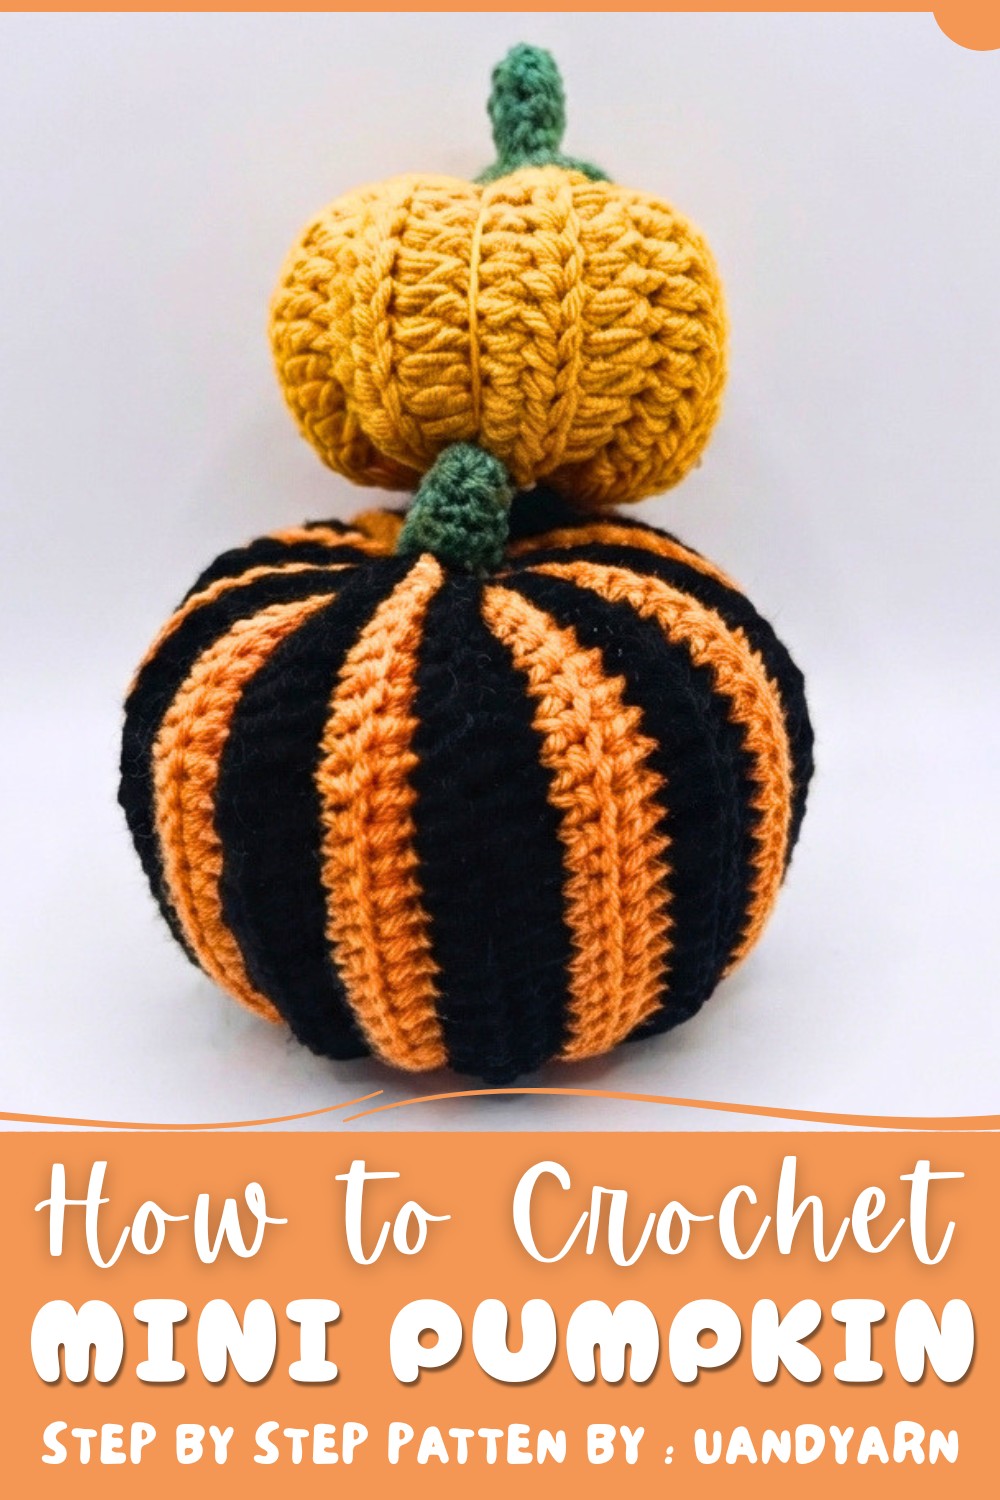
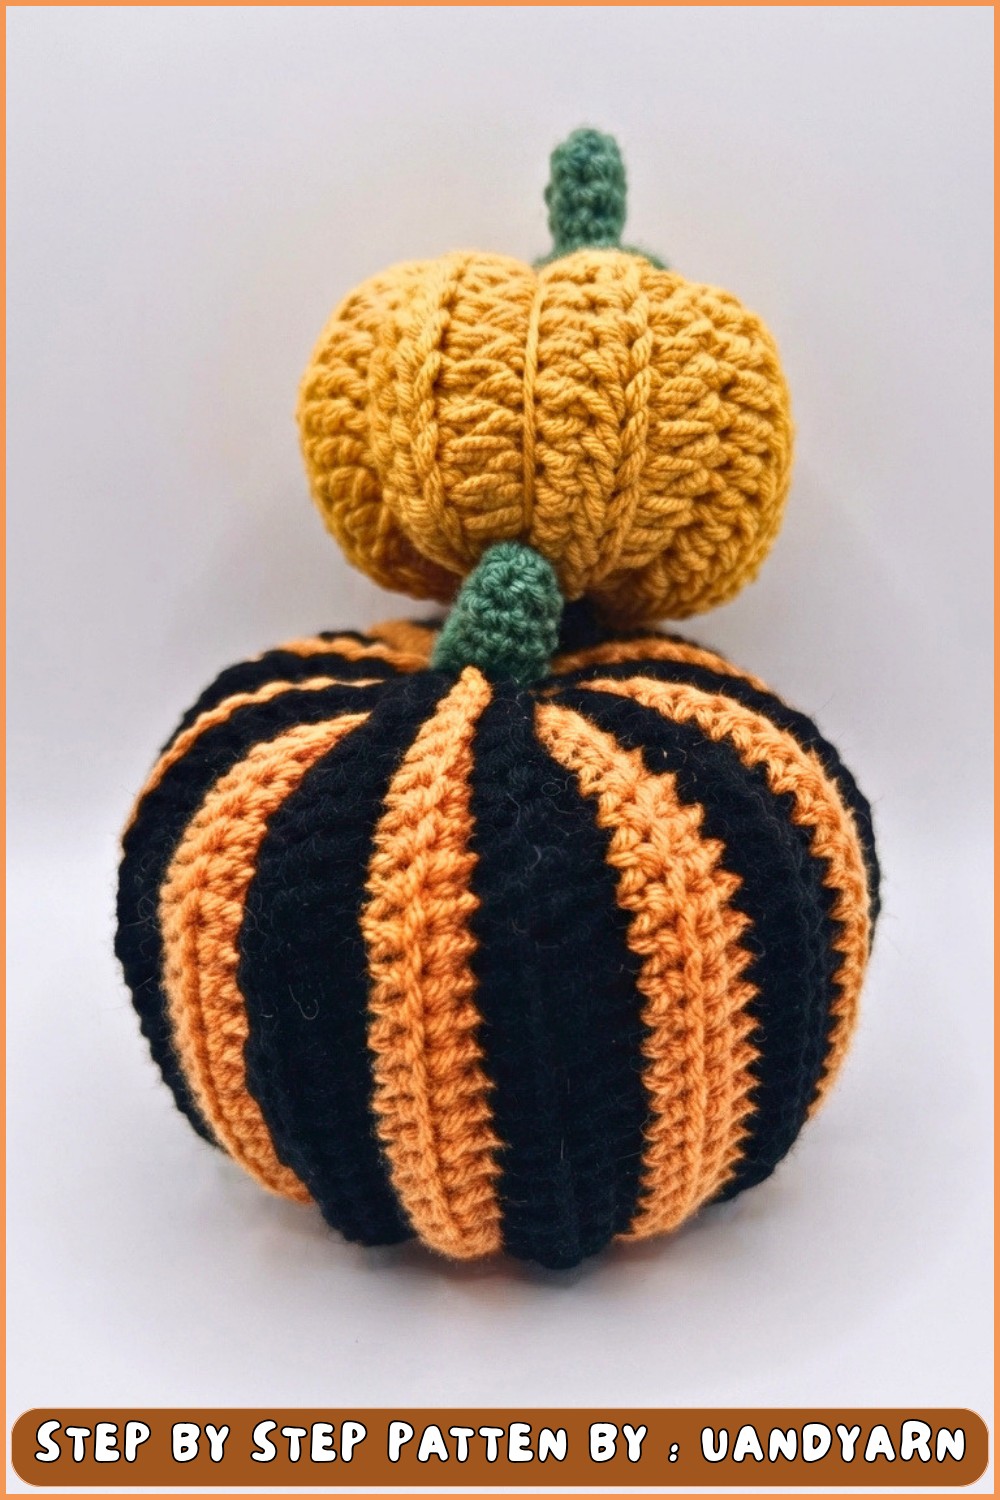
Simple Halloween Pumpkin Crochet Pattern
This crochet a simple pumpkin, perfect for Halloween decoration. You can also easily make a smaller version suitable for a key charm or back charm. Let’s get started!
Quick Overview of Pattern
- Foundation: Work 30 chains (adjust for size).
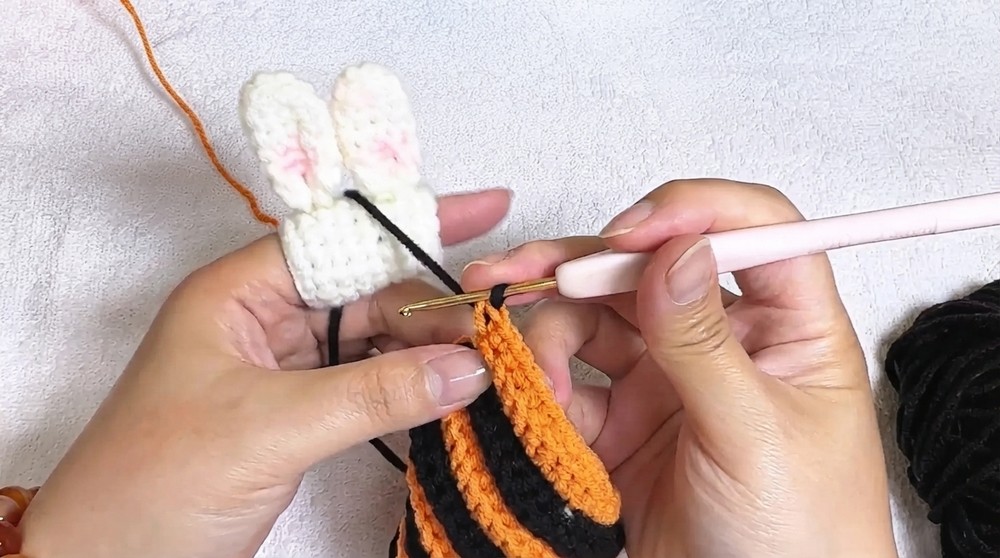
- Body Rows: Work single crochet back and forth for 36 rows, in back loop only.
- Colorwork: Change color every two rows if desired (e.g., orange and black).
- Seam: Fold in half, seam edges with slip stitches (work on the wrong side, then turn right side out).
- Gather: Sew and pull bottom closed, stuff, sew and pull top closed.
- Stem: Crochet in round; magic ring, 6 sc; increase; then sc rounds to desired height, attach.
- Finish: Secure all yarn ends, shape pumpkin, and enjoy!
Notes
- Adjust the initial chain count for larger or smaller pumpkins.
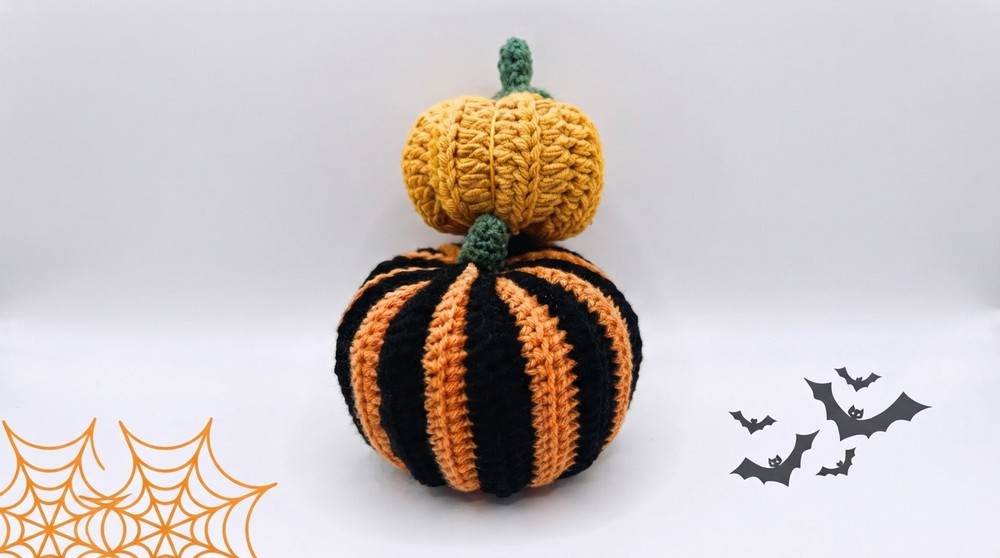
- Color changes every two rows add a cute, festive effect—orange and black are perfect for Halloween, but other combinations work beautifully, too.
- Work single crochets in back loop only for rows 3–36 to achieve the ribbed pumpkin texture.
- Always stuff before fully closing the top!
- This pattern is worked flat (rectangle) and then seamed/gathered for shaping.
- You can use a yarn needle or tapestry needle for closing and for all sewing.
- The pumpkin is beginner-friendly and works up quickly.
Skill Level
Beginner
- Basic knowledge of chains, single crochet, sewing seams, and working in the round is required.
Materials
- Yarn: Cotton yarn (Maton or similar), orange and black for body, green for stem.
- Hook: 2.5 mm crochet hook
- Tapestry/Yarn needle
- Scissors
- Stuffing: Polyester fiberfill or preferred stuffing material
Measurements / Sizing
- Sample size: About 5–6 cm tall and 7–8 cm wide, but will vary with yarn/hook and initial chains.
- To make a larger pumpkin: Start with a longer chain.
- To make a smaller pumpkin: Start with a shorter chain.
Gauge (and Stitch Pattern if applicable)
- Not crucial; just ensure your fabric is not too loose (stuffing should not poke through).
- Stitch pattern: Single crochet, worked flat in rows (back loop only).
Stitch Abbreviations
- ch – chain
- sc – single crochet
- sl st – slip stitch
- MR – magic ring
- BL – back loop (only)
Special Stitches
- Magic Ring (MR):
Make a ring with yarn, work stitches into this loop, then pull to close. - Back Loop Only (BLO):
Insert hook only into the back (farthest) loop of the next stitch, not both.
Compelete Pattern
Pumpkin Body
- Foundation:
- Ch 30 (or desired number for size).
- Tip: Fewer chains = smaller pumpkin; more chains = larger pumpkin.
- Row 1:
- Starting in the second ch from hook, sc across. (29 sc).
- Rows 2–36:
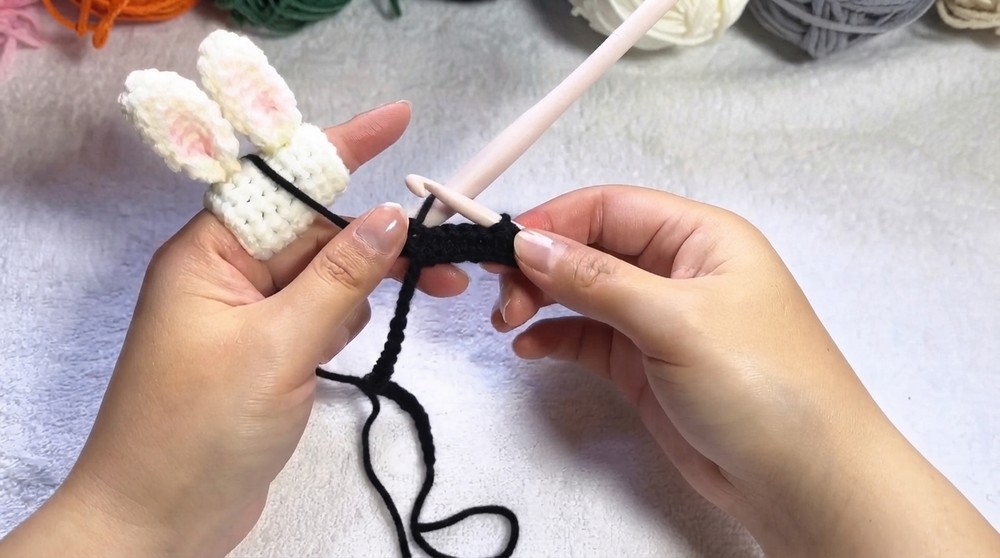
- Ch 1, turn. Sc across, always in back loop only for the ribbed effect.
- Remember: Change color every two rows for a striped pumpkin.
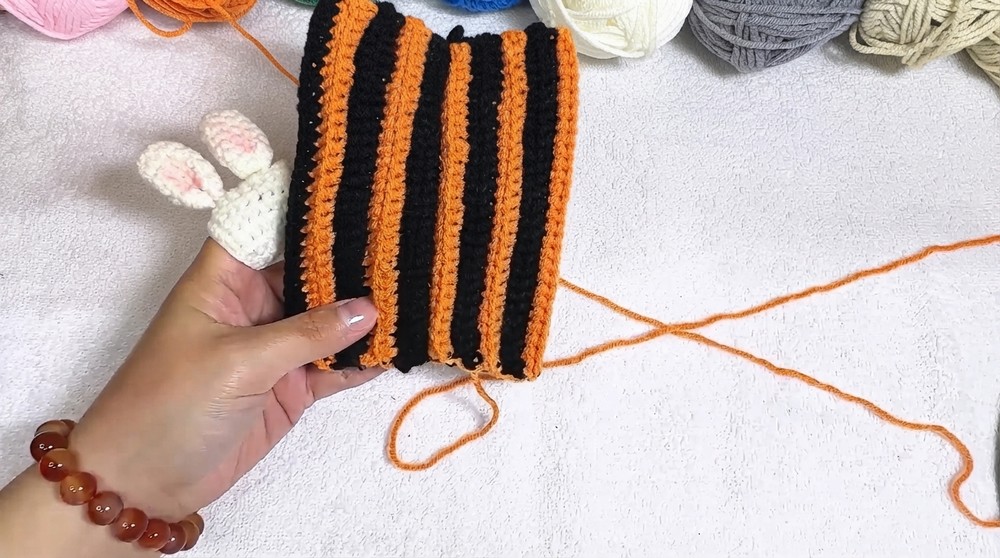
- Continue until you complete 36 rows.
- End of Row 36:
- Do not cut yarn.
- Fold the rectangle in half so short edges meet (right sides together, wrong side out).
- Seam:
- Join edges with sl sts to form a tube.
- Tip: Work seam on the inside (wrong side); you’ll turn it later.
- Shaping – Bottom:
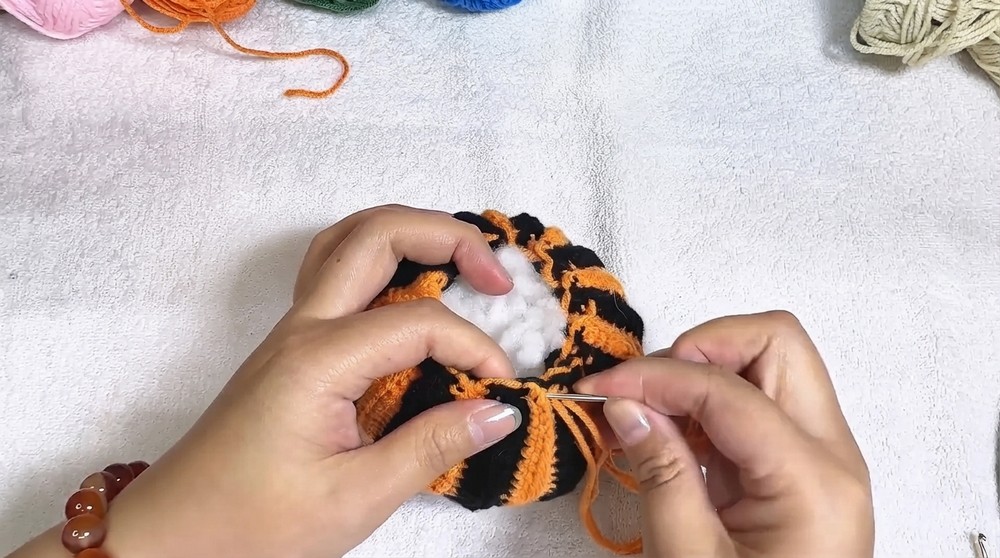
- After seaming, fasten off leaving a long tail.
- Thread the tail onto a needle; weave in and out around the edge (“upside down V stitches” at the edge).
- Pull tight to close the bottom.
- Secure with a couple of knots. Hide tail inside pumpkin.
- Turn Right Side Out:
- Gently turn your work so seam is inside.
- Stuffing:
- Add stuffing until pumpkin is firm but not overstretched.
- Shaping – Top:
- With a new tail (or working yarn if available), repeat the closing process at the top:
- Thread needle, weave in and out of edge stitches, pull tight to close.
- Tie off with 2–3 knots. Hide end inside pumpkin.
- With a new tail (or working yarn if available), repeat the closing process at the top:
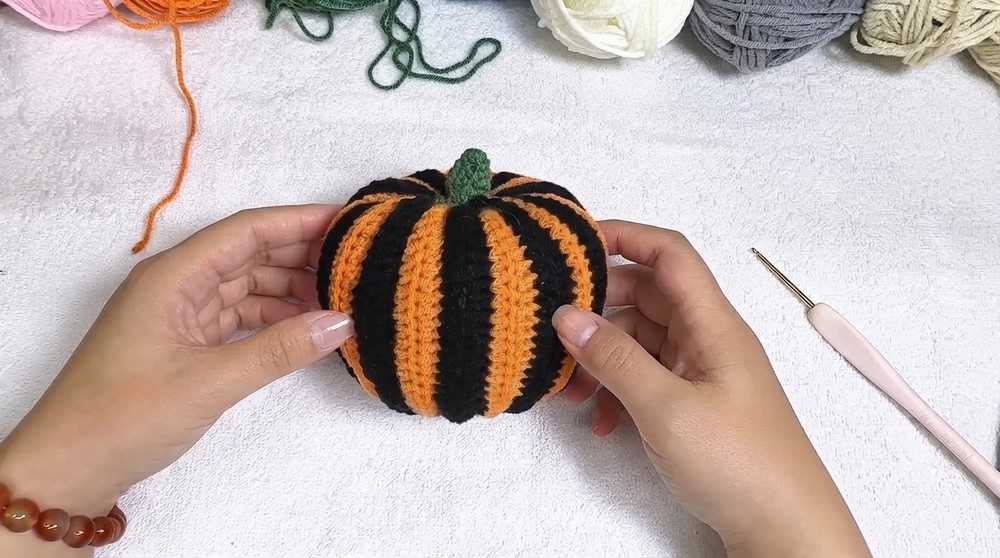
- Pumpkin Body is ready!
Pumpkin Stem
- With green yarn:
- Begin with a Magic Ring (MR).
- Round 1: 6 sc in MR.
- Round 2: [1 sc, inc] repeat around (do this 3 times total). You’ll have 9 sc.
- Rounds 3+:
- Sc around (no increases) for several rounds or until stem reaches your desired height.
- Finish:
Fasten off, leaving a tail for sewing.
Assembly & Finished Size
- Place at center of the closed pumpkin top. Sew securely using tail and yarn needle.
- Hide end inside pumpkin.
Conclusion and Ending Words
And there you have it—a cute and simple pumpkin perfect for Halloween decor! You can adjust the size for a big centerpiece, make tiny versions for keychains or bag charms, or experiment with color for all sorts of festive ideas. Black and orange is a classic Halloween combination, but let your imagination lead the way.
Finished Size:
- Approx. 5–6 cm tall (depending on yarn/hook), perfect for small decorations or charms.
This pattern is streamlined and clear, thoroughly walking you through each step with all technical details as demonstrated in the video.