Spark holiday joy by working with this free crochet reindeer amigurumi pattern that combines cuteness and simplicity for memorable festive decor.
Making your own holiday decorations can be so much fun, especially when you create something as cute as a little reindeer! The Free Crochet Reindeer Amigurumi Pattern is perfect for crocheting a small, soft friend that looks like a sweet Christmas character. You’ll find this pattern easy to follow, even if crochet is new to you.
This lovable reindeer has big round eyes, a tiny nose, and little antlers that make it look playful and friendly. Its shape is soft and cuddly, just like a toy you’d want to hug. The style is simple but full of charm, making it a perfect piece to sit on a shelf, decorate a mantel, or even become a gift for someone special.
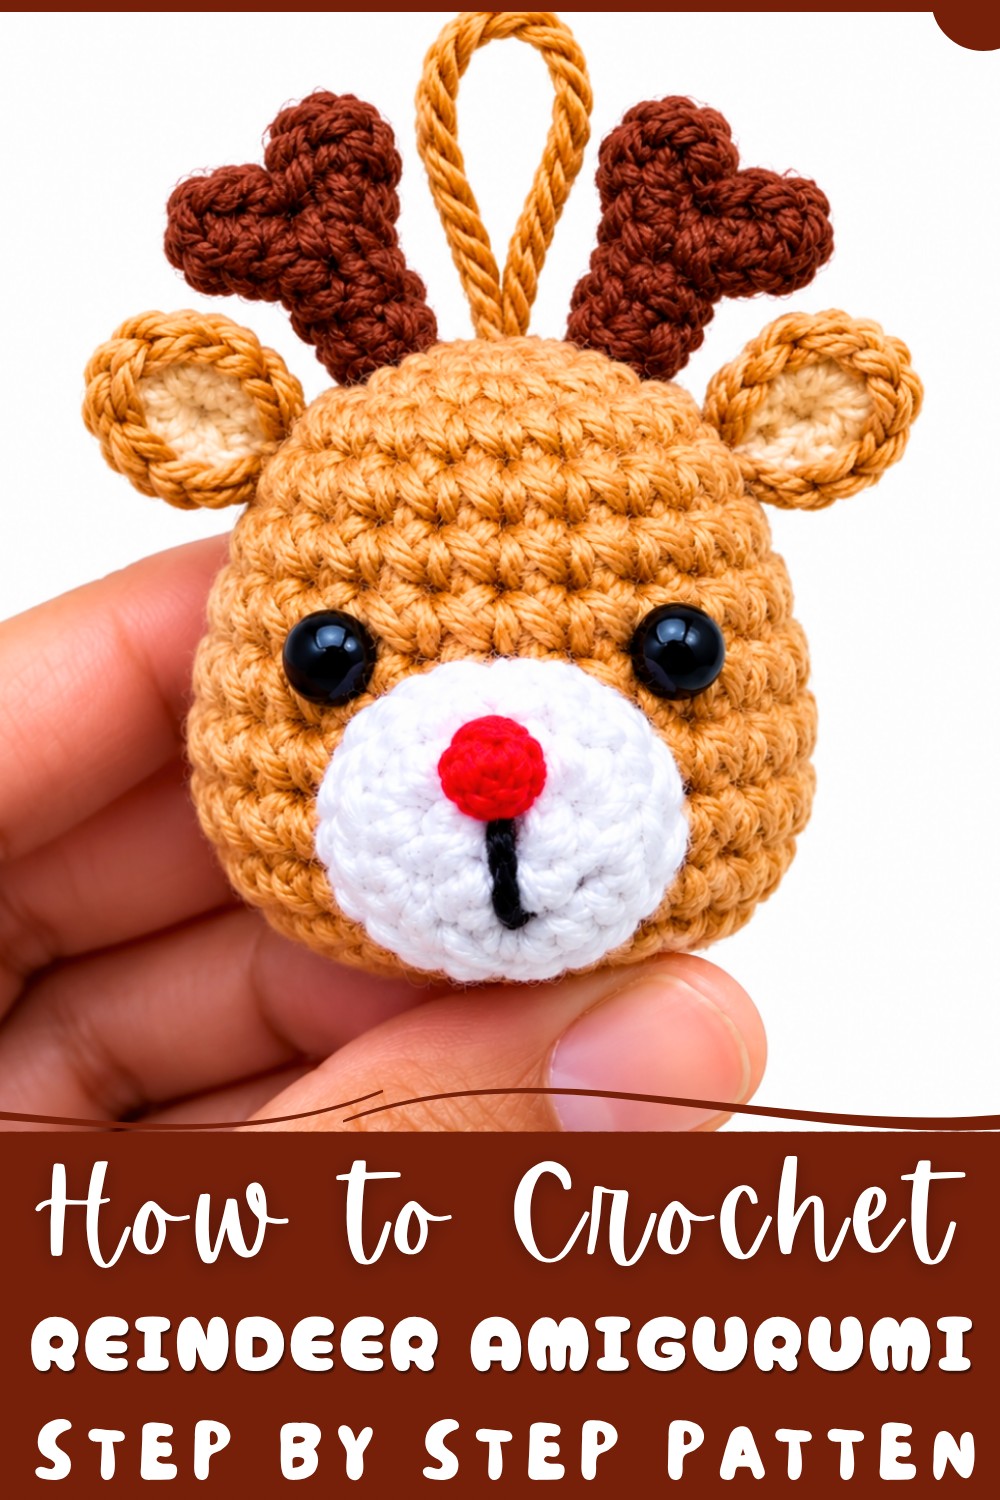
Adorable Free Crochet Reindeer Amigurumi Pattern for Holiday Decor
If you enjoy making toys, this pattern was shared by a talented designer who runs the Cute Crochet YouTube channel. She breaks down each step so it’s fun and easy to finish your reindeer without stress.
People who finish this project love how adorable and well-made the reindeer looks. It’s small enough to brighten up a desk or a child’s bedroom. Plus, it’s a great way to add a homemade touch to your Christmas celebrations.
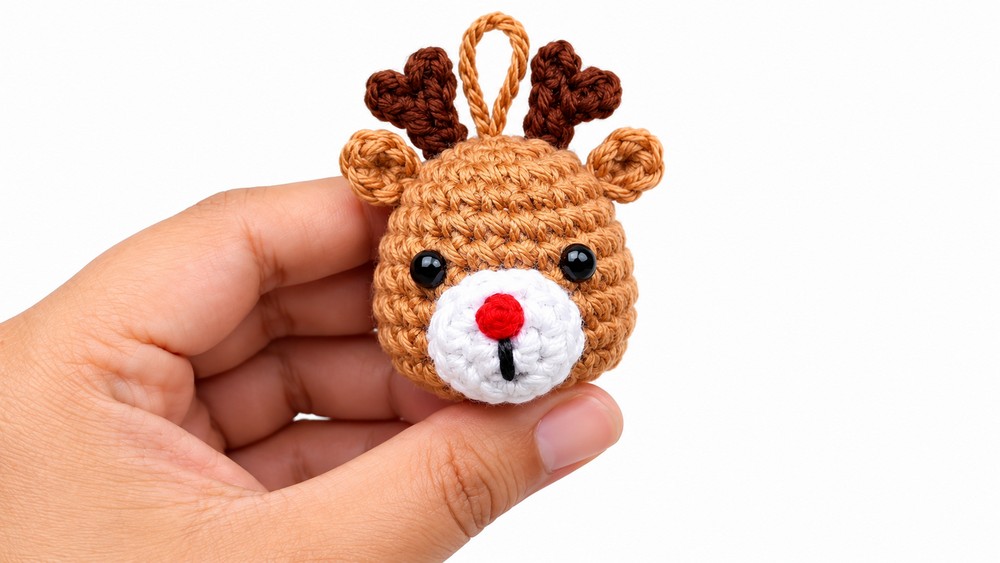
Try the Free Crochet Reindeer Amigurumi Pattern today and enjoy making a holiday friend you’ll treasure year after year. This little reindeer sure brings smiles and warm feelings wherever it goes!
Crochet Reindeer Ornament Pattern
Celebrate the holiday season by creating a charming and whimsical Crochet Reindeer Ornament. This detailed pattern provides a step-by-step approach to crocheting each component — the head, ears, snout, and antlers — culminating in an adorable reindeer perfect for hanging on your tree or gifting as a festive keepsake. The combination of shaping through increases and decreases, thoughtful color changes, and intricate embroidery details brings this seasonal character delightfully to life.
Quick Overview of Pattern
This amigurumi reindeer ornament features a softly rounded head shaped through strategic rounds of increases and decreases. Details such as the ears, snout, and antlers are crocheted separately then sewn on with care, ensuring neatness and dimension. The placement of safety eyes between specific rounds and distinctive embroidery for the mouth and red nose add warm personality. Optionally, it can be connected to a keychain or ornament loop for easy hanging. The pattern balances basic stitches with creative shaping suitable for dedicated beginners to intermediate crocheters.
Notes
- Work in continuous rounds without joining unless specified otherwise.
- Make use of stitch markers to mark round beginnings and ease count verification.
- Insert safety eyes before closing the head to secure them properly.
- Stuff the head firmly yet gently to keep shape without stretching stitches.
- Sew attachments securely to withstand handling.
- Use appropriate yarn colors for each component to capture the reindeer's characteristic features.
- The antlers are formed with chains and slip stitches for delicate branching appearance.
Skill Level
This project is suitable for advanced beginners or intermediate crocheters who are familiar with:
- Magic Circle (MC) start
- Basic crochet stitches: Single crochet (SC), slip stitch (SL ST), chain (CH)
- Increases (INC) and decreases (DEC) in amigurumi
- Working in continuous rounds
- Embroidery for facial details (mouth and nose)
- Sewing small parts neatly
Materials
- Yarn:
- Light brown (main head color)
- Dark brown (ears and antlers)
- White (optional highlights)
- Red (for nose)
- Black (for embroidery details)
- Tools:
- 3mm crochet hook
- Yarn needle
- Scissors
- Stitch marker
- Extras:
- Stuffing (fiberfill)
- 4mm safety eyes
- Keychain loop or ornament hook (optional)
Measurements / Sizing (Optional)
- Finished reindeer head approximately 7-8 cm in diameter depending on yarn and tension.
- Ears measure roughly 2-3 cm in height.
- Antlers extend about 3 cm upward giving a delicate, stylized effect.
- Overall size suitable for ornament display or keychain attachment.
Gauge and Stitch Pattern
- Gauge is not critical but stitches should be tight enough to hold stuffing without gaps.
- The head is created mainly with SC stitches worked in spirals with INC and DEC rounds shaping volume.
- The ears and snout use minimal rounds for compact shaping.
- Antlers utilize chains and slip stitches (SL ST) for a light branching effect.
Stitch Abbreviations
| Abbreviation | Meaning |
|---|---|
| CH | Chain |
| SC | Single Crochet |
| INC | Increase (2 SC in one stitch) |
| DEC | Decrease (Crocheting 2 stitches together) |
| SL ST | Slip Stitch |
| MC | Magic Circle (Ring) |
Special Stitches
- Magic Circle: The adjustable loop start used to begin crocheting in the round, allowing a tight closed center.
- Increase (INC): Placing two single crochet stitches into the same stitch to increase stitch count.
- Decrease (DEC): Working two stitches together through partial stitches to reduce stitch count.
- Slip Stitch (SL ST): Used in chain work to pull yarn through loops without height increase, creating smooth joins or delicate structure in antlers.
The Crochet Pattern
Head (Using Light Brown Yarn and 3mm Hook)
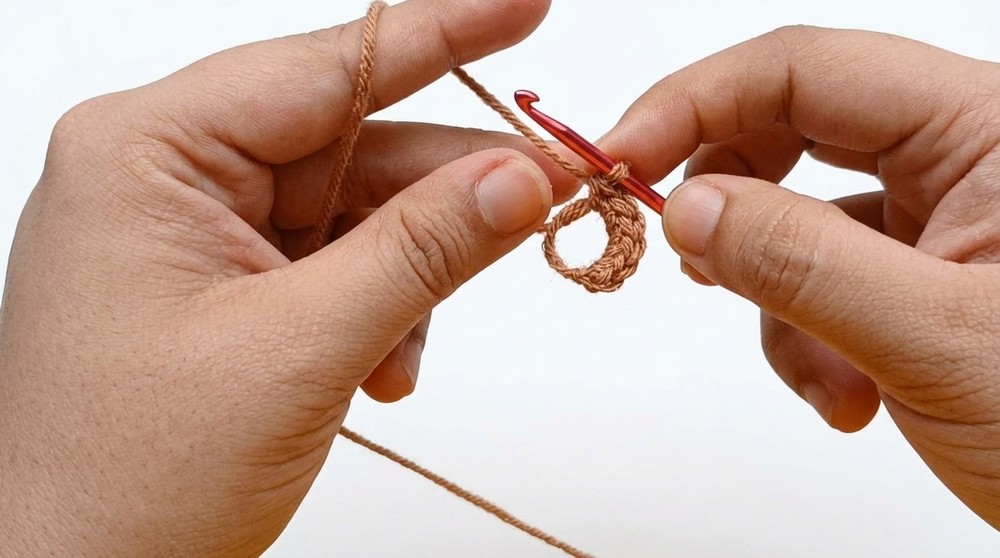
- Round 1: Create a Magic Circle (MC) and work 6 SC into the ring. [6 stitches]
- Round 2: INC in every stitch (2 SC in each stitch) around. [12 stitches]
- Round 3: (1 SC, INC) repeat 6 times. [18 stitches]
- Round 4: Work 1 SC in each stitch around. [18 stitches]
- Round 5: (5 SC, INC) repeat 3 times. [21 stitches]
- Round 6: Work 1 SC in each stitch around. [21 stitches]
- Round 7: (6 SC, INC) repeat 3 times. [24 stitches]
- Rounds 8-9: Work 1 SC in each stitch around. Maintain 24 stitches.
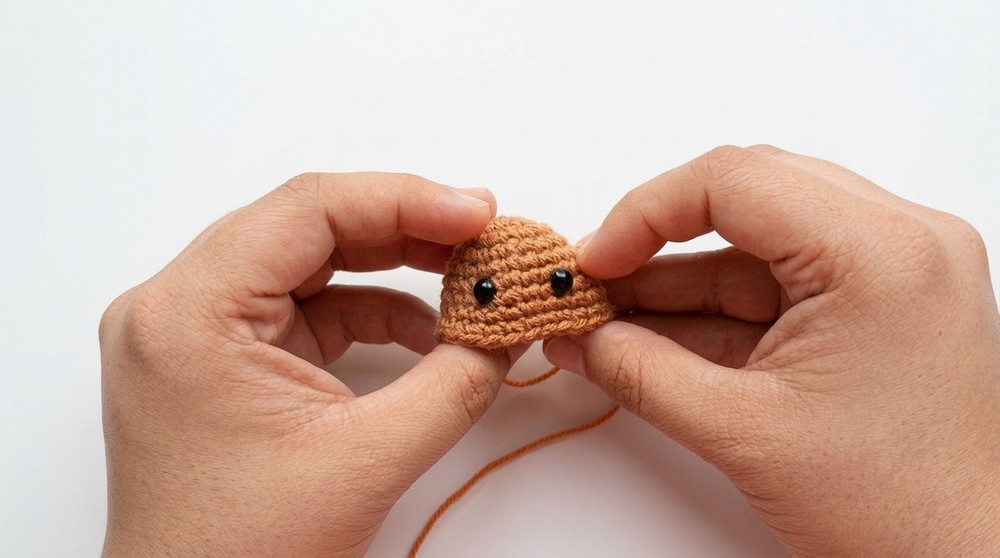
- Insert 4mm safety eyes securely between rounds 6 and 7, spacing them 3 stitches apart to create a balanced facial expression.
- Round 10: (2 SC, DEC) repeat 6 times. [18 stitches]
- Round 11: (1 SC, DEC) repeat 6 times. [12 stitches]
- Stuff the head firmly at this point to give shape and maintain stability.
- Round 12: DEC in each stitch around. [6 stitches]
- Fasten off leaving a long tail, and sew the remaining hole closed using yarn needle with the tail. Weave in ends securely.
Ears (Make 2 Using Dark Brown Yarn and 3mm Hook)
- Round 1: Create a Magic Circle (MC) and work 5 SC into the ring. [5 stitches]
- Fasten off, leaving a long tail for sewing.
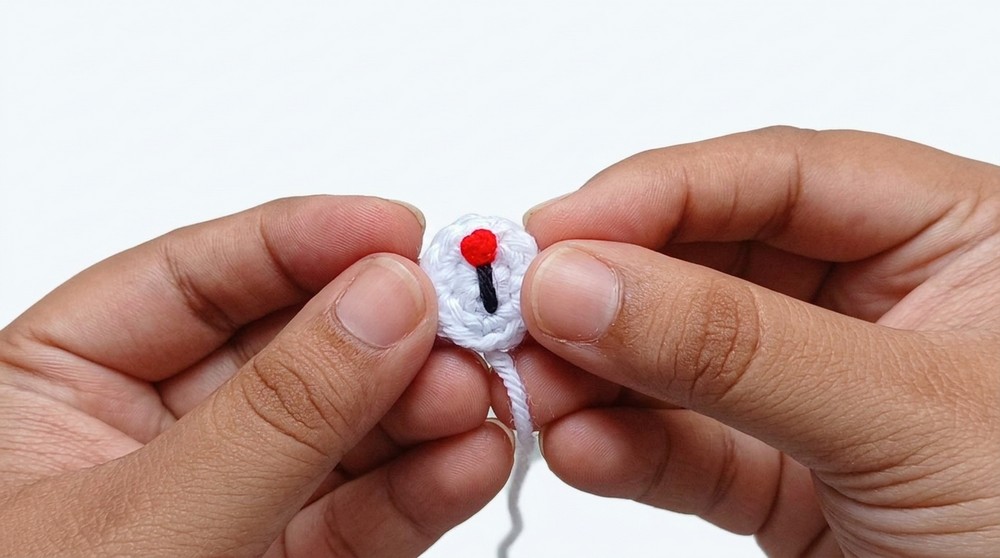
Snout (Using Light Brown Yarn and 3mm Hook)
- Round 1: Make a Magic Circle (MC), work 6 SC into the ring and slip stitch (SL ST) to finish round. [6 stitches]
- Round 2: Work INC in each stitch around to double stitch count (12 SC), finish round with a SL ST. [12 stitches]
- Embroider the mouth with black yarn neatly beneath the snout center.
- Create a red yarn French knot at the tip of the snout to represent Rudolph’s signature bright nose.
Antlers (Make 2 Using Dark Brown Yarn and 3mm Hook)
- Chain 4.
- Skip the 1st chain, slip stitch (SL ST) into the back bump of the 2nd chain. This forms the first branch.
- Chain 2, skip the 1st chain again and slip stitch (SL ST) into the back bump of the 2nd chain to form the second branch.
- Slip stitch in remaining two chains to finish.
- Fasten off leaving tail for sewing.
Assembly
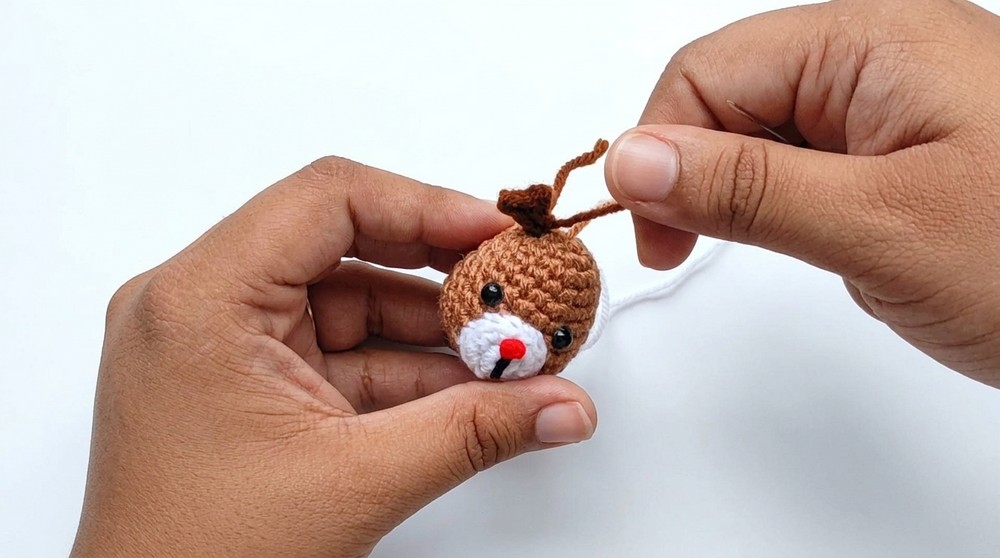
- Sew the snout carefully centered between the eyes on the front of the head.
- Attach the antlers symmetrically on the top of the head, securing firmly.
- Sew the ears on the sides of the head at approximately the height of round 3 to provide proportionate balance.
- Optional: Attach a keychain loop or ornament hook to the top of the reindeer’s head for hanging.
Finished Size
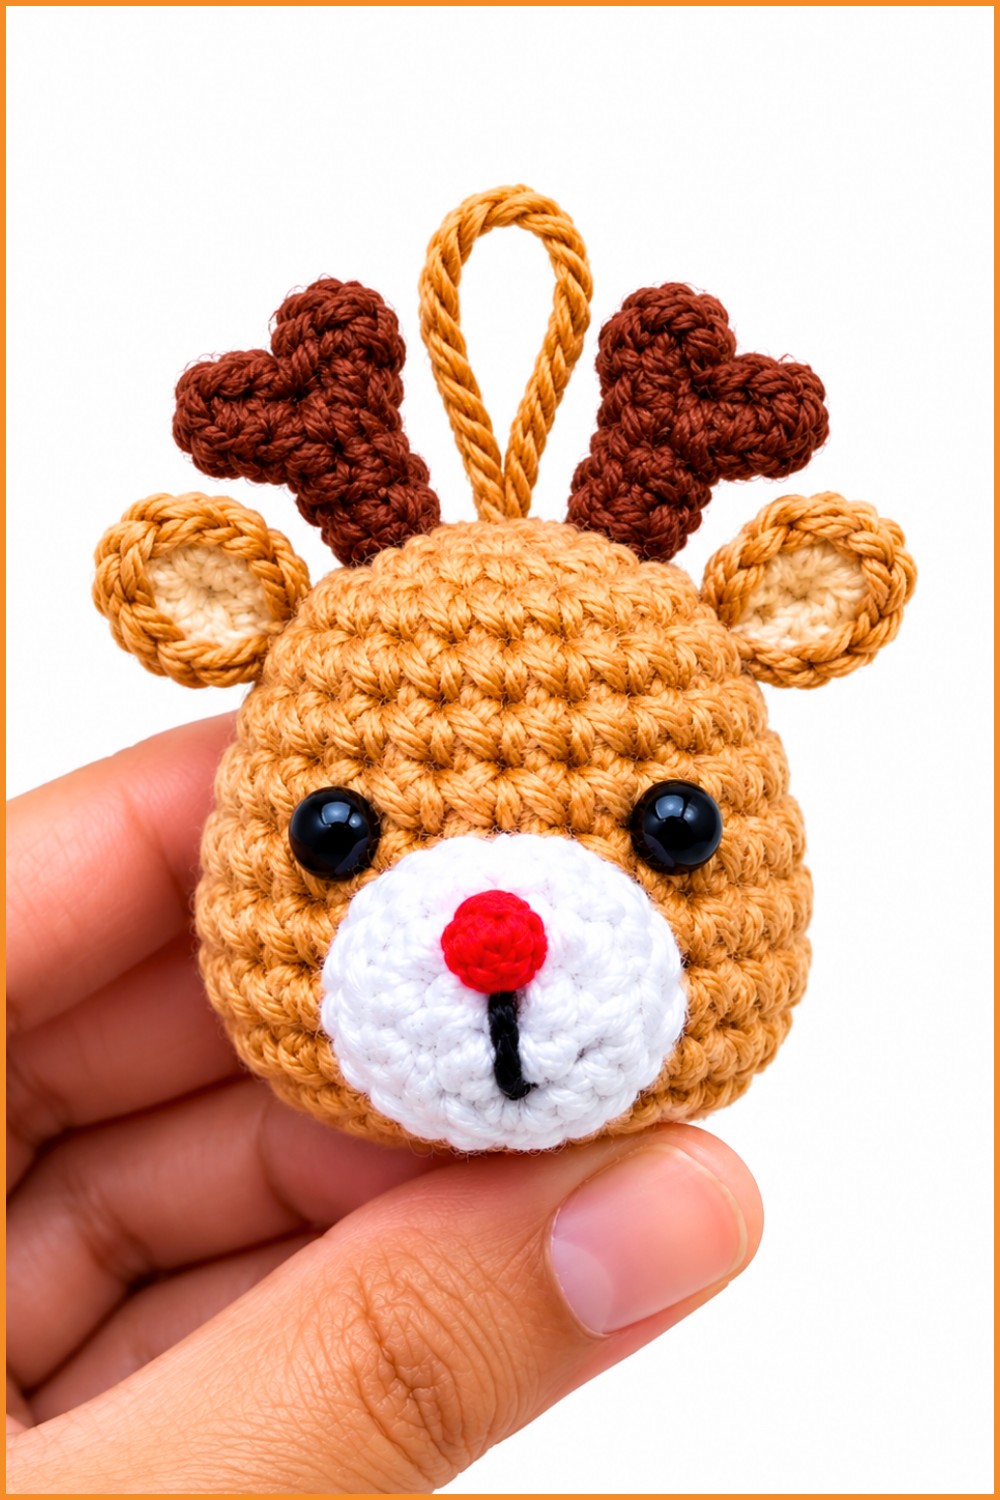
- The completed reindeer ornament’s head measures approximately 7-8 cm wide.
- Ears add an additional 2-3 cm in height.
- The antlers extend around 3 cm upward, giving the piece an elegant silhouette.
- Overall, it fits comfortably on trees, bags, or as a festive accent.
Conclusion
This crochet reindeer ornament pattern offers an engaging and rewarding project for crocheters eager to create holiday-themed decorations with personality and handcrafted charm. The tactile shaping of the head and detailed features such as the red French knot nose and expressive embroidered mouth infuse warmth and character.
The well-defined structure and clean finishing techniques make the ornament sturdy enough for hanging or as a gift, while the playful antlers add a distinctive touch indicative of this festive mascot. By following this detailed, round-by-round pattern, crocheters can confidently bring this adorable reindeer to life, elevating seasonal décor with handmade elegance.