Create a fun and festive Crochet Halloween Pumpkin that adds a spooky and colorful touch to your decorations or gifts this Halloween season.
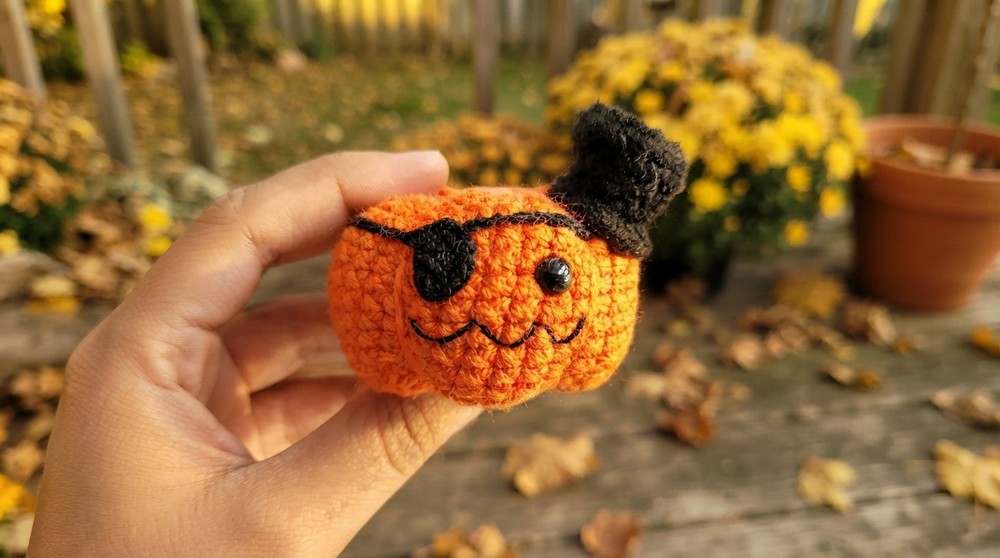
Have you ever wished for a cute, cozy decoration to brighten up your Halloween? The Crochet Halloween Pumpkin created by Needle Cuddle is just the thing! This charming pumpkin looks soft and plump, with a cheerful orange body and a little green stem on top. It has a friendly style that adds warmth and fun to any space, making it perfect for your home, classroom, or even as a playful gift.
Easy Crochet Halloween Pumpkin Free Pattern for Halloween Parties
This delightful Crochet Halloween Pumpkin brings a handmade touch to your seasonal decorations. Its simple yet joyful look captures the spirit of fall without being too spooky, which makes it great for kids and adults alike. You can place it on shelves, desks, or use it as a cute keychain or bag charm to celebrate Halloween everywhere you go.
The design's sweet appeal comes from Needle Cuddle’s thoughtful approach to making a project that feels welcoming and easy to enjoy. This pumpkin’s bright colors and soft feel make it more than just a decoration—it’s a cozy little friend that makes Halloween feel special and inviting.
If you want to make this adorable Crochet Halloween Pumpkin yourself, you’re in luck because Needle Cuddle offers a free pattern to guide you step by step. Whether you’re new to crocheting or an experienced crocheter, this project is a fun way to bring Halloween spirit into your home.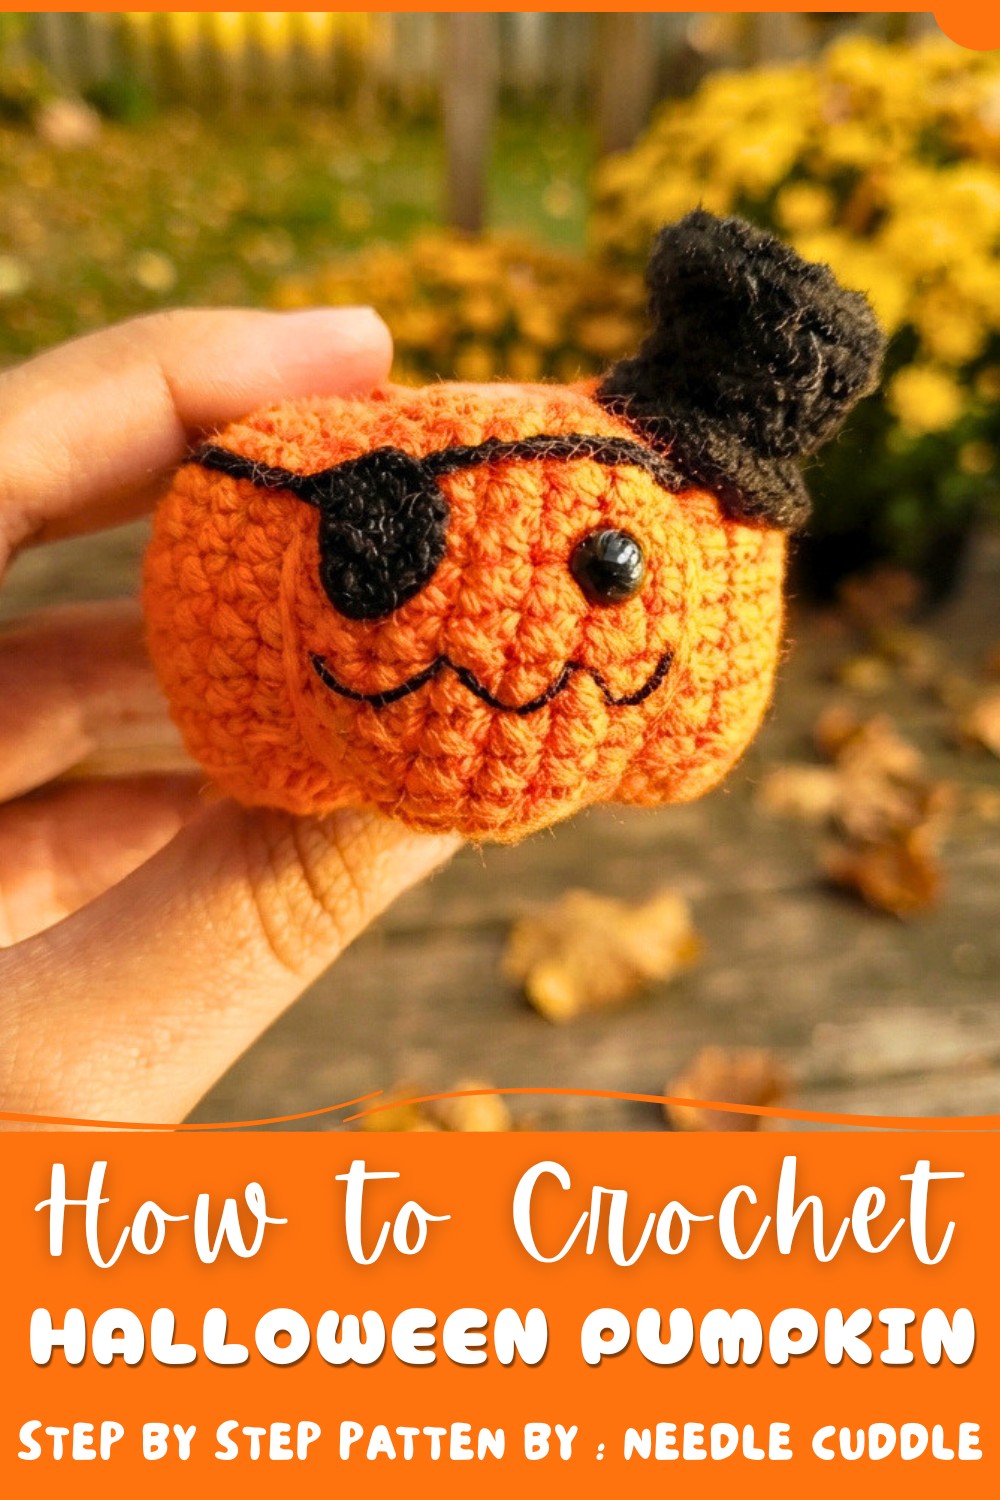
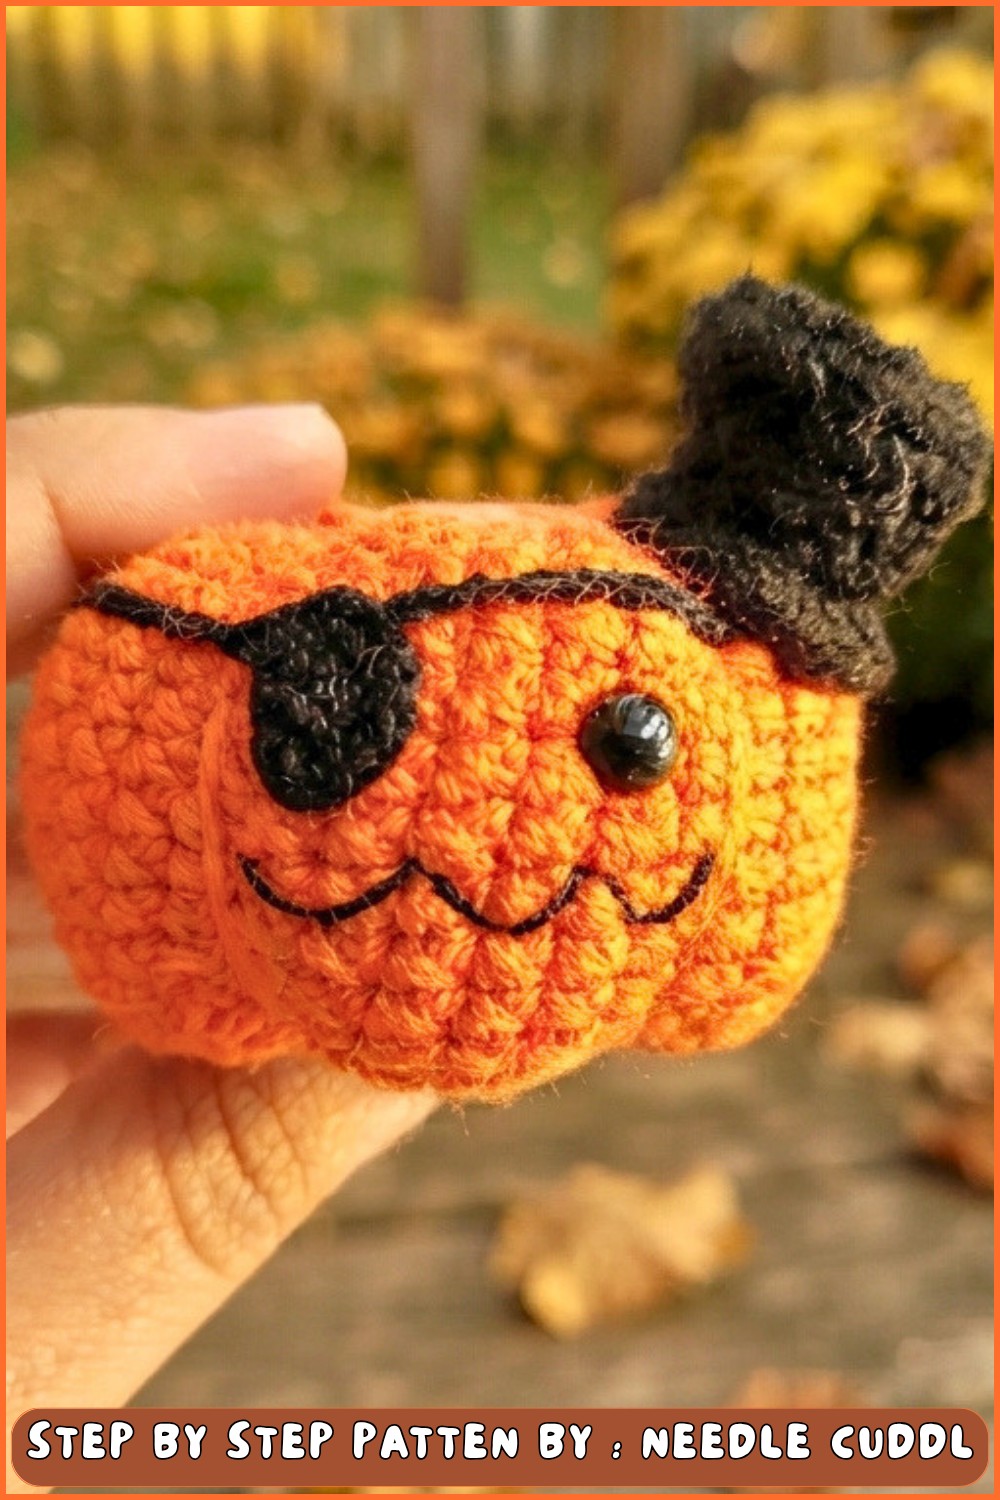
Take a moment to check out the free pattern and start creating your own cheerful pumpkin today!
Amigurumi Pumpkin Eye Cover Pattern
The project is built on a classic round amigurumi shape, stuffed and shaped to create a plump pumpkin, with additional features for a cute, sleepy effect. This guide is carefully structured to provide clarity, detail, and accuracy in pattern.
Quick Overview Of Pattern
- Project Structure:
- Crochet the pumpkin body in round amigurumi style.
- Add facial features, including a single safety eye.
- Shaping and stuffing for that quintessential pumpkin form.
- Crochet an “eye cover” (mask) that is attached with a long chain.
- Assemble by sewing on the cover and finishing up for display or gifting.
- Techniques Highlighted:
- Magic ring start, single crochet, increasing and decreasing in the round, working continuous rounds, invisible decrease, and basic amigurumi shaping and assembly.
- Result:
A soft, whimsical pumpkin plush with a wearable mask—a perfect autumn or Halloween craft, fun for home décor or as a playful toy.
Notes
- All rounds are worked in a continuous spiral unless otherwise noted; use a stitch marker for the first stitch of each round.
- Safety eyes should be securely fastened and checked for security, especially if gifting to young children.
- Stuffing is done before final closing rounds for optimal shape.
- The mask feature is optional—feel free to adapt this base pumpkin for other facial expressions or accessories.
- Tensions and gauge are not critical but should be firm to prevent stuffing from showing.
Skill Level
Confident Beginner / Intermediate:
Familiarity with the basics of amigurumi, working in the round, magic ring, single crochet, increasing, invisible decreasing, basic stuffing, and simple sewing techniques.
Materials
- Yarn: Worsted weight (category 4) or similar in orange (main body), white (eye cover), plus optional black for mouth or other features.
- Hook: 3.0 mm or 3.5 mm crochet hook (adjust size for tight, dense stitches).
- Stuffing: Polyester fiberfill
- Safety Eye: One 8–10 mm eye
- Yarn needle: For sewing and closing gaps
- Scissors
- Stitch marker: Highly recommended for marking rounds
Measurements / Sizing (Optional Schematic)
- Pumpkin: Approx. 9–10 cm (3.5–4") in diameter after stuffing, with a similar height.
- Eye Cover: Sits neatly across the “face” of the pumpkin; chain of 60 can be adjusted for size.
- Overall: Finished piece makes a palm-sized plushie.
Gauge (and Stitch Pattern if applicable)
- Gauge is not crucial, but tighter tension prevents stuffing from showing. For reference:
- 10 sc and 10 rows = 5 cm (2 in) with 3.5 mm hook and worsted yarn.
Stitch Abbreviations
| Abbreviation | Meaning |
|---|---|
| MR | Magic Ring |
| sc | Single Crochet |
| inc | Increase (2 sc in 1) |
| dec | Decrease (sc2tog) |
| ch | Chain |
| st(s) | Stitch(es) |
| R | Round |
| sl st | Slip Stitch |
Special Stitches
- Magic Ring (MR):
Begin with a loop, crochet into the loop, then pull tight to close. - Invisible Decrease (dec):
Insert hook into front loops of next 2 sts, yo, pull through, yo, pull through both loops. - Increase (inc):
2 single crochet in the same stitch.
Crochet Instructions
Pumpkin Body
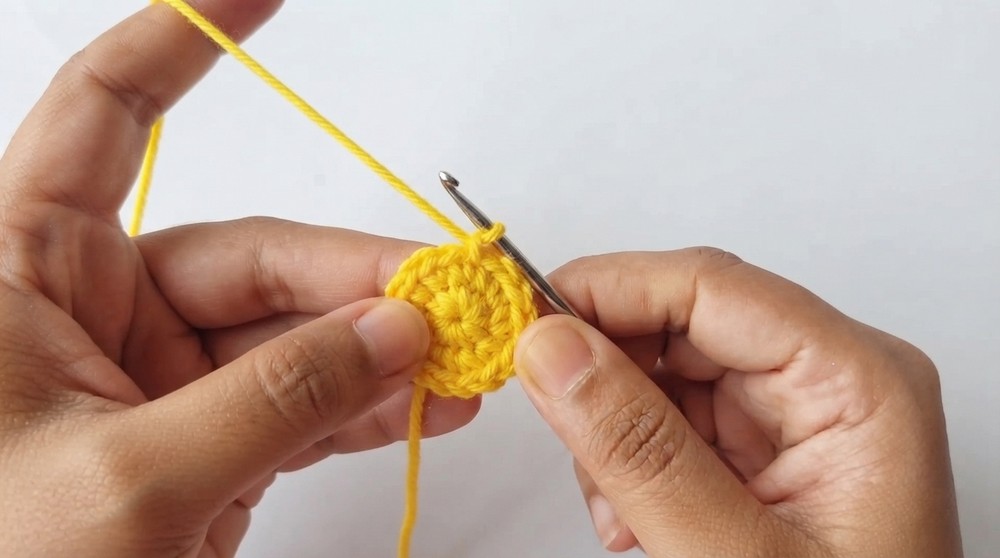
R1:
- Start with a MR. Make 6 sc in the ring. {6}
R2:
- inc in each st around (2 sc in each st). {12}
R3:
- (1 sc, inc) x6 (that is: sc in next st, 2 sc in next st, repeat six times). {18}
R4:
- (2 sc, inc) x6 (sc in next 2 sts, 2 sc in next st, repeat). {24}
R5:
- (3 sc, inc) x6 (sc in next 3 sts, 2 sc in next st, repeat). {30}
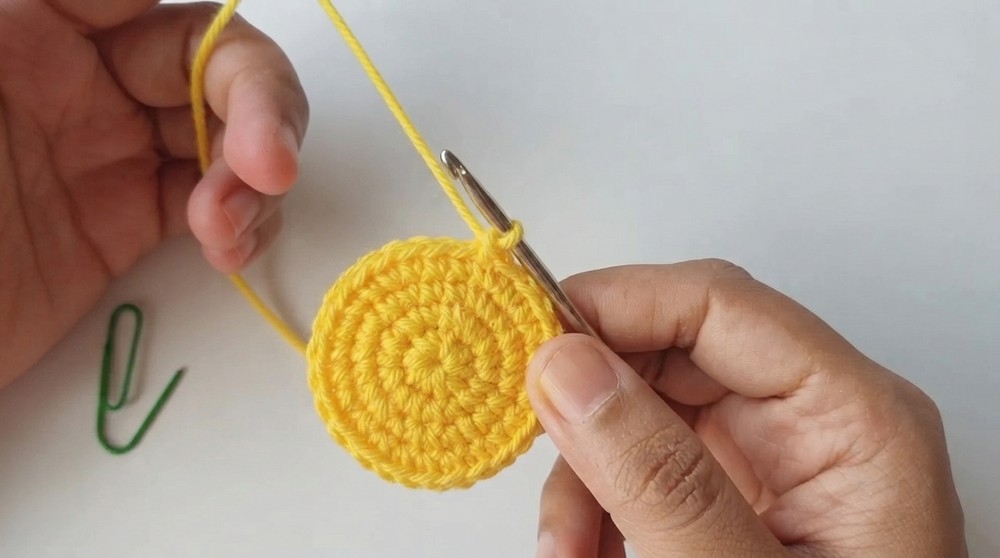
R6:
- (4 sc, inc) x6 (sc in next 4 sts, 2 sc in next st, repeat). {36}
R7–R16:
- sc in each st around. {36}
(Continue for 12 rounds to create the height and plumpness of the pumpkin.)
R17:
- (4 sc, dec) x6 (sc in next 4 sts, invisible dec, repeat). {30}
Insert the Eye
- Insert one safety eye between R9 and R10.
(You may want to mark the "front" of your pumpkin before this step.)
R18:
- (3 sc, dec) x6 (sc in next 3 sts, dec, repeat). {24}
R19:
- (2 sc, dec) x6 (sc in next 2 sts, dec, repeat). {18}
Stuff the Pumpkin:
- Add ample fiberfill stuffing at this stage for best shape. Ensure the pumpkin is firm but not overstretched.
R20:
- (1 sc, dec) x6 (sc in next st, dec, repeat). {12}
R21:
- dec x6 (work 6 decreases). {6}
- Fasten off, leaving a long tail for closing and shaping.
Pumpkin Shaping
- Thread the end tail onto a yarn needle.
- Sew through the front loops of the remaining 6 sts and pull tight to close.
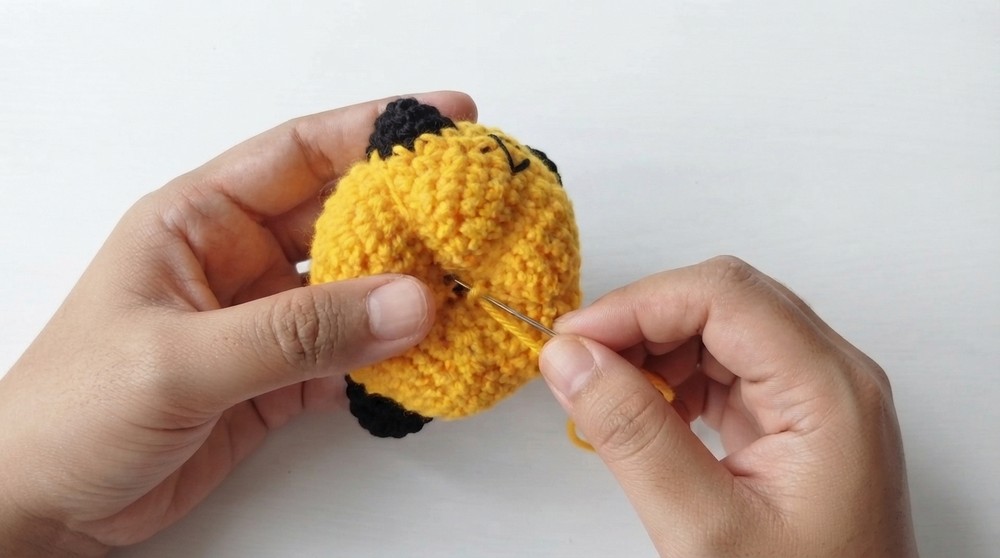
- For shape, insert needle up through the center top and down through the center bottom several times, pulling gently to create “pumpkin segments.”
- Secure and weave in remaining end.
Eye Cover / Sleep Mask
R1 of Eye Cover:
- With white yarn, MR, 6 sc in ring. {6}
R2:
- inc in each st around (2 sc in each st). {12}
R3:
- ch 60 (or desired length to fit around pumpkin’s head—can be adjusted for your specific pumpkin’s size).
- Fasten off, leaving tail for sewing if needed.
Assembly & Finished Size
- Assemble Eye Cover:
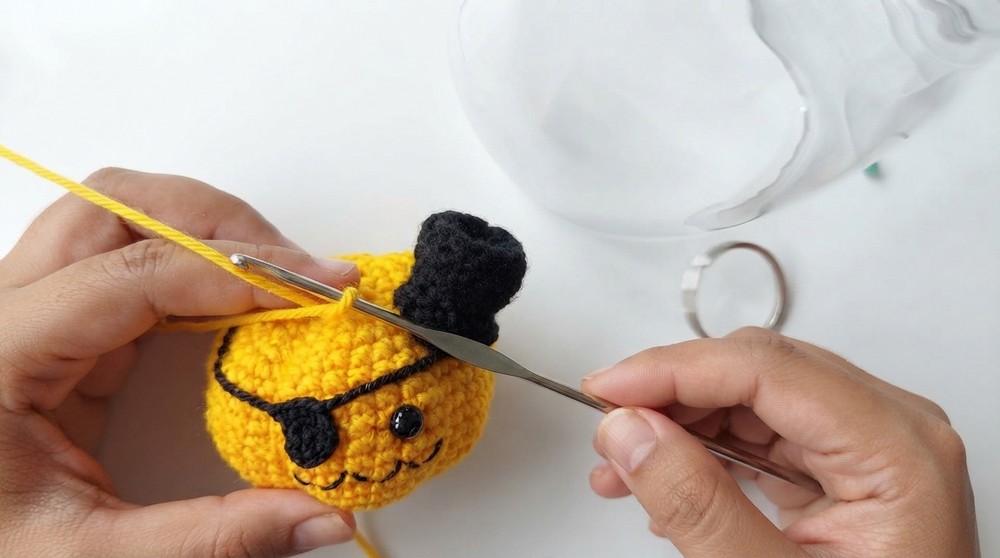
- Place the eye cover over the pumpkin’s face so it covers the safety eye like a sleep mask.
- Use the long yarn tail to sew the ends of the ch-60 to each side of the mask, securing the band neatly at your desired height.
- Optionally, tack down the mask at a few points with small whip stitches for a secure fit.
- Final Shaping:
- Adjust stuffing as needed before final closure or sewing.
- Smooth all yarn tails and weave in securely. Trim excess.
- Check the security of the safety eye, mask, and yarn joints.
- Presentation:
- Your pumpkin should sit flat, with its sleepy (or awake!) eye showing under or behind the eye cover for a whimsical, endearing effect.
Conclusion and Ending Words
This pattern is a delightful project for autumn and Halloween or any time you want a touch of handmade joy around the house. You can personalize this pattern by adding more facial features, different colored masks, embroidery, or even a little stem and leaf on top (not included in this design). Don’t forget to take care with all secure fittings if gifting to children.