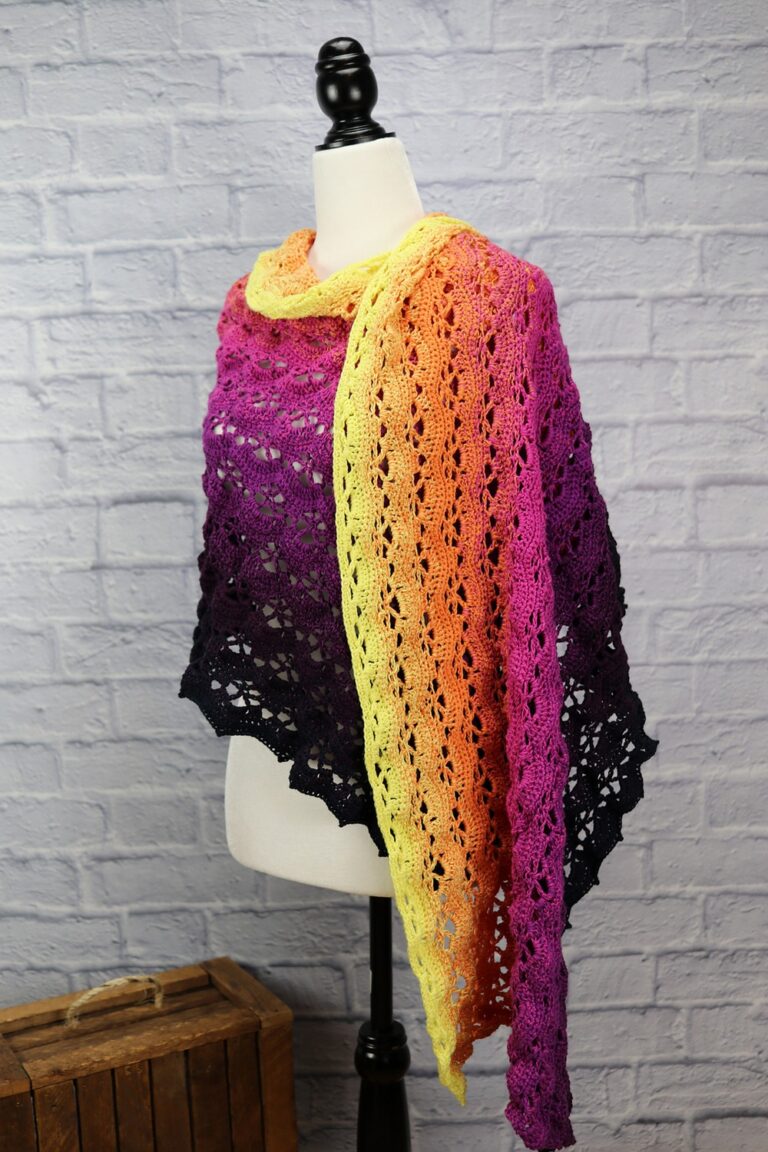
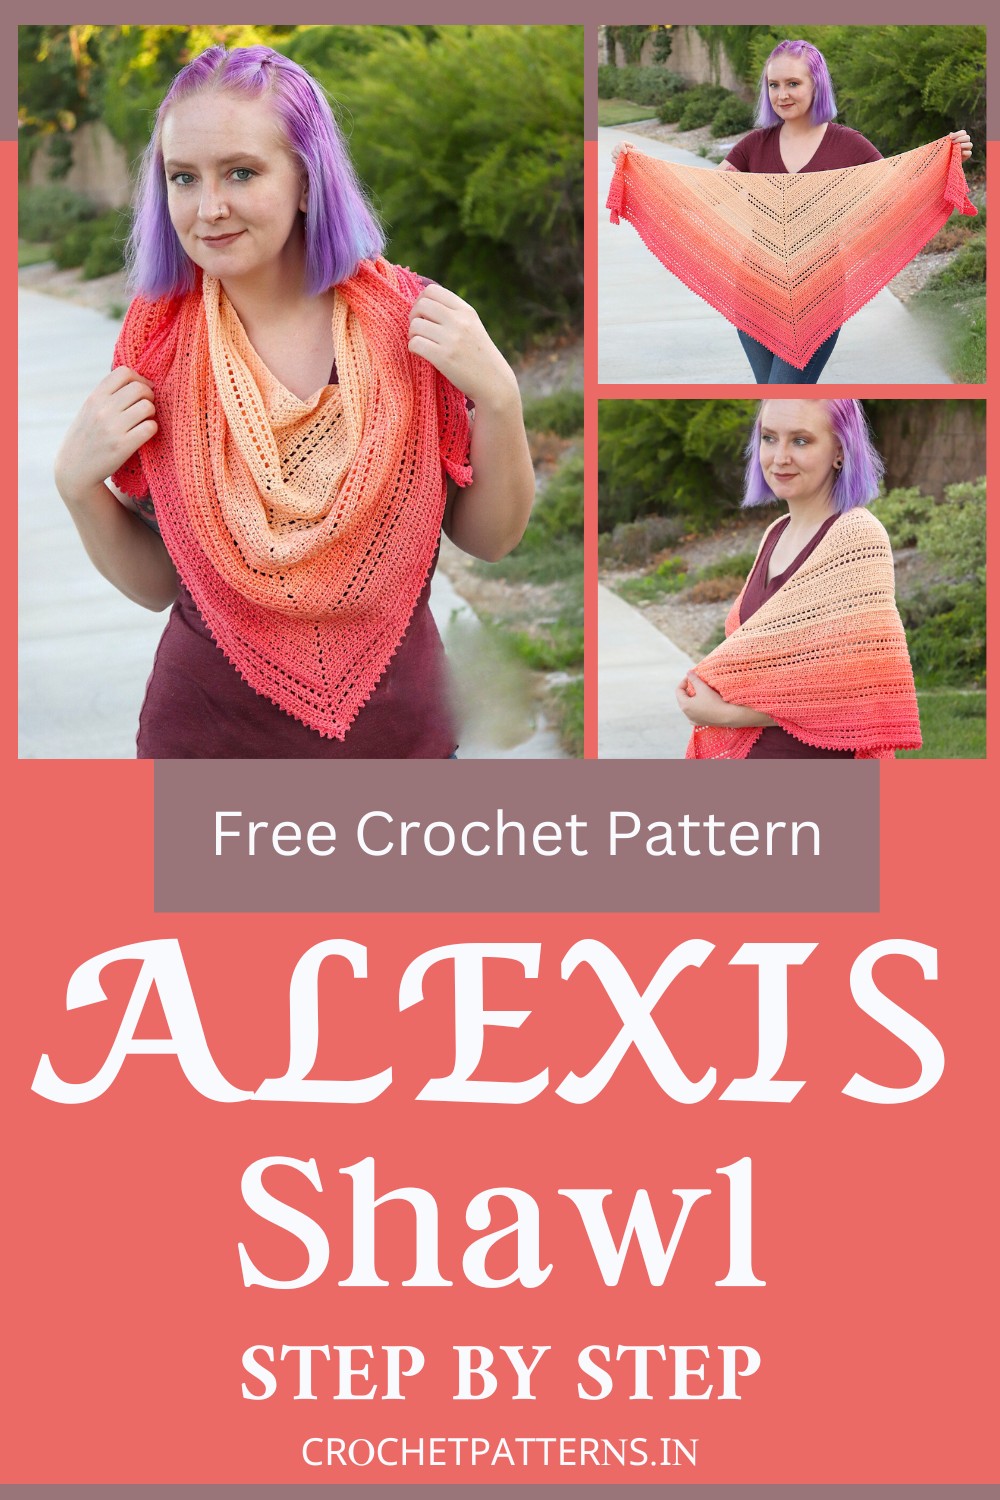
How To Crochet Alexis Shawl Pattern In Shaded Colors
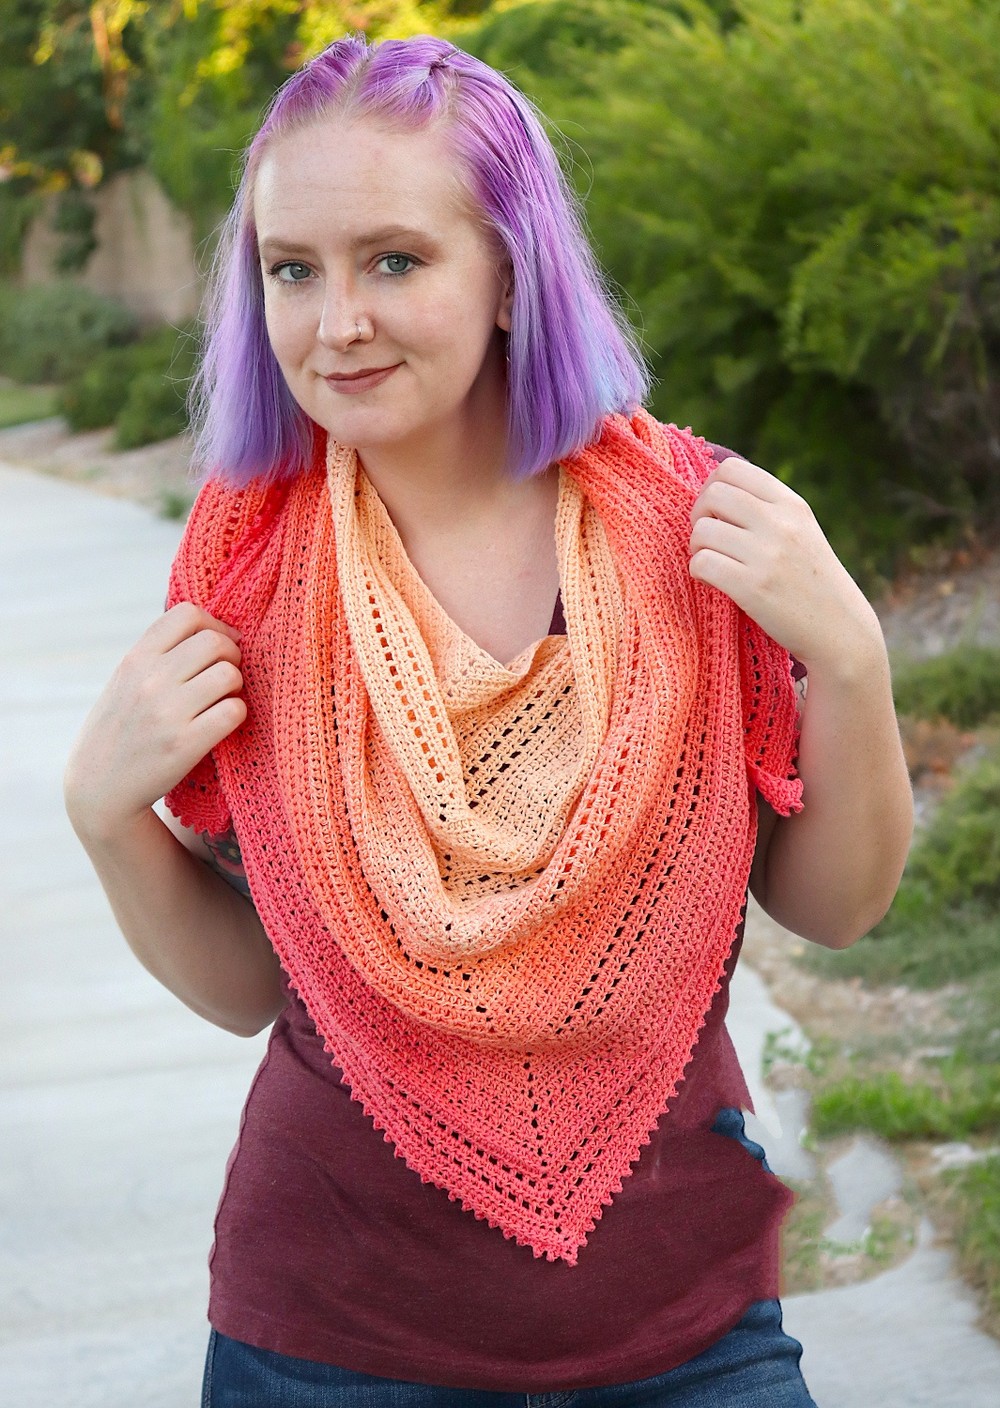
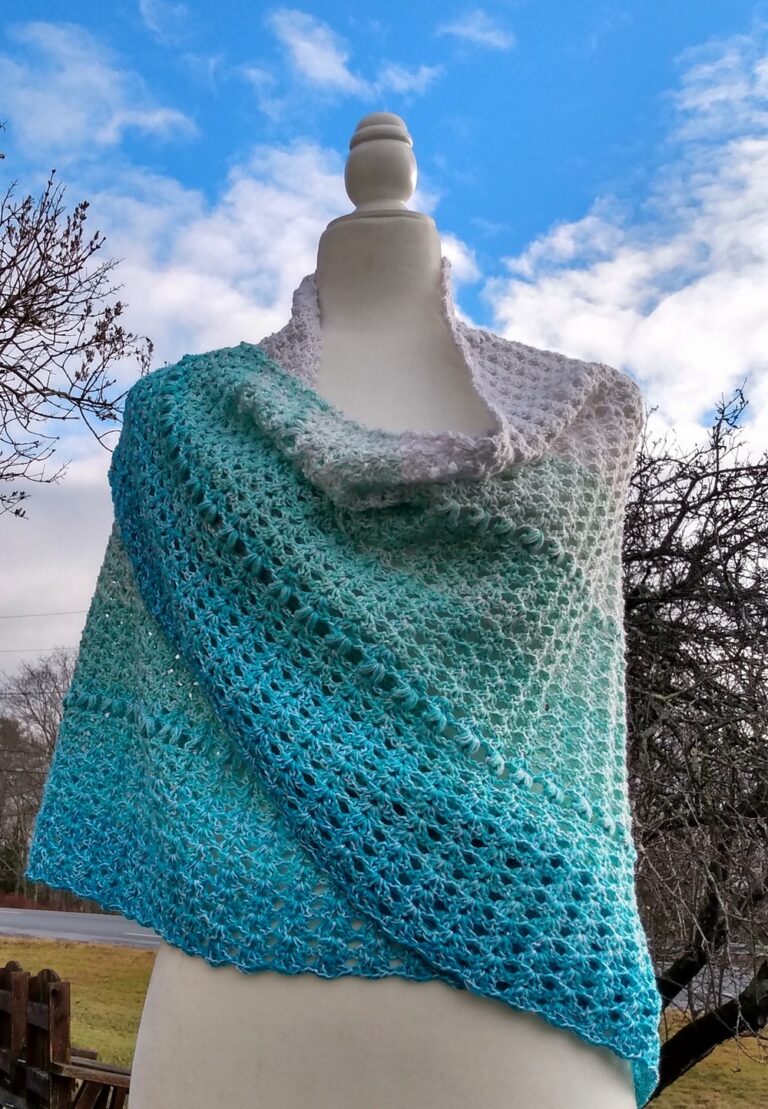
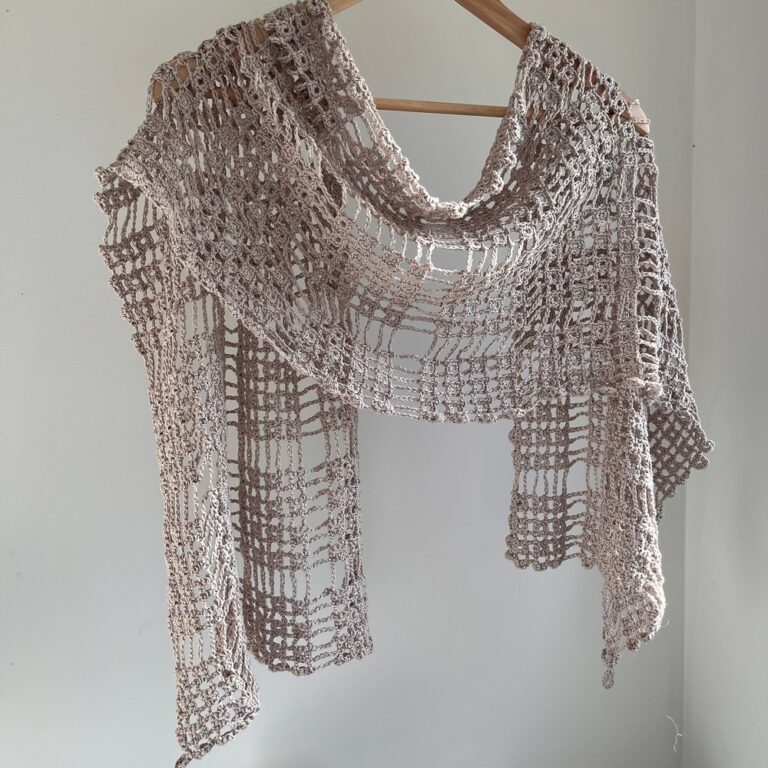
This crochet Crochet Alexis Shawl Pattern has a nice design that can go with a lot of styles and mixes a bit of old-fashioned appeal with a modern look. Each stitch brings out a lovely texture, so the end result is both comfortable to wear and nice to look at. The careful details and balanced design show off the designer’s skill and their love for crafting. This makes a shawl that will stay in style and that people will love to have. Whether it’s worn over the shoulders on a cool night or given as a gift to someone special, this shawl is a great example of the kind of craft you can make by hand.
Crochet Alexis Shawl Pattern
Level
Easy
Materials
- US E (3.50 mm) crochet hook
- Size #2 Fine/ Sport Yarn (7.4 oz/ 880 yds)
- Sultan by Hobbii in the colorway Carnelian (1 skein)
- Notions: scissors, measuring tape, yarn needle, stitch markers (optional)
Gauge
14 rows x 20 hdc = 4″ (blocked)
Terms/Stitches used
- Sk: Skip
- St: Stitch
- Ch: Chain
- RS: Right side
- Sc: Single crochet
- Picot (explained below)
- Hdc: Half double crochet
- BTLO: Back third loop only (explained below)
Materials Needed:
- Crochet hook
- Yarn
- Scissors
- Yarn needle (for weaving in ends)
Pattern Overview:
You will work in rows to create a shawl, incorporating various crochet stitches including half double crochet (hdc), slip stitch (sl st), and single crochet (sc) along with techniques like working into the back loop only (BTLO) and creating picots for decorative edges.
Abbreviations:
- Ch = Chain
- Sl st = Slip Stitch
- Hdc = Half Double Crochet
- Sc = Single Crochet
- BTLO = Back Loop Only
- Sk = Skip
- St(s) = Stitch(es)
- RS = Right Side
Pattern Instructions:
Base Ring:
- Row 1: Ch 4, sl st to form a ring. Ch 1, 8 hdc into the ring, divided by ch 2 (4 hdc, ch 2, 4 hdc) – You will have 8 hdc and 1 ch-2 space.
Building the Shape:
- Row 2 (RS): Ch 1, turn. Work 3 hdc into first st, hdc in each st to ch-2 space, (hdc, ch 2, hdc) in ch-2 space, hdc in each st to last, 3 hdc into last st – 14 hdc, 1 ch-2 space.
- Row 3: Ch 1, turn. Begin with 3 hdc into first st, hdc BTLO in each st to ch-2 space, perform (hdc, ch 2, hdc) in ch-2 space, then hdc BTLO in each st to last, ending with 3 hdc in last st – 20 hdc, 1 ch-2 space.
Pattern Development:
- Follow Rows 4 to 20 as specified, focusing on the alternating techniques specified for each row, building texture and shaping the shawl. Notable steps include working hdc through back loops only (Row 9, 15, etc.), creating ch-1 spaces (Row 4, 16, etc.), and increasing hdc count in specific rows.
Repeat Pattern:
- Rows 21 – 68: Repeat the specified pattern rows (Rows 9 – 20) four more times to gradually expand the shawl.
Final Touches:
- Row 69: Transition to sc, incorporating picots for a decorative edge, and complete with an intricate edge in the ch-2 space for a finished look – 416 sc, 1 ch-2 space.
- Finalize your project by fastening off and weaving in any remaining ends. Consider blocking your shawl for the best finish.
Note: Remember to follow the stitch count at the end of each row closely to ensure the correct shape and design of your shawl.