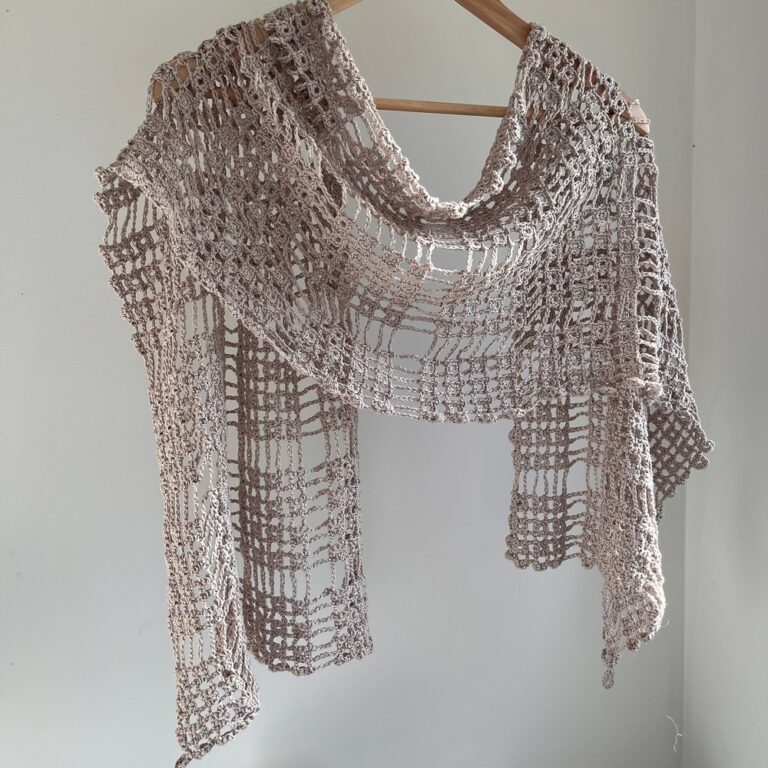
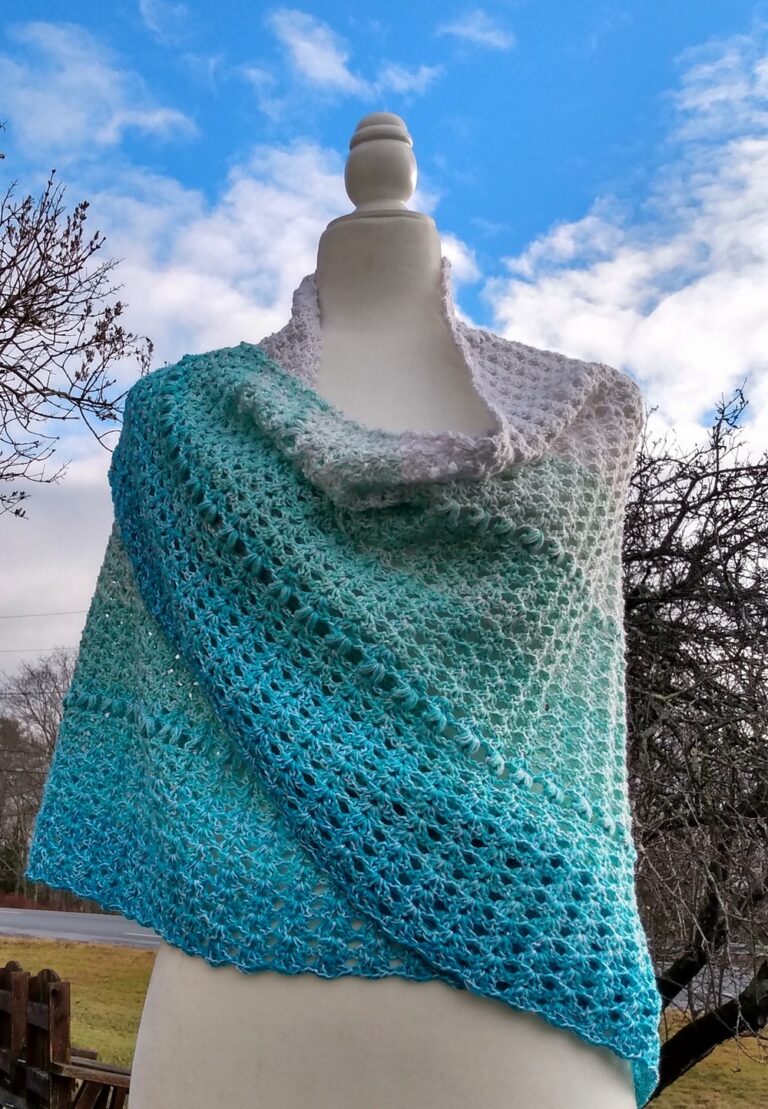
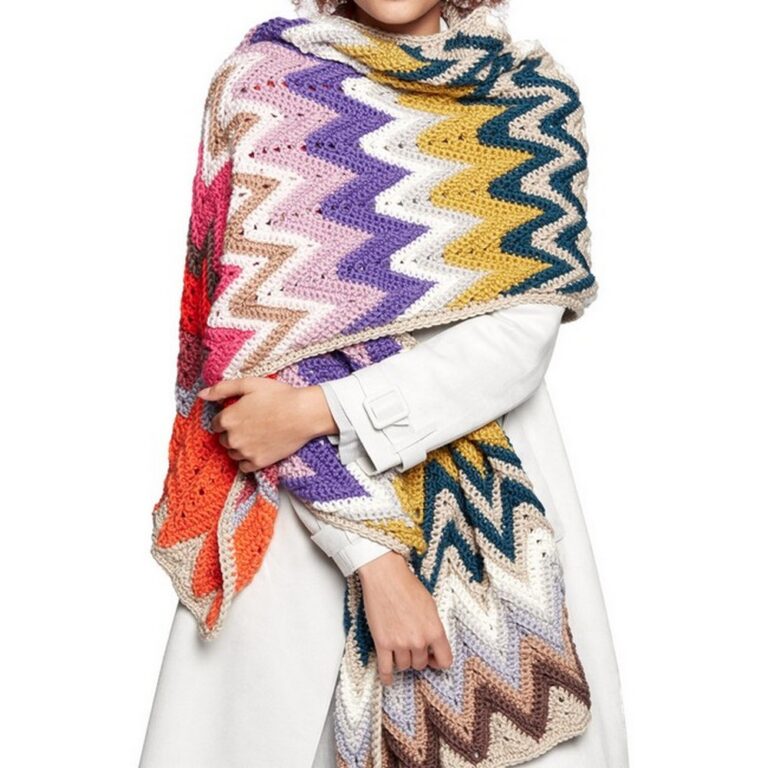
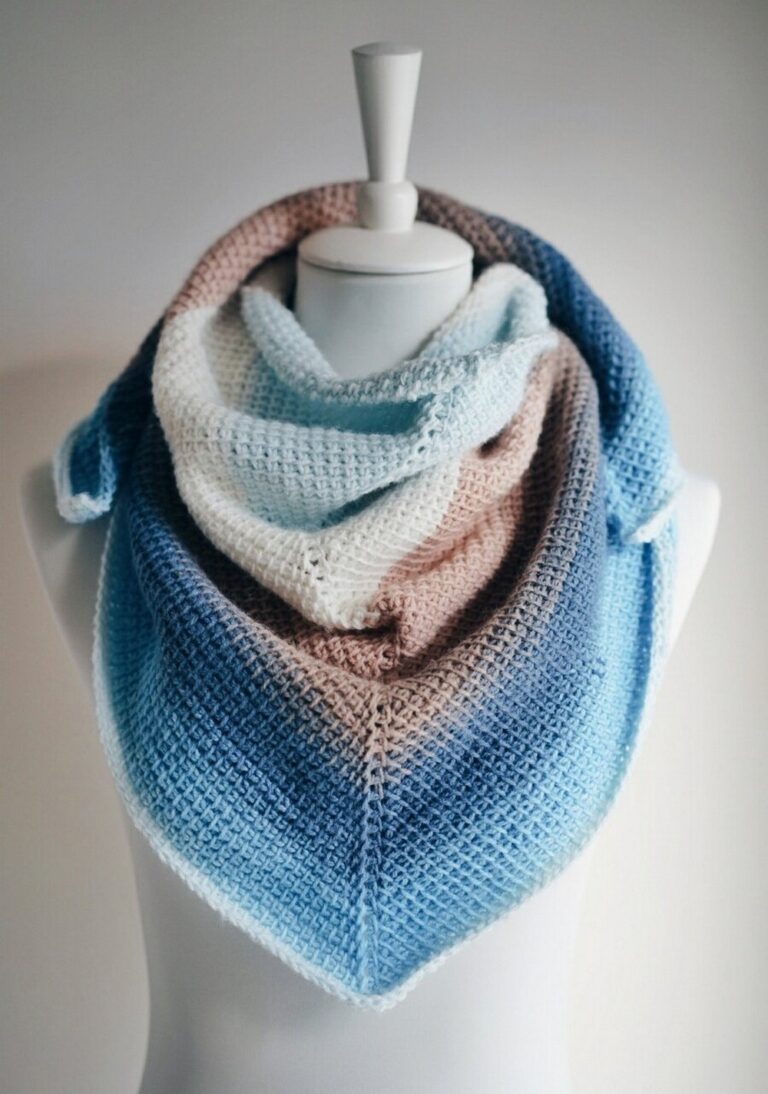
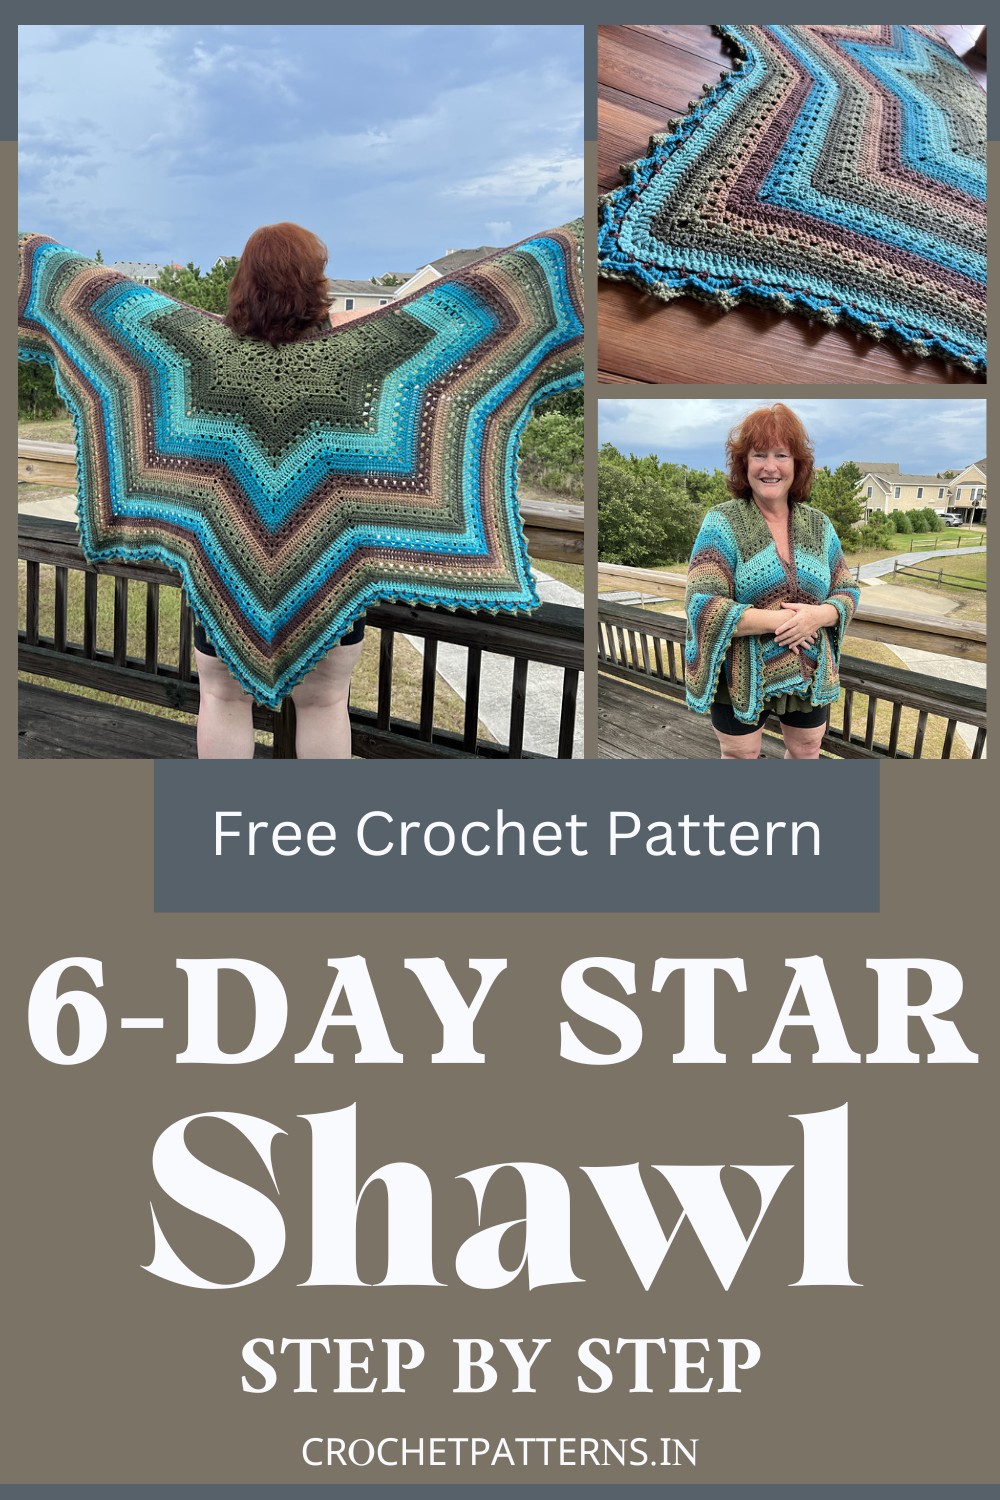
How To Crochet 6-Day Star Shawl Pattern In Unique Color Layers
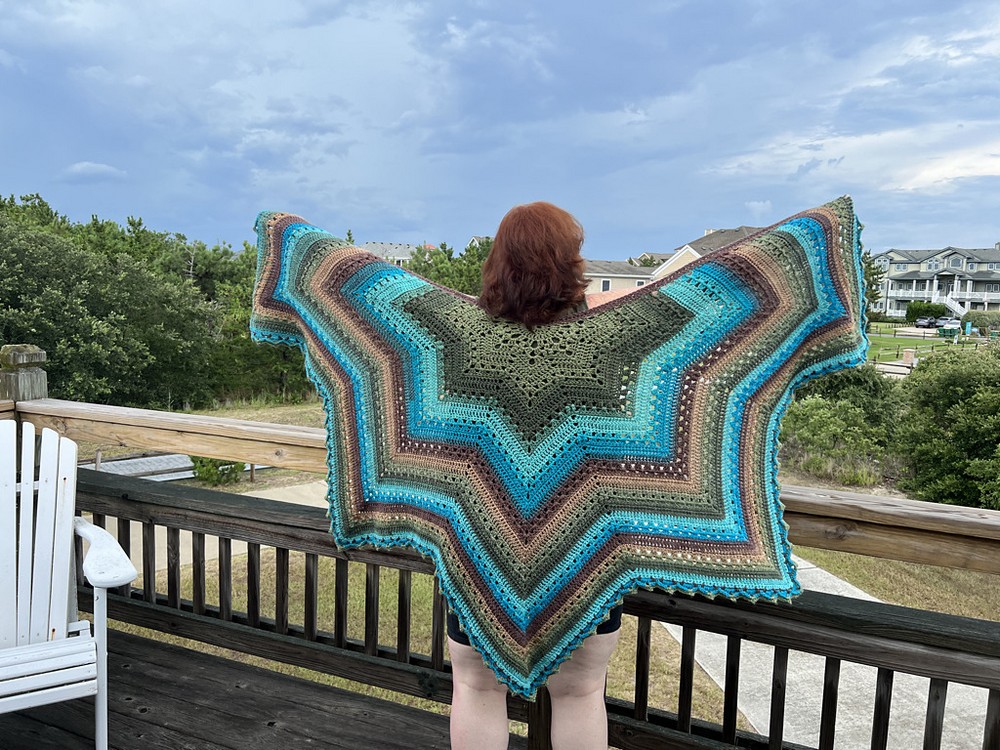
This Crochet 6-Day Star Shawl Pattern is really special, it mixes detailed work with loveliness to make something you can wear that looks amazing. The design is smart, making all the stitches come together nicely, so the finished item looks fancy but feels comfortable. The way it’s made catches your attention and is sure to be the main attraction in anyone’s clothes or crafts. This pattern really shows how creative crochet can be, giving people who love to make things a fun project that shows off their talent and creativity.
Crochet 6-Day Star Shawl Pattern
Details
- US Terminology
- Skill Level: Easy
- Finished Size: Approximately 70” wide, 39” long. Adjustable to desired size, starting from the middle.
- Yarn:
- 1700 yards of #3 Weight Yarn
- 1500 yards of #4 Weight Yarn
- Example: Lion Brand Mandala, Color: Dragon
- Hook:
- Size I (5.5 mm) for #3 Weight Yarn
- Size J (6 mm) for #4 Weight Yarn
- Gauge: 16 sc x 20 over 4”
- Example Shawl: KD Wright’s Shawl in I Love This Yarn Nova Scotian Sky
Abbreviations
- bet: between
- camel st: hdc in the third loop
- ch: chain
- dc: double crochet
- dc3tog: double crochet 3 together cluster
- fphdc: front post half double crochet
- hdc: half double crochet
- picot: (sc, ch 2, sc in side of sc just made)
- sc: single crochet
- sl st: slip stitch
- sp(s): space(s)
- st(s): stitch(es)
Special Stitches
- dc3tog (cluster): A cluster, not a decrease. Worked as follows: yo, pull up a loop, pull through two loops, *yo, pull up a loop IN THE SAME STITCH/SPACE, pull through two loops, repeat from *, yo and pull through all loops on the hook. dc3tog complete.
Row Numbering Guide
- Consistency with the 6-Day Kid Blanket pattern variation:
- Cluster Rows: Always Rows 2 and 3
- DC Rows: Always Rows 5 and 6
- SC Rows: Always Rows 4 and 7
- Useful for adapting to the Snowflake Effect, Viral Stripes, Popsicles, or Vivid chevron patterns
- No color change instructions due to self-striping yarn. Refer to related articles for color-switching techniques.
Pattern Instructions
Begin Pattern
- Ch 4, join with sl st to form a ring.
Set-up Row 1:
- ch 2 (does not count), 9 dc into ring. (9 dc total)
- Turn
Set-up Row 2:
- ch 2 (does not count), 2 dc in same st. 2 dc in each st cross. (18 dc total)
- Turn
For Set-up Row 3:
- ch 2, dc, *ch 3, 2 dc, ch 1, 2 dc, repeat from * to last dc, ch 3, dc in last dc. (5 ch 3 sps and 4 ch 1 sp. Note: 2 dc are NOT made in the same st.)
- Turn
Set-up Row 4:
- ch 3, [3 dc, ch 3, 3 dc] in ch 3 sp. *dc3tog in ch 1 sp, [3 dc, ch 3, 3 dc] in ch 3 sp, repeat from * across, dc in top of turning chain.
- Turn
Set-up Row 5:
- ch 3, *[3 dc, ch 3, 3 dc] in ch 3 sp, dc3tog in next 2 sps, repeat from * to last peak, [3 dc, ch 3, 3 dc] in last ch 3 sp, dc in turning ch.
- Turn
For Set-Up Row 6:
Chain 1, single crochet in the same stitch, then single crochet in each stitch across. In each chain, 3 spaces, work 3 single crochets. Finally, a single crochet in the turning chain. You should have 55 single crochets. Turn your work.
Set-Up Row 7:
Chain 3, and starting in the stitch directly beneath your chain, skip 2 stitches, then work 3 double crochets. Continue the pattern by working 5 double crochets in the center single crochet from the row below, followed by 4 double crochets, skip 2 stitches, and 4 double crochets again. Repeat this sequence until you reach the last peak, where you’ll work 5 double crochets in the center single crochet from the row below, then 3 double crochets, skip a stitch and finish with a double crochet in the last single crochet. Turn your work.
Set-Up Row 8:
Chain 3 and, similar to the previous row, skip 2 stitches under the chain, then do 4 double crochets. The pattern continues with 5 double crochets in the center double crochet from the row below, followed by 5 double crochets, skip 2 stitches, and another set of 5 double crochets. Repeat this pattern until the last peak, where you work 5 double crochets in the center single crochet from the row below, then 4 double crochets, skip a stitch, and double crochet in the turning chain. Turn your work.
Set-Up Row 9:
Chain 1, single crochet in the same stitch, and then 6 single crochets. The pattern is to work 4 single crochets in the center double crochet and then 14 single crochets next. Repeat from * to the last peak, where you’ll do 4 single crochets in the center double crochet, then 6 single crochets, and finish with a single crochet in the turning chain. Turn your work.
Now, you’ll transition from Setup Row 9 directly to Row 2. The order may seem confusing, but adhere to the sequence as instructed for the design to come together properly.
Row 2:
Chain 3, skip 3 stitches considering the stitch under your chain. Do 3 double crochets in the next single crochet. Follow the pattern as skip 2 stitches, 3 double crochets in the next stitch, and repeat until the mountain top, where you’ll work [3 double crochets, chain 3, 3 double crochets] in the third of 4 single crochets. Continue with skip 2, 3 double crochets in the next stitch, repeating this and making the last 3 double crochets in the third single crochet from the center valley stitch. End by skipping 2 stitches, double crochet 3 together in the center valley stitch, then repeat from * to the last 2 stitches, skip one, and double crochet in the last stitch. Turn your work.
Continue following the pattern, alternating between the specified rows, to achieve the desired length. After completing the repeated sections, you’ll work on the top edge and border sections to finish your shawl.
Joining the Betty McKnitiverse offers access to exclusive patterns, ad-free PDFs, design workshops, and community events to enhance your crafting journey.
The final touches include working the Top Edge and Border rows as specified, ensuring a neatly finished edge and a decorative border around the shawl. Optionally, add a frog closure to the top edge for a functional and stylish finish.