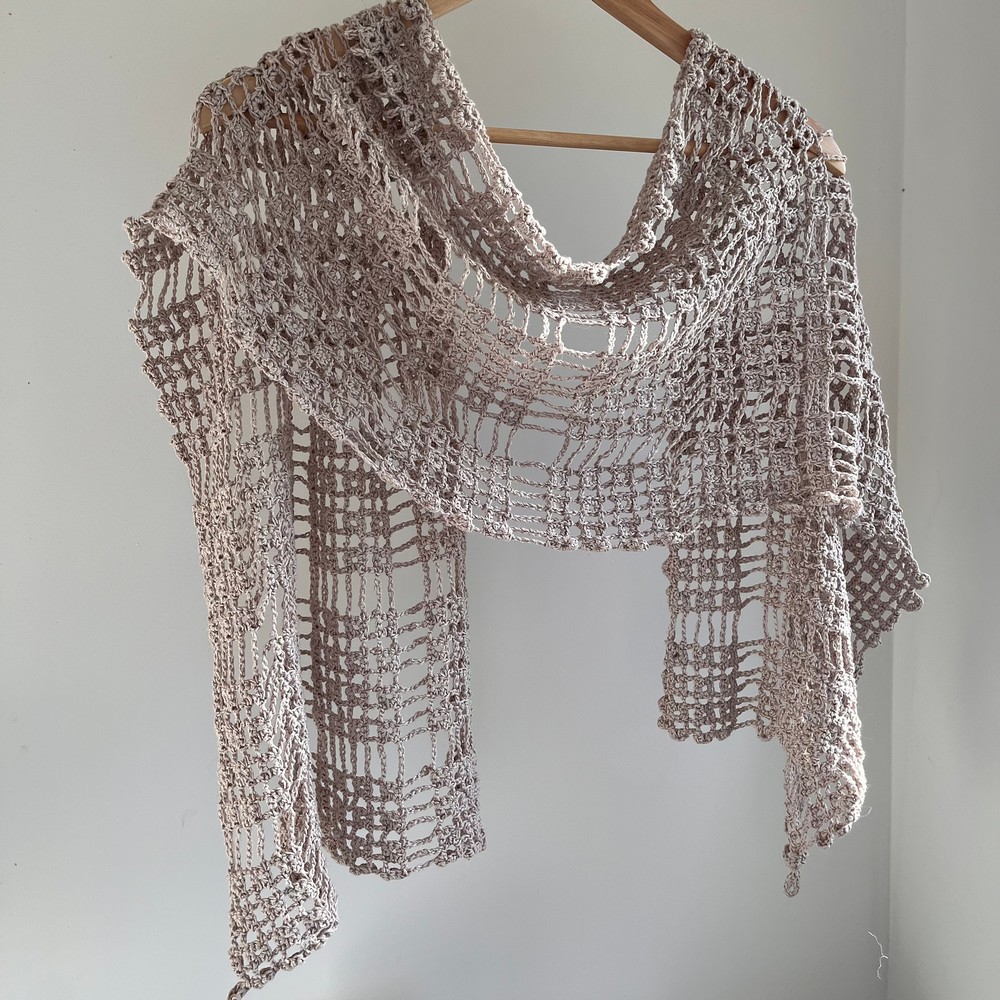
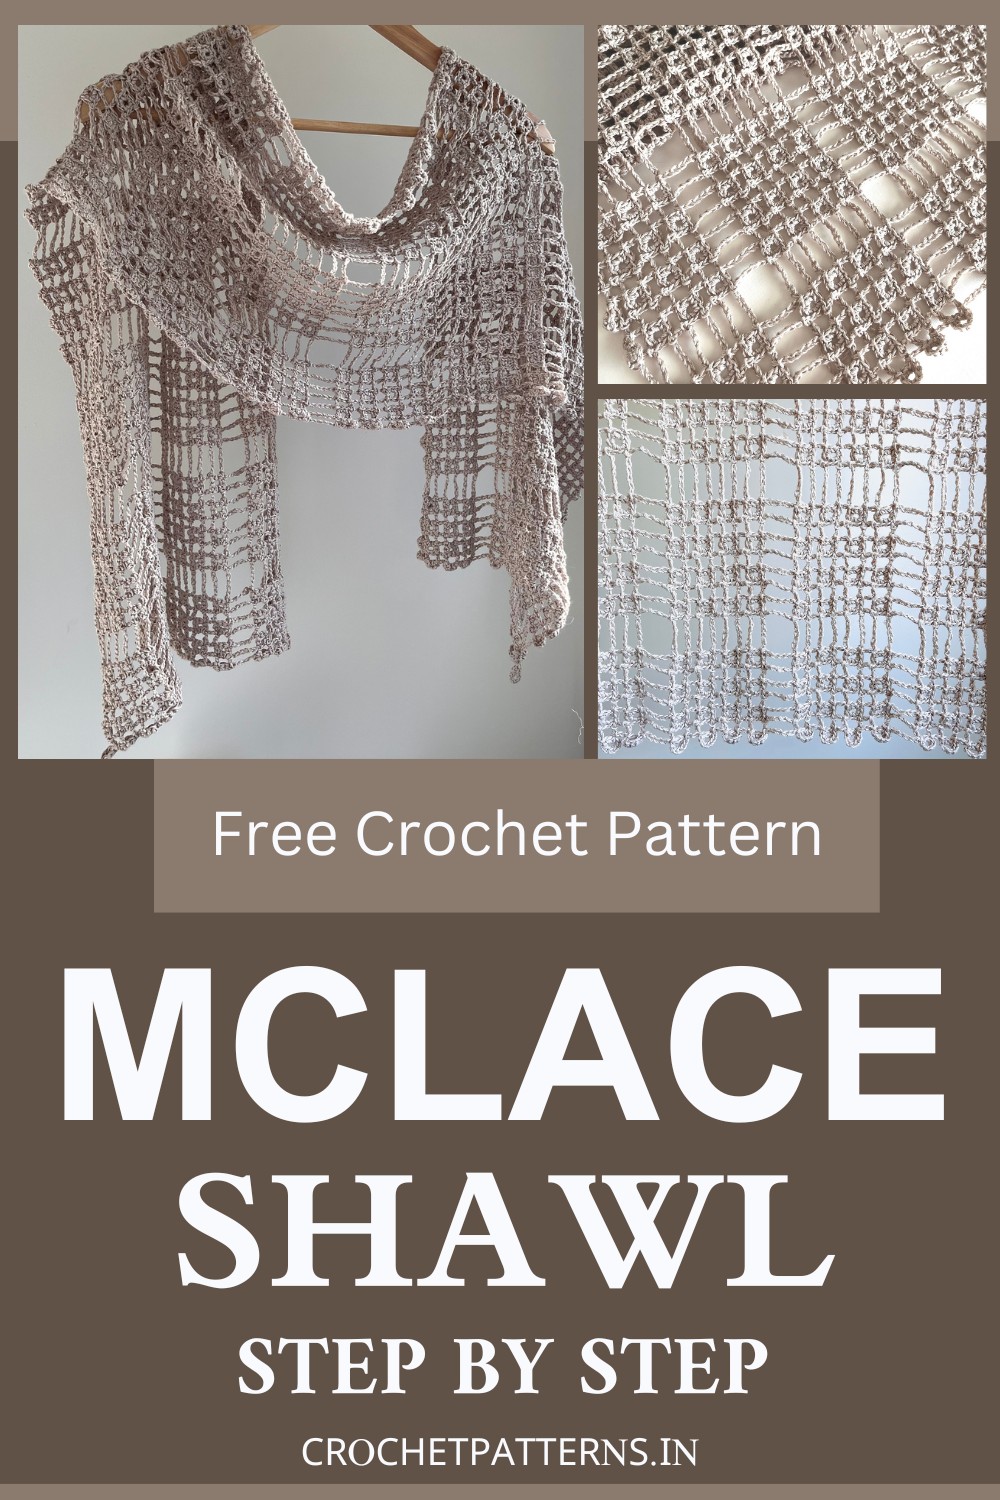
The Crochet MCLace Shawl exudes a timeless elegance that captivates at first glance. Its delicate patterns weave a tale of sophistication and grace, making it an exquisite masterpiece that stands out in the realm of crochet artistry. Embodying the perfect marriage of traditional craft and contemporary design, this shawl promises not only warmth but also a touch of luxury to any outfit. Whether draped over the shoulders on a refreshing spring evening or accessorizing formal attire, the MCLace Shawl adds an undeniable charm and a whisper of romantic flair, showcasing the fun attention to detail and love embedded in its creation.
Crochet MCLace Shawl Pattern
MATERIALS
- Yarn: Hjertegran New Arezzo, Sport / 5 ply (5 balls) - Each ball: 164 yards / 150 meters, 1.76 ounces / 50 grams
- Hook: US size E4 / 3.5 mm
MEASUREMENTS
- Width: 15 inches / 38 centimeters
- Length: 55 inches / 140 centimeters
- Gauge: (in single crochet) 20 stitches x 24 rows = 4 inches / 10 centimeters
ABBREVIATIONS (US TERMINOLOGY)
- Slst: Slip stitch
- Ch: Chain stitch
- Sc: Single crochet
- Fsc: Floating single crochet - make a floating ring, yarn over and pull through 2 loops on hook.
- FR: Floating Ring
- MW: Mini wheel - a small motif worked all at once or in stages, consisting of a Fsc and 7 single crochets.
- SQ: Square - a group of 16 mini wheels (4 x 4). The shawl as shown is made up of 4 x 13 SQs.
- VCh: Vertical chain
SHAPE AND STRUCTURE
- The shawl is rectangular in shape, and it consists of Squares (SQs). Each SQ is made up of 16 mini wheels.
- Each mini wheel within a SQ is separated by 3 chain stitches, and each SQ is separated by 6 chain stitches.
- A set of SQs refers to a row of 4 SQs. The first SQ on the left edge will have incomplete mini wheels (MWs).
SIZE AND MODIFICATIONS
- The shawl is 4 SQs wide by 13 SQs long. This is easy to modify if you desire your shawl to be a different size.
CREATING THE SHAWL
- You will start with a setup row that establishes the pattern.
- After that, you will alternate between a return row and a foundation row.
- After a set of SQs have been worked, instead of a normal foundation row, you will work a “Tall foundation row” to start the next set of SQs.
- Once all 13 sets of SQs have been worked, to finish the remaining MWs, you will work what is essentially a return row along the left edge of the shawl.
Here's the provided crochet pattern instructions reorganized into a plain, unboxed format:
Note: Unless otherwise stated, all single crochets are worked into the most recently made Floating Ring.
Step 1: Setup row (worked from left to right)
- Start: Fsc, 7sc, slst in next st, ch3
- Repeat two times:
- Fsc, 7sc, slst around ch3; ch3, Fsc, sc, ch3, slst into 10th st behind the hook, Ch3
- Continue:
- Fsc, 7sc, slst around ch3; ch3, Fsc, sc, ch3, slst into 10th st behind the hook, ch6
- Begin next SQ:
- Repeat three times: (Fsc, 7sc, slst around ch3; ch3, Fsc, sc, ch3, slst into 10th st behind the hook, Ch3)
- After third repeat: Fsc, 7sc, slst around ch3; ch3, Fsc, sc, ch3, slst into 10th st behind the hook, ch6
- Repeat from * 1 more time
- Begin last SQ:
- Repeat three times: (Fsc, 7sc, slst around ch3; ch3, Fsc, sc, ch3, slst into 10th st behind the hook, Ch3)
Step 2: Return row
- Start: Fsc, 7sc, slst around ch3; ch3
- Repeat two times:
- SlSt around next VCh, 6sc in next FR, slst around next VCh, Ch3
- Continue:
- SlSt around next VCh, 6sc in next FR, slst around next VCh, ch6
- Continue to next SQ:
- Repeat three times: (SlSt around next VCh, 6sc in next FR, slst around next VCh, Ch3)
- After third repeat: SlSt around next VCh, 6sc in next FR, slst around next VCh, ch6
- Repeat from * 1 more time
- Last SQ:
- Repeat two times: (SlSt around next VCh, 6sc in next FR, slst around next VCh, Ch3)
- End with: Fsc, sc, ch3, slst into 10th st behind the hook.
For Step 3: Foundation row
- Start:
- Repeat two times: (Ch3, Fsc, sc, ch3, slst into 10th st behind the hook, Ch3, SlSt into 2nd st of next MW)
- Continue: Ch3, Fsc, sc, ch3, slst into 10th st behind the hook, ch6, SlSt into 2nd st of next MW
- Continue to next SQ:
- Repeat three times: (Ch3, Fsc, sc, ch3, slst into 10th st behind the hook, Ch3, SlSt into 2nd st of next MW)
- After third repeat: Ch3, Fsc, sc, ch3, slst into 10th st behind the hook, ch6, SlSt into 2nd st of next MW
- Repeat from * 1 more time
- Last SQ:
- Repeat two times: (Ch3, Fsc, sc, ch3, slst into 10th st behind the hook, ch3, SlSt into 2nd st of next MW)
- End with: Ch3, Fsc, sc, ch3, slst into 10th st behind the hook, Ch3, slst into 2nd st of next MW, ch3.
Step 4:
Repeat the instructions given for the Return row (Step 2).
Step 5: Repeat the instructions given for the Foundation row (Step 3).
For Step 6: Repeat the instructions for the Return row (Step 2), completing a set of squares (SQs).
Step 7:
Tall Foundation Row (beginning the next set of SQs)
- Start:
- Repeat two times: (Ch6, Fsc, sc, ch6, slst into 16th st behind the hook, Ch3, SlSt into 2nd st of next MW)
- Continue: Ch6, Fsc, sc, ch6, slst into 16th st behind the hook, ch6, SlSt into 2nd st of next MW
- Begin next SQ:
- Repeat three times: (Ch6, Fsc, sc, ch6, slst into 16th st behind the hook, Ch3, SlSt into 2nd st of next MW)
- After third repeat: Ch6, Fsc, sc, ch6, slst into 16th st behind the hook, ch6, SlSt into 2nd st of next MW
- Repeat from * 1 more time
- Begin last SQ:
- Repeat two times: (Ch6, Fsc, sc, ch6, slst into 16th st behind the hook, Ch3, SlSt into 2nd st of next MW)
- End with: Ch6, Fsc, sc, ch6, slst into 16th st behind the hook, Ch3, slst into 2nd st of next MW, ch6.
Step 8: Repeat the following sequence until there are 12 rows of SQs:
- Return row (Step 2), Foundation row (Step 3) three times
- Return row, Tall foundation row (Step 7)
For Step 9: Last (13th) Set of SQs
- Repeat the sequence of Return row (Step 2), Foundation row (Step 3) three times.
- Last row:
- Start: Fsc, 7sc, slst around ch3; ch3
- Continue:
- Repeat two times: (SlSt around next VCh, 6sc in next FR, slst around next VCh, Ch3)
- End: SlSt around next VCh, 6sc in next FR, slst around next VCh, ch6.
- Continue to the next square (SQ):
- Repeat three times: (SlSt around next VCh, 6sc in next FR, slst around next VCh, Ch3)
- End: SlSt around next VCh, 6sc in next FR, slst around next VCh, ch6
- Repeat from * one more time
- For the last SQ:
- Repeat two times: (SlSt around next VCh, 6sc in next FR, slst around next VCh, Ch3)
- Finish: SlSt around next VCh, 6sc in next FR, slst around next VCh, ch3
Step 10 Finish left edge:
- Continuing around same SQ:
- Start: Fsc, 7sc, slst around ch3; ch3
- Repeat two times: (SlSt around next VCh, 6sc in next FR, slst around next VCh, Ch3)
- Continue: SlSt around next VCh, 6sc in next FR, slst around next VCh, ch6
- Continue to the next SQ:
- Repeat three times: (SlSt around next VCh, 6sc in next FR, slst around next VCh, Ch3)
- End: SlSt around next VCh, 6sc in next FR, slst around next VCh, ch6
- Repeat from * to the last square (SQ)
- For the last SQ:
- Repeat three times: (SlSt around next VCh, 6sc in next FR, slst around next VCh, Ch3)
- Finish: slst into the same stitch on next main workway (MW); fasten off the yarn.