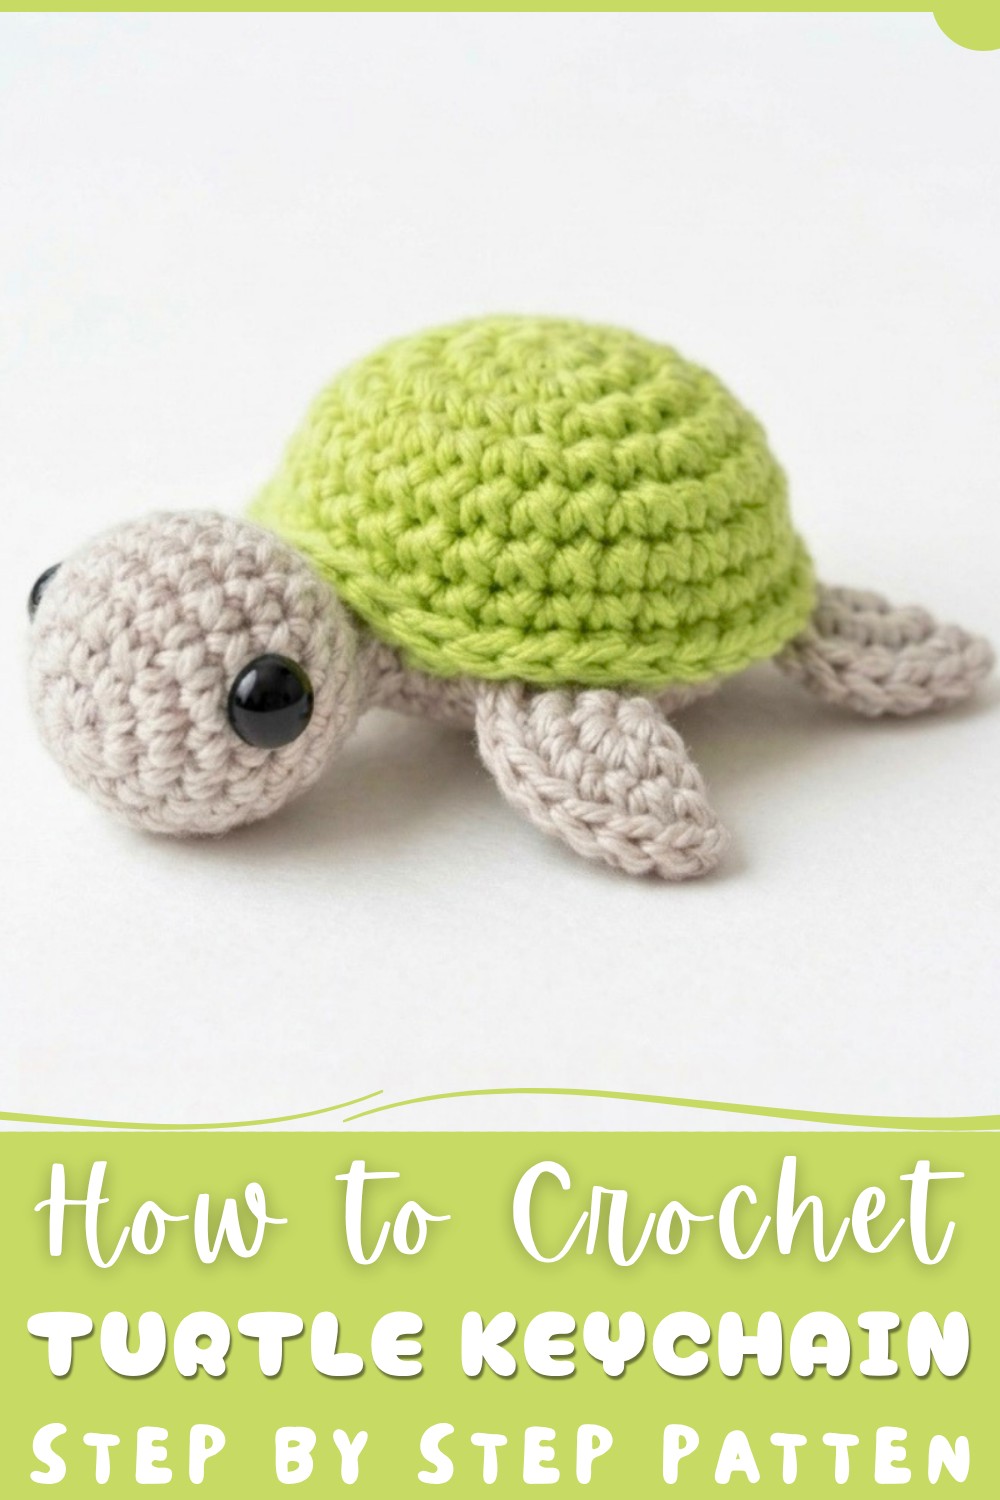
Attach instant charm with this free crochet turtle keychain pattern that delivers a light sweet look to keep your single car key safe and visible.
Ever thought about adding a touch of nature’s charm to your everyday items? This free crochet turtle keychain pattern is a delightful little project that lets you do just that. Crocheting this tiny turtle isn’t just fun—it's also a wonderful way to create something useful and adorable that you can carry with you all the time.
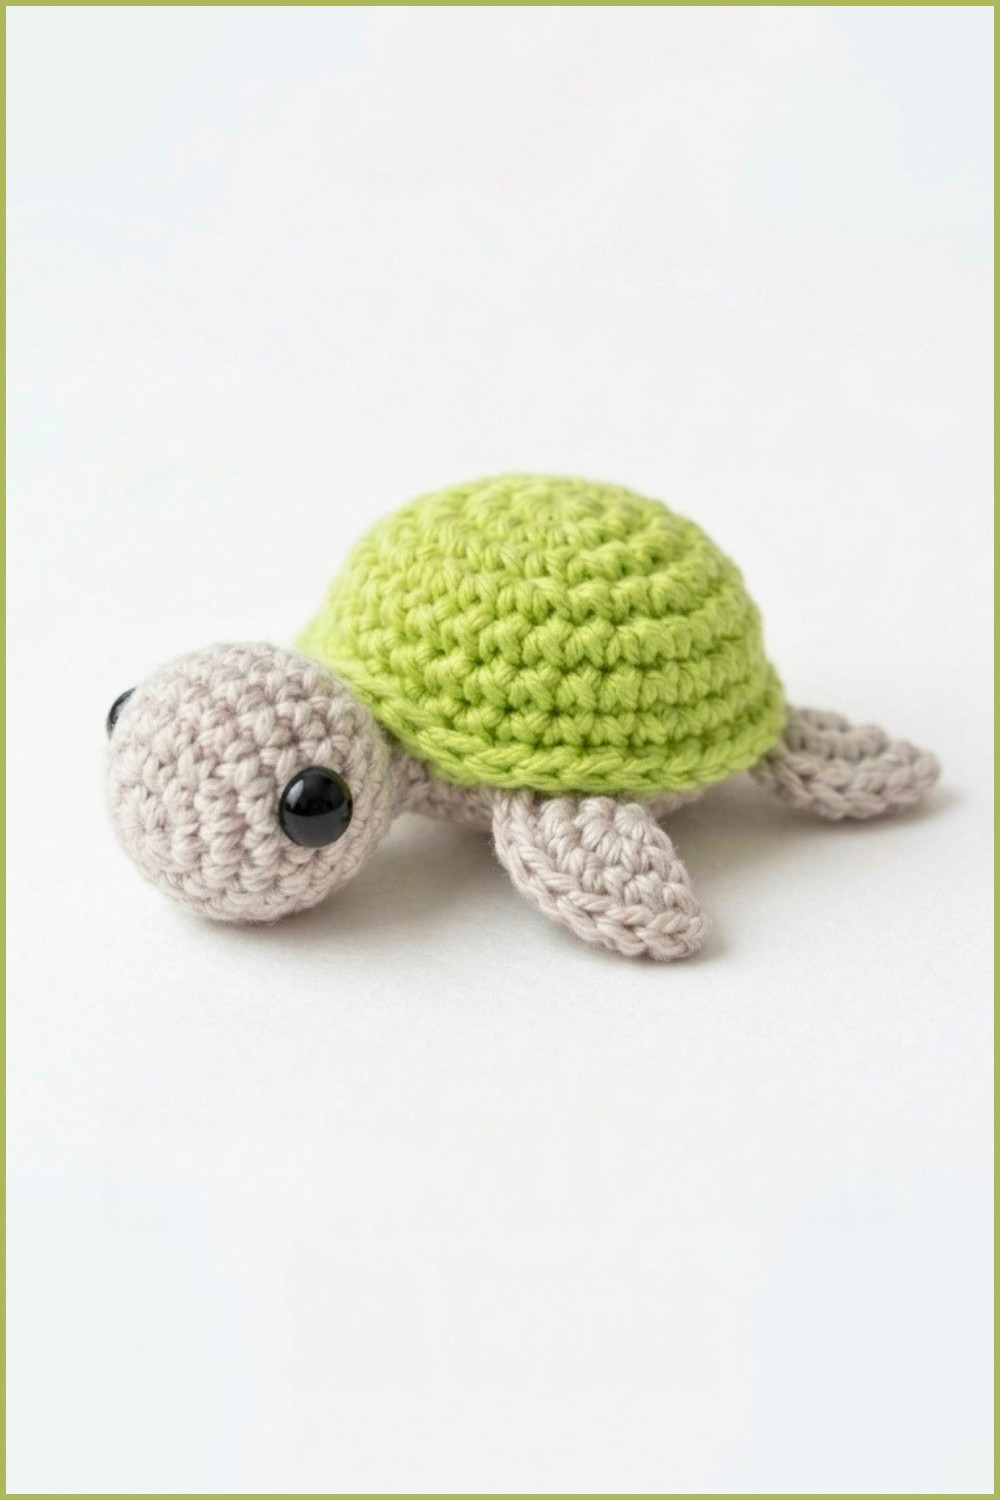
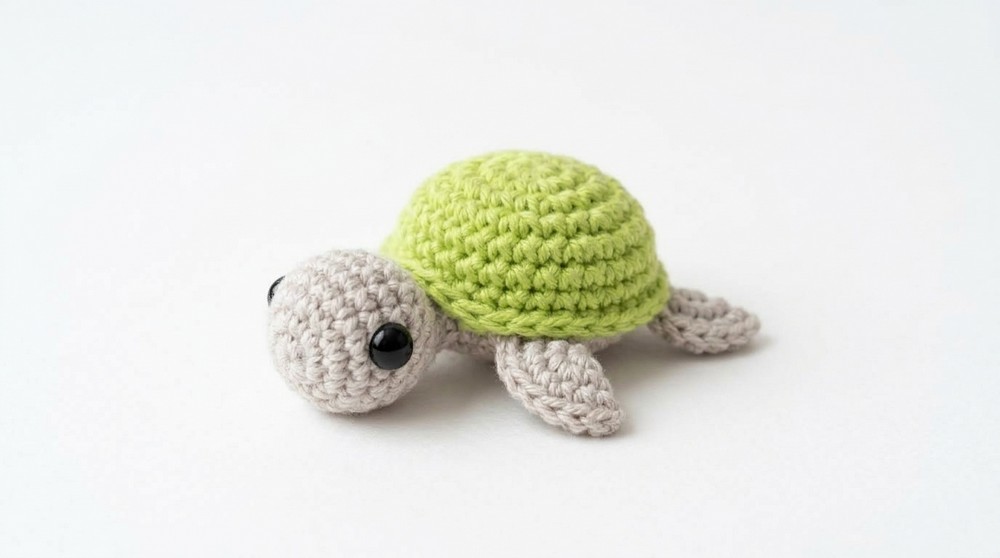
The finished keychain features a perfectly rounded shell with textured stitches that bring the turtle’s design to life. Made with soft yarn, it feels cozy to hold and is durable enough to handle daily use. Its small size means it won’t weigh down your keys or bag, and the attached keyring makes it easy to clip on and go.
Taking on this free crochet turtle keychain pattern will help you practice creating smooth, round shapes and assembling parts cleanly—skills that are useful in many amigurumi projects. Plus, you end up with a charming keychain that’s both a handmade keepsake and a practical accessory. It’s a lovely way to enjoy a quick, satisfying crochet project that lets your creativity shine.
Crochet Turtle Keychain Pattern
This comprehensive crochet pattern guides you through making a delightful turtle keychain, blending charming detail with a compact size perfect for accessories. The turtle consists of a well-textured shell, a solid body in a contrasting color, and small legs and head, all crocheted and assembled for cuteness and functionality. This pattern leverages various basic and intermediate crochet techniques such as working in spiral rounds, back loop only stitches, increases, decreases, and shaping via folding and sewing. Clear round-by-round instructions help ensure success, while tips on assembly complete the project.
Quick Overview Of Pattern
- Crochet the turtle’s shell starting with green yarn, progressively increasing stitch counts to form a rounded cap.
- Transition to beige yarn to create the turtle’s underside and body base with controlled decreases to shape.
- Legs and head are small separate pieces made with magic rings and finishing folds to create a sturdy form.
- Safety eyes are inserted on the head for animated expression.
- Assembly includes sewing parts strategically and optional finishing with blush and attaching a keyring.
Notes
- Work in spiral rounds throughout to minimize seams and provide a neat finish.
- Use a stitch marker or yarn scrap to mark round beginnings and track progress.
- The shell’s texture is enhanced by working front loops only on one round and back loops when changing color.
- Folding pieces and single crocheting through both layers creates firm, stuffed shapes with a clean finish.
- Stuff the head and body firmly but not overly tight to maintain shape.
- When attaching safety eyes, ensure backs are securely fastened, and use a lighter to flatten plastic if needed.
- Optional blush adds a soft, cute touch but is not necessary for all users.
Skill Level
Intermediate beginner:
- Experienced with magic ring foundations, single crochet (sc), increases (inc), and decreases (dec).
- Comfortable with spiral rounds and working in front loop only (FLO) and back loop only (BLO).
- Able to sew parts securely and position safety eyes correctly.
- Can manipulate and seam folded pieces efficiently.
Materials
- Yarn: Green yarn for the shell, beige yarn for the body (DK or sport weight yarn is suggested).
- Crochet hook appropriate for yarn thickness (usually 3.5 - 4 mm).
- 5 mm safety eyes.
- Stitch marker or a scrap of yarn to mark rounds.
- Yarn needle for sewing and finishing.
- Scissors.
- Synthetic fiberfill stuffing.
- Lighter or matches (for eye back flattening).
- Optional blush or fabric paint for cheeks.
- Keyring for final attachment.
Measurements / Sizing
- Approximate finished size of the turtle is 7-8 cm long and about 5 cm wide on the shell.
- Legs proportionate to body, small enough to maintain compact dimensions for keychain purposes.
Gauge and Stitch Pattern
- Gauge varies depending on yarn and tension; guideline is about 20 SC stitches and 24 rows for a 10 cm square.
- Main stitch: single crochet worked in continuous spiral rounds.
- Additional texture obtained by working rounds in front loops only or back loops only.
Stitch Abbreviations
| Abbreviation | Meaning |
|---|---|
| ch | Chain |
| sc | Single Crochet |
| inc | Increase (2 sc in one stitch) |
| dec | Decrease (crochet 2 stitches together) |
| sl st | Slip Stitch |
| FLO | Front Loop Only Crochet |
| BLO | Back Loop Only Crochet |
Special Stitches
Magic Ring
- Create an adjustable ring by wrapping yarn, inserting the hook, working stitches into the ring, and then tightening.
Front Loop Only (FLO) and Back Loop Only (BLO)
- Insert the hook either into the front loop (FLO) or back loop (BLO) of the stitch, rather than through both loops. This technique is used for texture or for easier color changes.
The Crochet Pattern!
Shell Pattern (Green Yarn)
Round 1:
- Form a magic ring with 8 single crochet (SC).
Round 2:
- Work 8 increases — 2 SC in each stitch. Total 16 stitches.
Round 3:
- Sequence: 1 SC, 1 increase repeated around. Total 24 stitches.
Round 4:
- Crochet 3 SC, 1 increase repeated around. Total 30 stitches.
Rounds 5-6:
- Work 1 SC in each stitch around, 30 SC per round, to build steady height.
Round 7:
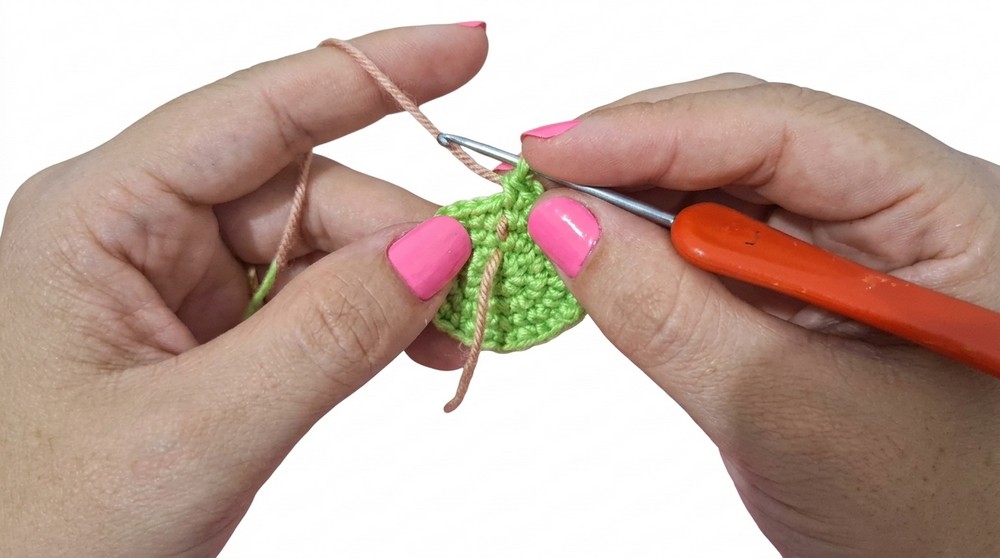
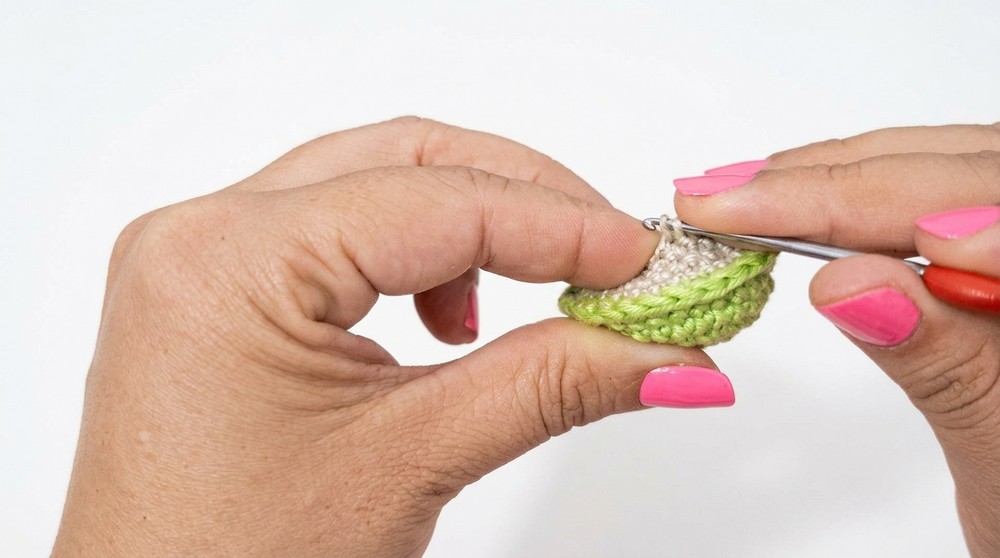
- Crochet 1 SC in front loops only (FLO) in all 30 stitches for texture and definition.
Color change:
- Join beige yarn in the back loops only (BLO) of Round 7 stitches.
- Work 1 SC in each stitch around. Total 30 stitches.
Round 9:
- Crochet 3 SC, 1 decrease repeated around to begin tapering body. Total 24 stitches.
Round 10:
- Crochet 2 SC, 1 decrease repeated around. Total 18 stitches.
Round 11:
- Crochet 1 SC, 1 decrease repeated. Total 12 stitches.
Round 12:
- Perform 6 decreases in a row to close off the shell’s base.
Legs (Make 4 in Beige Yarn)
Round 1:
- Magic ring with 6 SC.
Round 2:
- Work 6 increases (2 SC in each stitch). Total 12 stitches.
Round 3:
- Crochet 1 SC, 1 increase repeated around. Total 18 stitches.
Finish:
- Fold the leg in half and single crochet through both layers along the open edge to close and shape the leg.
Head (Beige Yarn)
Round 1:
- Magic ring with 6 SC.
Round 2:
- Work 6 increases. Total 12 stitches.
Round 3:
- Crochet 1 SC, 1 increase repeated around. Total 18 stitches.
Rounds 4-6:
- Work 1 SC in each stitch, 18 SC per round, to build length.
Eyes placement:
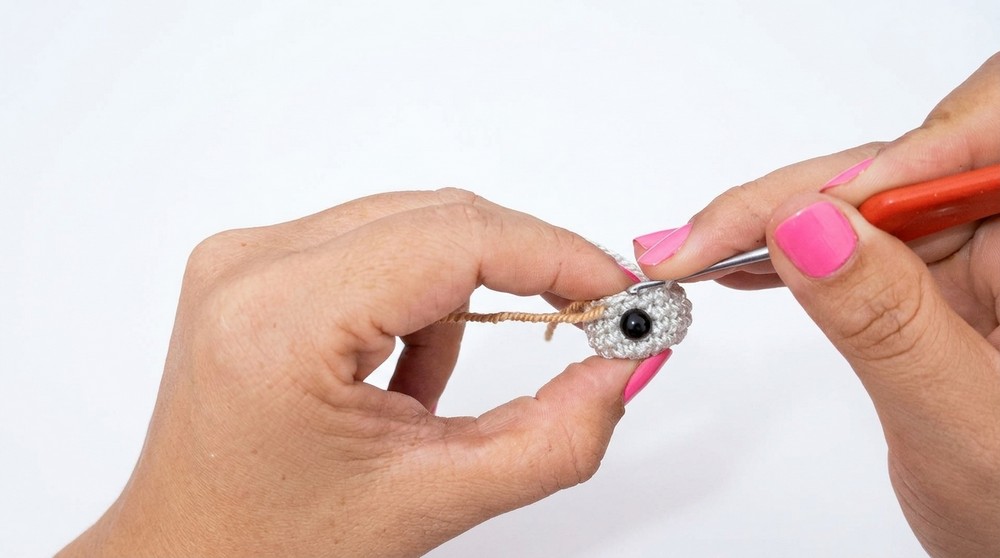
- Insert 5 mm safety eyes between rounds 4 and 5, spaced with 7 stitches between them for proportionate placement.
Round 7:
- Crochet 1 SC, 1 decrease repeated around. Total 12 stitches.
Round 8:
- Crochet 12 SC evenly.
Finish:
- Stuff head firmly.
- Fold it in half and single crochet through both layers to close and form the head shape.
Assembly
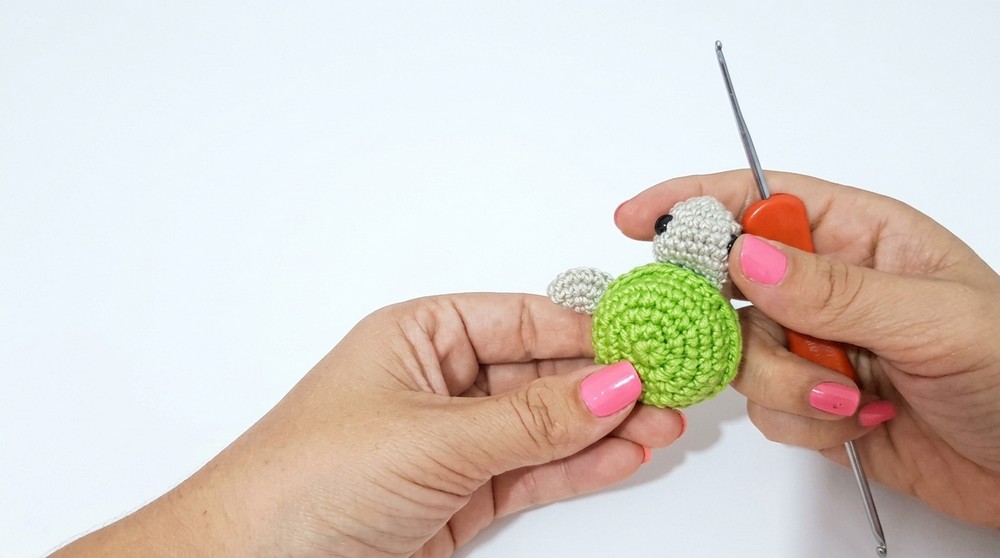
- Sew the finished head securely to the shell’s front edge.
- Attach legs diagonally, two on each side of the shell, sewn firmly.
- Insert the keyring through a stitch or attach via a sewn loop at the shell’s edge or head.
- Optionally, add blush or fabric paint on cheeks for extra cuteness.
Assembly & Finished Size
The completed turtle keychain is a compact, textured plush approximately 7-8 cm long with proportional legs and a sturdy head. Secure sewing and safe eye attachment render it suitable for everyday use on keys, backpacks, or bags. The combination of front and back loop stitches creates both visual texture and structural differentiation, adding charm to this small project.
Conclusion
This crochet turtle keychain pattern offers a satisfying project that balances fundamental amigurumi techniques with creative texture and neat finishing. Through spiral rounds, stitch variation, and strategic shaping, this small plush turtle gains personality and durability suitable for keychains or ornaments. Whether you are novice or intermediate in crochet, this pattern encourages skill development in shaping, color changes, and assembly. Have fun creating your own whimsical turtle companion—a wonderful gift and keepsake crafted by your hands.