Take your hooks and stitch up a cozy v-neck sweater that's equal parts comfy, stylish, and perfect for turning heads while keeping warm.
Winter is HERE, and with it comes the perfect excuse to crochet something warm and stylish. That’s how I discovered this free crochet V-neck sweater pattern, which quickly became my favorite go-to project for chilly days. The sweater features a relaxed fit with a flattering V-neckline that adds just the right amount of charm and sophistication. Its texture is delightfully soft yet structured, created by simple stitches that give the fabric lovely depth without being overwhelming.
Free Crochet V-Neck Sweater Pattern For Your Doll
I used a worsted weight yarn for my sweater, which complements the stitch texture beautifully by providing warmth and a nice drape. The pattern includes sizes from small to XXL and offers easy customization tips, so you can adjust the length or sleeve style to suit your preferences. It’s made in separate pieces—the front, back, and sleeves—before being seamed together, making the construction straightforward and manageable even for newer crocheters.
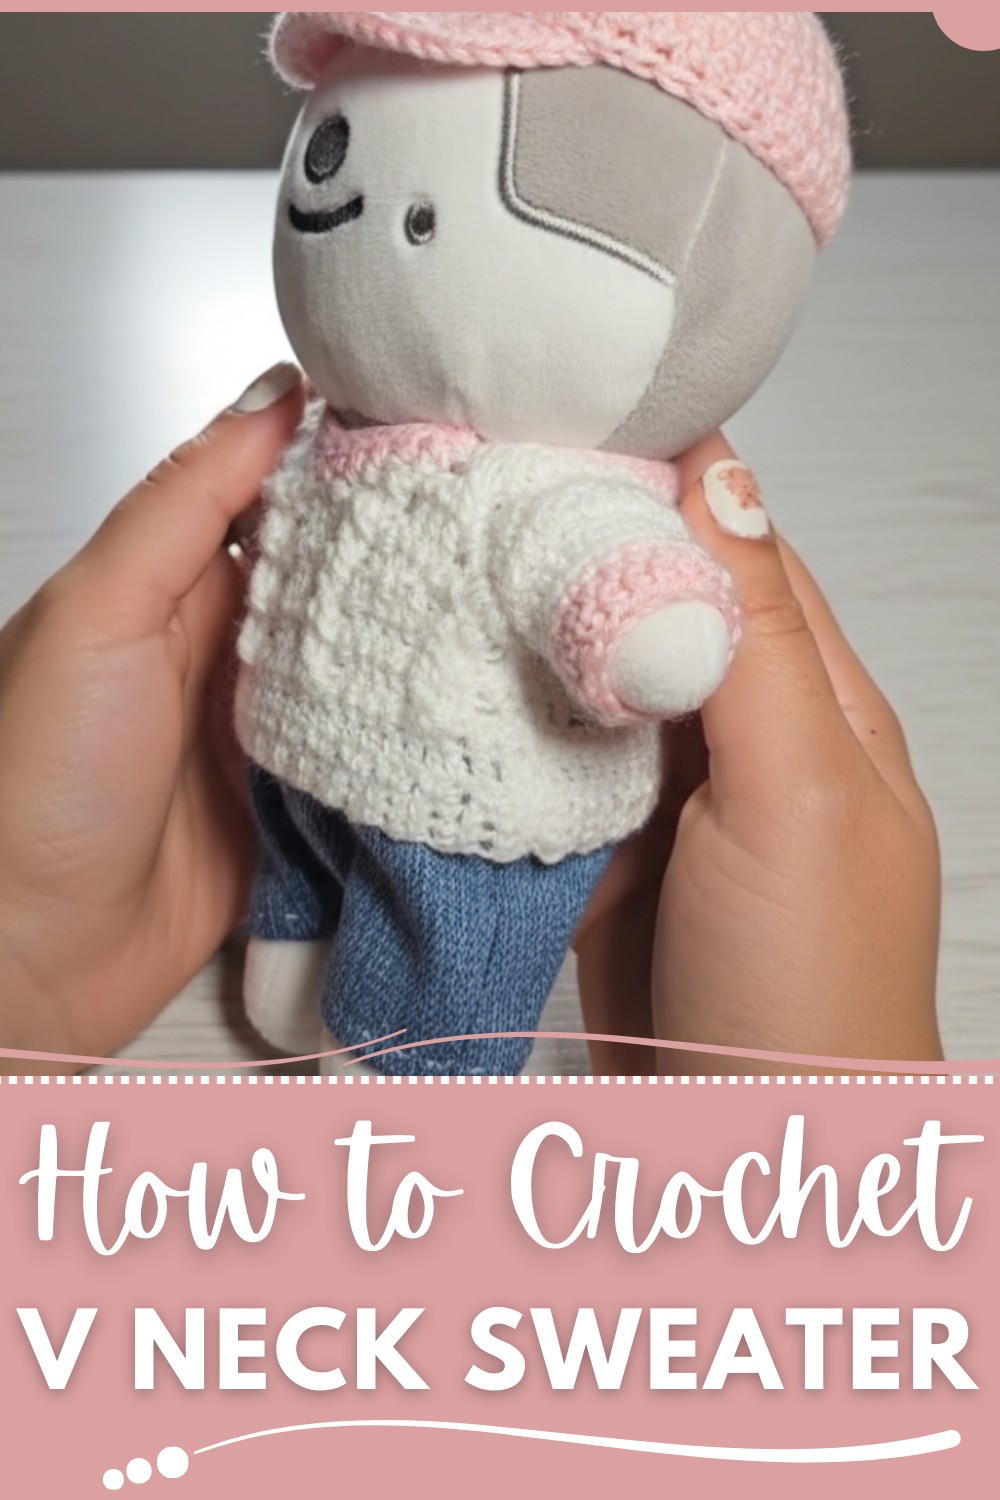
The design was inspired by classic cozy sweaters that feel both timeless and effortless. I chose a soft acrylic-wool blend yarn that’s not only comfortable but also durable and easy to care for—ideal for everyday wear during the colder months. This sweater quickly became a favorite for casual outings, cozy nights in, and thoughtful handmade gifts for friends and family.
If you’re ready to crochet something cozy with personality like cardigan and skirts, this free crochet V-neck sweater pattern invites you to play with colors, textures, and personal touches to make a one-of-a-kind wearable creation you’ll love all winter long.
Fabulous Crochet V-Neck Sweater Pattern for Casual Days
Materials Needed
- Yarn:
- White and Soft Pastel Pink acrylic yarn (or fiber of choice).
- White: For the main body and most of the sleeves (ensure you have enough for the entire project).
- Soft Pastel Pink: For cuffs and neckline (a small amount of each).
- Suggested weight: Fine weight yarn (#2) or lightweight yarn (#3) for a delicate finish.
- White and Soft Pastel Pink acrylic yarn (or fiber of choice).
- Hook:
- 2 mm crochet hook (small hooks are essential for cable detailing).
- Notions:
- Stitch markers (safety pin-style is recommended for small, tight stitches).
- Measuring tape for precise sizing.
- Scissors.
- Yarn needle for weaving in ends.
Crochet Sweater Pattern
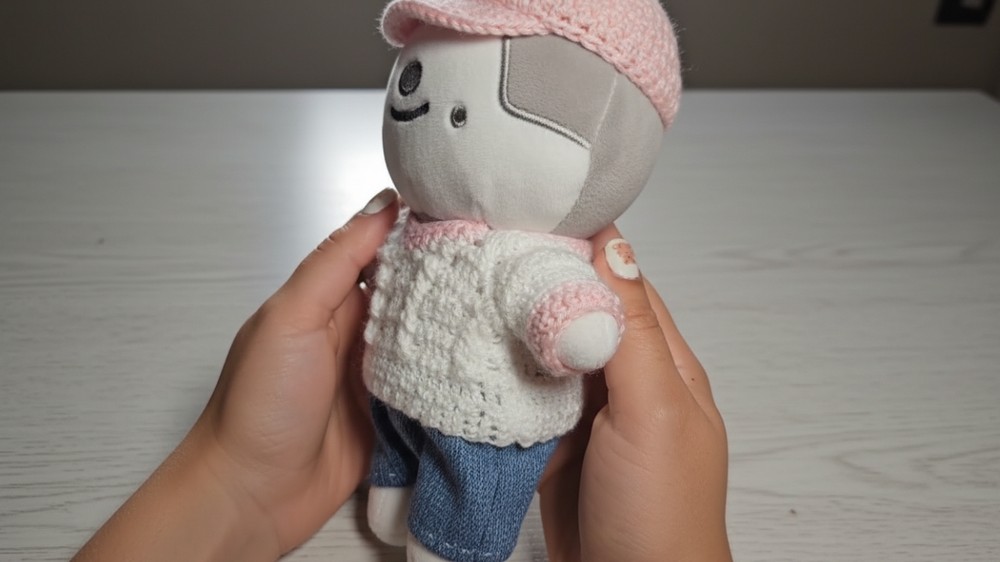
This advanced crochet sweater pattern is perfect for seasoned crocheters looking to elevate their skills and tackle intricate braided cables and crafty decreases. Below, you'll find the full blueprint for creating a customizable crochet sweater inspired by the transcript.
Key Abbreviations (US Terminology)
- ch: Chain
- sc: Single Crochet
- dc: Double Crochet
- sl st: Slip Stitch
- tr: Treble Crochet
- bpdc: Back Post Double Crochet
- fptc: Front Post Treble Crochet
- dec: Decrease (e.g., single crochet or double crochet two stitches together).
Special Notes
- Gauge and Tension: Keeping tension even is vital for seamless braiding and accurate shaping.
- Read Ahead: Familiarity with braids and cables is essential before you attempt this project. Practice on a larger scale before committing to the small-sized cables.
Step-by-Step Pattern Instructions
Step 1: Body
1. Waistband (Back or Front Panel)
- Make a slip knot and chain 4.
- Row 1: Starting with the second chain from the hook, work 3 sc across. Chain 1, turn.
- Rows 2–X: Work sc in the back loop only (BLO) across all stitches. Chain 1, turn.
- Continue until the band measures the width across the body’s bottom (from armpit to armpit).
- Example: For an SK Sudo-size sweater, this should measure approximately 10 cm (4 inches) wide.
2. Transition to Main Body
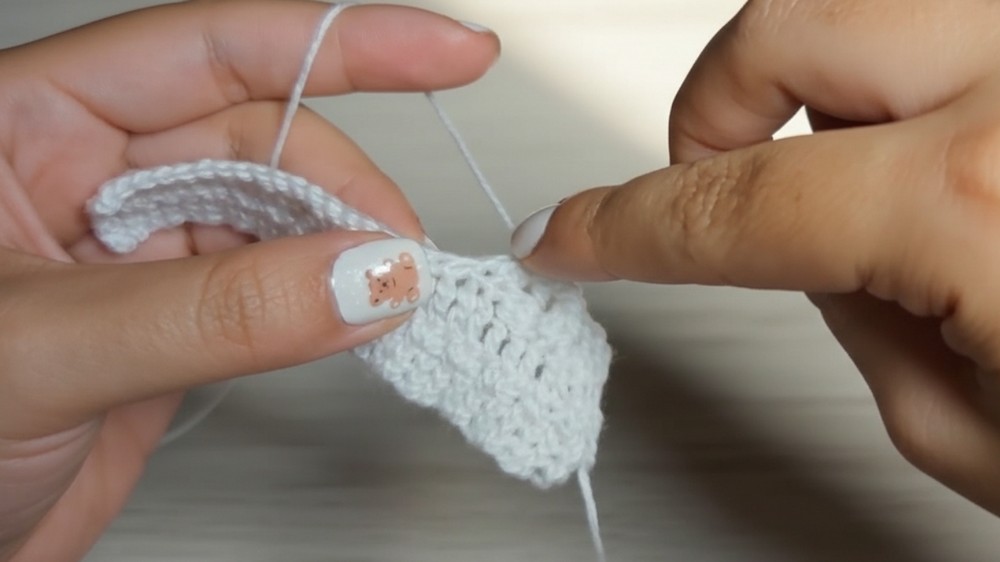
- Attach yarn to the side edge of the band you just created.
- Work one row of sc evenly across the edge, spacing the stitches neatly. After completing the row:
- Row 1: Ch 2, turn, and dc across the row.
- Row 2: Ch 1, turn, and sc across the row.
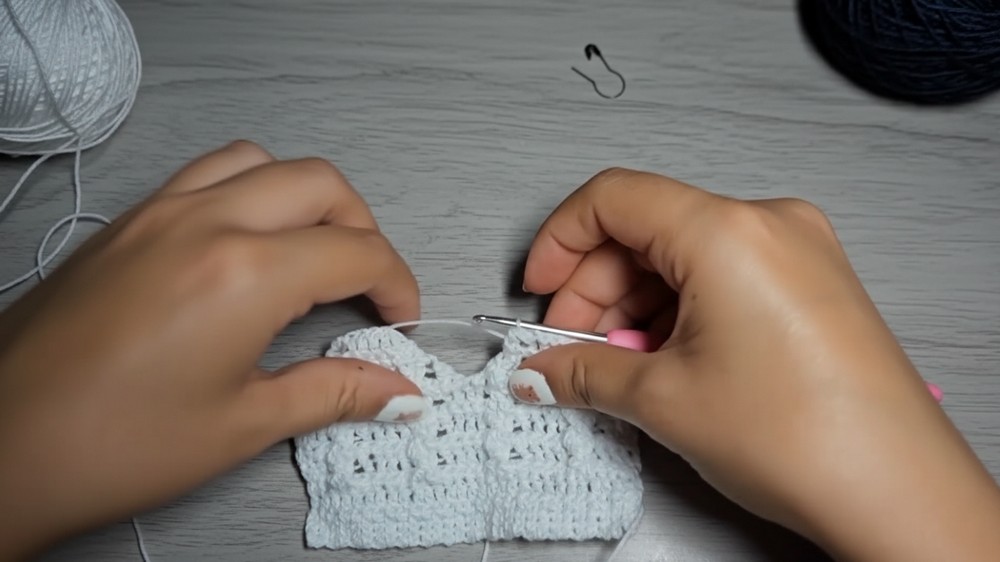
3. Cabling the Body
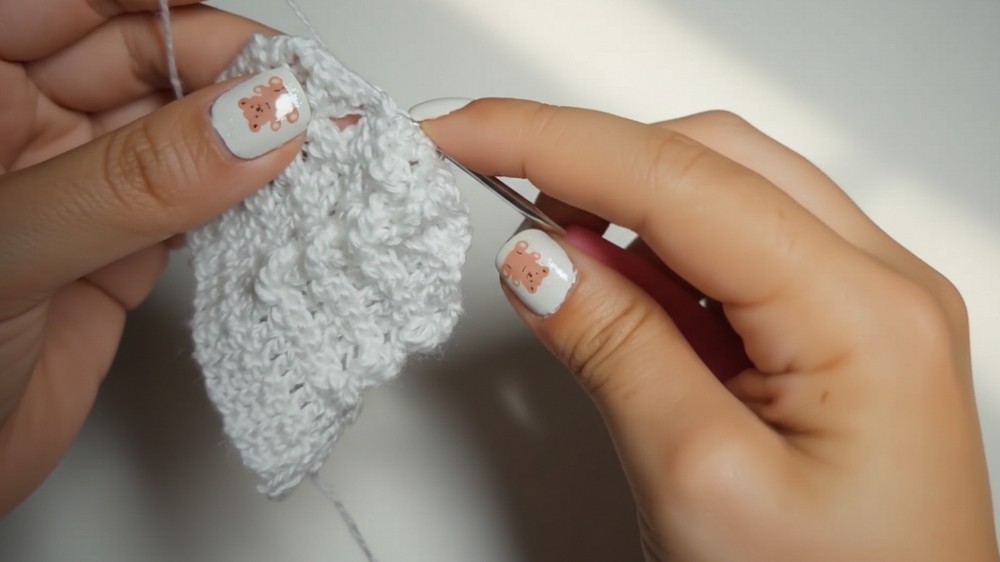
- Work the following repeat pattern in rows to create braids:
Cable Pattern
- Chain 2, turn.
- Work one dc into each of the next 2 stitches.
- Back Post Treble Crochet (bptc): Yarn over twice, insert hook FROM BACK to FRONT around the post of the indicated stitch below, yarn over, pull up a loop, and complete the treble crochet.
- Front Post Treble Cables (fptc): Repeat as described, skipping one stitch and working two crossed front post treble crochets, then go back and complete the skipped stitch.
- End with a bptc as the cable closes.
- Alternate a row of sc between each braid row to create stability for the cables.
4. Shaping the Armpits and Neckline (Front Panel Only)
- Decrease for Armpits:
- At the start and end of every other row, work a decrease (dc2tog) for 5–6 rows.
- Start the V-neck:
- Identify the center stitch of the panel using a stitch marker.
- Gradually taper both sides by decreasing 1 stitch near the center for each V-neck row.
- Work until both halves of the front are symmetrical and reach shoulder height.
5. Complete Back Panel (Same as Front but without V-neck)
- Create the back panel similarly, but work straight without splitting for the neckline.
Step 2: Sleeves
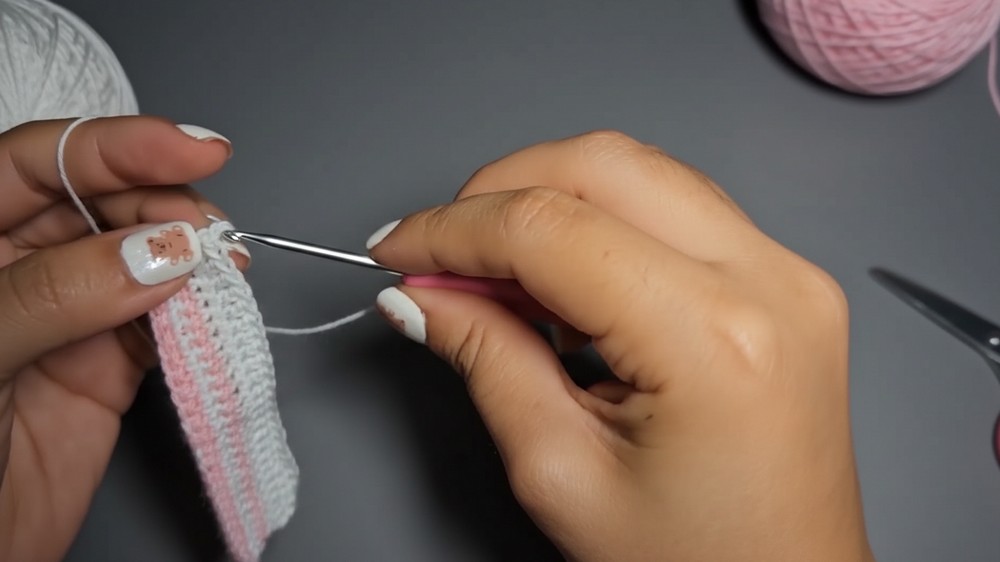
1. Cuff/Base of Sleeve
- Chain enough stitches to wrap comfortably around your doll's wrist (e.g., 26 chains in the pattern).
- Alternate stripe colors to create the cuff:
- Row 1 (Navy Blue): Sc across.
- Row 2 (Light Blue): Sc across.
- Row 3 (Navy Blue): Sc across.
2. Main Sleeve
- After the cuff, switch to White Yarn.
- Work in dc rows continuously.
- Gradually increase stitches evenly by a few stitches every 3 rows for a tapered flare.
- On reaching the elbow, begin decreasing a stitch at the start and end of every row until you reach the top of the sleeve.
3. Second Sleeve
- Repeat the same process for the other sleeve.
Step 3: Assembly
1. Attach Sleeves
- Line up each sleeve’s widest edge with the front/back panel's armhole edge.
- Use a slip stitch or whip stitch to carefully attach the sleeves to the body.
2. Seam Front and Back Panel
- Fold the sweater with front and back panels’ right sides together.
- Work sc or sl st across the side seams (ensure no gaps for smoothness).
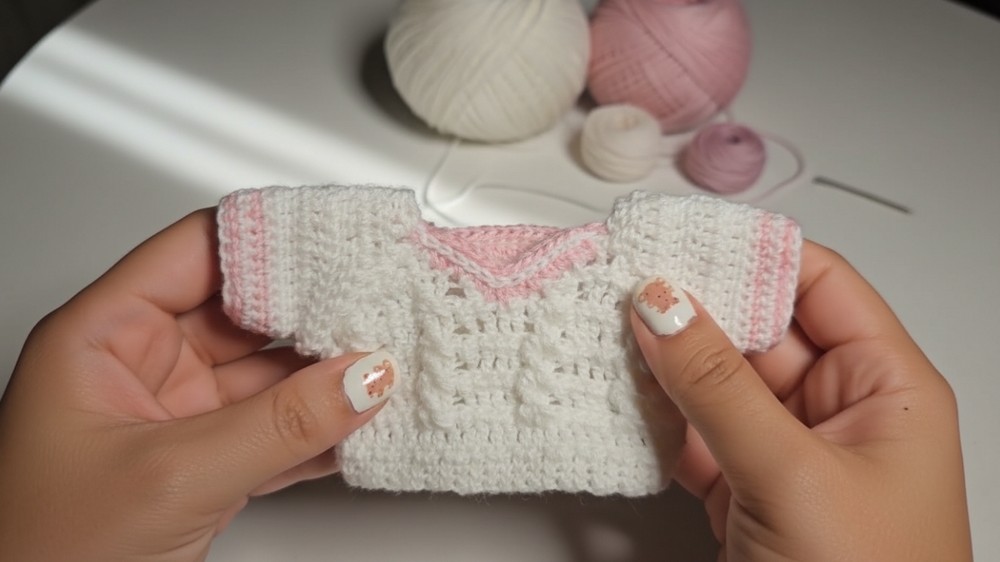
Step 4: The Neckline
1. Create Trim (Optional Blue Accent)
- Attach Navy Blue Yarn to the neckline edge.
- Work one row of dc stitches across the neckline to smooth out the edge.
- Follow up with a row of slip stitches (using light blue yarn) for a clean decorative finish.
Tips for Success
- Maintain Tension: Tight yet even tension is vital for clean cables.
- Blocking: Block each piece gently before assembly for a polished finish.
- Practice First: Master cables on a larger-scale project if you’re unfamiliar with the technique.
- Customization:
- Add stripes on sleeves or at the body’s bottom for different looks.
- Adjust sizing by measuring your doll and creating matching proportions.
Conclusion
The final crochet sweater is a stunningly intricate piece designed for SK Sudo, featuring decorative braided details, stripes, and fitted sleeves. This garment highlights your advanced crochet skills and makes a fashionable addition to your doll or collectible's wardrobe. Admire the smooth symmetry in the cables and enjoy the stretchy comfort provided by the ribbed waistband and neckline trim.
Pattern Variations
- Colors: Experiment with bold hues or variegated yarn for a unique twist.
- Size Adjustments: Increase or decrease foundation chains for larger or smaller designs.
- Texture: Swap cables for popcorn-stitch patterns or stripes for an alternative textured design.