Keep your glasses safe and stylish with this free crochet glasses case pattern, featuring easy instructions to create a practical and personalized accessory.
When I first realized how easily my glasses got scratched at the bottom of my bag, I knew I needed a cozy, handmade solution. That’s how the idea of a Free Crochet Glasses Case pattern came to life, a charming little project that’s both practical and enjoyable to make. This type of case is designed to snugly fit your glasses, featuring a soft texture created by stitches like puff or bobble that add both style and gentle protection.
Free Crochet Glasses Case Pattern for Chic Accessories
The shape is typically a simple, slim rectangle with rounded edges, making it easy to slide in and out of your purse or pocket. One thing I love is how customizable it is—you can adjust the size to fit anything from small reading glasses to oversized sunglasses, and play with colors or embellishments to match your personal style.
Usually, you start from the bottom with a foundation chain and work your way up, building layers of textured stitches that give the case a plush feel. I recommend using yarn with a bit of stretch and smoothness, such as cotton blends; this accentuates the stitch patterns while keeping the case soft yet durable.
This project was inspired by the perfect balance of function and creativity. It’s a great gift idea for friends and family or a thoughtful treat for yourself. Plus, it invites you to get creative, try adding buttons, tassels, or even lining for extra flair. It’s amazing how a simple accessory can brighten your day and protect your glasses in style.
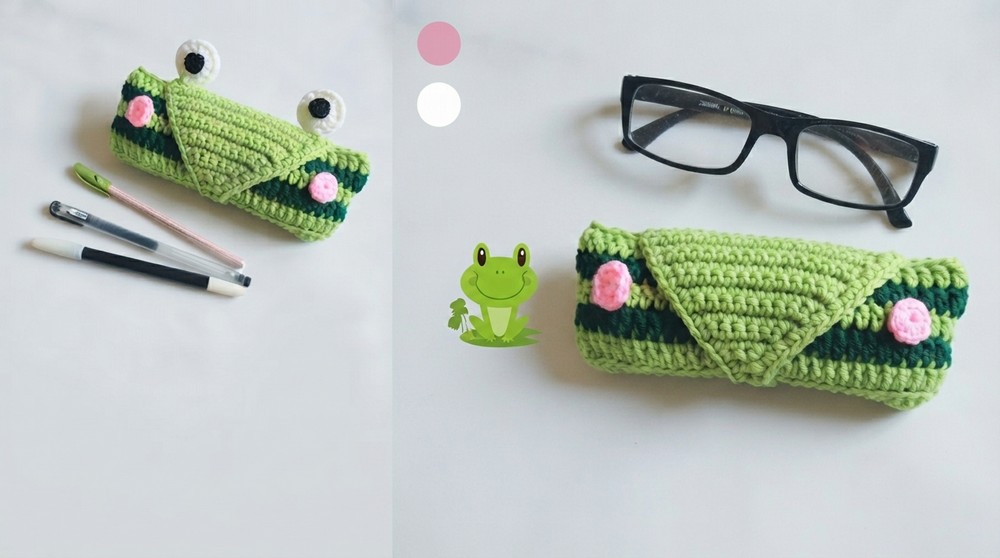
Crochet Glasses Case Pattern
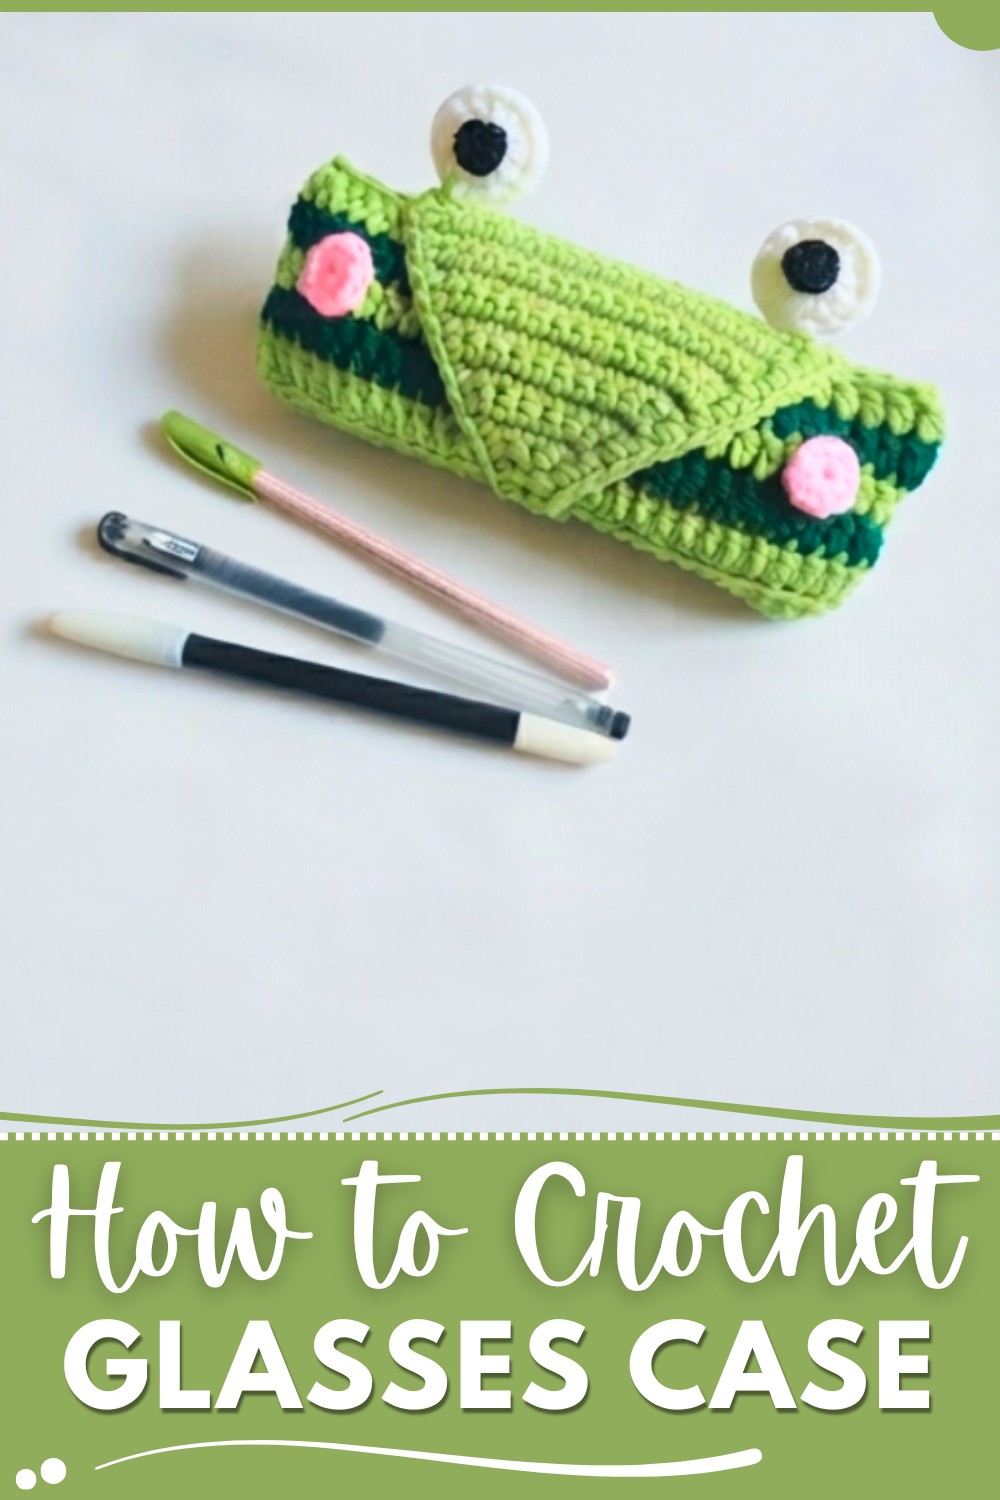
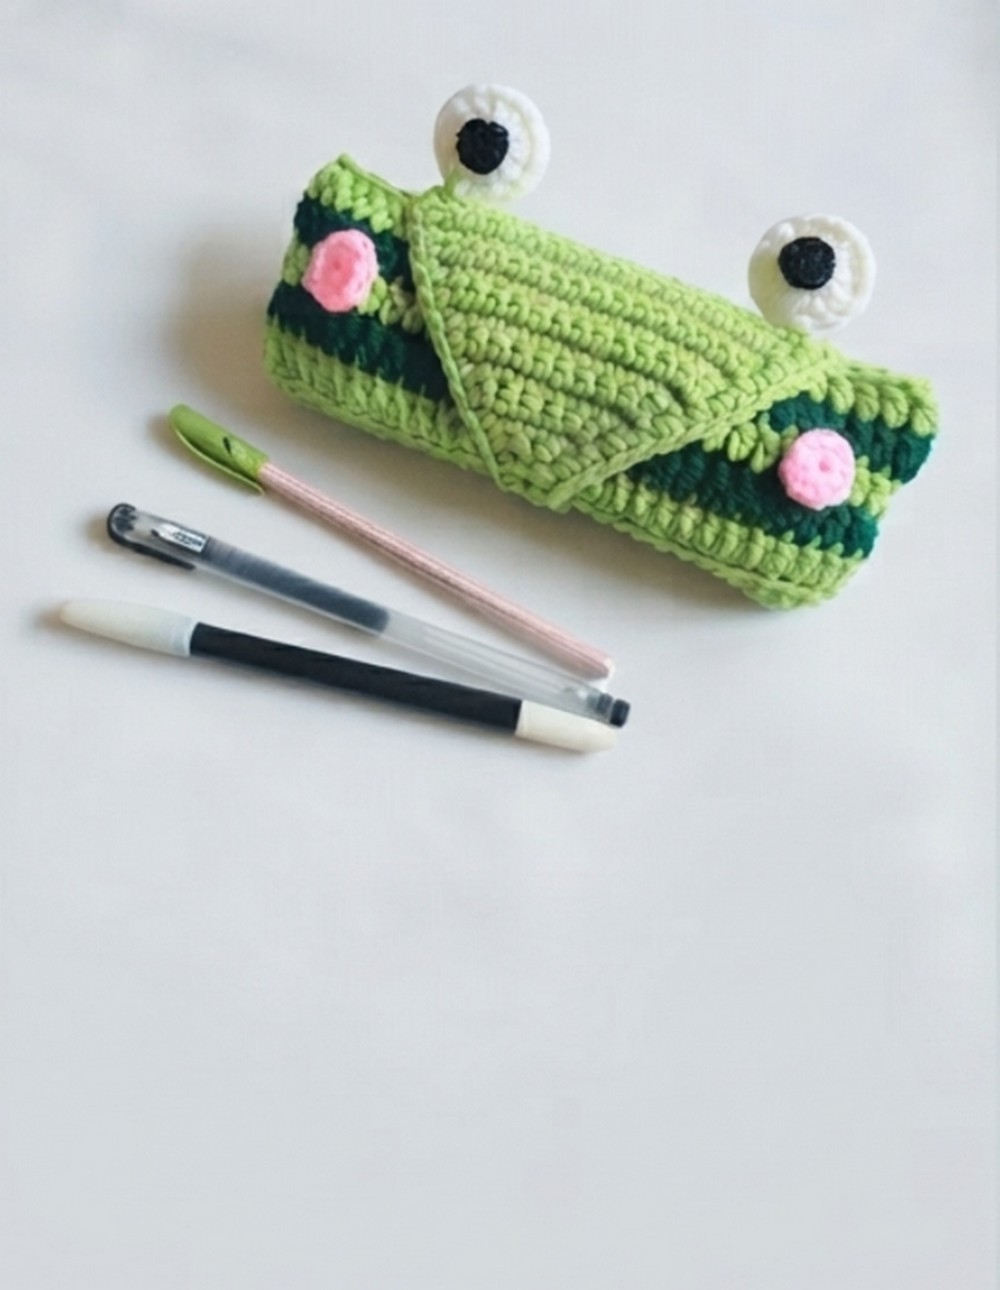
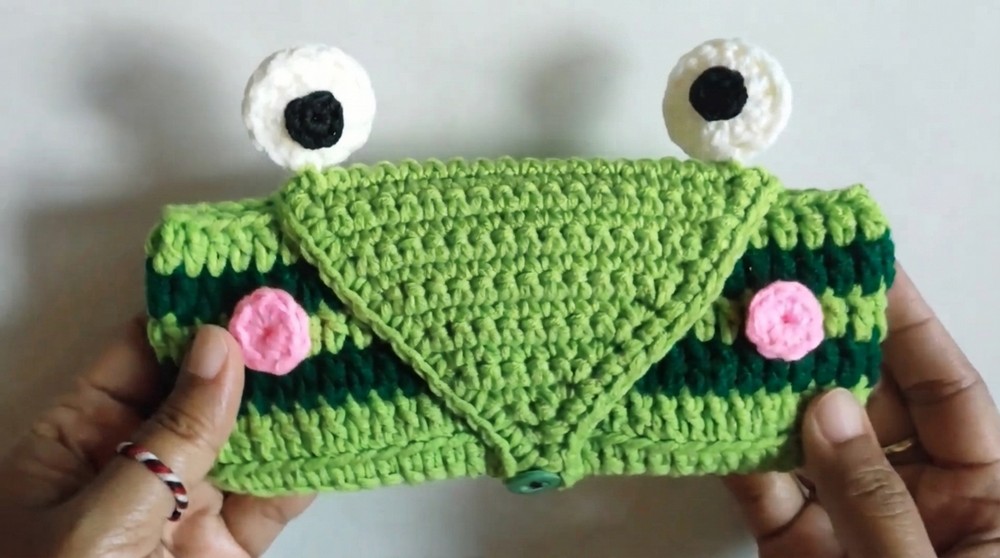
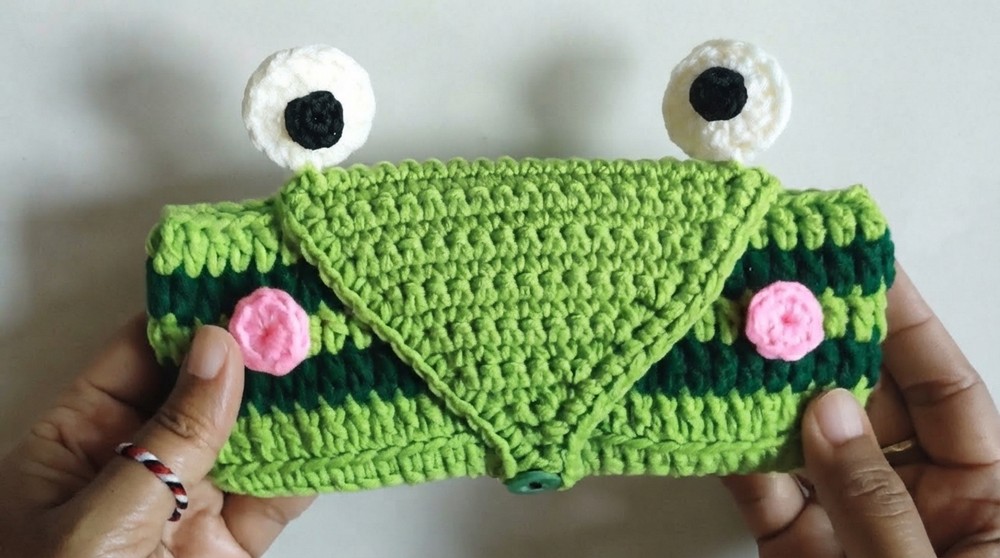
- This pattern guides you through making a two-tone crochet glasses case with a shaped lid, cheerful eyes, and rosy cheeks.
- You will use Indomilky yarn, a 6/0 Tulip hook, and fundamental crochet techniques to complete the project exactly as shown step-by-step in the video.
Quick Overview Of Pattern
- Foundation chain is worked into a double-crochet oval base.
- The pouch is constructed in the round, creating bold color stripes.
- A separate, shaped lid is crocheted in rows with increase shaping.
- Eyes (white) and cheeks (pink) are created with the Magic Ring and sewn on at the end.
- The lid and embellishments are sewn to the pouch for assembly.
Notes
- All rounds are joined with a slip stitch into the top of the starting ch-3.
- Color changes are made with the slip stitch at the end of each designated round.
- The second round uses back loop only (BLO) double crochets for subtle texture.
- Firm, even tension is recommended for a sturdy case.
- Pattern is written to match the video steps precisely—do not skip steps or rearrange order.
Skill Level
- Beginner–Intermediate
- You should be comfortable with chains, single crochet, double crochet, slip stitch, increasing, color changes, and the Magic Ring.
Materials
- Indomilky yarn:
- Light Green
- Dark Green
- White (for eyes)
- Pink (for cheeks)
- Tulip crochet hook size 6/0 (approx. 3.5–4 mm)
- Scissors
- Tapestry or sewing needle (for assembly and weaving in ends)
- (Optional) Stitch markers for marking rounds
Measurements / Sizing
- Completed Case Size: about 18 cm (7") height x 9 cm (3.5") width
- Lid: fits across the open end of the pouch
- (If desired, you may sketch a simple rectangle with a semicircular lid as a schematic guide.)
Gauge (and Stitch Pattern)
- Gauge: 13 dc = 10 cm (4"), but exact gauge is not crucial.
- Stitch Patterns:
- Double crochet (dc) in rounds for the pouch
- Single crochet (sc) in rows for the lid, eyes, and cheeks
- Magic Ring for eyes and cheeks
- Slip stitch joins and assembly
Stitch Abbreviations
- ch: chain
- dc: double crochet
- sc: single crochet
- sl st: slip stitch
- BLO: back loop only
- inc: increase (2 stitches in same stitch)
Special Stitches
- Magic Ring: Wrap yarn into a loop, insert hook, pull up a loop, ch 1, work stitches into the center ring, tighten by pulling tail.
- Increase (inc): Work two stitches (dc or sc as specified) into the same stitch or space.
The Crochet Pattern!
Glasses Case Body
- Start with a slip knot and chain 30.
- Skip 3 chains from hook (the 3 skipped chains count as 1 dc).
- In the 4th chain from hook, make 2 dc in the same stitch.
- Work 1 dc in each of the next 26 chains.
- In the last (30th) chain, work 5 dc into the same stitch (this will turn the corner).
- Continuing around the opposite side of the chain foundation, work 1 dc in each of the next 26 chains.
- In the same chain as the beginning (the first chain you worked into), add 2 dc into this stitch (so total 4 dc at this end).
- Slip stitch into the top of the starting ch-3 to close the round.
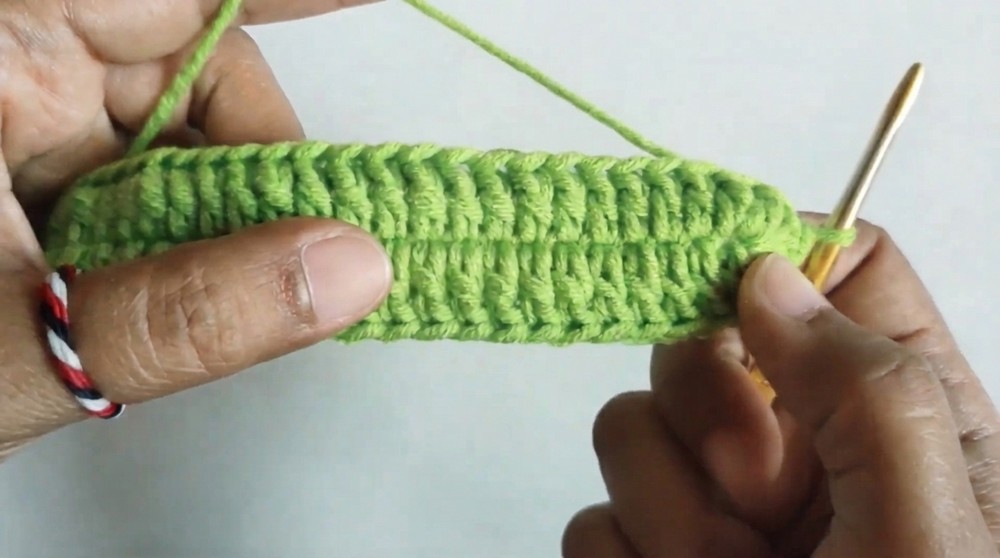
- Round 2:
- Ch 3 to start (counts as first dc).
- Work 1 dc in the back loop only (BLO) of each stitch around.
- Slip stitch into the top of the starting ch-3 to join.
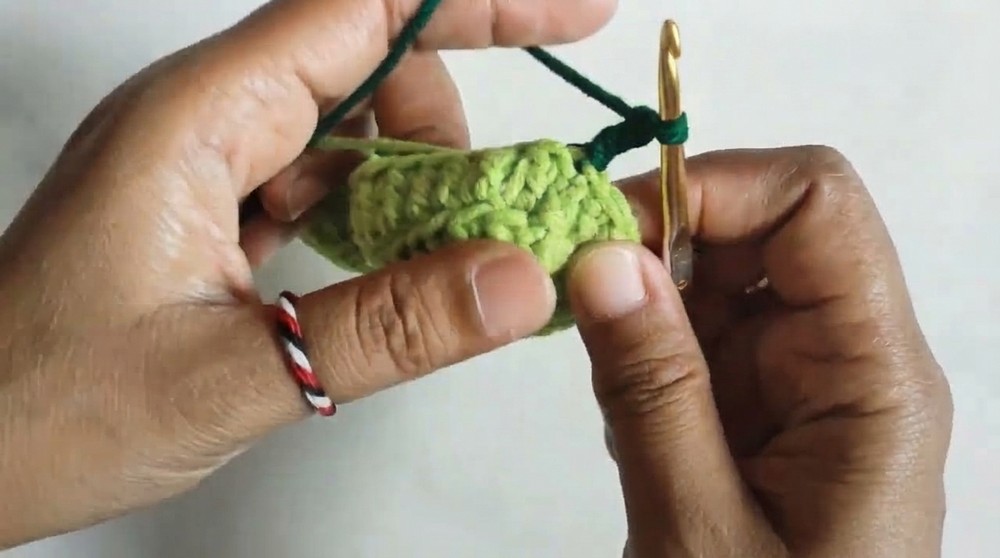
- Change to dark green as you complete the slip stitch by pulling up the new color.
- Round 3:
- With dark green, ch 3.
- Work 1 dc in each stitch around.
- Slip stitch into ch-3 to join.
- Change to light green in the slip stitch at the end.
- Round 4:
- With light green, ch 3.
- Work 1 dc in each stitch around.
- Slip stitch into ch-3 to join.
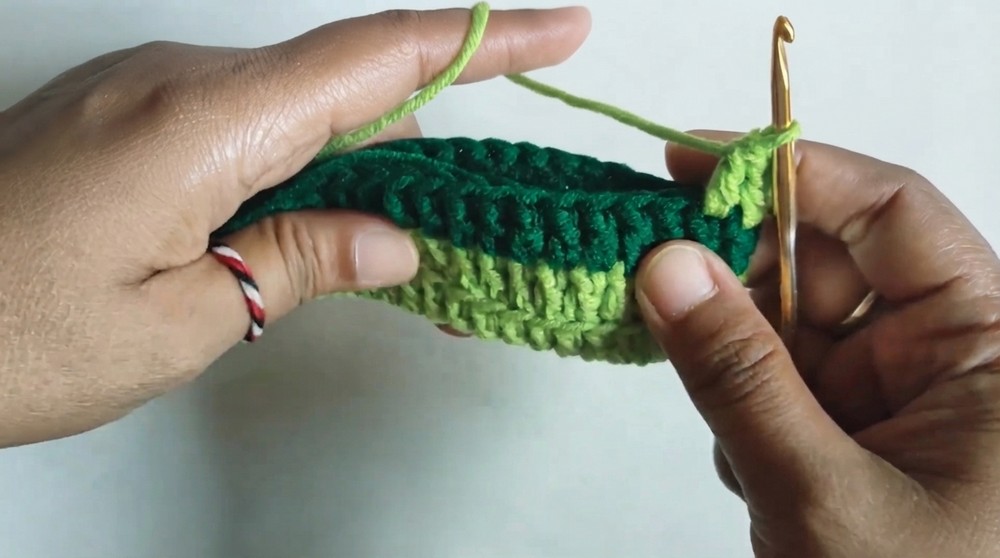
- Round 5:
- With dark green, ch 3.
- Work 1 dc in each stitch around.
- Slip stitch into ch-3 to join.
- Change to light green.
- Round 6:
- With light green, ch 3.
- Work 1 dc in each stitch around.
- Slip stitch into ch-3 to join.
- Round 7:
- With dark green, ch 3.
- Work 1 dc in each stitch around.
- Slip stitch into ch-3 to join.
- Change to light green.
- Round 8:
- With light green, ch 3.
- Work 1 dc in each stitch around.
- Slip stitch into ch-3 to join.
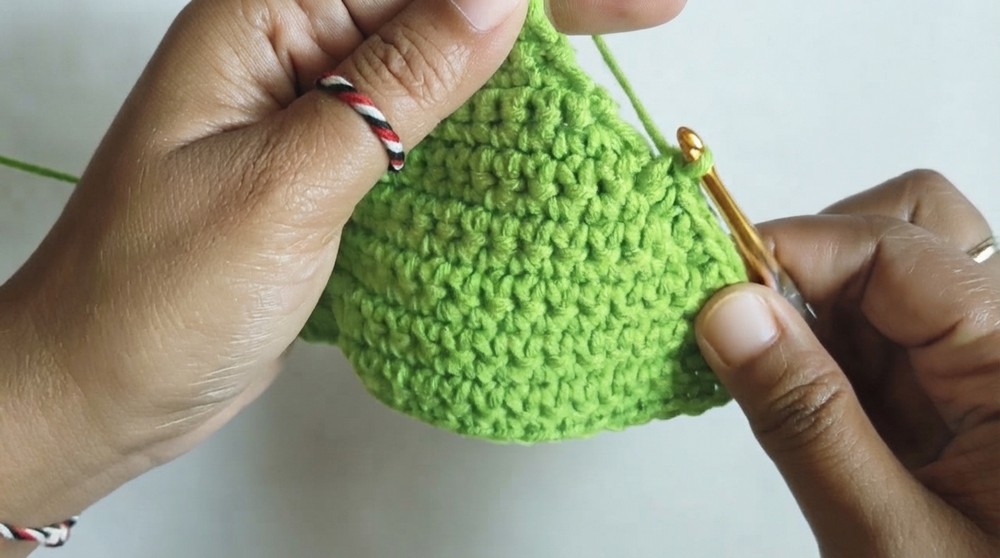
- Finish off:
- Cut yarn and weave in all ends securely with your tapestry needle.
Lid
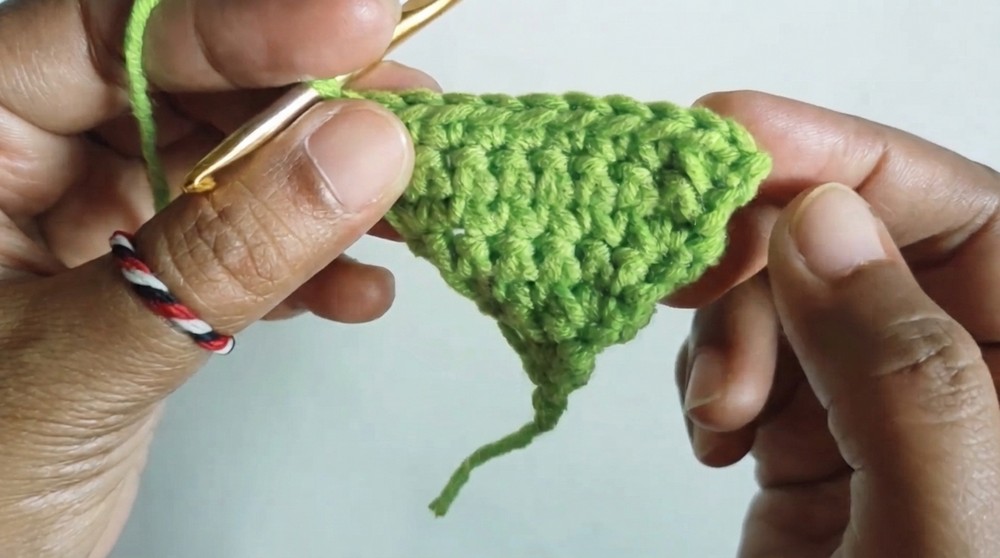
- Make a slip knot, chain 2.
- In first ch from hook, work 1 sc.
- Ch 1, turn. Work 2 sc in the stitch (inc; you have 2 sts).
- Ch 1, turn. Work 2 sc in each stitch (total 4 sts).
- Ch 1, turn.
- Inc in the first stitch (2 sc),
- sc in the next 2 stitches,
- inc in the last stitch (2 sc) (total 6 sts).
- Ch 1, turn.
- Inc in first st,
- sc in next 4,
- inc in last st (total 8 sts).
- Ch 1, turn.
- Inc in first st,
- sc in next 6,
- inc in last st (total 10 sts).
- Ch 1, turn.
- Inc in first st,
- sc in next 8,
- inc in last st (total 12 sts).
- Ch 1, turn.
- Work 1 sc in each st across (12 sts).
- Ch 1, turn.
- Inc in first st,
- sc in next 10,
- inc in last st (total 14 sts).
- Rows 9–15:
- Repeat:
- One row: ch 1, turn, 1 sc in each stitch across (plain row)
- Next row: ch 1, turn, inc in first st, sc across to last st, inc in last st (increase row)
- Continue alternating for a total of 15 rows.
- Repeat:
- Border:
- At end of row 15, sc evenly around the lid edge.
- At the corner of the rounded edge, work 1 sc, ch 7, and 1 sc in the same spot for a closure loop.
- Continue to sc around the rest of the lid.
- Join with a sl st, fasten off, cut yarn, and weave in ends.
Lid Assembly
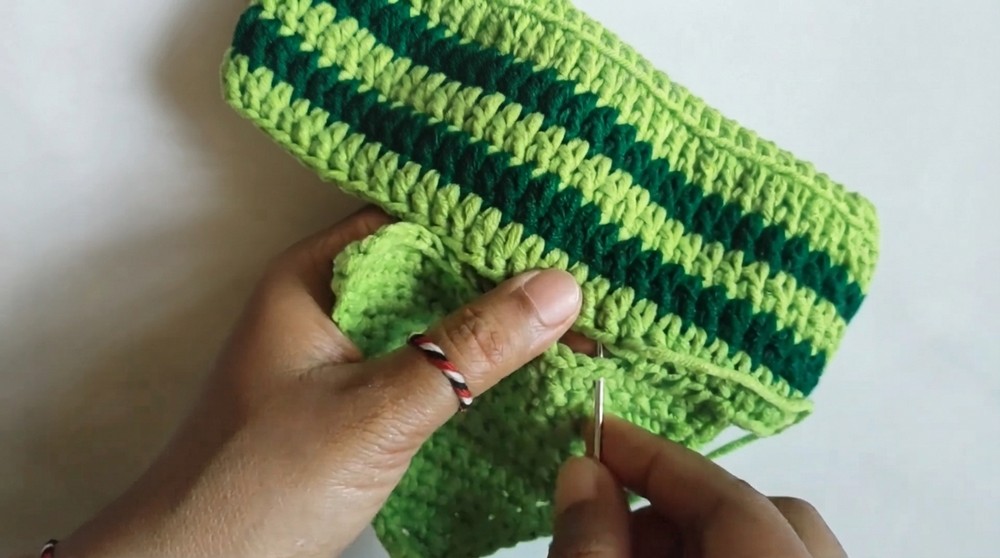
- Position the lid so its straight edge matches the back edge of the case opening.
- Use a tapestry or sewing needle to whip stitch the lid to the pouch, sewing only through the back edge to preserve neatness.
Eyes (Make 2)
- With white yarn, form a Magic Ring.
- Ch 3, then work 11 dc into the ring (total 12 stitches including the ch-3).
- Tighten the ring by pulling the short tail.
- Join with a sl st to the top of the starting ch-3.
- Make a second eye in the same way.
- Slip stitch the two eyes together along their edges for a layered effect, leaving a long tail for sewing them onto the case.
Cheeks (Make 2)
- With pink yarn, form a Magic Ring.
- Ch 1, work 8 sc into the ring.
- Pull tail to tighten ring.
- Sl st to the first sc to join, fasten off, and leave a tail for sewing.
- Repeat for the second cheek.
Attaching Eyes and Cheeks
- With the tails and a needle, sew the eyes onto the front (lid) of the case.
- Position the cheeks below the eyes and sew into place.
Assembly & Finished Size
- The lid is sewn to the case’s back opening, the eyes are attached to the upper front, and the cheeks underneath for a friendly expression.
- The finished glasses case measures approximately 18 cm tall and 9 cm wide—perfect for standard eyeglasses.
Conclusion and Ending Words
- Congratulations! Your crochet glasses case, with playful eyes and a secure lid, is complete, crafted strictly by the step-by-step process from the original video.
- Enjoy using or gifting your cheerful, practical, and unique crochet accessory.