Create an adorable springtime companion with this free crochet chick amigurumi pattern, offering simple steps to craft a cheerful and handmade plush toy.
There’s something truly sweet about making small, handmade toys that bring a smile to anyone’s face. A Free Crochet Chick Amigurumi pattern offers a fun and friendly way to create a tiny, lovable chick that’s perfect for crocheters of all skill levels. This project involves shaping a soft, stuffed figure with a rounded body and simple details that capture the charm of a baby bird.
Simple Free Crochet Chick Amigurumi Pattern for Spring
The style is playful and cute, featuring big eyes and a little beak that add character without being complicated. The chick’s shape is compact and slightly oval, making it easy to hold or display on a shelf. One of the pattern’s highlights is how you can personalize it by changing yarn colors or adjusting size through different hook options, so it’s suitable for making small keepsakes or larger decorations.
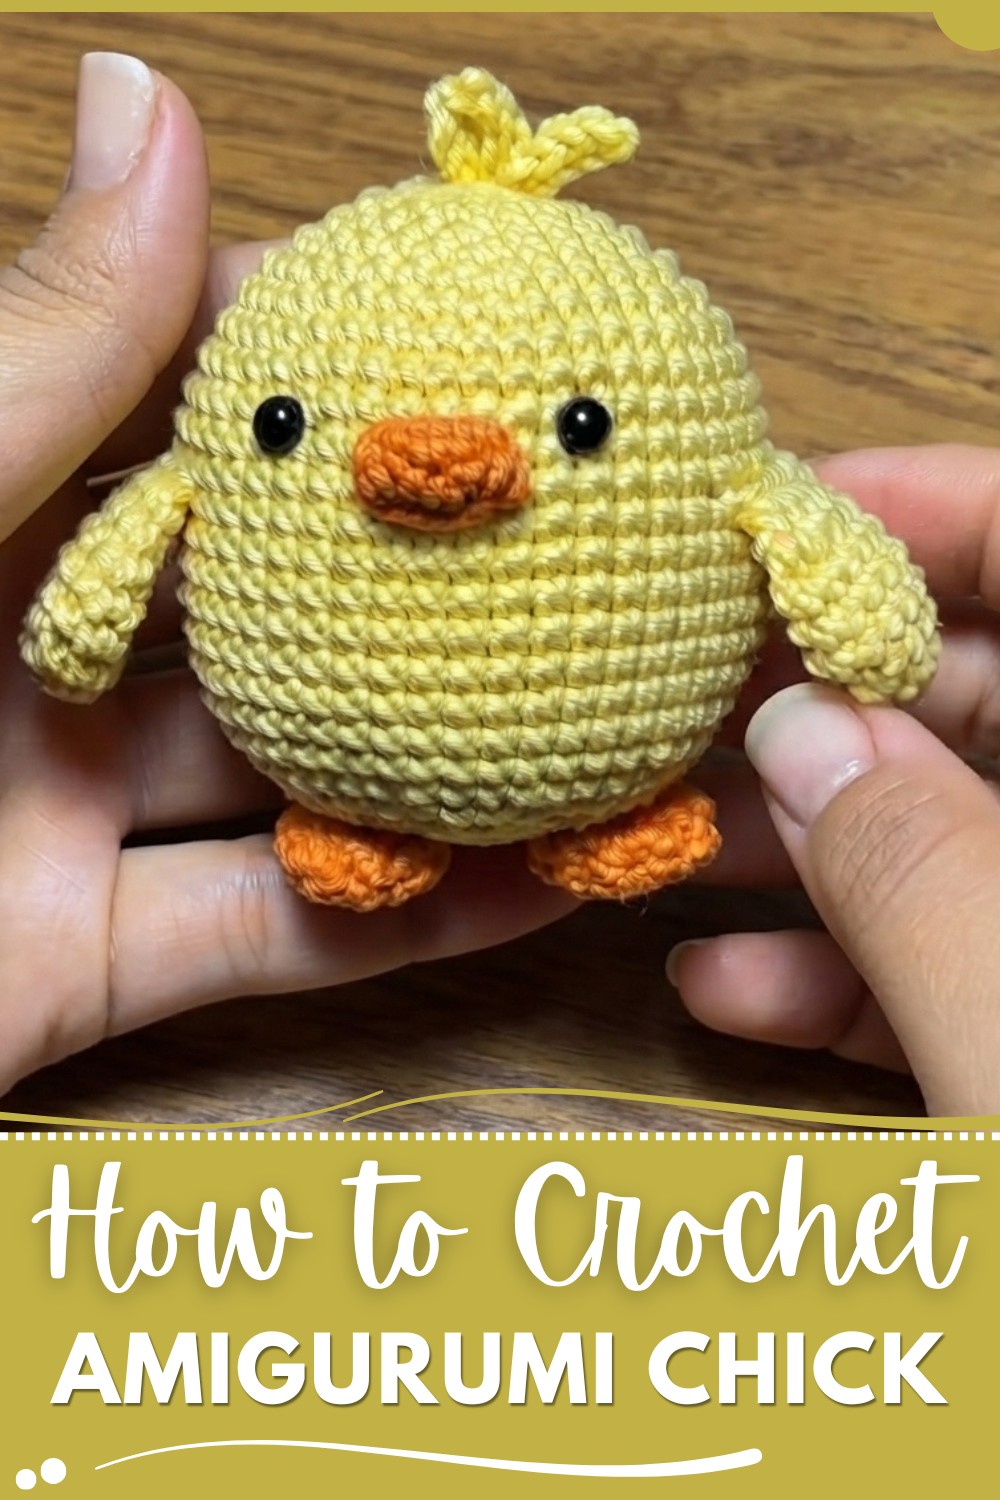
Typically, the chick is made by working in continuous rounds with basic stitches like single crochet, along with increases and decreases to form the curves of the body and head. A handy tip is to use stitch markers to keep track of your rounds and stuff the piece firmly enough to hold its shape but still stay soft. Choosing a yarn that’s smooth and has some durability, such as a cotton blend or soft acrylic, helps define the stitches and ensures the amigurumi will last.
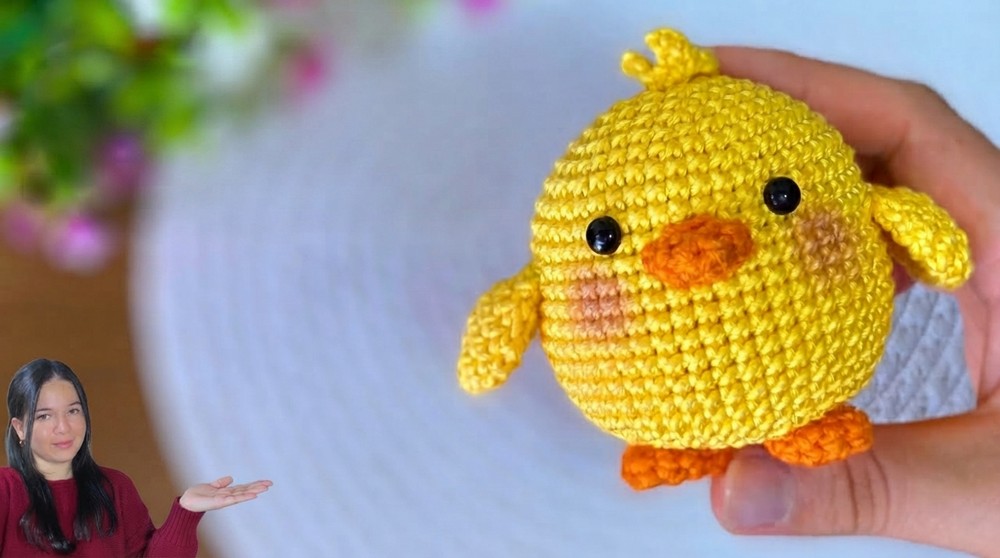
Design Inspirations
The idea behind this design comes from a love of springtime and cheerful little creatures that brighten the day. It’s a perfect gift for Easter baskets, baby showers, or simply as a sweet token for friends and family. Adding tiny accessories like a bow or a hat can make your chick unique and a lovely addition to any handmade collection.
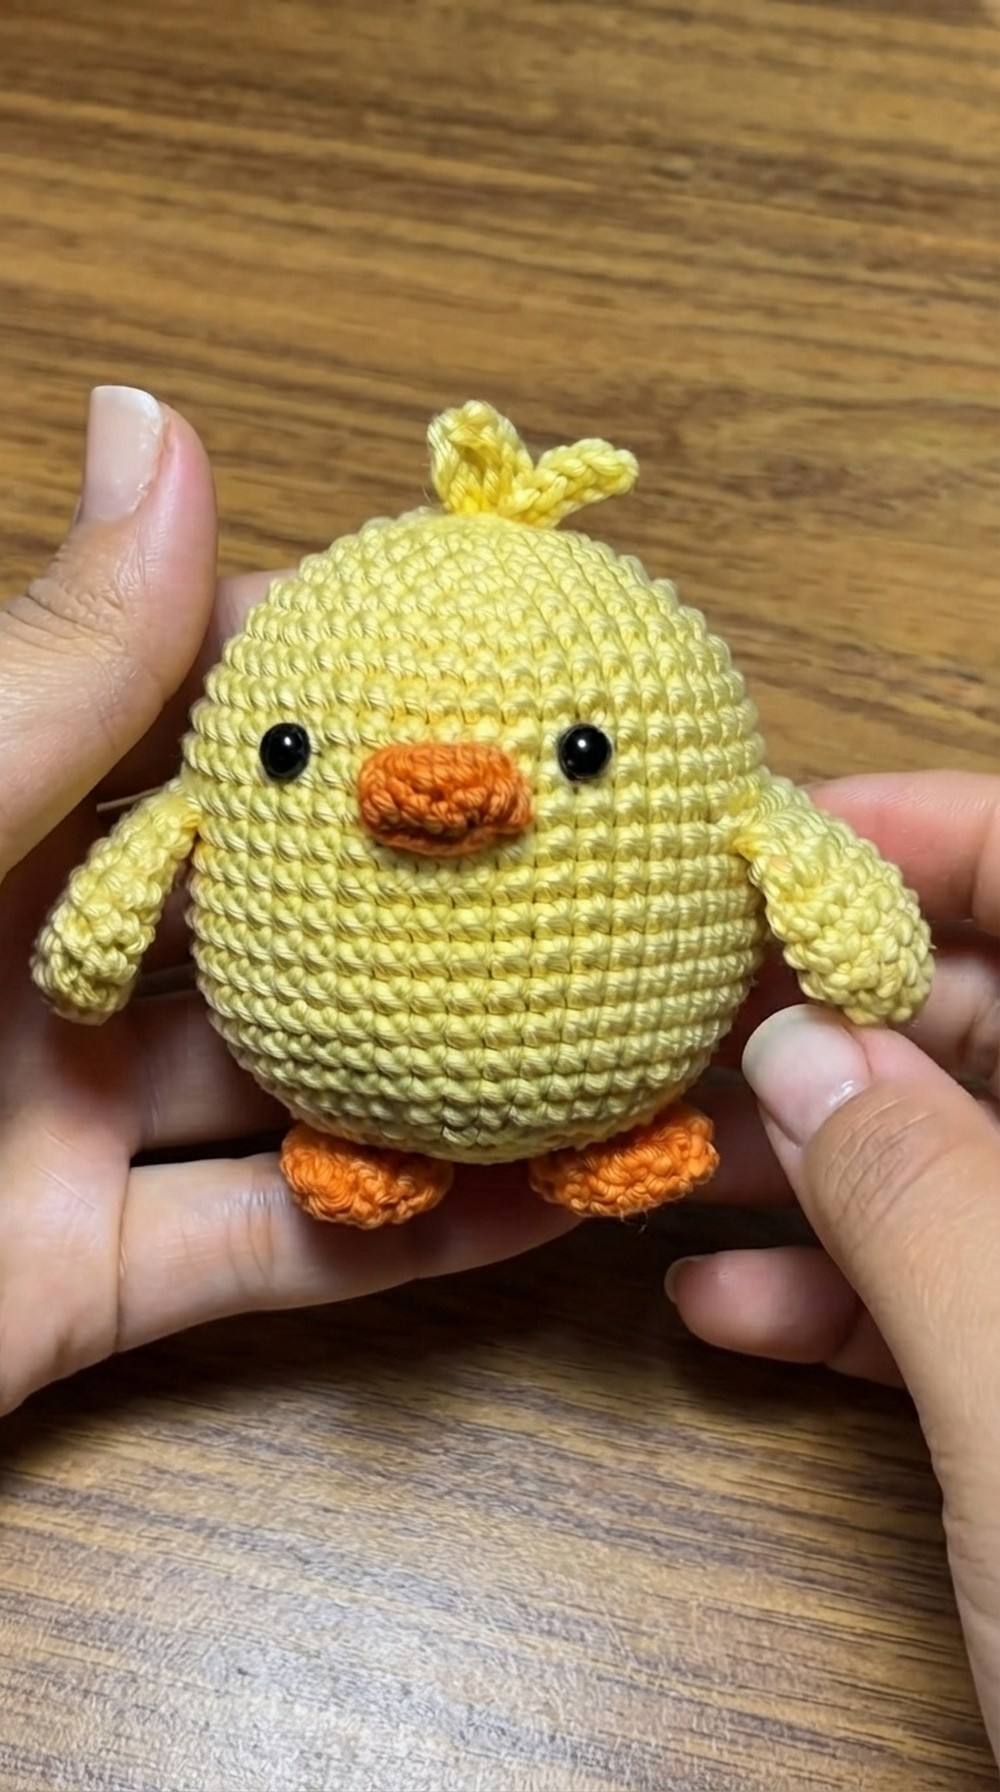
Amigurumi Farm Little Balls Chick
In this lesson, you’ll learn step by step how to make the basic chick shape, which is the standard body for the whole animal set. You’ll use beginner-friendly techniques and simple stitches, making this a great first amigurumi to try. You will also find the same foundation and stitch count in all the collection’s figures, with future lessons changing only the animal-specific features.
Quick Overview Of Pattern
- Worked in spirals: Body, wings, feet, tail, topknot, and beak are all begun with a magic ring.
- Standard amigurumi increases/decreases: For making perfect spheres and shapes.
- Same body used for piglet, cow, and other animals: Modify only characteristic facial/body features.
- Simple assembly: Pieces are stitched on after creation.
- Safety eyes for security and durability.
- Stuff as you go: Use fiberfill for shaping.
Notes
- Work the body and all parts in continuous spirals, not joined rounds.
- Use a stitch marker to track the first stitch of each round.
- Do not overstuff; firm but soft is best—make sure stitches don’t stretch open.
- The exact colorways are up to you; yellow and orange are suggested for the chick.
- All increases are two single coth in the same st; decreases are invisible sc2tog for neatness.
- All instructions use US crochet terminology.
Skill Level
Beginner-friendly.
Requires knowledge of:
- Magic ring
- Single crochet
- Increase & decrease (sc2tog)
- Sewing parts together
Materials
- Amigurumi cotton yarn (100% cotton), colors:
- Body: Yellow or “solar”
- Beak & Feet: Orange
- 2.5–2.75 mm crochet hook (or size to obtain a firm fabric)
- 6mm safety eyes (pair)
- Fiberfill/stuffing
- Scissors
- Tapestry/sewing needle
Measurements / Sizing
- Finished chick: Approx. 6–7 cm (2.5–3 inches) tall depending on yarn/hook/tension.
- Schematic: Ball with attached wings, tail, topknot, feet, and beak.
Gauge (and Stitch Pattern)
- Gauge is not critical but stitches should be tight enough that stuffing does not show through.
- Main stitch: Single crochet (sc) in spirals.
Stitch Abbreviations
- MR: Magic Ring
- sc: Single Crochet
- inc: Increase (2 sc in same st)
- dec: Decrease (sc2tog—invisible preferred)
- ch: Chain
- sl st: Slip Stitch
- st/sts: Stitch/Stitches
Special Stitches
- Magic Ring (MR): Make a circle of yarn; crochet stitches into that loop, then pull tight to close.
- Invisible Decrease (sc2tog): Insert hook into front loops only of next 2 sts, yarn over and pull through both loops, yarn over and pull through 2 loops (one on hook).
The Crochet Pattern!
Body
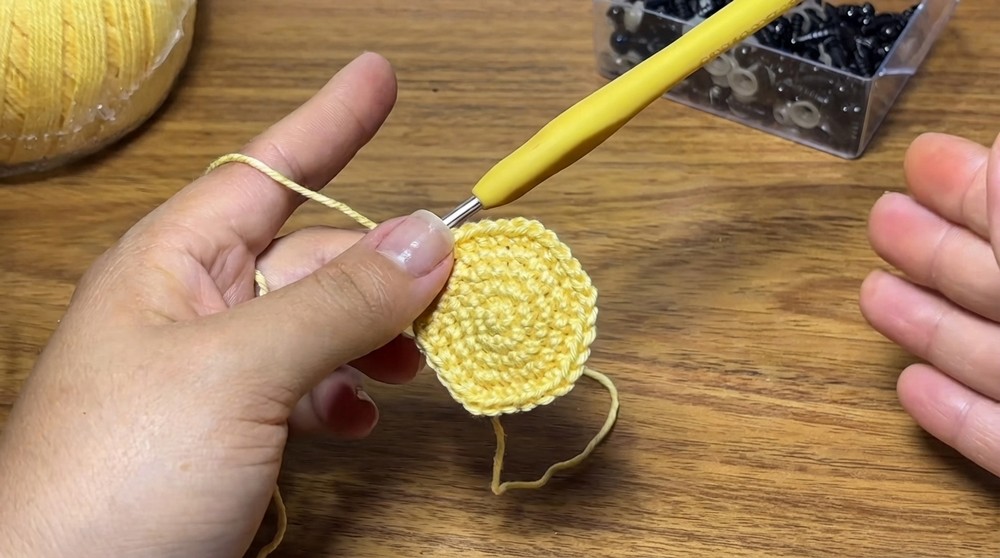
- Round 1: MR, 6 sc into ring (6)
- Round 2: 6 inc (2 sc in each st) around (12)
- Round 3: (sc 1, inc) repeat around (18)
- Round 4: (sc 2, inc) repeat around (24)
- Round 5: (sc 3, inc) repeat around (30)
- Round 6: (sc 4, inc) repeat around (36)
- Round 7: (sc 5, inc) repeat around (42)
- Round 8: (sc 6, inc) repeat around (48)
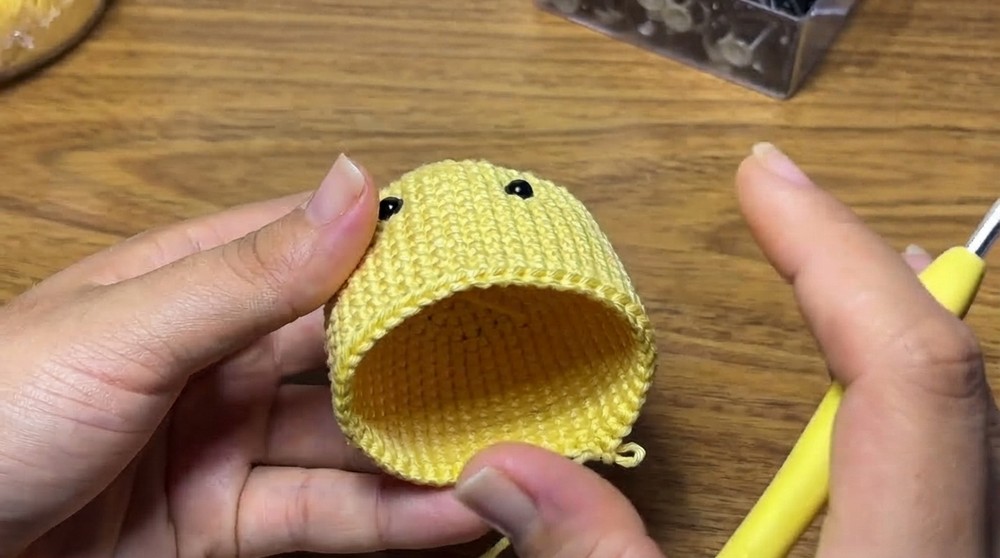
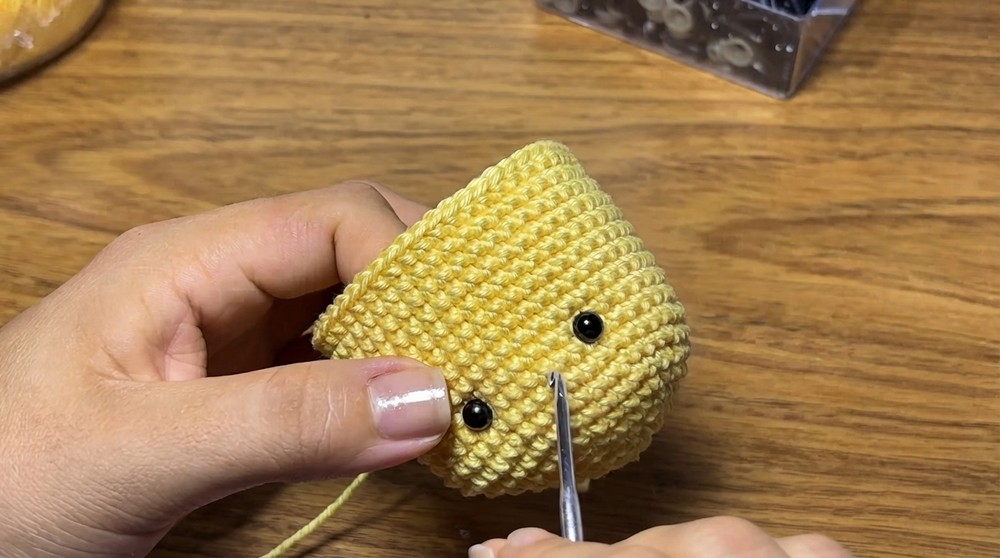
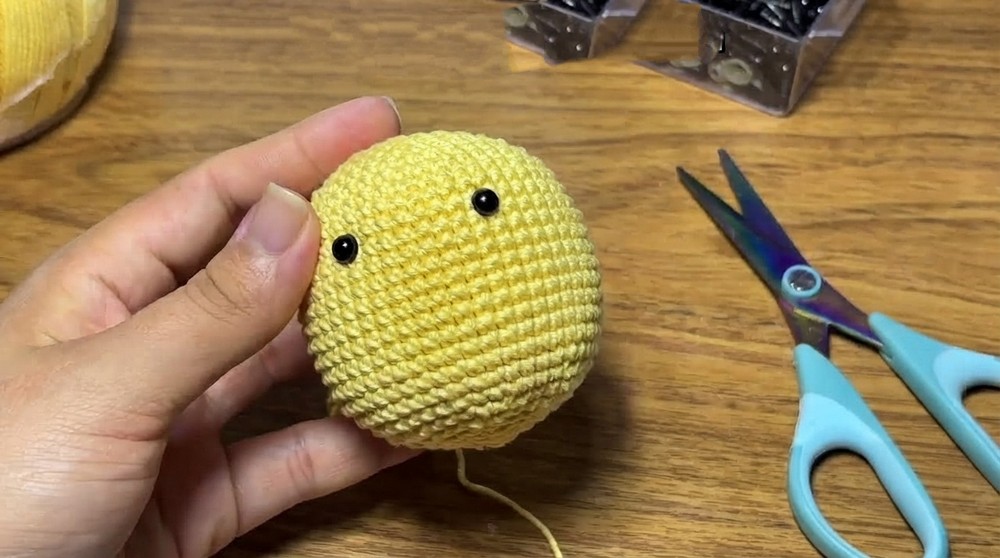
- Rounds 9–20: Sc in each st (48 per round). Work even, no increases.Tip: Insert 6mm safety eyes between rounds 10 and 11, spaced by 6 stitches (count from magic ring).
- Begin stuffing the body with fiberfill as you continue.
- Round 21: (sc 6, dec) repeat around (42)
- Round 22: (sc 5, dec) repeat around (36)
- Round 23: (sc 4, dec) repeat around (30)
- Round 24: (sc 3, dec) repeat around (24)
- Round 25: (sc 2, dec) repeat around (18)
- Round 26: (sc 1, dec) repeat around (12)Tip: Finish stuffing the body so it is round but not distorted.
- Round 27: 6 dec (sc2tog) around (6)
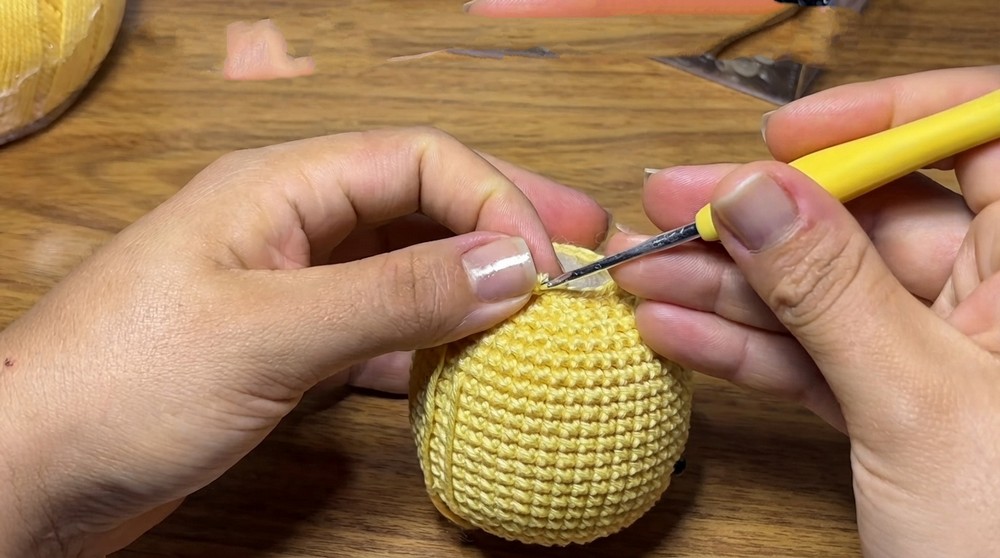
- Finishing: Cut yarn, thread needle, and close the opening using the outside loops to form an “invisible” closure. Hide yarn end inside body.
Wings (Make 2)
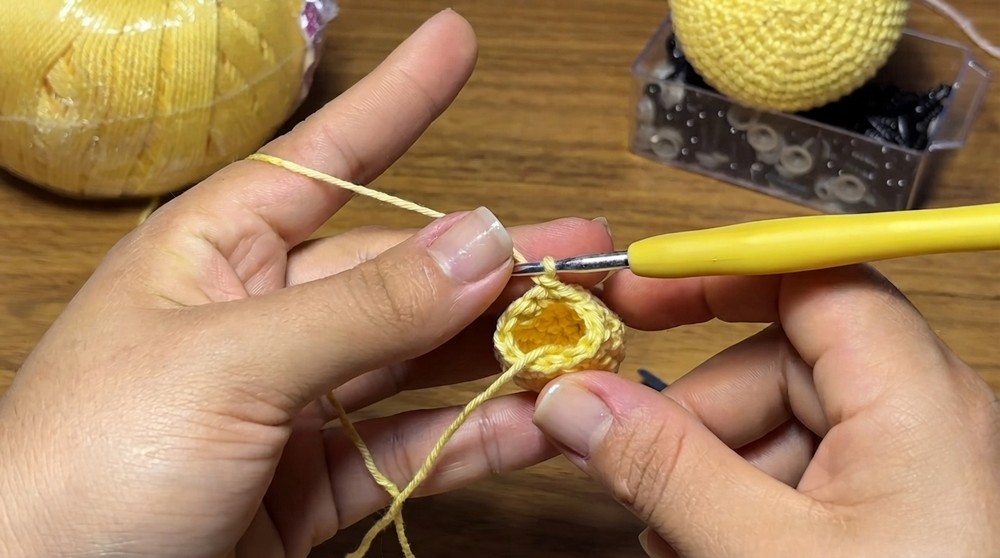
- Round 1: MR, 6 sc into ring (6)
- Round 2: 6 inc around (12)
- Round 3: (sc 1, inc) repeat around (18)
- Rounds 4–6: Sc in each st (18 per round)
- Round 7: (sc 1, dec) repeat around (12)
- Finishing: Fold the wing in half. Sl st or sc across the straight edge to close (6 sts). Cut a long yarn tail for sewing.
Tail & Topknot (Make 2; same recipe)
- MR, join yarn
- Work as follows:
- Ch 4, sk first ch, sl st in next 3 ch, sl st into MR (repeat this step 3 times so you have 3 "petals" or small spikes attached to the MR).
- Pull tail to close MR and create a small cluster.
- Leave a long tail for sewing.
Feet (Make 2)
- Round 1: MR, 6 sc into ring (6)
- Round 2: 6 inc around (12)
- Round 3: Sc in each st (12)
- Round 4: (sc 1, dec) repeat around (8)
- Finishing: Fold in half, sc evenly across the edge to close (3 sc). Cut a long yarn tail for sewing.
Beak
- Round 1: MR, 6 sc into ring (6)
- Round 2: Inc in first st, sc in next 2 sts, inc in next st, sc in final 2 sts (8)
- Join with sl st, leaving a long tail. Fold into a “V” shape.
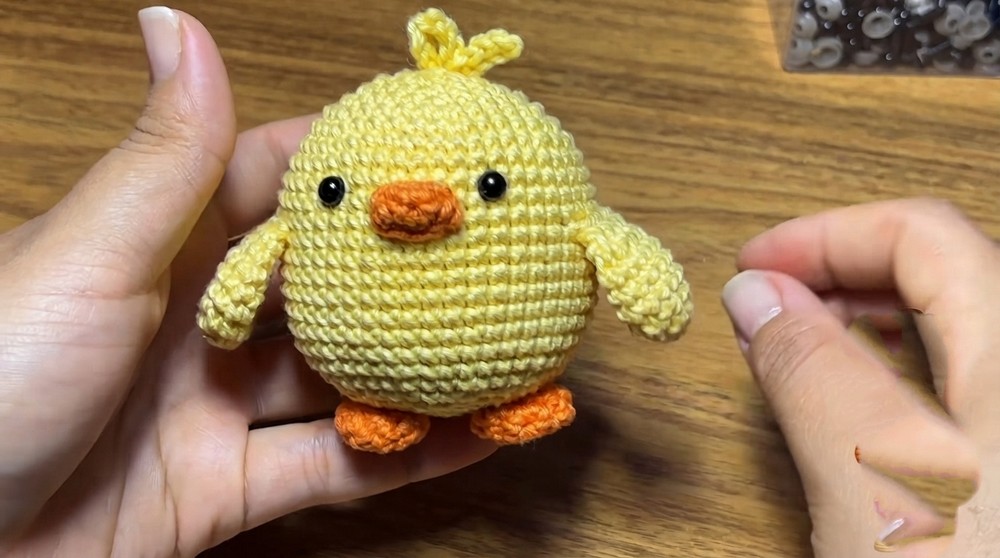
Assembly & Finished Size
- Attach feet at base, centered, allowing room for the magic ring closure.
- Sew topknot on top center of head; tail piece at back, between rounds 8 and 9.
- Sew beak between the two eyes, aligned with the line between rounds (see visual guides).
- Attach wings at sides, roughly between rounds 12 and 13, evenly spaced from eyes.
- Use tapestry needle to sew all parts using mattress or whip stitch, weaving in all ends securely.
- If wings stand up, pin down for a few hours or carefully glue a small section for a relaxed position.
Conclusion and Ending Words
Congratulations! You have completed the adorable Little Farm Chick, using the standard ball base and shaped add-ons. This pattern is beginner-appropriate, simple, and versatile—use it as a base for other animals by changing colors and features according to future lessons.