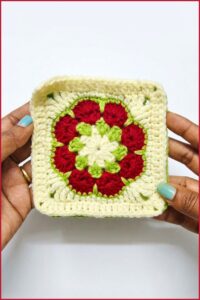
Protect your phone in style with this Free Crochet Granny Square Mobile Cover Pattern, creating vibrant, handmade covers that combine charm and function.
In the midst of everyday routines, a handcrafted crochet granny square mobile cover emerges as a charming solution to protect and adorn your device. Its vibrant, multicolored squares add a lively splash of personality, turning a simple phone case into a statement piece. The beauty of this accessory lies in its timeless appeal—combining classic crochet motifs with a modern touch—making it suitable for various styles and tastes.
Everyday Crochet Granny Square Mobile Cover Pattern That Looks Luxe
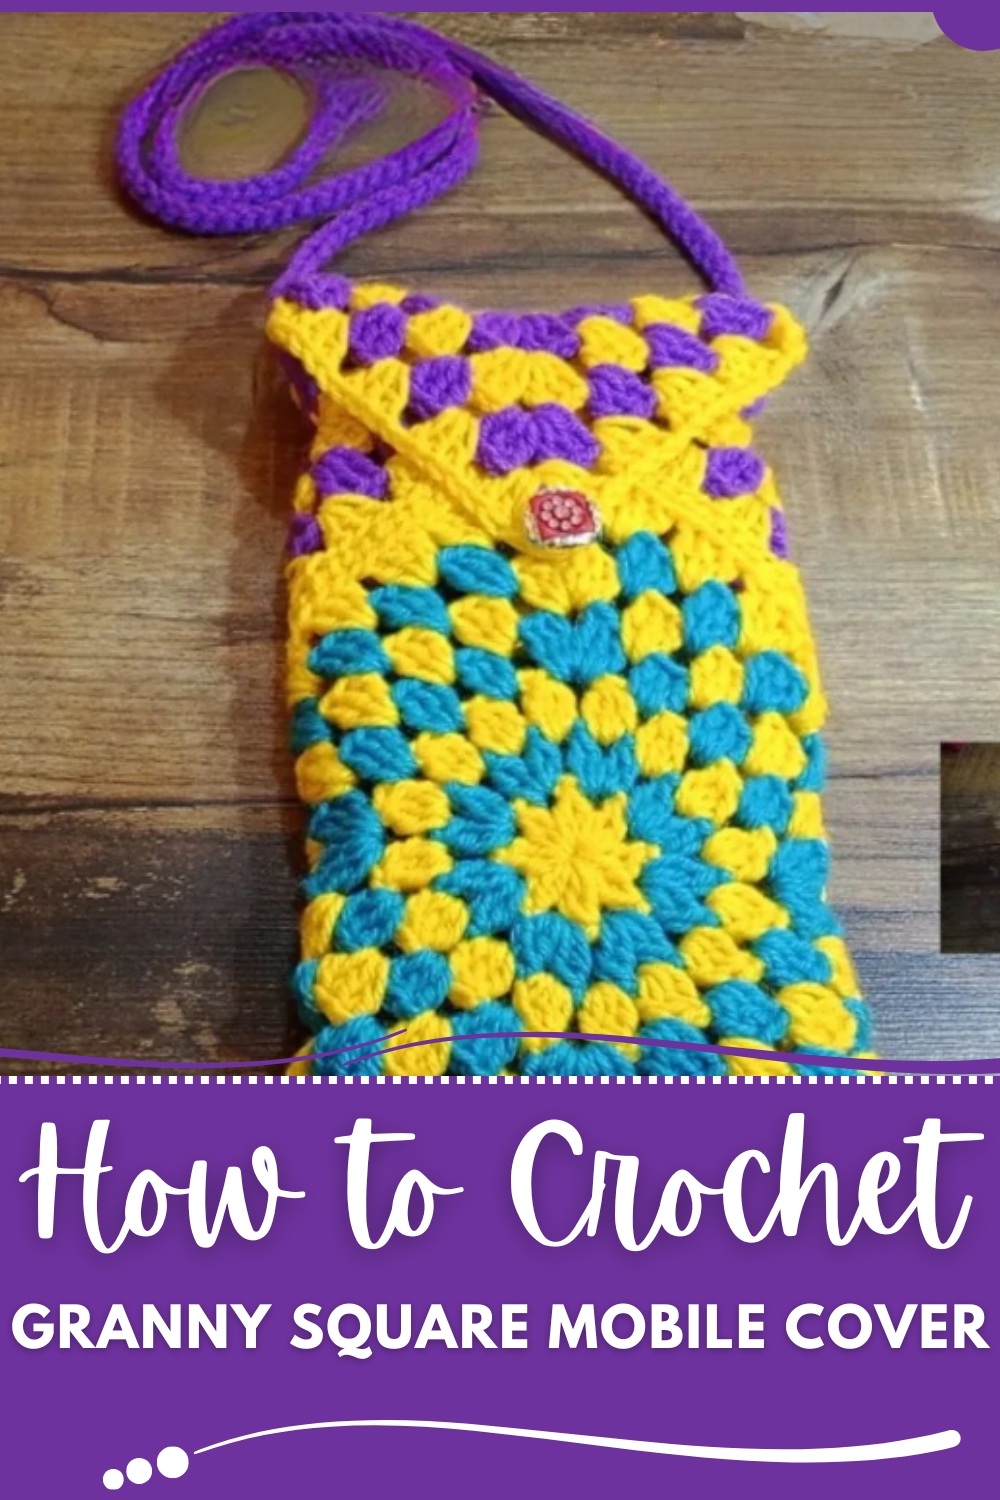
Beyond its aesthetic charm, this cover provides practical benefits: lightweight, resilient, and easy to carry along, it’s perfect for daily use or as a thoughtful gift. The rich textures and cheerful colors not only make your smartphone stand out but also bring a sense of warmth and individuality to your accessories collection.
The process encourages patience and precision, resulting in a durable, visually appealing accessory that combines function with artistic expression. Such a cover not only offers protection but also acts as a lively reflection of individual style, turning an everyday object into a lively piece of handmade art that brings joy and color into daily life.
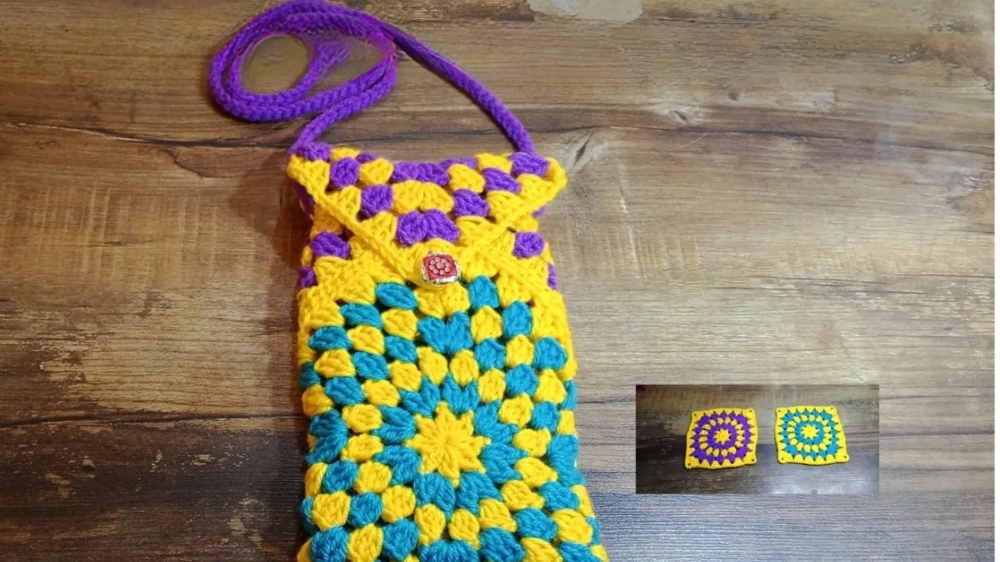
For the crochet pattern of Square Click Here!
Crochet Granny Square Mobile Cover – Step-by-Step Pattern
This tutorial demonstrates how to assemble a crochet mobile cover using pre-made granny squares. Drawing content solely from the referenced video, this guide provides precise instructions on preparing, assembling, and finishing a sturdy, functional, and attractive mobile pouch.
Quick Overview of Pattern
- Prepare two granny squares to fit your mobile device.
- Seam the sides and bottom with a needle and yarn for durability.
- Turn the pouch and check the fit with your mobile.
- Crochet a sturdy chain handle.
- Attach a button and loop closure.
Notes
- Ensure your granny squares are large enough for your device; add or remove rounds as needed.
- Keep seaming stitches consistent to create a tidy, even pouch.
- This project is perfect for using up leftover yarn and for practicing joining techniques.
- All closures—handle and button—are constructed for both functionality and decoration.
Skill Level
Beginner to Advanced Beginner
Basic crochet stitches and sewing skills are required. If you’re comfortable making granny squares and seaming crochet pieces, you will find this pattern accessible and enjoyable.
Materials
- Two matching granny squares (recommended: each with 5 standard rounds + 2 additional rounds)
- Worsted or DK weight yarn (same as granny squares or complementary)
- Crochet hook (3.5mm–4mm, or suitable for your yarn)
- Yarn needle for seaming and attaching
- Scissors
- Button for closure
Measurements / Sizing
- Finished pouch: approximately 6–7 inches (15–18 cm) square (adjust rounds per your device).
- Size should allow the mobile to slide in easily with a secure, snug fit.
Optional Schematic (Textual):
[Granny Square Front]
[Granny Square Back]
Joined at sides and bottom; handle and button on top flap.
Gauge
Gauge is flexible. Typically, after seven rounds, each granny square will measure at least 6 inches (15 cm) on each side. Always measure against your device before assembly for best results.
Stitch Abbreviations
- ch – chain
- sl st – slip stitch
- dc – double crochet
- sp – space
- st – stitch
Special Stitches
- Granny Cluster: 3 double crochets worked into the same chain space.
- Chain Space Seam: Insert the needle through corresponding chain spaces and double crochet stitches to create a strong, even joining seam.
The Crochet Pattern
1. Preparation and Measurement (0:56–1:48)
- Crochet two identical granny squares. Complete five main rounds and add two more rounds (adjust as needed for your phone’s size).
- Lay your mobile on top of a square. The square should fully enclose your phone with small margins for seams.
- If necessary, add or subtract rounds so that the finished pouch will not be too tight or too loose.
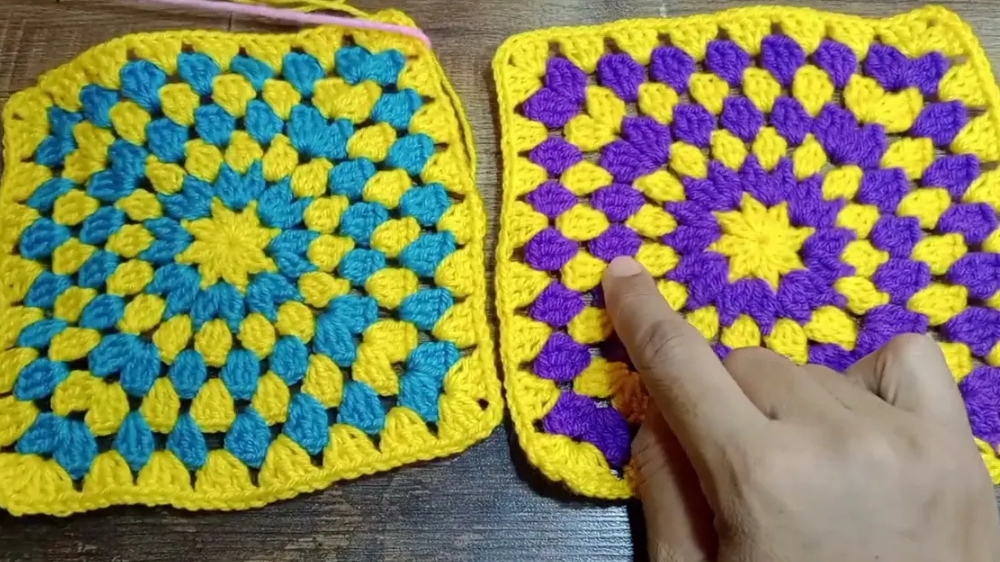
2. Joining the Sides
- Place both granny squares together, right sides facing out, aligning all edges precisely.
- With a yarn needle threaded with matching yarn, begin seaming one side from the bottom corner.
- Insert the needle through the outermost chain spaces or directly through double crochet stitches of both pieces.
- Use small, even whipstitches, working from the bottom up. Ensure every stitch passes through both squares to form a symmetrical and durable seam.
- Continue up the side until you reach the top edge. Secure the yarn and weave in the end.
- Repeat this process for the opposite side.
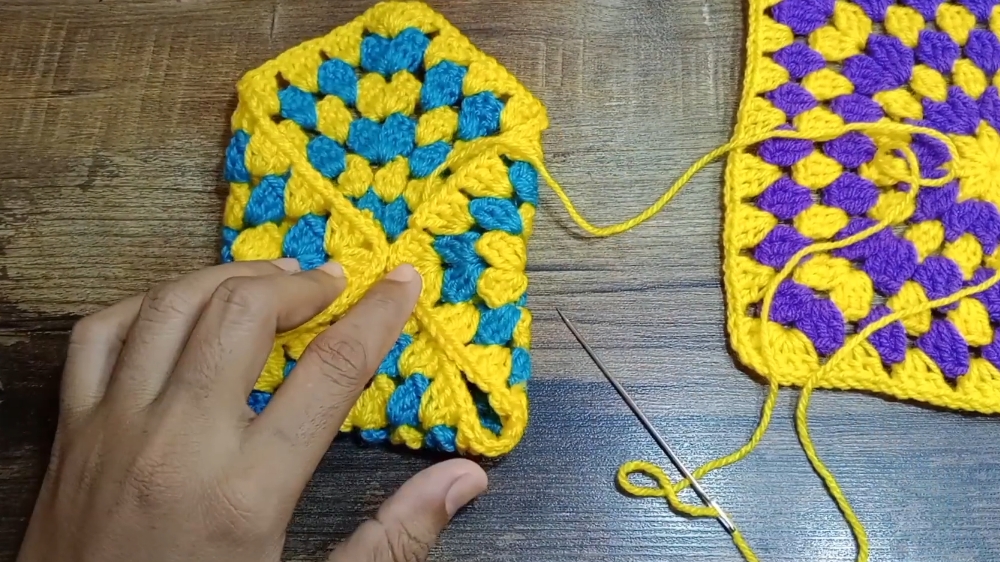
3. Closing the Bottom and Sides
- Turn your work so the open side faces you, forming a pocket.
- Seam the bottom edge similarly, matching up corners and ensuring an even, gap-free finish.
- Use careful, consistent tension; avoid sewing too tightly, as this may pucker the fabric, or too loosely, which could allow stretching.
- Reinforce both corners for extra durability.
- When complete, weave in all ends on the inside of the bag.
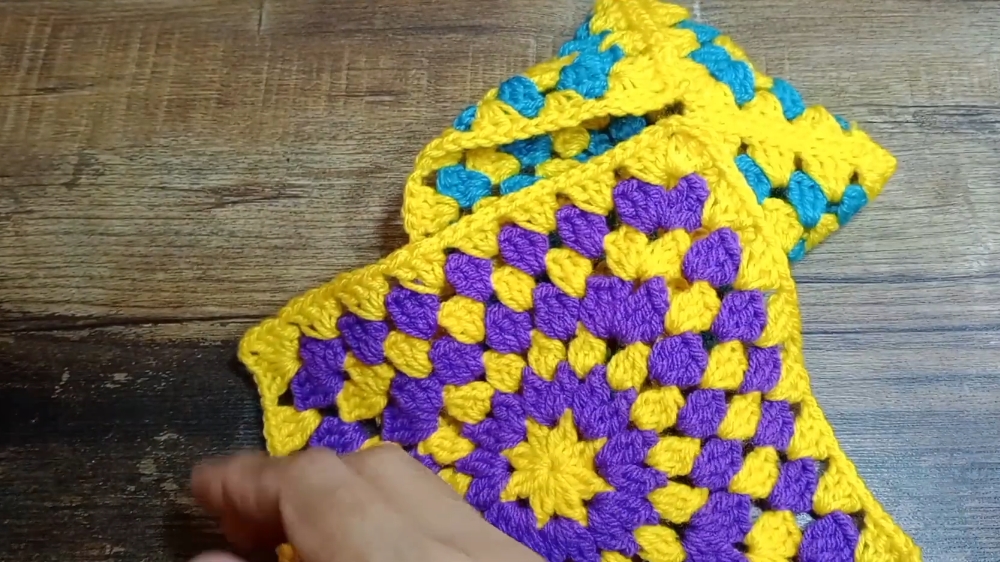
4. Finishing Touches
- Mobile Insertion
- Turn the pouch right side out.
- Insert your mobile device to ensure a precise, secure fit.
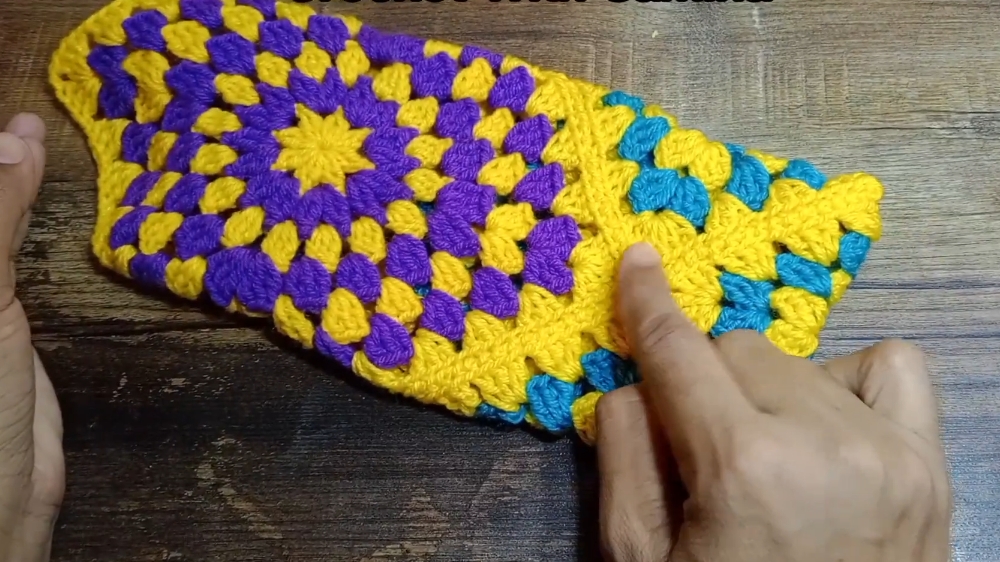
- Handle Creation
- Attach yarn at one upper corner of the pouch’s opening.
- Chain to your desired length for the handle (about 35–50 chains for a wristlet).
- Slip stitch in every chain from end to start, creating a dense, sturdy strap.
- Fasten off. Sew both ends of the strap securely to the top corners of the pouch using the yarn needle.
- Final Assembly: Button and Closure
- Fold the upper portion of the pouch over to form a flap.
- Attach a button to the pouch body at the point under the flap.
- Chain a small loop (typically 8–10 ch) with yarn, securing both ends to the inner edge of the flap.
- The loop should fit snugly around the button, securing the pouch closed.
- Weave in any ends, and tidy up all edges as necessary.
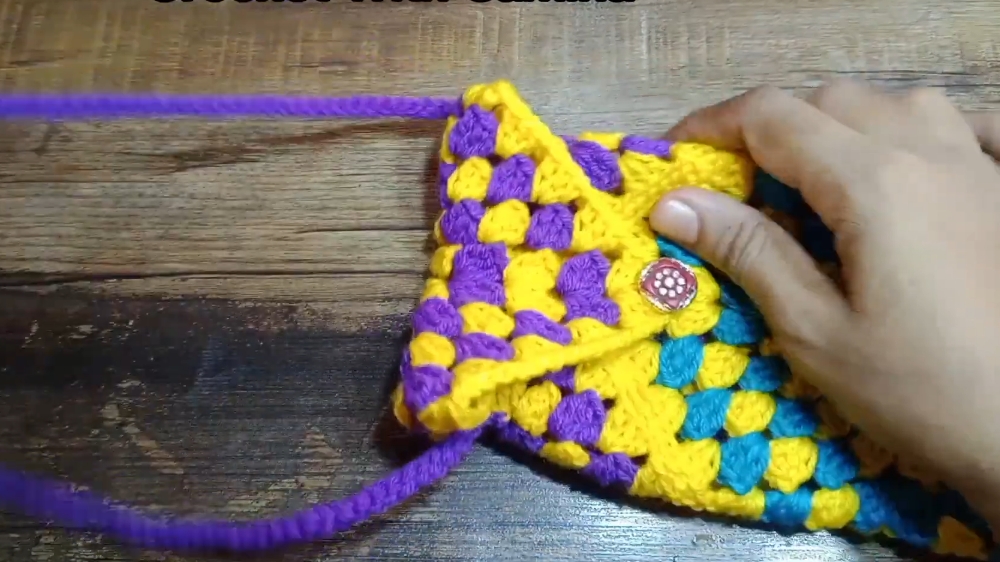
Assembly & Finished Size
Following seaming, turning, handle creation, and button attachment, your pouch should measure approximately 6.5 inches square (or as required for your mobile device). The fit should be snug, the seams neat, and the handle and button closure sturdy and secure.
Conclusion and Ending Words
Your crochet granny square mobile cover is now complete! This project is practical and stylish, offering a perfect way to showcase beautiful crochet motifs while protecting your device. The easy construction also provides a wonderful opportunity to use leftover yarn and hone seaming skills. Enjoy the handmade charm of your new pouch, gift to friends or family, and experiment with colors or closures for endless variations.