Infuse your home with holiday cheer by making this free crochet Christmas wreath pattern that combines tradition with a unique handcrafted touch.
A Christmas wreath can make a home feel warm and festive as soon as it is placed on a door. The Free Crochet Christmas Wreath Pattern is a lovely idea for anyone who wants a cheerful handmade decoration with a cozy holiday feel. Cozy Crochet Love shares this festive project through its YouTube channel, offering a lovely source of crochet ideas for those who enjoy handmade decorations.
This wreath has a round shape that looks beautiful on doors, walls, windows, or above a fireplace. Its soft crochet texture gives it a warm handmade look, while the holiday details add color and charm. The circular form makes it easy to spot, and the decorations around it give the piece a full and happy appearance.
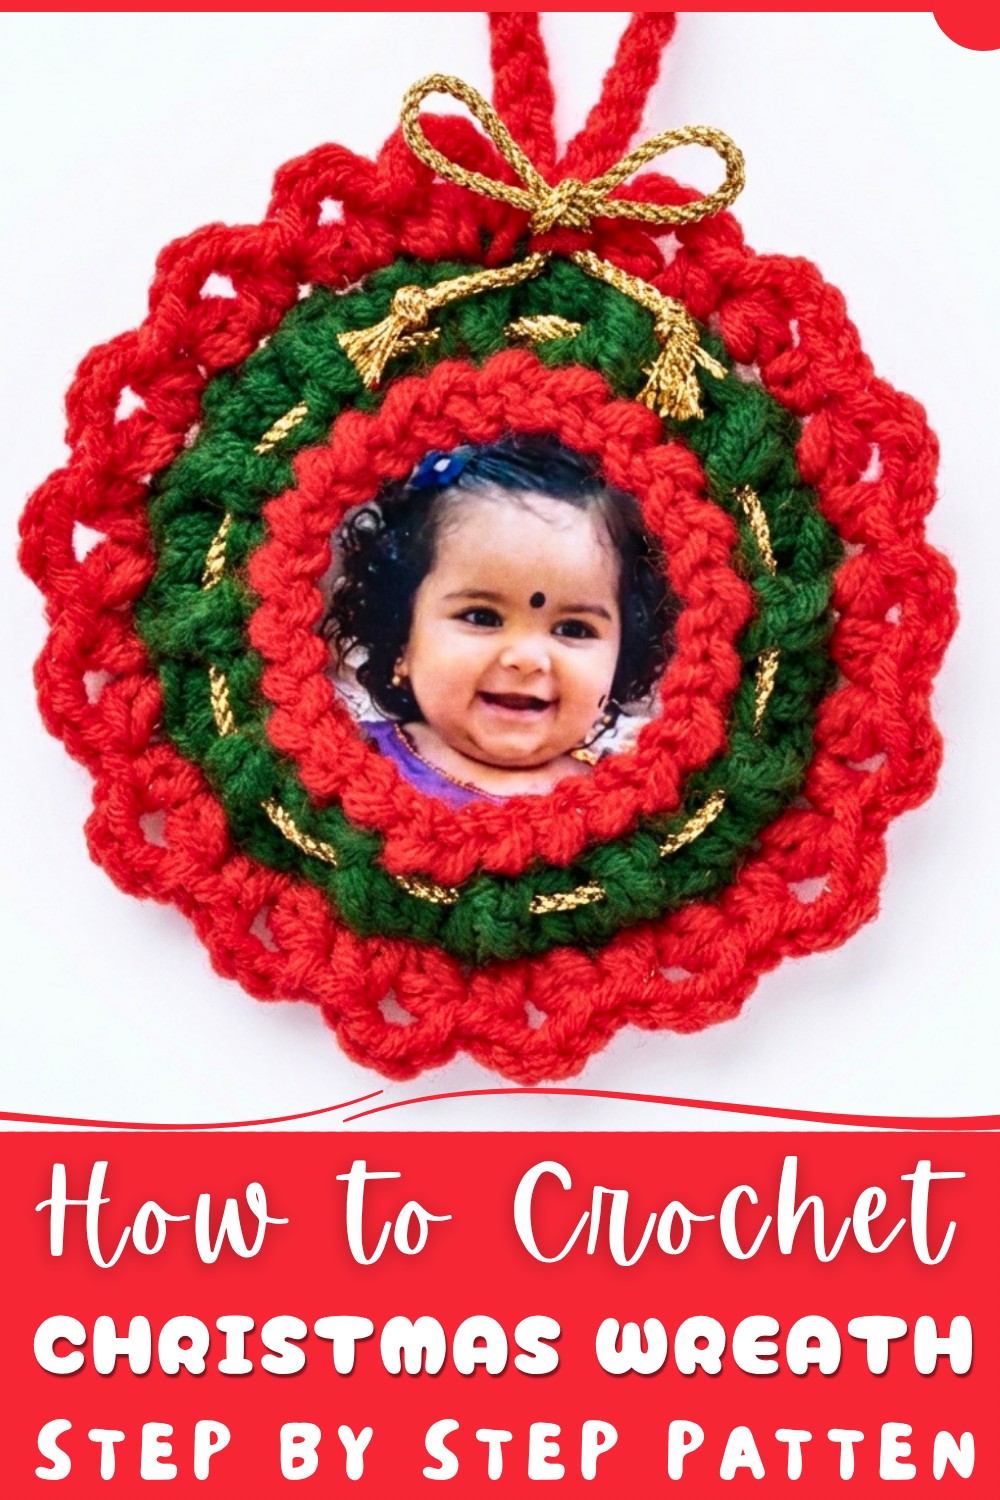
Cute Christmas Wreath Free Crochet Pattern for Beginners
The wreath can bring a little Christmas joy to almost any room. Hang it on the front door to greet visitors, place it on a wall for a simple holiday display, or use it as part of a larger Christmas setup. Its friendly style can also look lovely in a kitchen, bedroom, or family room.
One thing that makes a crochet wreath special is the personal touch it brings. Instead of using the same store-bought decoration every year, you can enjoy a piece that feels warm and made with care. It can also become a sweet holiday present for a friend, neighbor, teacher, or family member.
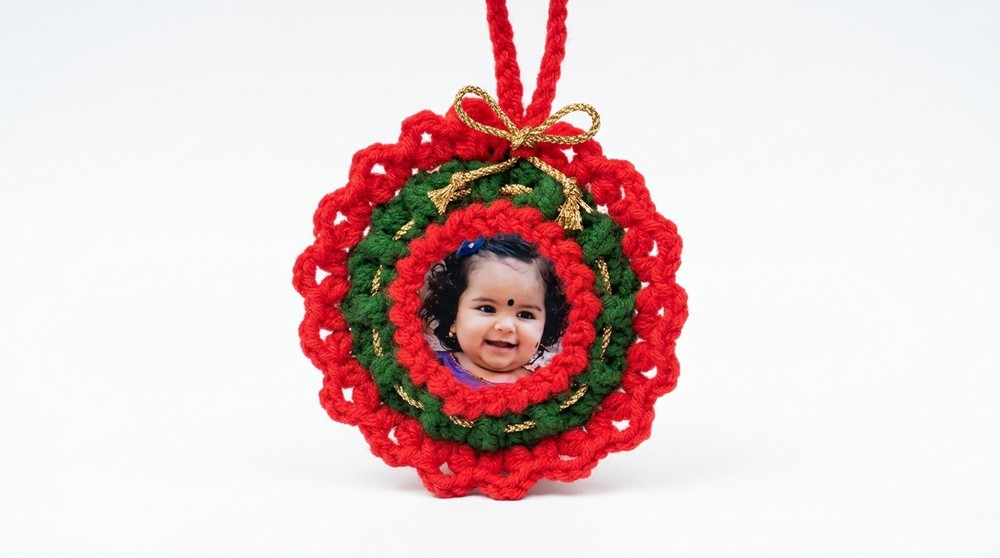
The finished wreath has a soft, cheerful style that can make a space feel more welcoming during the holiday season. Its round shape, cozy texture, and Christmas look work well with many types of decor.
Whether it hangs by the entrance or becomes part of your indoor display, this crochet wreath can bring a happy seasonal touch. It is the kind of handmade decoration that can be enjoyed year after year and become part of your Christmas memories.
Crochet Christmas Wreath Ornament Pattern
Celebrate the festive season by crafting a charming Crochet Christmas Wreath Ornament featuring a beautifully textured green base, a vivid red decorative trim, and a delicate gold lace accent. This pattern includes a thoughtful photo frame centerpiece, allowing you to personalize your ornament with a favorite picture, making it a treasured keepsake for years to come. Whether displayed on the Christmas tree, hung as a wall decoration, or added as a thoughtful gift, this wreath combines elegance and handmade warmth.
Quick Overview of Pattern
The ornament begins with a classic amigurumi technique of starting with a magic ring and working rounds of double crochet to form a circular wreath base. The structure expands through strategic increases and interesting textures created by working in back loops only. A contrasting red yarn trim defines and adorns the wreath edges, with charming scallops formed via half-double crochets and chain stitches. A functional hanging loop allows easy display. The addition of cardstock support behind the center and threading gold lace enhances both durability and decoration. The focal point is a customizable photo inserted securely at the center, personalized and beautifully framed.
Notes
- This work is crocheted in joined rounds with slip stitches to maintain defined rows.
- Using a stitch marker can keep track of round starts for ease.
- Ensure yarn tension remains consistent to preserve circular shape and even stitch height.
- Finished layer stacking and attachments like lace and bows require gentle care to avoid stretching or tearing.
- The cardstock piece reinforces wreath shape and supports the photo centerpiece.
- Use glue sparingly when securing decorations to maintain neatness.
- The hanging loop length can be adjusted to personal preference.
Skill Level
The pattern is suited for intermediate crocheters confident with:
- Starting with a Magic Ring (Magic Circle)
- Double Crochet (DC) technique and increases
- Working rounds (joined with slip stitch)
- Working in back loops only (BLO)
- Slip stitches (SL ST) and chain stitches (CH) for edging
- Basic assembly and finishing techniques including weaving yarn ends and simple attachment of accessories
Materials
- Green yarn for the wreath base, medium weight suggested
- Red yarn for decoration, matching or complementary weight
- Gold lace (decorative accent), width approx. 1 cm
- Crochet hook appropriate for yarn weight (typically 3.5 mm to 4 mm recommended)
- Scissors
- Large eye yarn needle for sewing and weaving ends
- Cardstock circular piece (approximate diameter matching wreath inner opening)
- Photo for the center (cut slightly smaller than cardstock)
- Glue (fabric or craft glue) for attaching bow and securing photo
Measurements / Sizing (Optional)
- Finished wreath diameter: approximately 12–14 cm (4.7–5.5 inches)
- Inner diameter (photo space): about 5–6 cm (2–2.4 inches) depending on cardstock size
- Hanging loop length can vary; typical length used here is 25 chains (~10 cm or 4 inches)
Gauge and Stitch Pattern
- Gauge is forgiving but should aim to produce even tension for consistent stitch height and a symmetrical wreath shape.
- The base rounds utilise double crochet (DC) stitches with increases to maintain flat circular growth.
- Texture and edge shaping achieved by working selectively in back loops only (BLO) and alternating stitch patterns for decorative effect.
- Red trim scallops are formed with half-double crochet (HDC) clusters separated by chain stitches.
- The hanging loop is a simple chain joined back to the base, providing function without bulk.
Stitch Abbreviations
| Abbreviation | Meaning |
|---|---|
| CH | Chain stitch |
| DC | Double Crochet |
| HDC | Half Double Crochet |
| SL ST | Slip Stitch |
| BLO | Back Loop Only |
| MC | Magic Circle (Magic Ring) |
Special Stitches
- Magic Circle: An adjustable loop used to begin crocheting in rounds with a tight center hole.
- Back Loop Only (BLO): Working into the back loop of the stitch only, creating a subtle ridge or raised texture on fabric surface.
- Scallop Edge (formed with HDC and CH): Creates decorative loops or waves along borders or edges.
The Crochet Pattern
Step 1: Magic Ring & Base Formation
- Create a Magic Ring (MC) to begin the wreath center.
- Chain 2 (counts as first DC for this round).
- Work 11 Double Crochets (DC) into the magic ring. Total stitches for this round are 12 including the initial chain 2.
- Slip stitch (SL ST) to the top of the chain 2 to join the round tightly. The round forms a small, firm base circle.
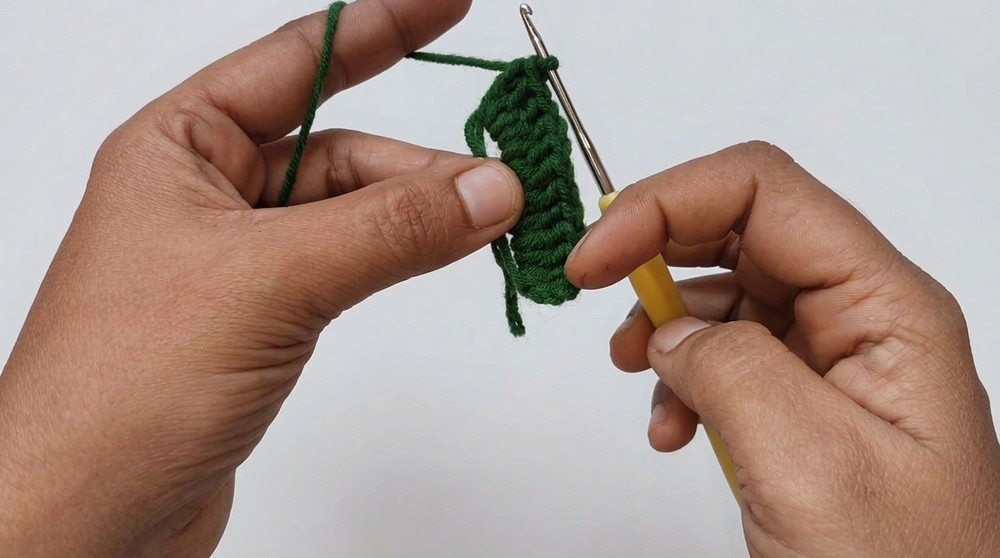
Step 2: Round 2 - Increasing the Circle
- Chain 2 (counts as first DC).
- Work 2 DC in every stitch around the circle. This round doubles the stitch count from 12 to 24.
- Join with a slip stitch to the chain 2.
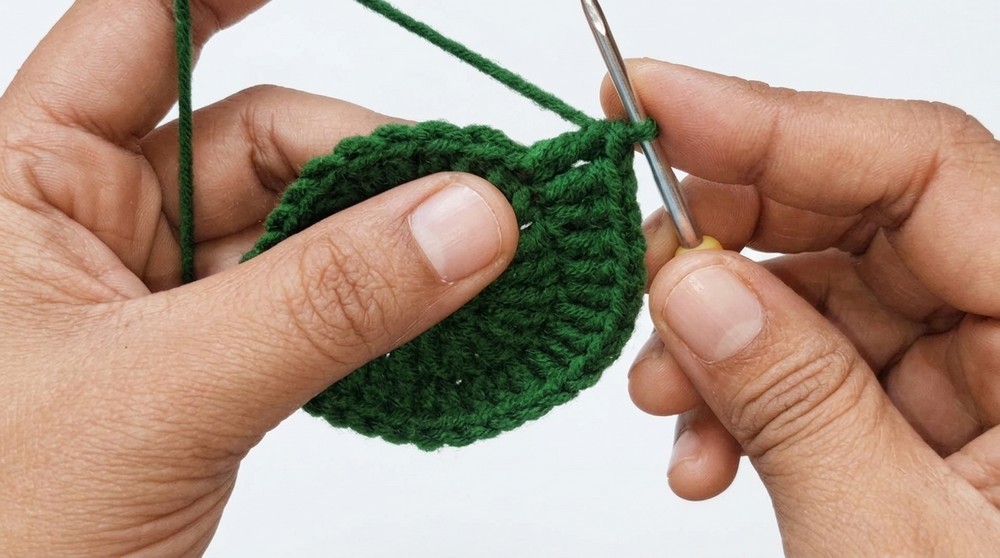
Step 3: Round 3 - Expanding Further with Alternating Increase
- Chain 2.
- Follow the sequence: 1 DC in next stitch, then 2 DC in the following stitch to increase.
- Repeat this pattern (1 DC, 2 DC) all around the circle, resulting in 36 stitches total.
- Slip stitch to join.
Step 4: Round 4 (Back Loops Only) - Creating Texture
- Chain 2.
- Work 2 DC into back loops only (BLO) in the first stitch.
- Skip the next stitch.
- Repeat the sequence: 2 DC in BLO, skip 1 stitch around the circle.
- Slip stitch to join. This creates small raised puffed segments alternating with spaces, adding dimension.
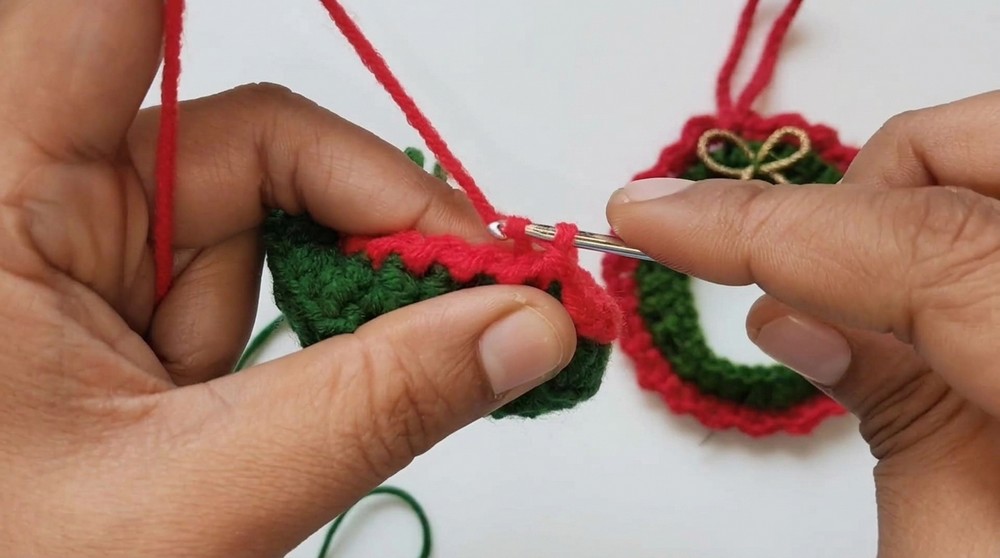
Step 5: Adding Red Trim
- Turn the work to the back side (reverse).
- Join red yarn.
- Chain 1.
- Slip stitch (SL ST) into each chain gap around the wreath, neatly outlining the gaps made in the previous round.
- Finish with a slip stitch and fasten off the red yarn.
Step 6: Outer Wreath Edge Decoration
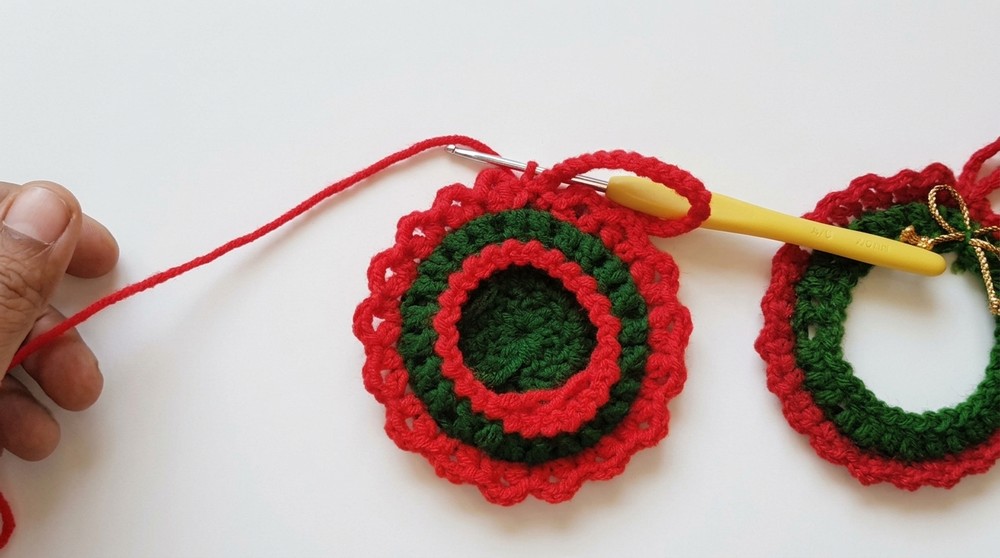
- Using red yarn again (rejoin if needed), work into the front loops only (FLO) of the stitches that comprise Round 4.
- In each space, make the following pattern:
- 1 half-double crochet (HDC),
- Chain 3 (CH 3),
- 1 half-double crochet (HDC) again in the same space.
- Skip the next chain gap and repeat this pattern around. This creates delicate scallops reminiscent of holly or festive ribbon loops.
- Slip stitch to finish and fasten off.
Step 7: Hanging Loop
- Attach yarn at the top of the wreath (desired loop point).
- Chain 25 (or adjust length as preferred).
- Slip stitch back into the attachment point on the wreath.
- Cut yarn and weave in ends securely. This loop allows hanging your ornament easily.
Step 8: Finishing Touches
- Cut a circular piece of sturdy cardstock sized to fit neatly behind the wreath’s center hole. This reinforces the wreath and provides stability for added decorations.
- Thread gold lace through the innermost loops or spaces of the wreath as decorative accents, weaving gently and allowing tails to drape elegantly.
- Attach a decorative bow using glue or by sewing securely near the top or bottom of the wreath for added festivity.
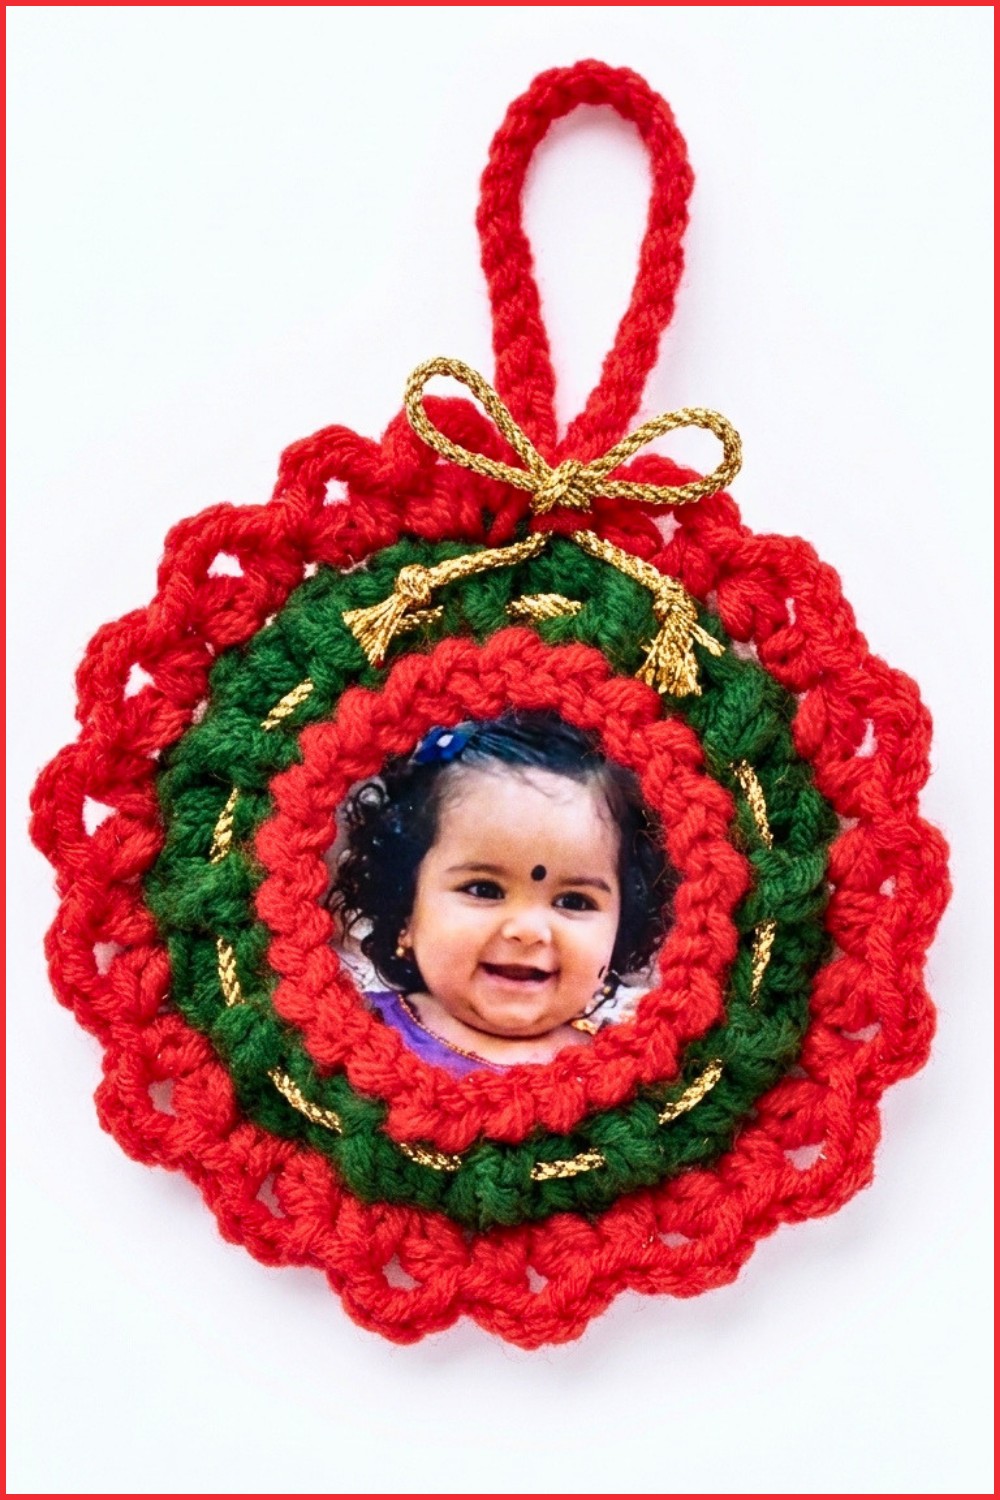
- Place your chosen photo cut slightly smaller than the cardstock inside the wreath center and secure with glue or tape behind the cardstock for a clean, framed appearance.
Assembly & Finished Size
Once all parts are crocheted, attached, and trimmed, your Christmas wreath ornament stands approximately 12–14 cm (4.7–5.5 inches) in diameter, perfect for tree hanging or wall display. The cardboard insert gives craft stability, and the gold lace adds elegance. The hanging loop length around 10 cm (4 inches) is practical for most uses but can be tailored. The photo centerpiece makes this pattern perfect for personalized gifting or commemorative decoration.
Conclusion
This Crochet Christmas Wreath Ornament captures the spirit of the season with classic techniques and thoughtful details. The combination of textured green base rounds, festive red scalloped trim, and golden lace accentuates the handcrafted beauty, bringing warmth to holiday décor. The personalized photo center makes it a meaningful gift or keepsake, perfect for sharing memories.
With intermediate crochet skill and care, you can create this charming ornament that marries function, festivity, and customization. Enjoy the crafting process as you bring holiday cheer stitch by stitch.