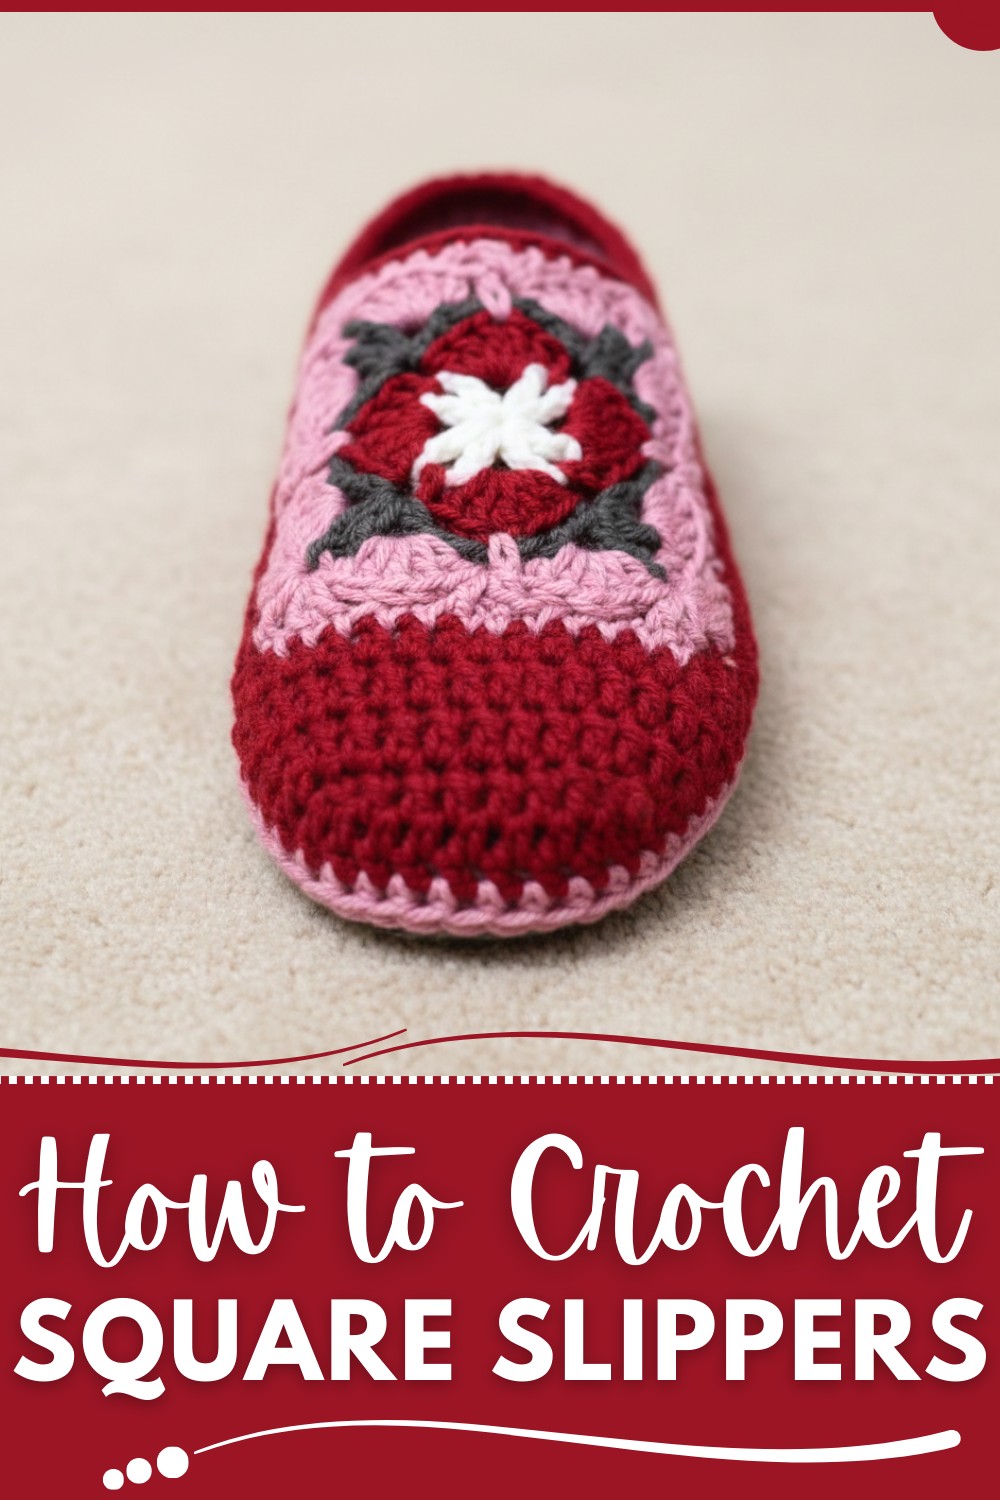
Stylish Crochet Square Slipper Pattern for Lazy Days
Materials Needed
- Yarn:
- Worsted weight yarn (#4) in four colors.
- Examples: Crofter’s Square or similar brands.
- Mix & match colors for the main slipper body and the square design.
- Crochet Hook:
- Size I (5.5 mm)
- Additional Supplies:
- Stitch markers or contrasting yarn (optional, but helpful).
- Yarn needle (for sewing the seams and weaving in ends).
- Scissors.
Finished Size
The pattern includes instructions for Small, Medium, and Large sizes:
- Small: Fits women’s shoe size 5–6
- Medium: Fits women’s shoe size 7–9
- Large: Fits women’s shoe size 10+
Easy Crochet Square Slippers Pattern
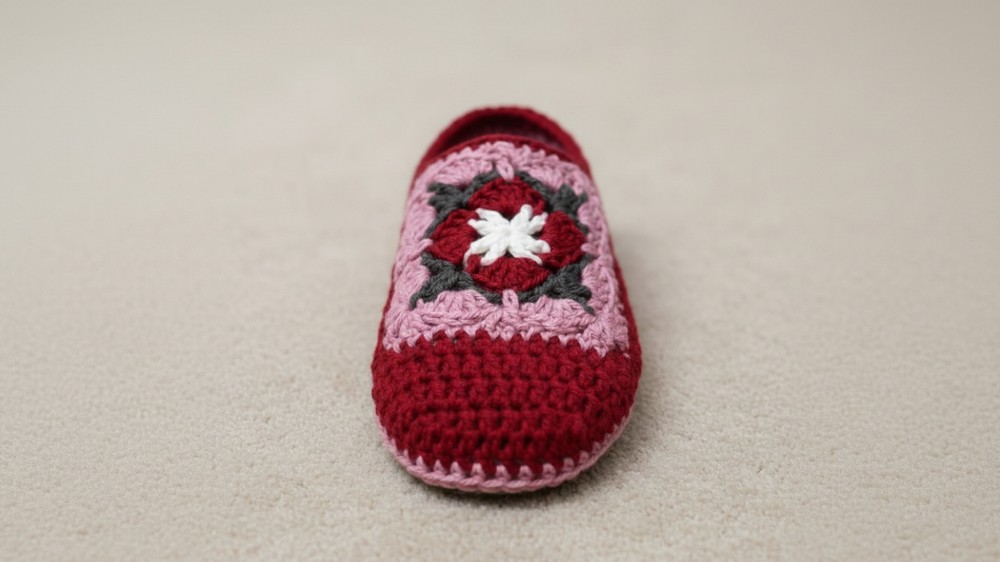
This pattern guides you step-by-step through crocheting warm, customizable slippers using worsted weight yarn and a granny square design. The construction begins at the toe and incorporates a beautiful square for the top. This is a quick and practical project for crocheters of all skill levels.
Pattern Instructions
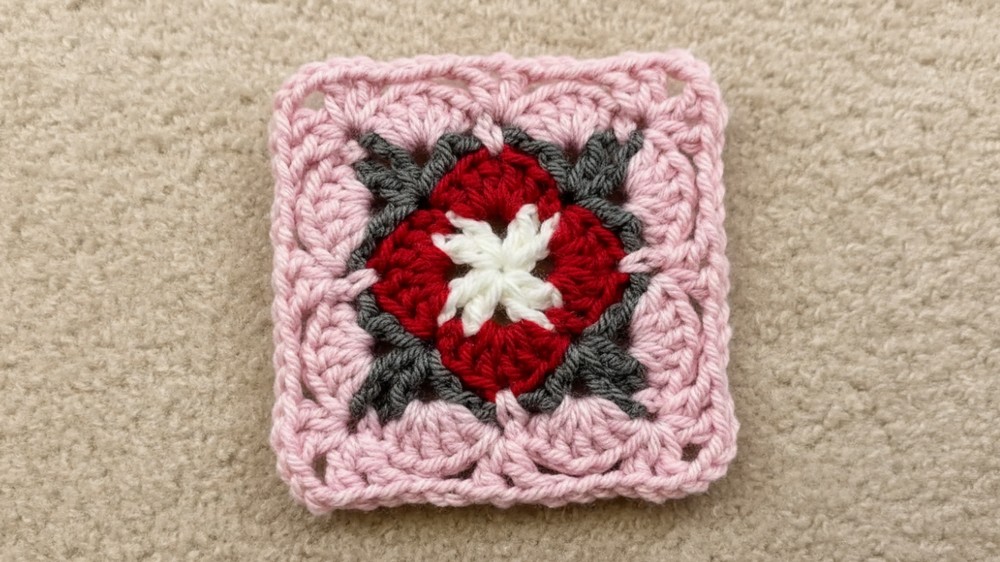
Step 1: Create the Granny Squares for the Top
- Make Two Granny Squares:
- Use your choice of yarn colors. Follow any classic granny square pattern. The referenced video contains a separate guide for making these squares.
- Each square should be large enough to fill the opening on top of the slipper where the foot slides in.
- Set Aside Completed Squares:
- These will be sewn into the top opening later in the pattern.
Step 2: Toe Section
Round 1:
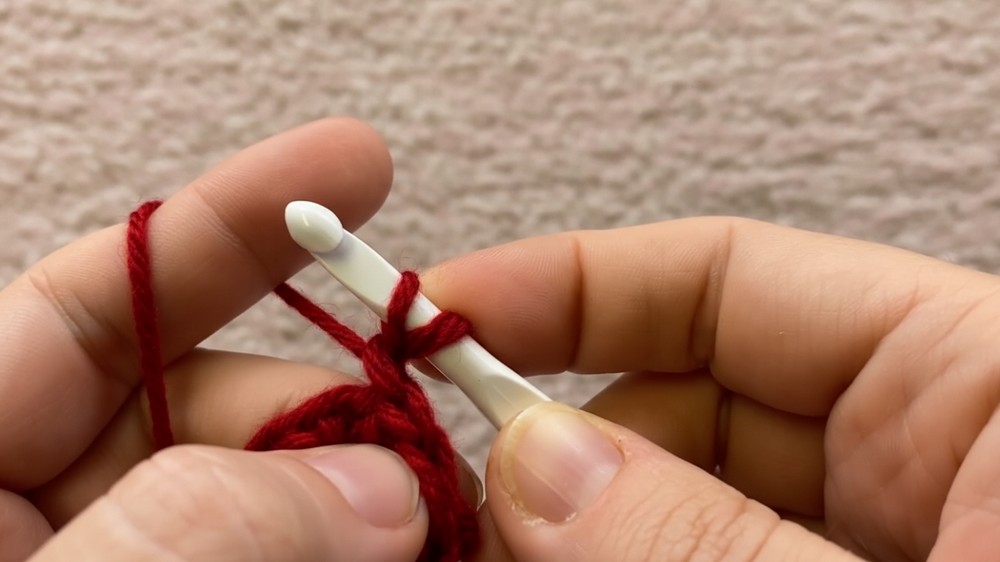
- Start with a magic ring:
- Hold the yarn tail in your palm, wrap it around your finger twice, and form an "X".
- Insert your hook under the first loop, grab the second loop, remove your finger, and pull up a loop.
- Chain 3 (this counts as the first double crochet).
- Work 7 double crochets (DC) into the magic ring, making a total of 8 DC (including the beginning chain 3).
- Pull the yarn tail tightly to close the ring.
- Slip stitch into the top of the chain 3 to join.
Round 2:
- Chain 3 (or work a chainless DC—optional).
- Work 2 DC in each stitch around, starting in the same stitch as the chain 3.
- Total: 16 DC (double the original 8 stitches).
- Slip stitch into the top of the first chain to join.
Round 3:
- Chain 3 and work:
- 1 DC in the first stitch, 2 DC in the next stitch.
- Repeat: 1 DC in next, 2 DC in next stitch around.
- Your total stitch count at the end of this round should be 24 stitches for Small, 28 for Medium, or 32 for Large.
- Slip stitch to join.
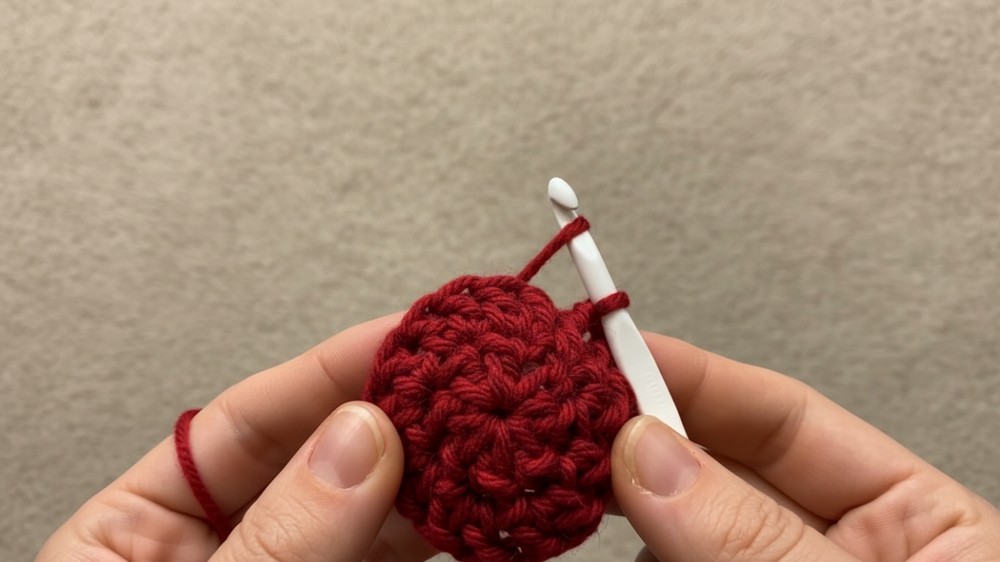
Subsequent Rounds (Expansion Rounds):
- Continue increasing to get the desired width of the toe base:
- Follow the increasing pattern of alternating single and double DCs.
- For example: 1 DC, 1 DC, 2 DC for the 4th round expansion.
- Stop increasing when you reach the desired toe size:
- Small: 30 stitches.
- Medium: 32 stitches.
- Large: 34 stitches.
Step 3: Creating the Slipper Body
- Begin Working in Rows:
- Stop working in rounds when the toe is complete. Begin crocheting back and forth in rows to form the slipper's base.
- Leave the top 12 stitches unworked (regardless of size). These unworked stitches will form the square’s opening later.
- Rows of Double Crochet (DC):
- Chain 3 (or use the chainless DC technique) at the start of each row.
- Work DC in each stitch across for 19 stitches (Medium size) or adjust for your chosen size:
- Small: 17 stitches.
- Large: 21 stitches.
- Number of Rows:
- Work the following total rows to cover the length of your foot:
- Small: 12 rows.
- Medium: 14 rows.
- Large: 16 rows.
- Work the following total rows to cover the length of your foot:
- Fasten Off Yarn:
- Leave a long tail for sewing the back seam.
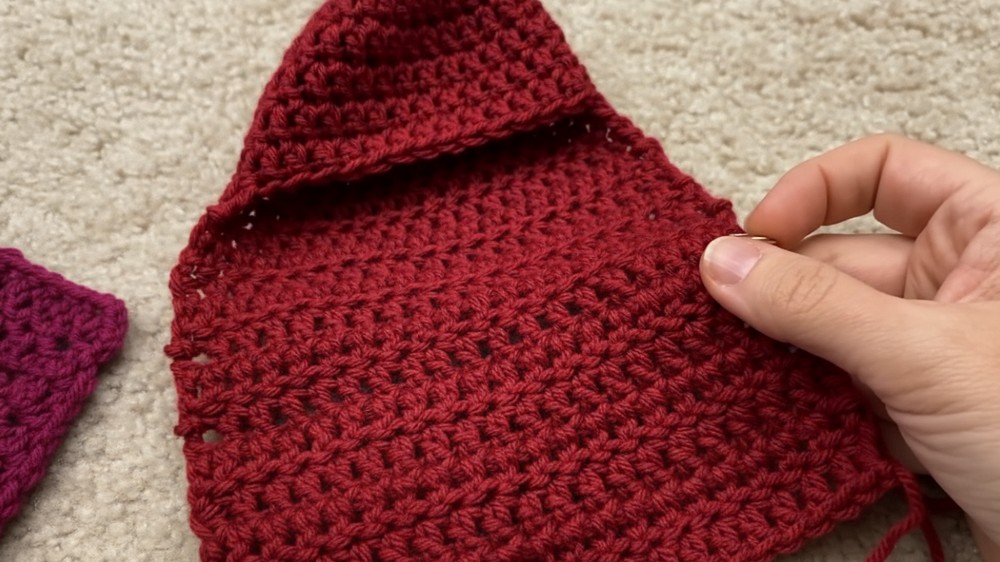
Step 4: Sewing the Back Seam
- Align the Heel:
- Fold the slipper so that the two sides of the heel meet evenly.
- Use a Mattress Stitch to Seam the Back:
- Thread the long yarn tail into a yarn needle.
- Use the mattress stitch by inserting your needle through the top loops of corresponding stitches on both sides.
- Continue the seam evenly until the back is fully closed.
- Weave in Ends:
- Secure yarn ends with knots and weave the tail back and forth to hide it.
Step 5: Adding the Granny Square to the Top
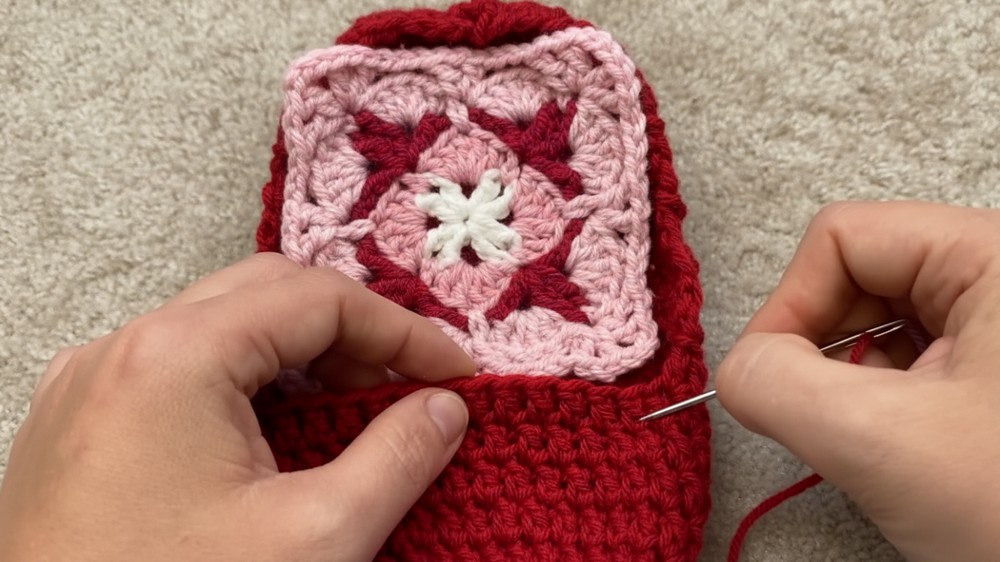
- Align the Square with the Open Slipper Top:
- Lay the square over the opening so it evenly covers the space. The sides of the square should match the 12-stitch unworked section.
- Mattress Stitch the Square:
- Starting at one corner, sew the square to one side of the opening using the mattress stitch.
- Work all around the square to secure it to the slipper.
- Small gaps may appear from the square's nature—this is expected.
- Weave in Ends:
- Secure and hide any remaining yarn ends.
Step 6: Add Single Crochet Trim
- Attach Yarn at the Back:
- Rejoin yarn at the heel of the slipper.
- Single Crochet (SC) Around Top Opening:
- Work single crochet stitches evenly around the edge of the slipper and attached square.
- At the corners of the square, work a single crochet 2 together (SC2tog) to ensure smooth corners.
- Finishing:
- Slip stitch into the first SC to join.
- Weave in the remaining ends.
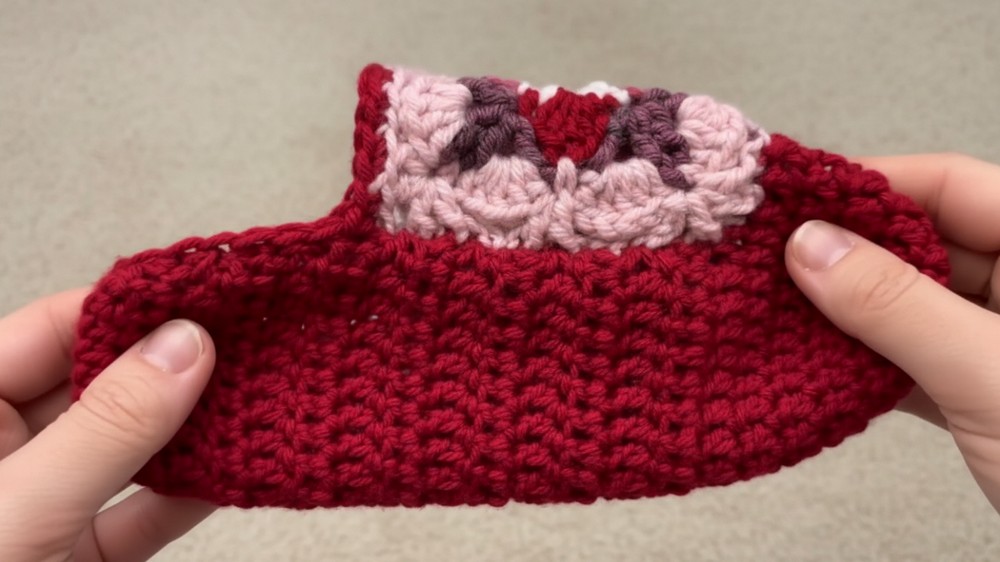
Customization Tips
- Yarn Choices: Experiment with different colors or textured yarns for the granny square. Use bold, spring colors or neutral tones depending on your mood.
- Toe Shape: Adjust the number of increase rounds to fine-tune the width of the slipper toe.
- Slip-Resistance: Add fabric dots or non-slip backing to the slipper soles for safety on slippery floors.
Special Techniques
- Magic Ring: A seamless way to begin the slipper toe.
- Chainless Double Crochet: Creates a cleaner and stronger edge compared to traditional chain starting stitches.
- Mattress Stitch: Preferred for joining edges without adding bulk to the seams.
Conclusion
Congratulations! You’ve crocheted a stylish and functional pair of square-inspired slippers. The design combines practicality with a touch of elegance, perfect for gifting or personal use. The attached granny square adds personality, and the seamless stitches ensure a comfortable fit.
Important Points
- Final Look: The slipper should snugly fit your foot, with a seamless back and a decorative square on top.
- Care Instructions: Wash gently in cool water and lay flat to dry.