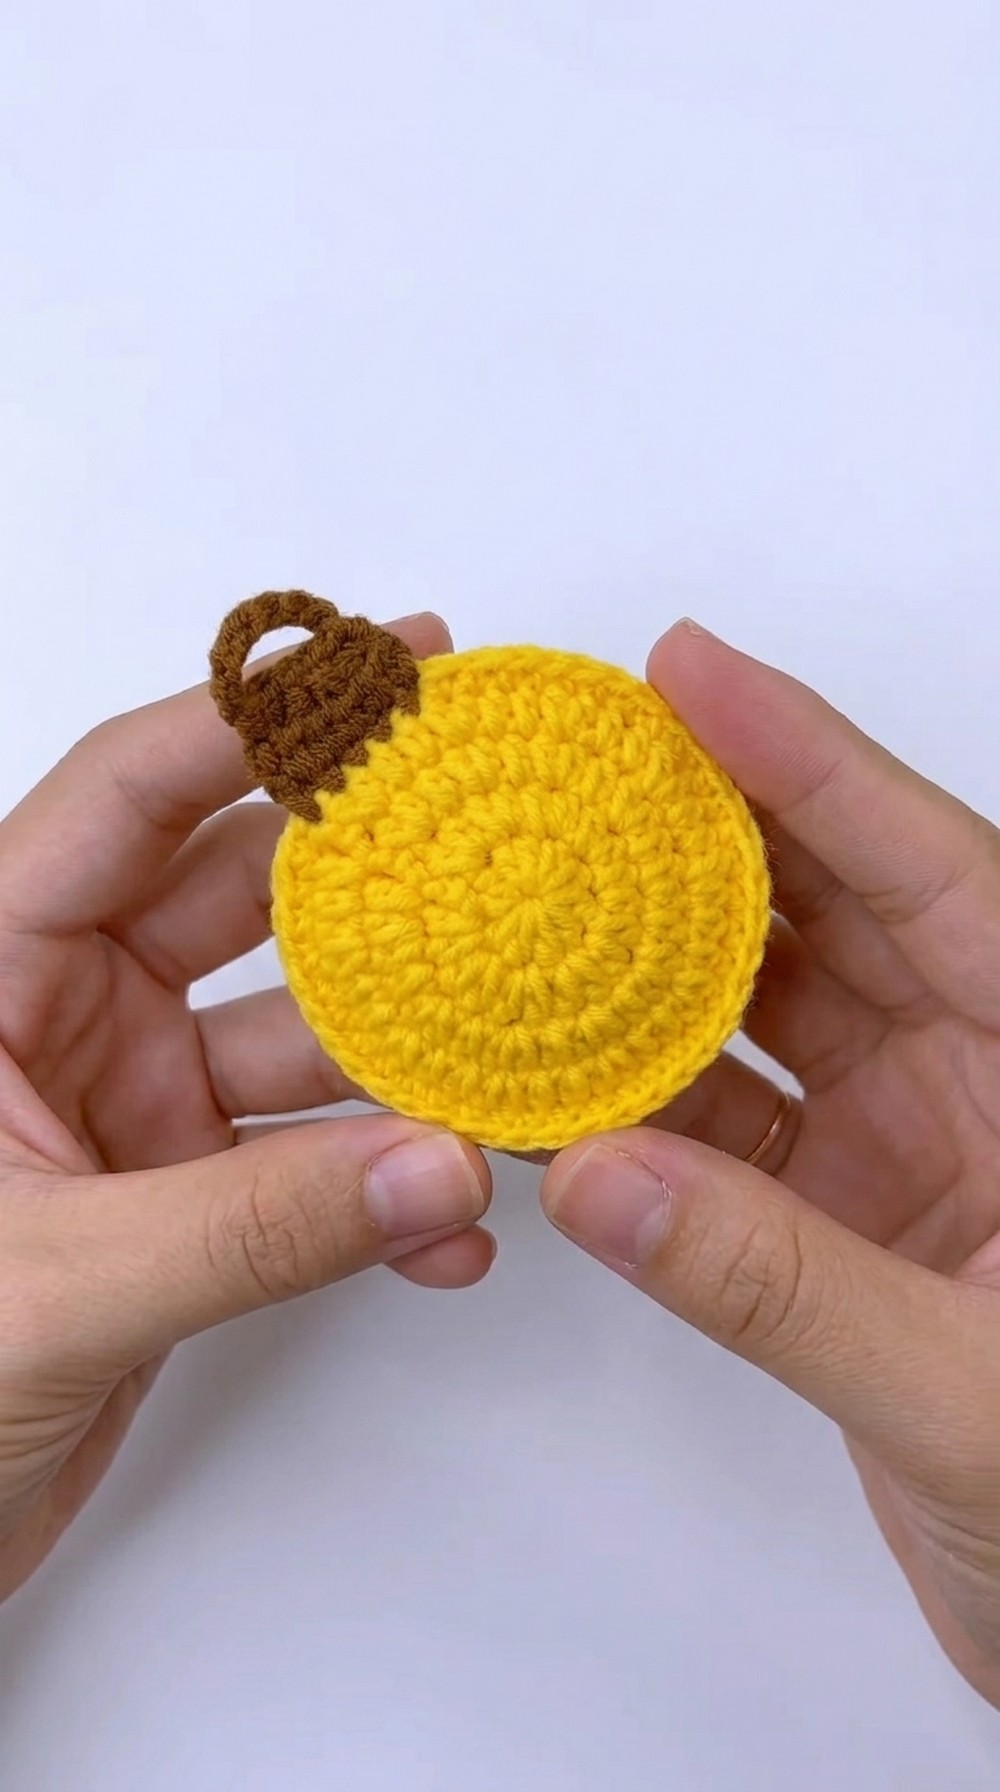
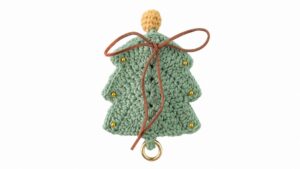
Bring light and joy to your holiday with the easy Crochet Christmas Light Bulb keychain that makes a great gift or decoration for any space.
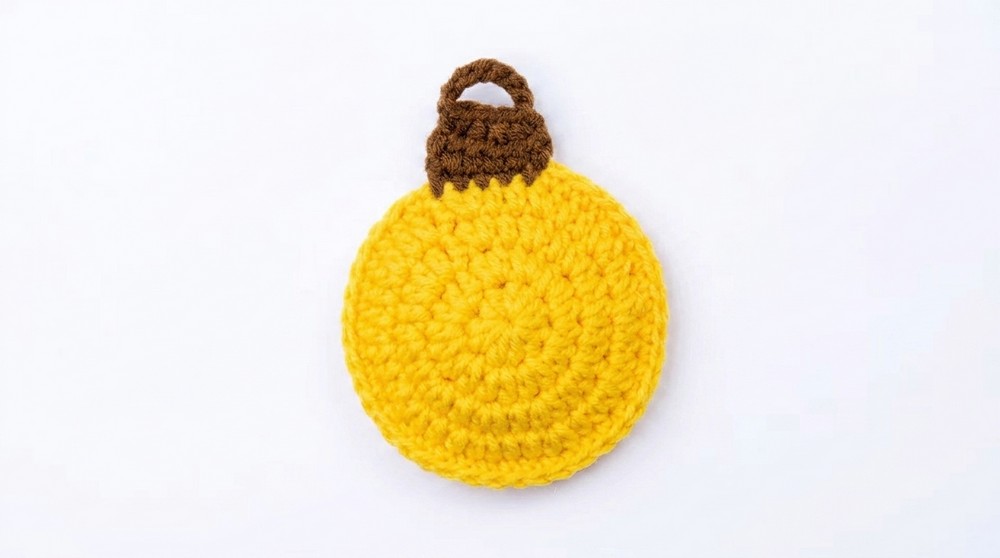
Add a touch of holiday cheer with a soft and colorful decoration made from yarn. This is called a Crochet Christmas Light Bulb. It looks very much like a real Christmas light bulb, with a round shape and a pointed tip just like the lights used to decorate trees and homes during the holiday season.
Handmade Crochet Christmas Light Bulb Free Pattern for Home Décor
The
-+crochet project is available in bright, joyful colors such as red, green, yellow, and blue. These colors stand out and bring a happy feeling to any room or Christmas tree. Because it is made from yarn, the bulb feels soft and is very safe. Kids and pets can enjoy these decorations without any worries. Unlike glass bulbs, these won’t break if they are dropped or handled roughly, making them a great option for families.
The process to make one of these light bulbs is quite simple. With just some yarn and a few easy stitches, anyone can put one together. It is a fun and quick project, suitable even for those new to crochet.
You can make many of these bulbs to hang around your house or to give as little handmade gifts to friends and family. They are very light, so hanging them on branches, garlands, or even door handles is easy.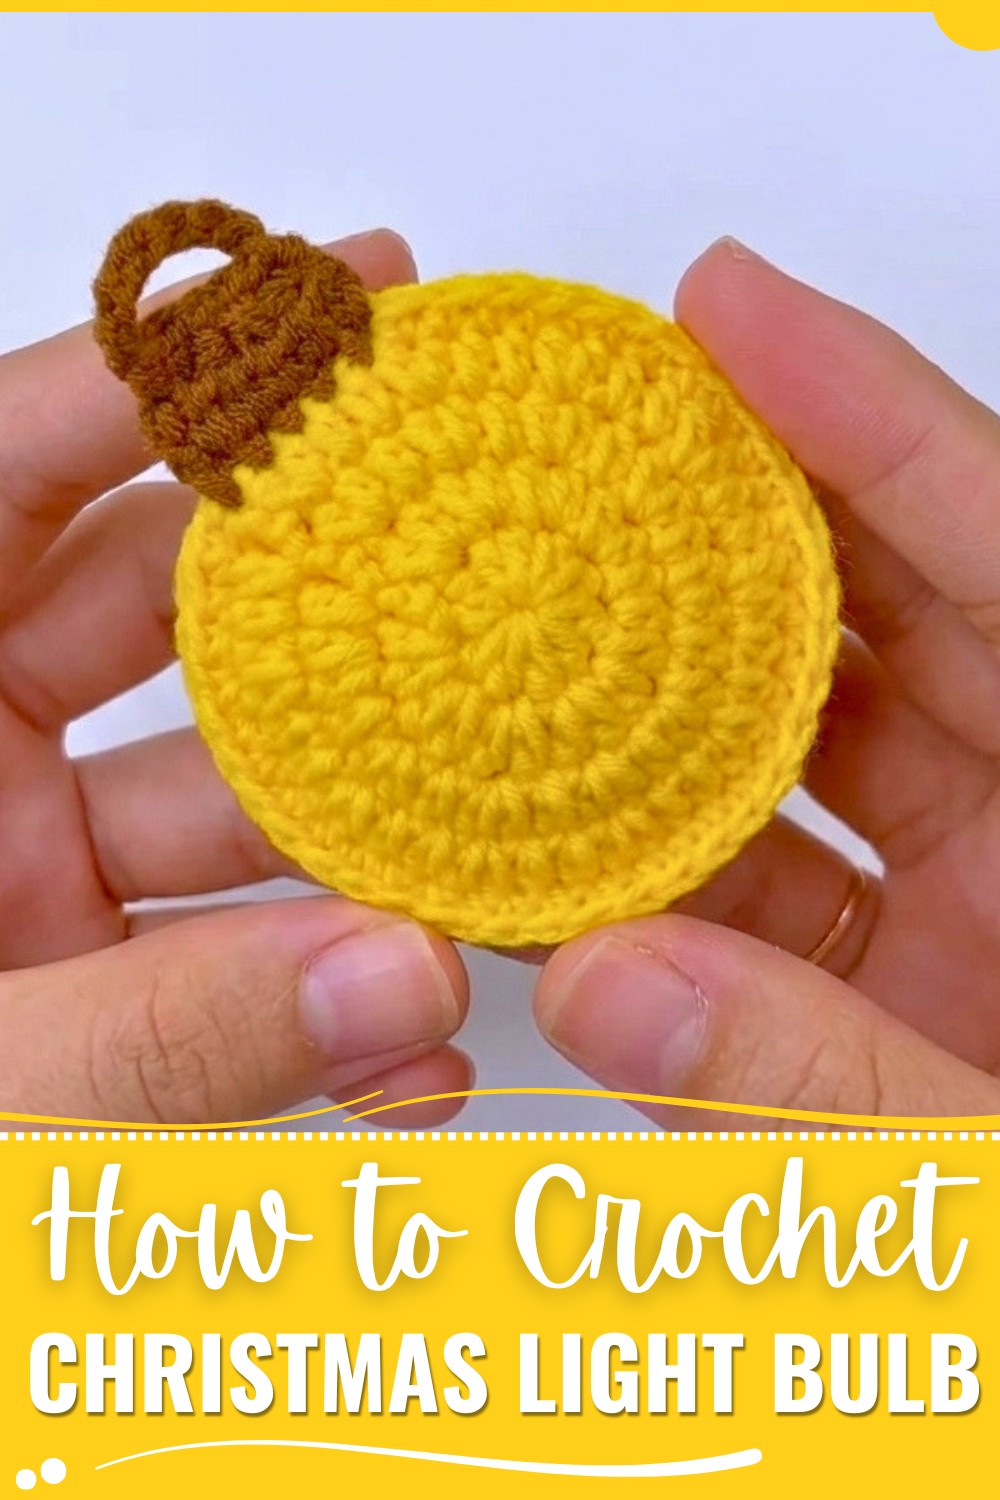
Using the Crochet Christmas Light Bulb adds warmth and a homemade touch to your holiday decorations. Its bright colors and soft texture bring a cheerful and cozy atmosphere. For a festive, safe, and colorful decoration, these crochet bulbs are a wonderful way to brighten any holiday space
Christmas Bulb Ornament Crochet Pattern
How to crochet Christmas Bulb Ornaments. This is a super easy crochet tutorial and you can make it in a short time, making it perfect for the busy holiday season.
Pattern Highlights
- Worked in the Round: Magic ring base, worked in joined rounds for a seamless finish.
- Simple Increases: Each round uses basic increases to shape the bulb.
- All Half Double Crochets: Creates a dense but flexible fabric with beautiful stitch definition.
- Quick Completion: Perfect last-minute festive project.
Notes
- Be sure to pull the magic ring tightly closed to avoid a hole at the top of your ornament.
- Use a consistent tension to keep the rounds neat and sides uniform.
- While the pattern provides a bright, solid-color bulb, you may use variegated yarns, or change color for unique effects.
- Always join rounds by skipping the last chain up, and work the slip stitch into the first stitch of the round for a smooth seam.
Skill Level
Beginner Friendly.
If you know how to make a magic ring and half double crochet, you can complete this project easily.
Materials
- Milk cotton yarn (50g or any similar worsted-weight cotton or acrylic yarn)
- 2mm crochet hook
- Scissors
- Yarn needle (for weaving in ends)
- Optional: A small amount of stuffing or a bead if you’d like to give your ornament a 3D shape
Measurements / Sizing
- Finished bulb diameter: Approximately 4–5 cm (varies by yarn and tension)
- Bulb height: Approximately 5–6 cm
Gauge
- Exact gauge is not critical; what’s important is creating a tight fabric that holds a slight shape.
- For reference:
- 10 hdc in magic ring measures ~2–2.5 cm across.
Stitch Abbreviations
| Abbreviation | Term |
|---|---|
| ch | Chain |
| sl st | Slip stitch |
| hdc | Half double crochet |
| inc | Increase (2 hdc in same stitch) |
| MR | Magic ring |
Special Stitches
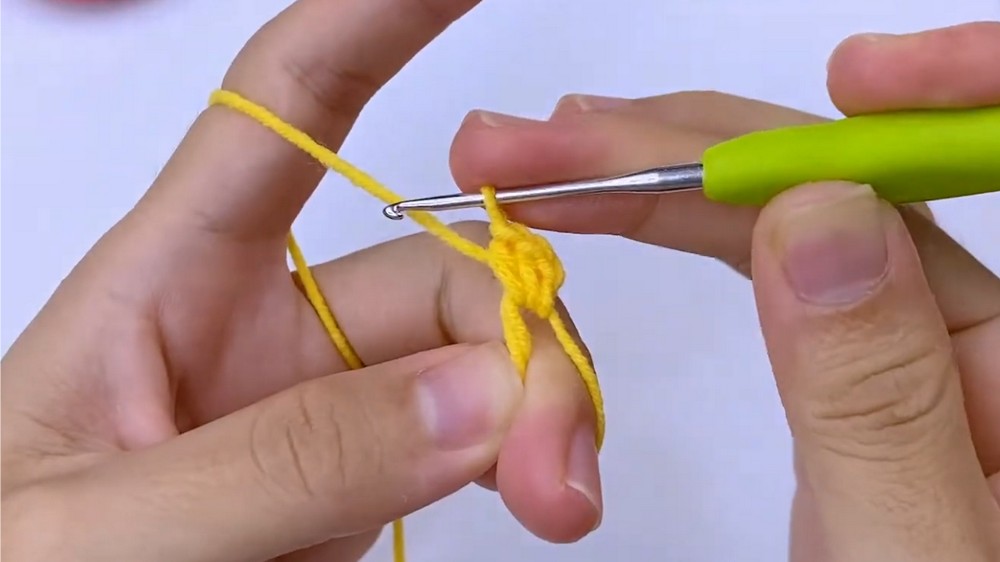
- Magic Ring (MR): Form a loop, crochet into the loop, then pull tight. This creates a neat, closed center.
- Increase (inc): Work two hdc into one stitch.
The Crochet Pattern
Bulb Body
Round 1:
- Start with a magic ring.
- Ch 2 (does not count as a stitch for this pattern).
- Into the ring, work 10 half double crochet (hdc).
- Pull the yarn tail to tighten the ring.
- Join with a slip stitch into the first hdc.
Round 2:
- Ch 2 (does not count as a stitch).
- Increase in each stitch around: Work 2 hdc into each hdc of the previous round (10 increases; 20 hdc total).
- At the end of the round, skip the last chain and join with a slip stitch to the first hdc.
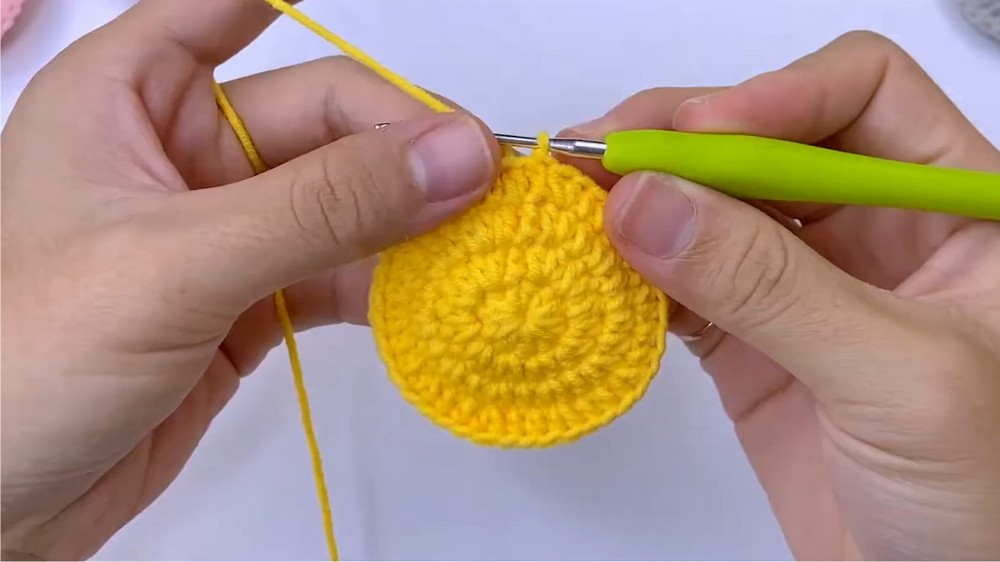
Round 3:
- Ch 2.
- Hdc in the very first stitch, increase (2 hdc) in the next—repeat this (Hdc, Inc) pattern a total of 10 times (across 20 stitches).
- (You will: hdc in st 1, 2 hdc in st 2; hdc in st 3, 2 hdc in st 4; … repeat around.)
- At the end of the round, skip the last chain and make a slip stitch to the first hdc.
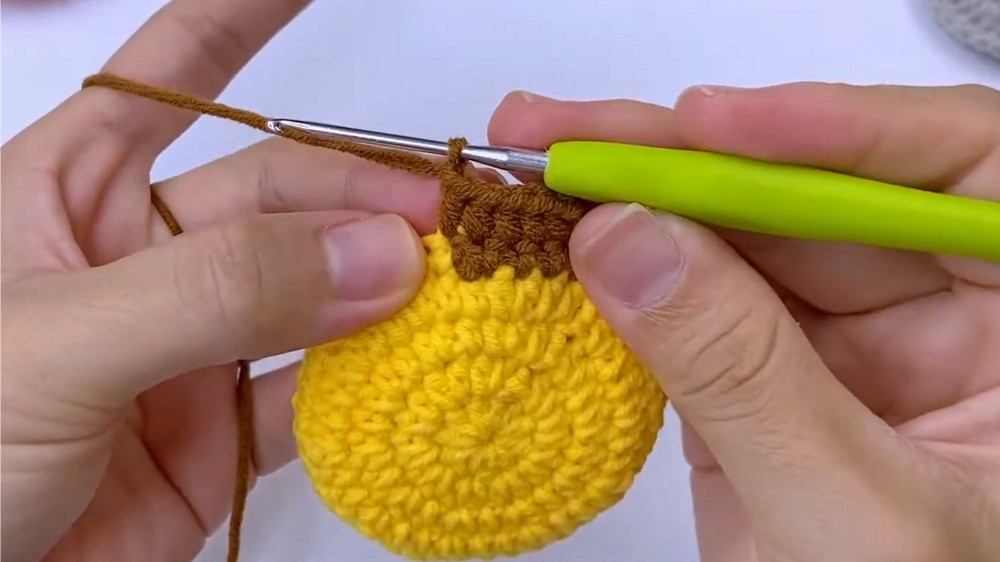
Assembly & Finished Size
- Shape and Weave In Ends:
- Use the yarn needle to neatly weave in both yarn tails.
- If you’d like a solid ornament, you can lightly stuff with a bead or fiberfill before final weaving.
- Finishing Touches:
- To hang, chain a short loop from the top of the bulb or attach a store-bought ornament hook or ribbon through the magic ring end.
- You can add a decorative cap/top to the bulb if desired by chaining and slip stitching a small cap in grey, gold, or silver yarn, then sewing it to the top of the bulb.
- Size:
- The finished ornament should be a nice, plump circle measuring around 4–5 cm in diameter and 5–6 cm in height (not including the hanging loop).
Why you love this pattern?
I love this pattern because it is simple, quick, and beginner-friendly. The instructions are easy to follow, so even if you are new to crochet, you can make these cute bulbs without any trouble. You can choose any yarn color you like to match your holiday decor, and each ornament comes together in no time. It’s a fun and relaxing project, perfect for making gifts or decorating your home.
Conclusion and Ending Words
This Crochet Christmas Bulb Ornament is finished and ready to add a pop of handmade cheer to your tree! This quick and beginner-friendly project is perfect for using up scrap yarn and making multiple ornaments in a variety of colors. Personalize them, add embellishments or embroidery, or make a garland by stringing several together.