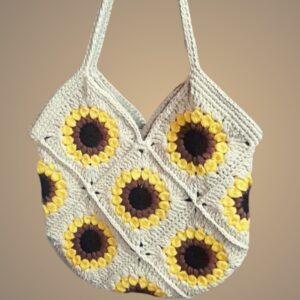
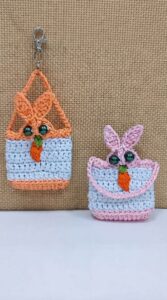
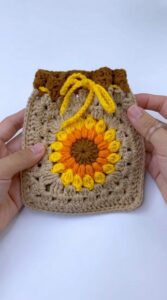
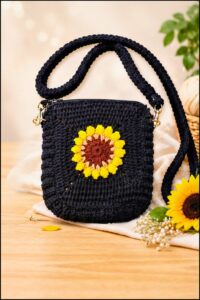
Carry charm everywhere with this Free Crochet Cosmetic Pouch Pattern, creating a handy, stylish accessory perfect for daily essentials.
Every day begins with small routines that often involve keeping essentials in order—lipsticks, brushes, and skincare items can easily get lost in larger bags, causing frustration and wasted time. A Free Crochet Cosmetic Pouch Pattern offers a stylish and practical solution to this common challenge. This pouch keeps cosmetics and personal items neatly organized, ensuring quick access whenever needed, whether at work, during travel, or at the gym.
How to Crochet Cosmetic Pouch Pattern in a Few Easy Steps
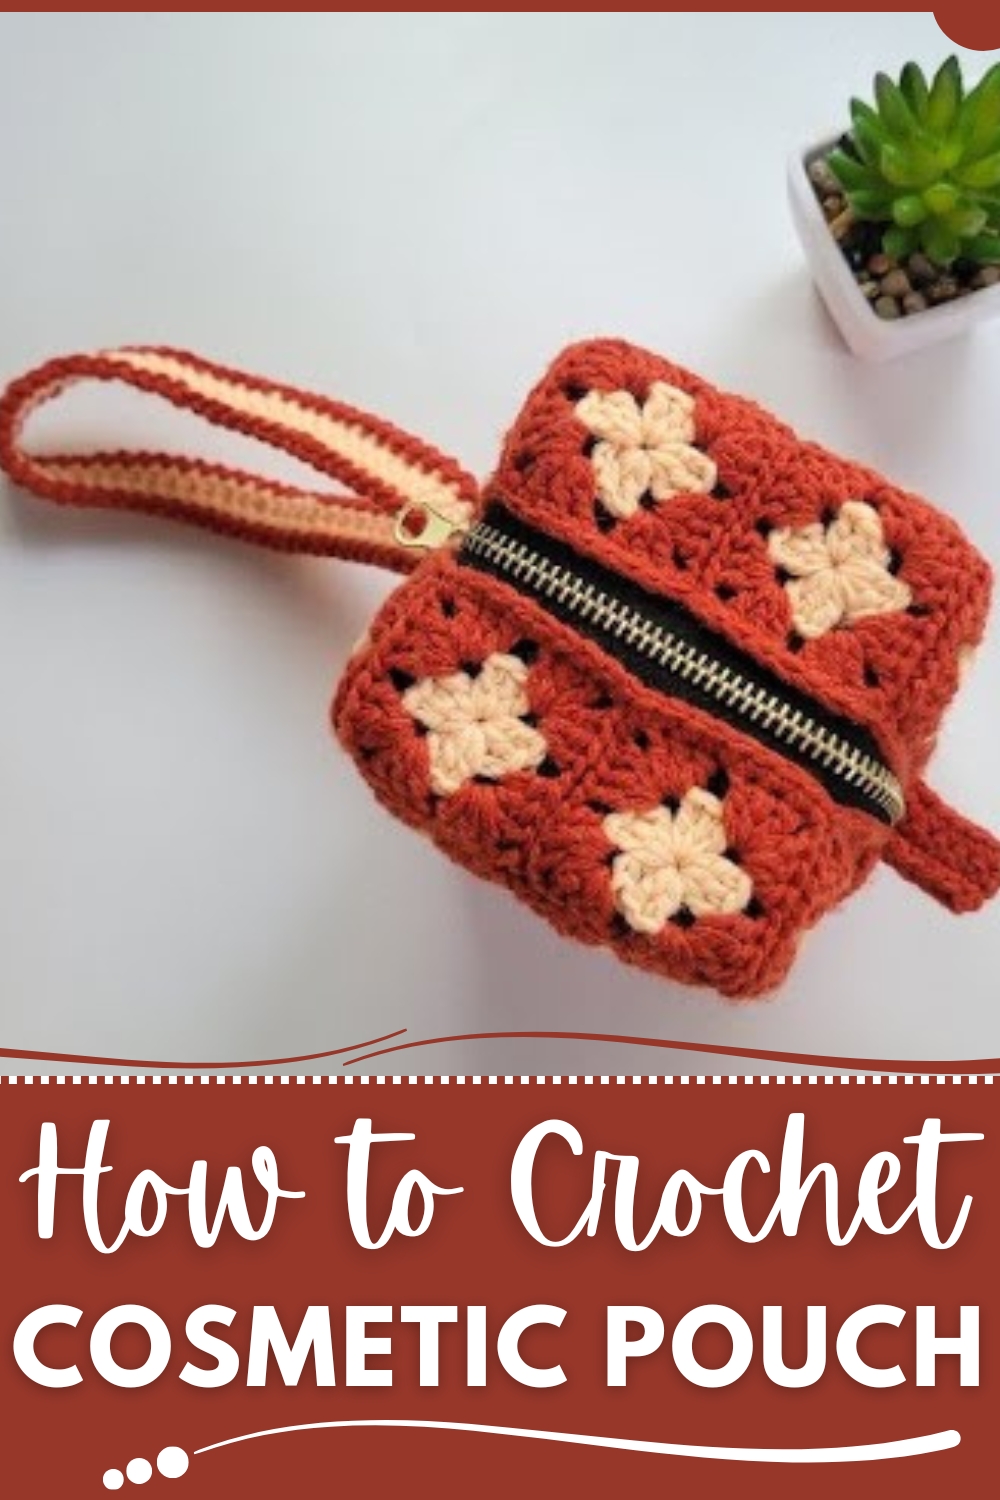
Its durable structure protects delicate items, while its lightweight form allows it to be carried effortlessly anywhere. Beyond functionality, it makes a thoughtful gift, demonstrating care and attention through a handmade touch. The pouch can be customized with colors that reflect personality or complement seasonal trends, adding versatility to daily routines.
Whether placed inside a larger handbag, carried alone, or presented with small treasures inside, it combines order and charm in one compact accessory. Users benefit from improved organization, convenient portability, and a subtle sense of elegance that comes from something carefully made by hand. Its charm lies not only in utility but also in the quiet pleasure of interacting with a piece created with care, bringing both style and efficiency to everyday life.
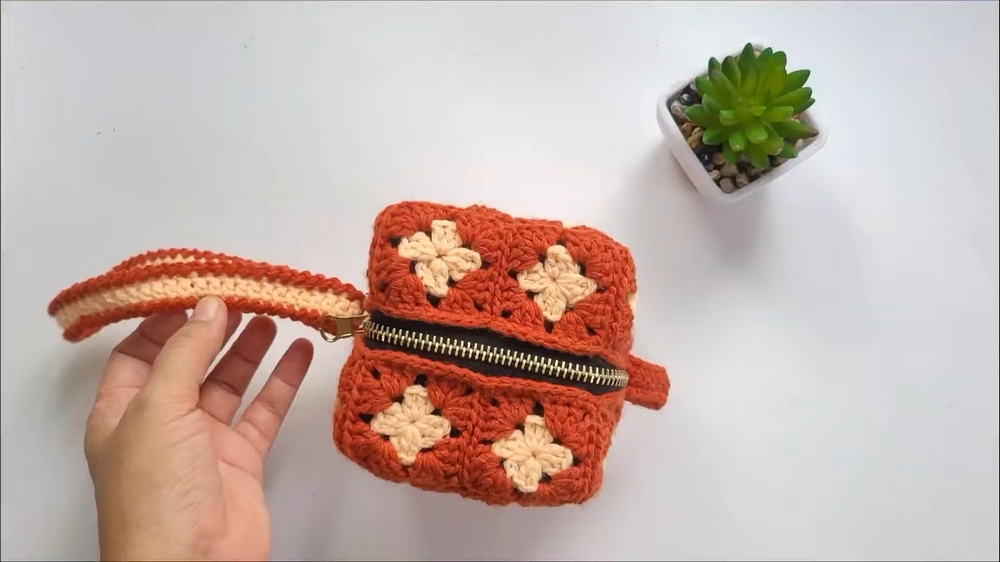
Special Features of the Box Purse
- Design: A cubic-shaped purse made of 24 mini granny squares.
- Zipper Closure: A 10–12-inch zipper keeps the box purse secure.
- Optional Lining: Felt cloth can be used to add stiffness and durability.
- Strap and Loop: Includes a wrist strap and a loop for added functionality.
- Customizable: The purse size and color palette can be adjusted to match personal preferences.
Materials Needed
- Yarn: 4-ply yarn or DK weight yarn in two colors (e.g., terracotta/rusty brown and peach)
- Crochet Hook: 3.25 mm
- Zipper: 10–12 inches
- Felt Cloth: Thick, brown felt for lining
- Sewing Tools: Black sewing thread and needle
- D-ring: For attaching the strap
- Scissors
- Yarn Needle
Step-by-Step Process
Step 1: Make Mini Granny Squares
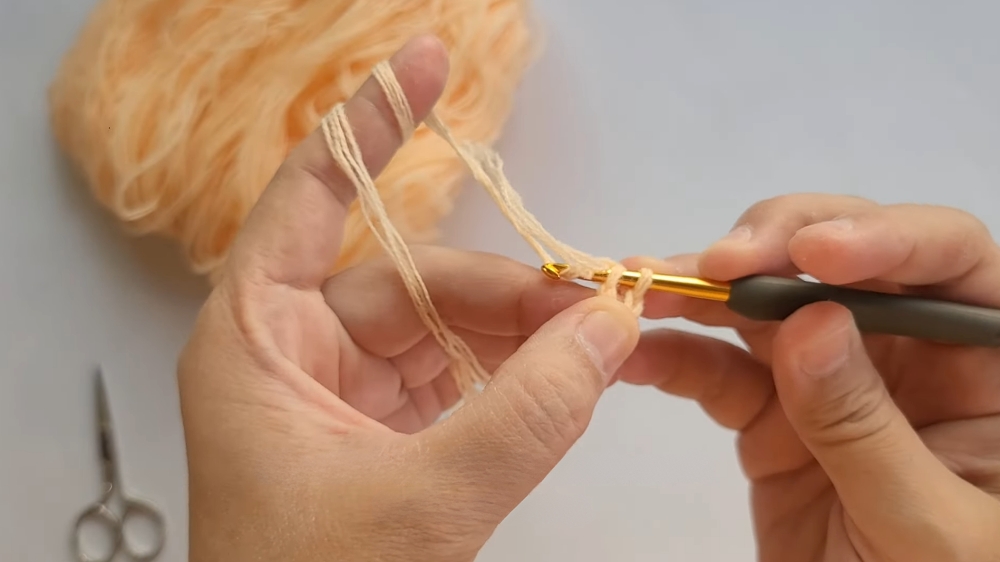
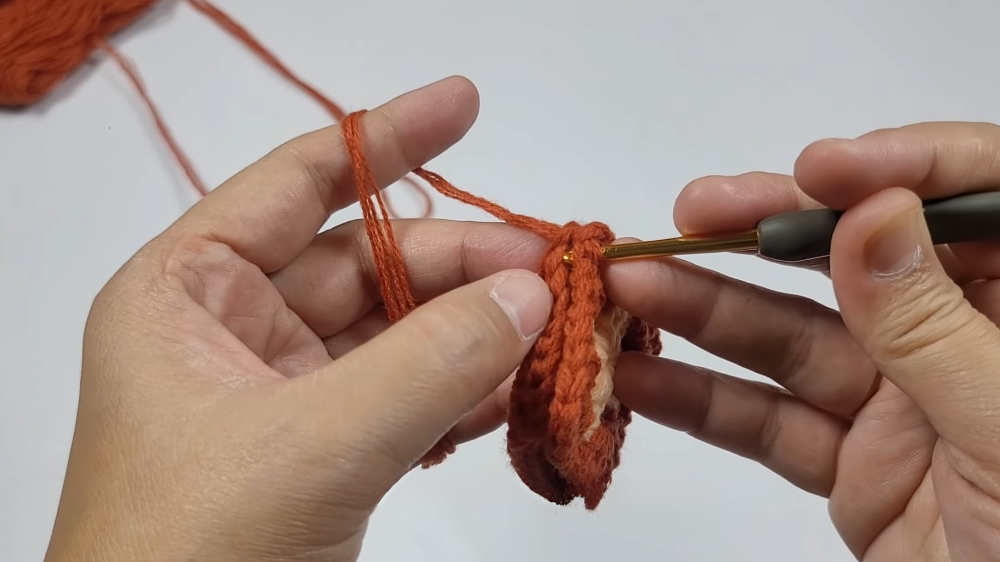
- Start with Peach Yarn: Create a slip knot and chain four. Form a ring by slip-stitching into the first chain.
- Chain and Double Crochet:
- Chain 3 (counts as the first double crochet).
- Add 2 double crochets, chain 2, and repeat the process until there are four clusters of double crochets, separated by chain-2 spaces.
- Close the round using a slip stitch.
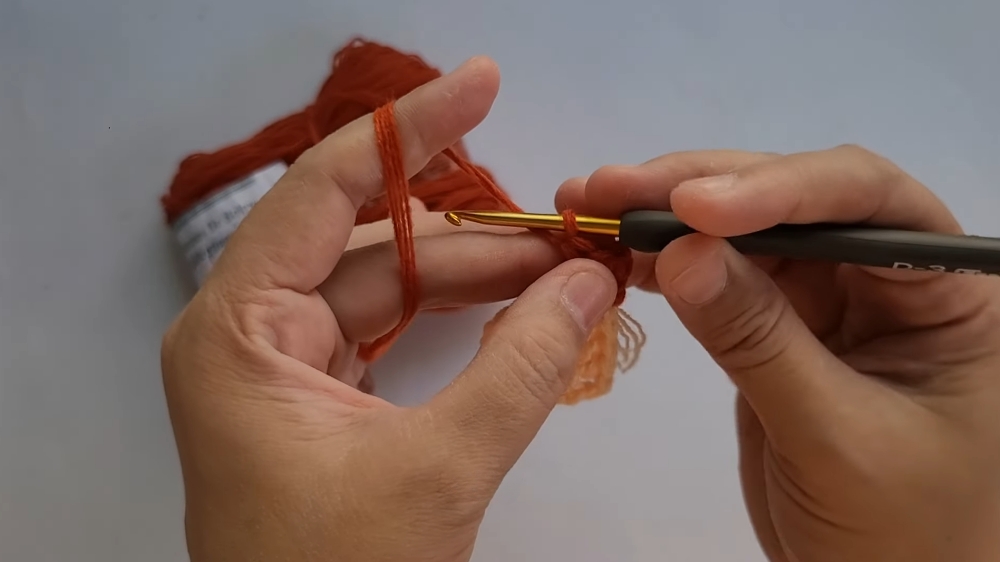
- Change Yarn Color: Replace the peach yarn with terracotta or your chosen second color.
- Add the Second Round:
- Work 3 double crochets, chain 2, and 3 more double crochets into each corner (chain-2 space) of the first round.
- Chain 1 between clusters on the sides.
- Cut Yarn and Weave Ends: Finish off the square using a yarn needle for an invisible join and weave in loose ends.
- Repeat: Make a total of 24 mini granny squares.
Step 2: Assemble the Granny Squares
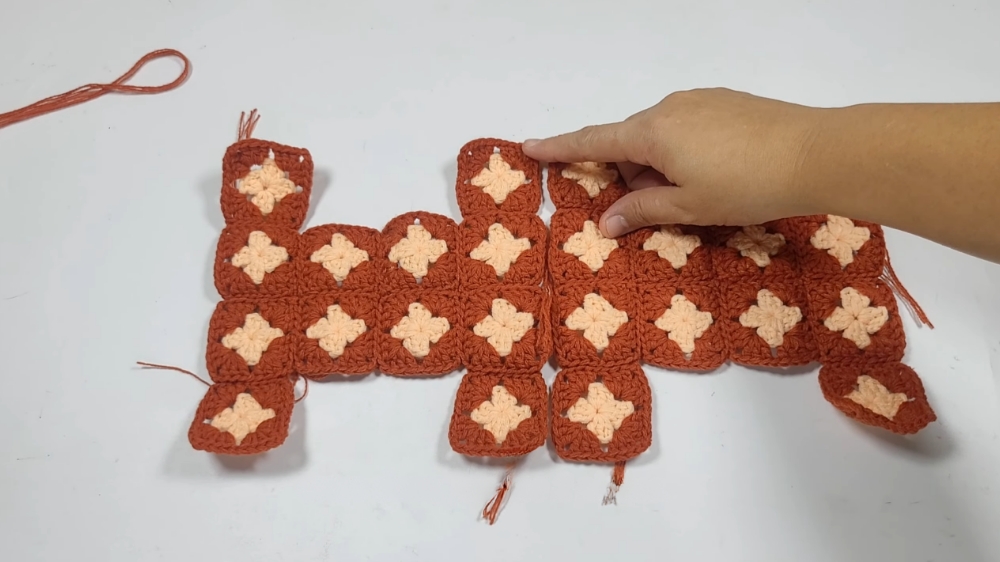
- Layout the Squares:
- Arrange the squares in a cube-like structure. The video demonstrates a layout to ensure each square is joined seamlessly.
- Join Squares with Slip Stitches:
- Connect the squares by slip-stitching together the outer loops of the front-facing sides.
- Work along the edges, ensuring each side of the purse is symmetrical.
- Create the Purse Shape:
- Complete four sides, the base, and the top by sewing the squares with tight and neat stitches.
Step 3: Add Edges and Zipper
- Single Crochets Along the Edges:
- Work single crochet stitches along the edges to smoothen the structure.
- Pay special attention to the side where the zipper will be attached.
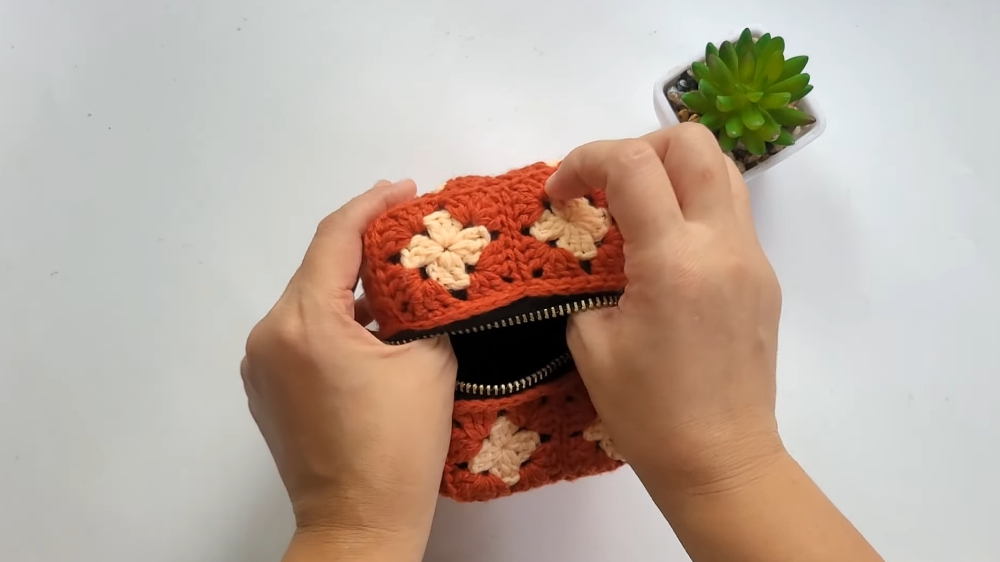
- Insert the Zipper:
- Pin the zipper along the top edge of the purse.
- Use a needle and black thread to sew the zipper securely in place, ensuring stitches aren’t visible from the front.
Step 4: Add Optional Lining
- Cut and Sew Felt Cloth:
- Trim the felt cloth to fit inside the purse (subtract seam allowance for a snug fit).
- Sew the edges of the lining using a sewing machine or hand stitches.
- Attach the Lining:
- Insert the sewn felt into the purse and secure it along the zipper area.
Step 5: Attach Additional Features
- Add a D-ring to create a loop for the strap.
- Sew a wrist strap if desired, ensuring it's sturdy.
Tutor’s Suggestions
- Optional Lining: The purse will be soft without a felt lining, but the lining adds structure and durability, particularly for acrylic yarn.
- Color Choice: Ensure a contrast between the two yarn colors for a visually appealing design.
- Zipper: Adjust the zipper size as necessary, and sew it tightly to prevent it from coming loose.
- Joining Method: The video demonstrates slip-stitching for joining squares, but you can use other methods if preferred.
Level of Difficulty
- Intermediate Crochet Project: While the granny squares themselves are beginner-friendly, assembling the purse, adding the zipper, and sewing the lining require some experience.
Uses
- Practical Functionality: Use the box purse as a wrist bag for accessories, makeup, or small items.
- Personalized Gifts: Create customized box purses as gifts for friends and family.
- Creative Outlet: This project allows you to experiment with colors, patterns, and designs.
Conclusion
The mini granny square box purse is not just a crochet project—it’s a fun and rewarding way to showcase your creativity. While it might take time and involve multiple steps, the end result is a stylish, customizable, and functional accessory. Follow the tutorial closely, be patient with the assembly and finishing touches, and enjoy the process of creating something uniquely yours.
Final Tip
Before finalizing the granny squares, block them to ensure they are perfectly shaped. This will make assembly easier and result in a professional-looking finished product.