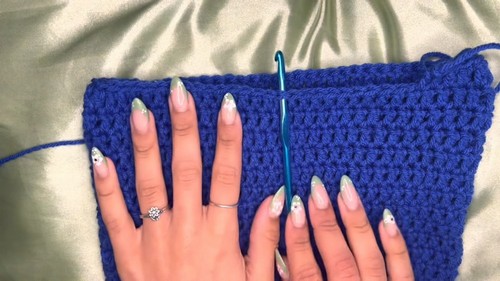
Here we come with another crochet tote bag that's perfect project for beginners and experienced crafters alike. The rectangular base of the bag is built up with rows of double crochets, while the sides are seamlessly crocheted around to the desired height.
Add long, comfortable straps for easy carrying. This bag is perfect for daily use, whether you’re heading to the market, the beach, or just out for a stroll. Its simple, classic shape and practical size make it both stylish and functional.
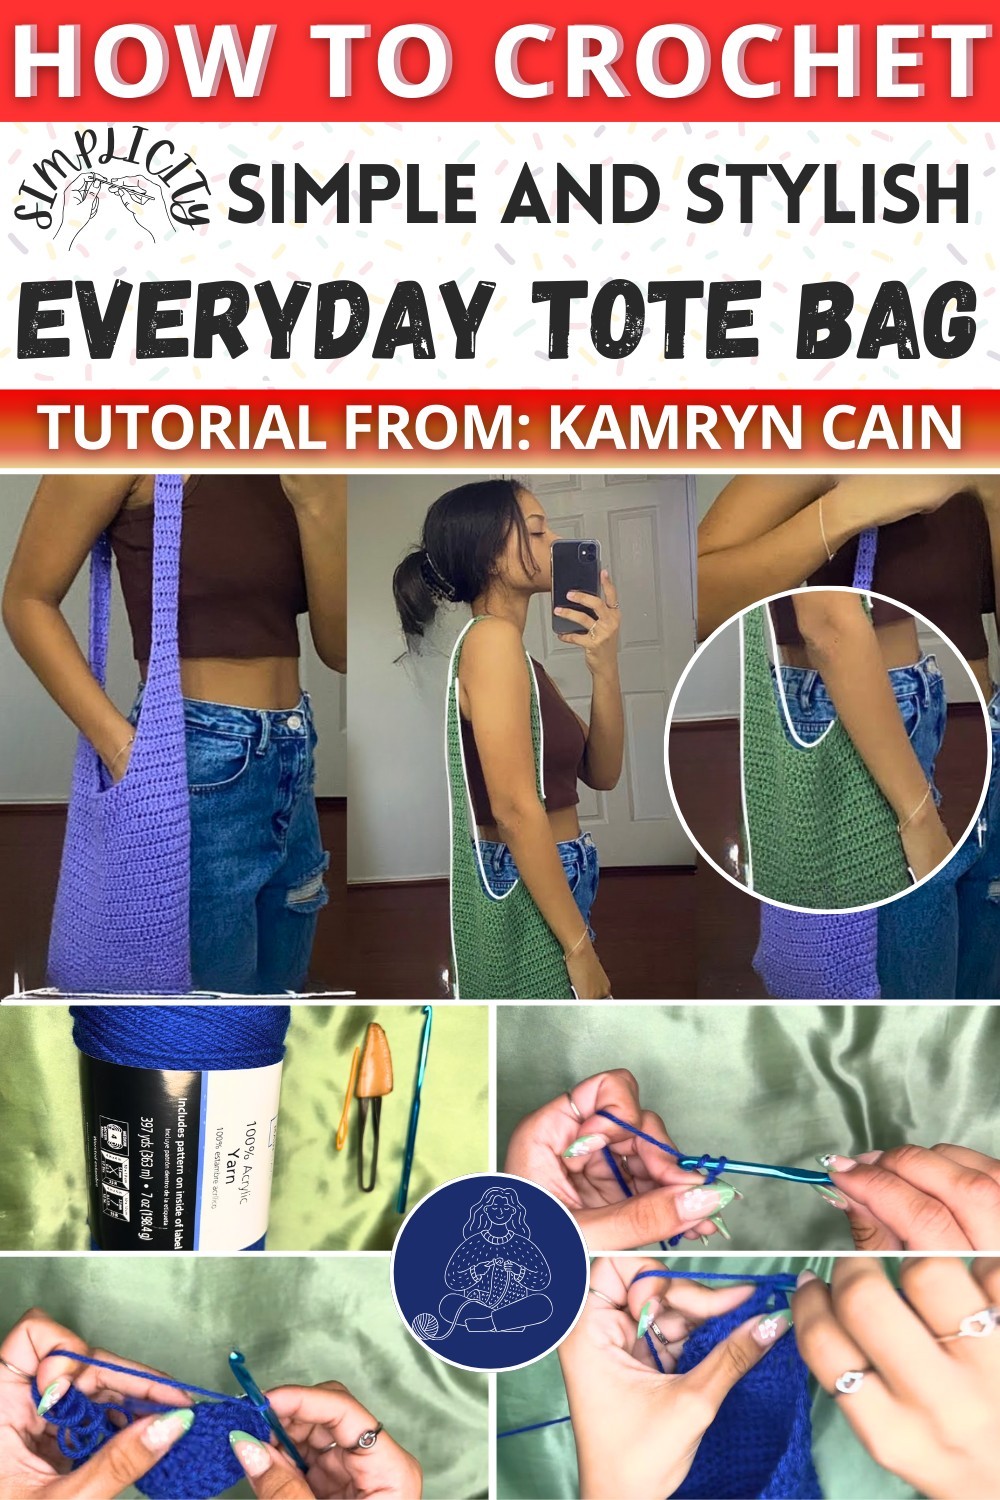
Making The Crochet Tote Bag
Materials Needed
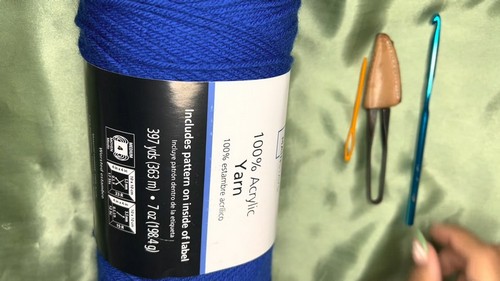
- Crochet hook (5mm recommended)
- Scissors
- Darning needle
- Yarn (100% acrylic from Walmart used in the video)
Step by step Instructions
Base of the Bag
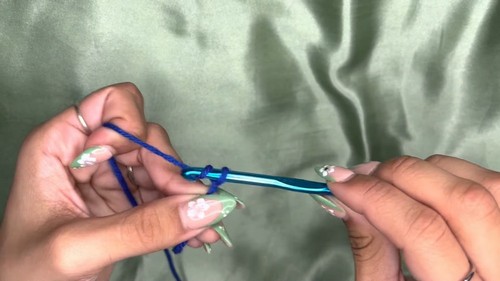
- Start with a Slip Knot:
- Create a slip knot on your hook.
- Chain 30:
- This will determine the width of your bag. Feel free to adjust the number of chains for your desired size.
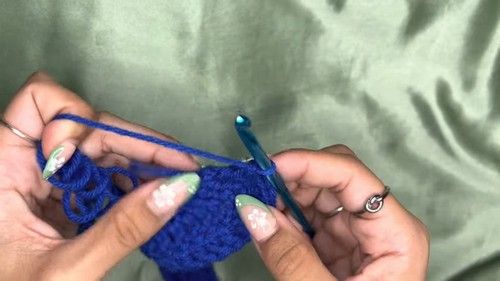
- Row 1:
- Chain 1 more (total of 31 chains).
- Turn your work and make a double crochet stitch in each chain across.
- Rows 2-3:
- Chain 2, turn your work, and continue making double crochet stitches across for two additional rows.
- You should have three rows of double crochet stitches in total.
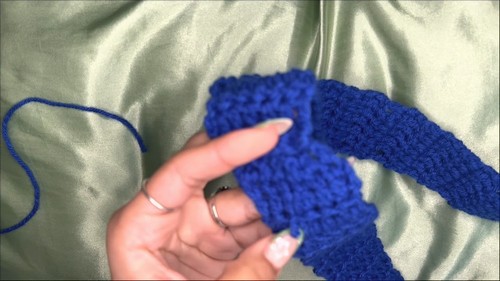
Sides of the Bag
- Work the Sides:
- Work 3 double crochets in any available space to start the sides.
- Place the stitches evenly, one at the start, one in the middle, and one near the end before the chain.
- Continue with a double crochet in each stitch to the end of the row.
- Continue Rounds:
- Work a double crochet in the first double crochet of the round and continue the pattern without slip stitches or additional chains.
- Crochet around and around until you reach your desired bag length (20 rows are suggested, roughly 9-10 inches).
Straps
- Find the Middle:
- Fold the bag in half and find the center stitch. This will be your starting point for straps.
- Work Straps:
- Count 6 stitches away from the center and identify the seventh stitch to stop.
- Work double crochets across until the 7th stitch, then chain 2, turn, and crochet 20 double crochets back.
- Decrease Rows:
- Skip the first stitch, double crochet into the second, and continue until you are 3 stitches from the end of the strap.
- Skip the second to last stitch and double crochet into the last stitch.
- Repeat this decrease at both ends of the strap until only 6 stitches remain.
- Lengthen the Strap:
- With the remaining 6 stitches, continue working back and forth until the strap measures half of your desired length (approximately 15 inches).
- Chain Off:
- Once satisfied with the length, chain 1 and cut off the yarn.
- Repeat for Second Strap:
- Repeat the above steps to create a second strap on the other side of the bag, ensuring symmetry.
See Also: Wooden Bottom Crochet Diagonal Basket Pattern Free
Finishing
- Connect Straps:
- Align the two strap ends and flip them outward.
- Use a slip stitch to connect the straps evenly.
- Alternatively, use a darning needle for the connection if preferred.
- Sew in Loose Ends:
- Thread your loose yarn through a darning needle, weaving it through the bag to hide and secure the ends.
- Final Adjustments:
- Trim any excess yarn.
And that's it! Your crochet tote bag is complete. If creating the bag, feel free to reach out for any questions. Enjoy your new tote bag!