Make a delightful little crochet flower pot, crocheted by your own hands, sitting proudly on your windowsill. This isn't just any pot; it's a cozy home for your favorite small plants, giving them a personal touch. With some yarn and a crochet hook, you can create a colorful, unique pot that reflects your style. Following simple steps, you start with a magic circle, then crochet round and round, watching as your pot takes shape.
Crochet Flower Pot
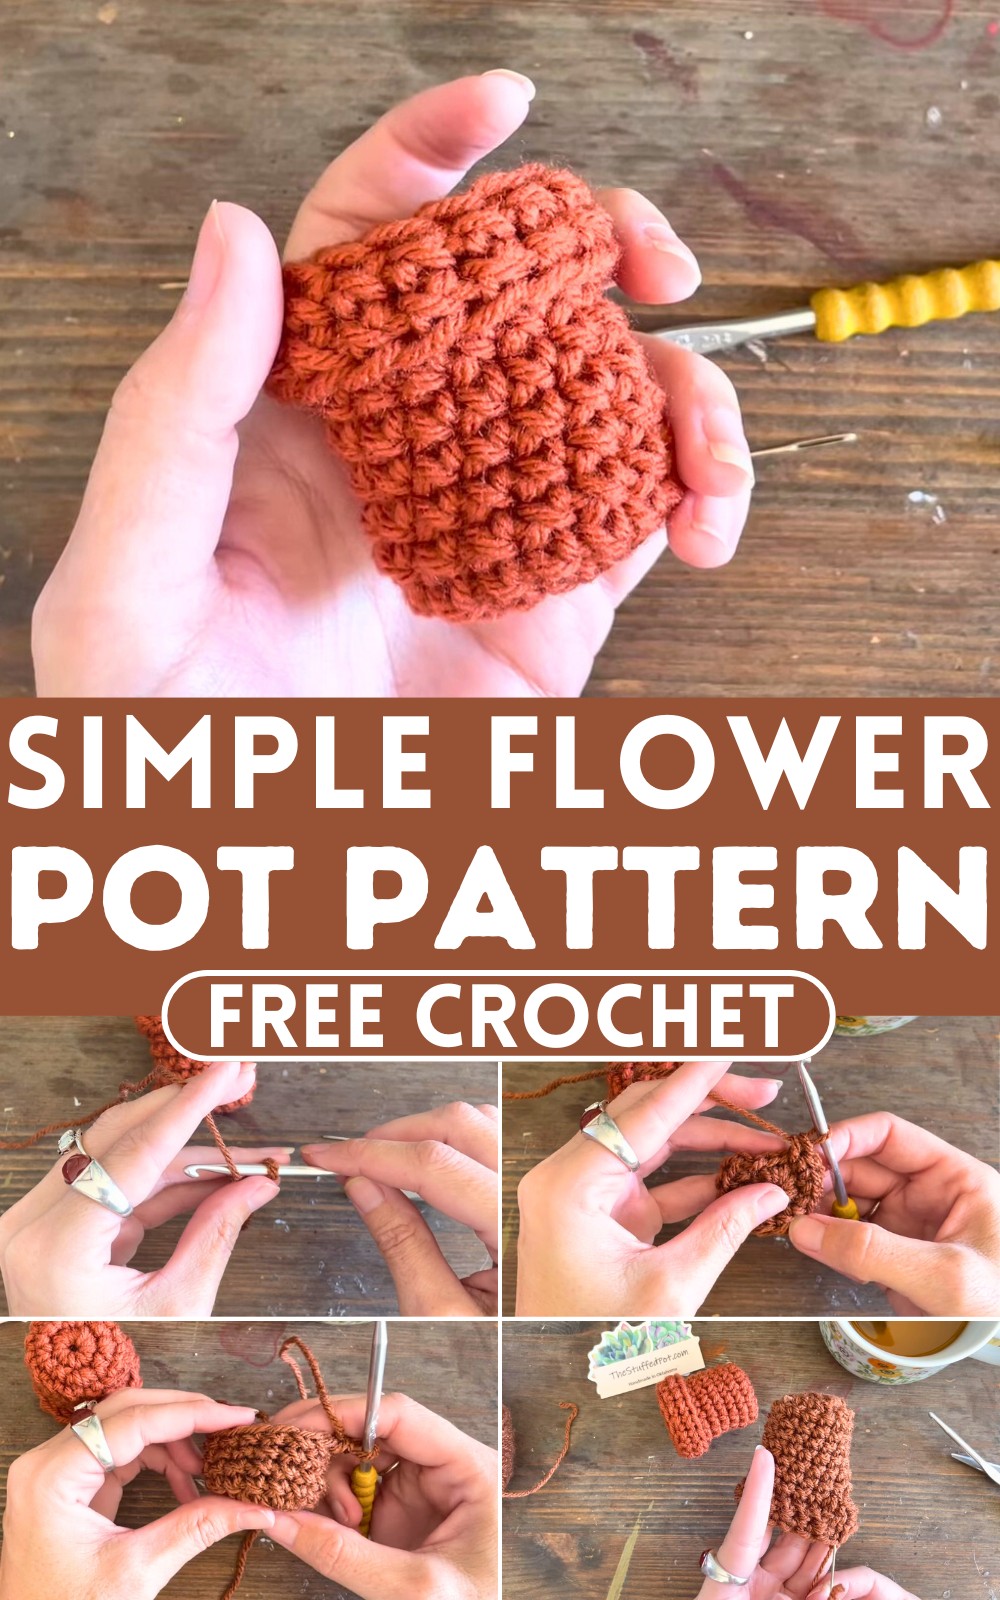
Once you've reached the desired height, you finish with a cute cuff that rolls over the edge, adding a charming finish. This crochet flower pot project is not only fun but also adds a dash of warmth and personality to your space.
Materials:
- Worsted weight yarn (4-ply)
- Size G hook (4 mm)
- Yarn needle
- Scissors
Instructions:
Start with a slip knot:
- Laura demonstrates her way of making a slip knot and starts with an adjustable knot.
Create the base of the pot:
- Round 1: Chain 4, then slip stitch back into the first chain to form a circle. (Alternatively, you can make a magic circle).
- Round 2: Chain 1 (counts as the first stitch), then work 10 single crochets into the circle. Slip stitch into the first stitch of the round to join.
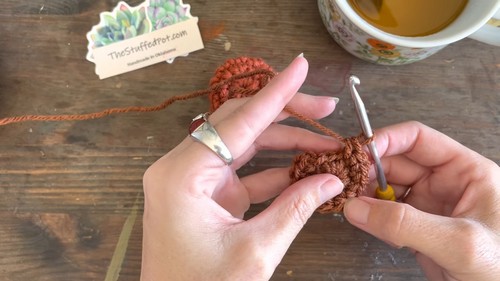
Increase the size of the base:
- Round 3: Chain 1, then work an increase pattern as follows: [1 single crochet in the first stitch, 2 single crochets in the next stitch]. Repeat * * around.
Note: To make the pot larger, continue increasing in subsequent rounds. Once the desired width is achieved, proceed without further increases.
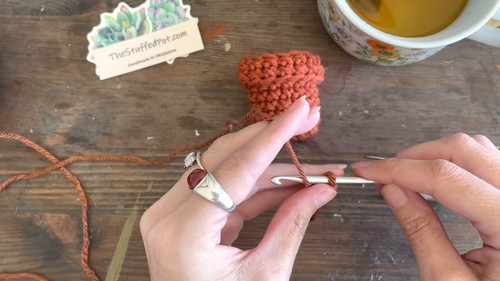
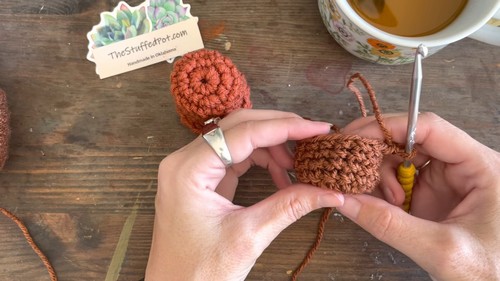
Form the sides of the pot:
- Without joining with a slip stitch, continue to work in the round with single crochets until the pot reaches the desired height.
Create the cuff:
Once the pot is as tall as you want, prepare to work on the cuff that will roll over the edge.
- Cuff Round 1: Chain 1, then single crochet into the back loop only of each stitch around.
- Cuff Round 2: Work single crochets through both loops of each stitch around for the final round of the cuff.

Finishing the pot:
- At the end of the cuff, cut your yarn and pull through the last stitch to secure.
- Weave in any loose ends with your yarn needle.
Additional Tips:
- Laura mentions working into the back loop only for the first round of the cuff to create a ridge.
- You can eyeball the height and the cuff's size according to your preference.
- Laura suggests filling the pot or adjusting its shape as needed.