Achieve charming crochet bow with simple stitches and playful styles that personalize accessories, gifts, or décor using endless color options.
Who doesn’t love a touch of handmade charm? A bow crafted from yarn adds just the right amount of whimsy and elegance to any item. With endless opportunities for customization, this quick and satisfying project is perfect for sprucing up everything from hairbands and gift packages to hats, bags, and even home décor. Using just a few basic stitches, it’s a fun challenge for beginners and an instant-gratification project for seasoned crocheters. You can experiment with everything, think bold colors for playful accessories or delicate neutrals for a timeless look.
Crochet Bow Pattern: Perfect for Gifts and Décor
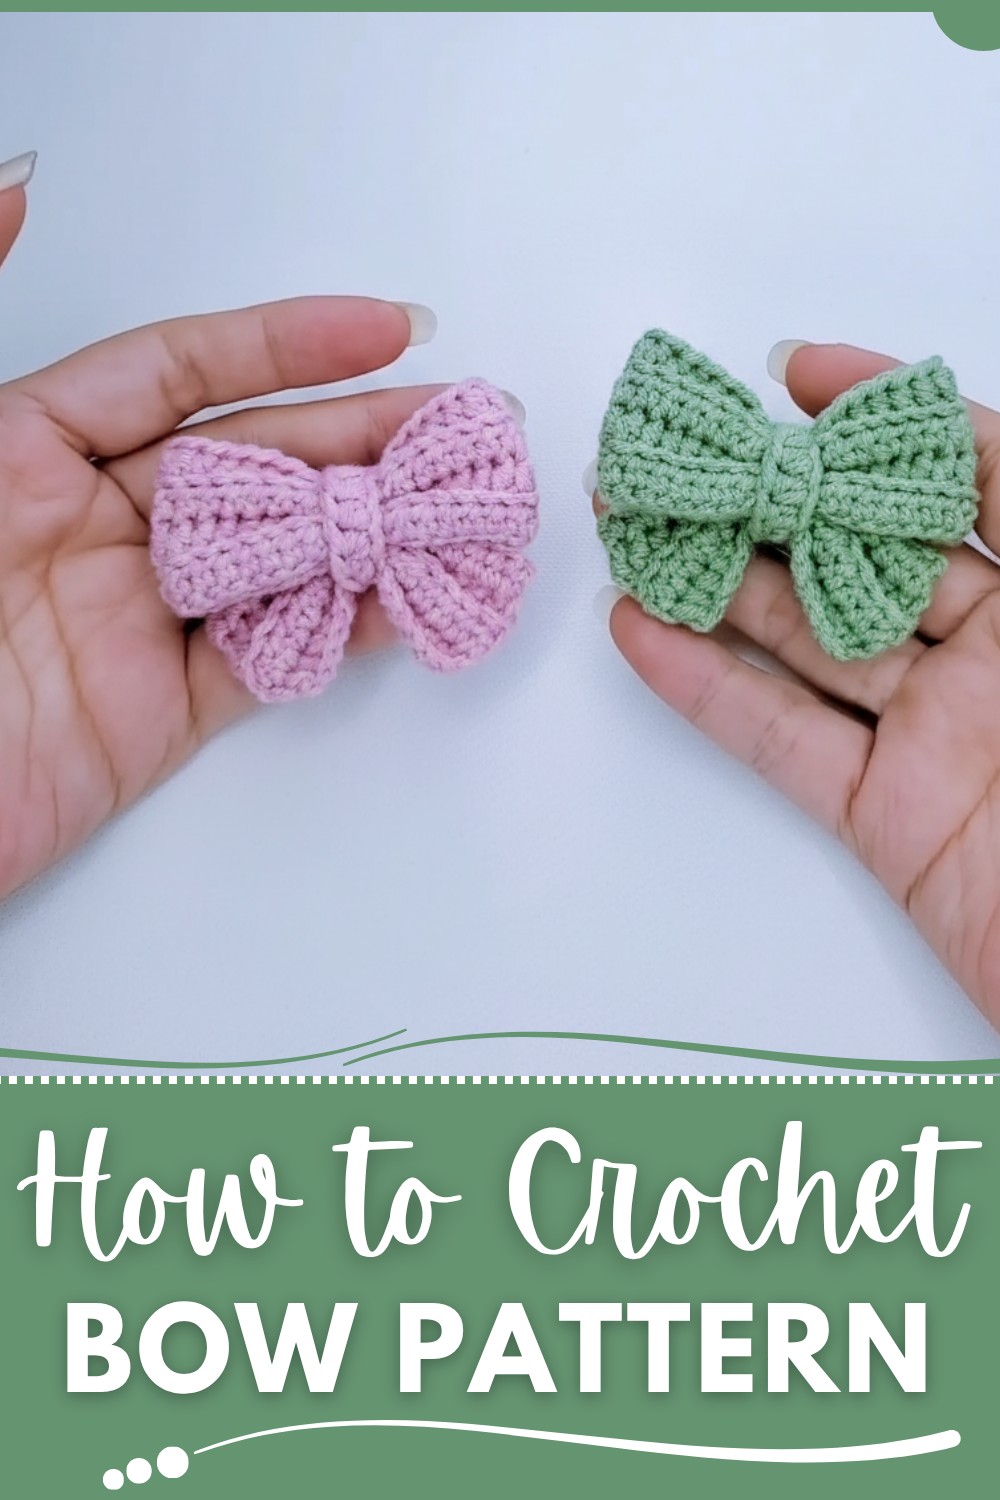
Did you know you can even make shimmering metallic bows for festive occasions or itty-bitty ones to accent amigurumi animals? Lightweight, versatile, and packed with personality, this bow project doesn’t just enhance your skills, it also showcases your creativity in the most charming way possible. So grab your hook and yarn, because this tiny masterpiece is ready to brighten up your world.
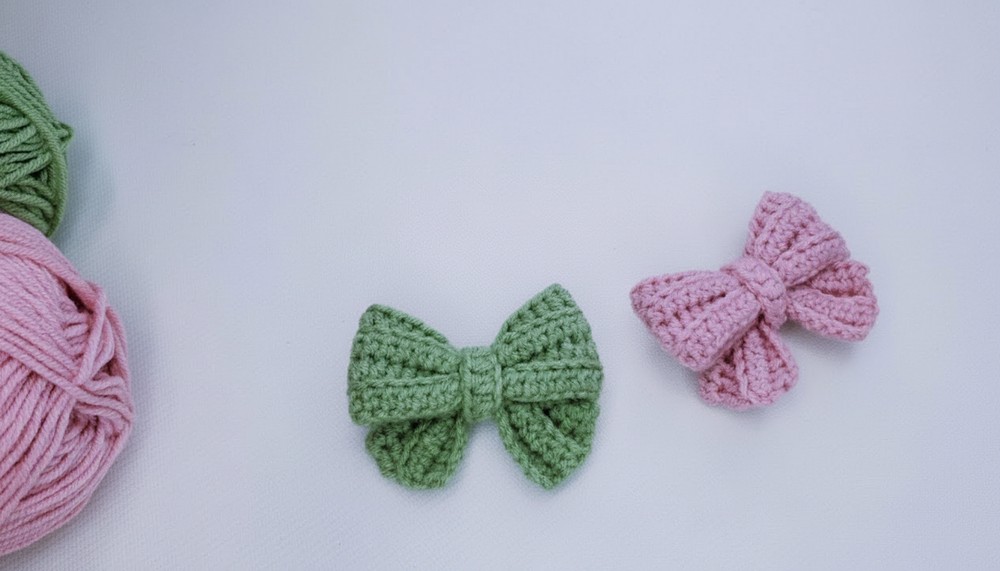
Bow Keychain Crochet Pattern
This detailed tutorial will guide you through crocheting a bow that can be used as a keychain, hair clip, or hair tie. The instructions are based on the transcription of Bo's YouTube video. Expect clear, structured steps with tips and customization ideas to enhance your crocheting experience.
Materials Needed
- Yarn/Wool:
- Select your favorite color of yarn (any type; doesn’t need to match the video). Typically, medium-weight yarn (Worsted Weight, #4) works well for this project.
- Crochet Hook:
- Choose a crochet hook size that matches your yarn selection. For worsted-weight yarn, a 5 mm/hook (H-8) can be used.
- Scissors
- Tapestry Needle
- For sewing and weaving ends.
- Optional: Keychain hooks or hair clips for attaching as per desired use.
Gauge
Gauge is not crucial for this project as it is decorative. However, if using worsted-weight yarn and a 5 mm hook, the stitches will form a tighter bow approximately 3 inches wide.
Finished Size
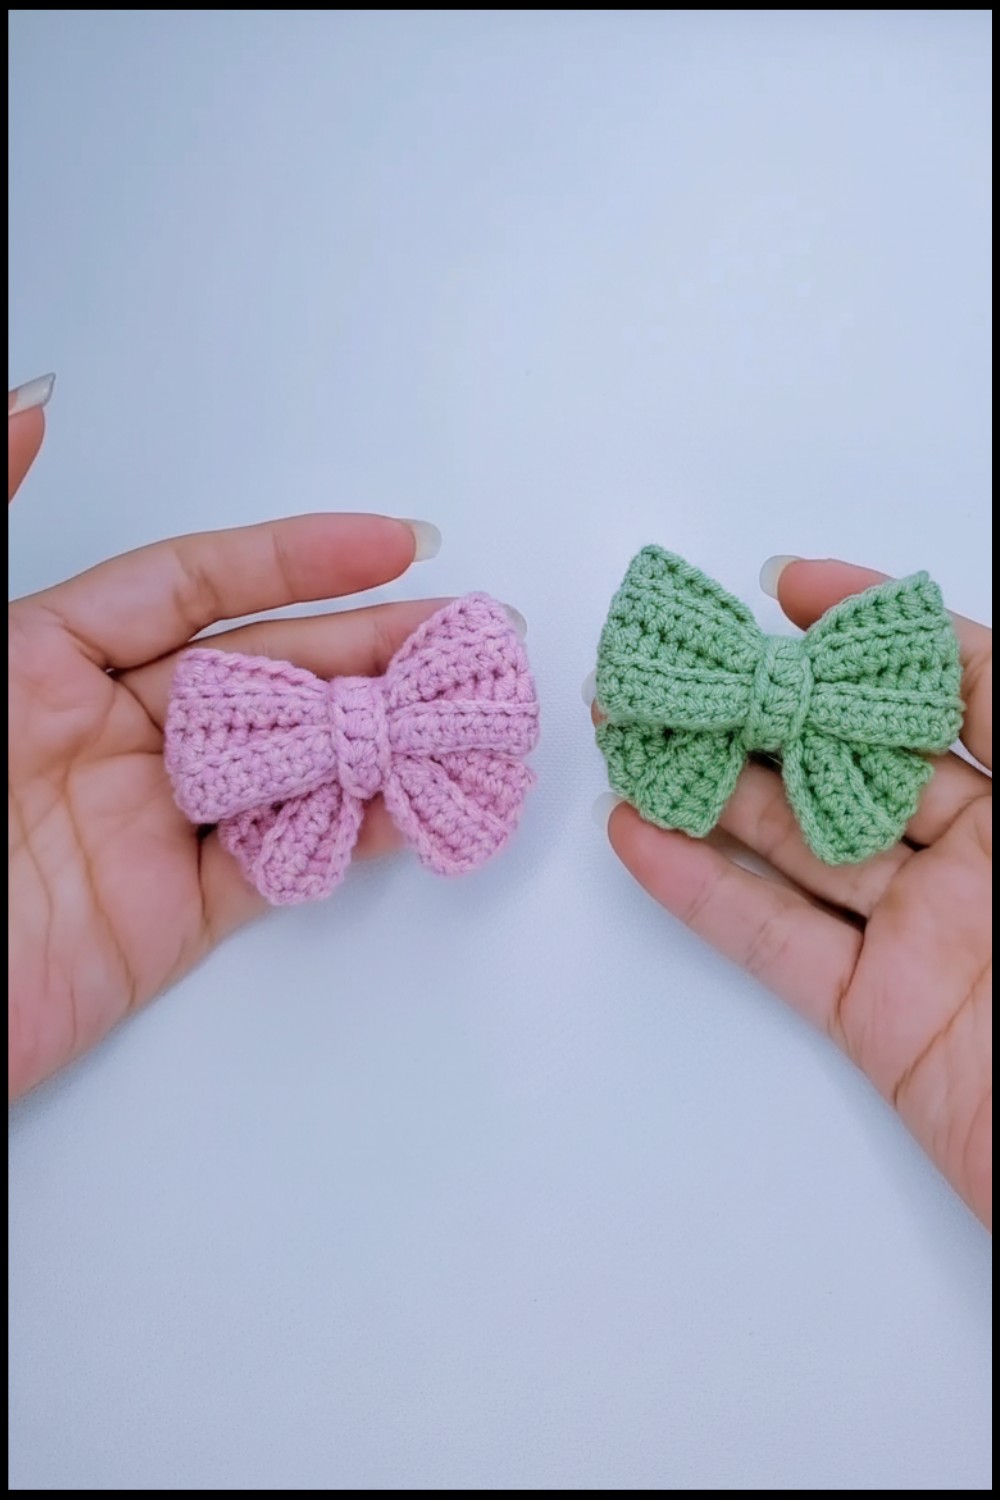
The completed bow typically measures 3 inches wide by 1.5 inches tall, depending on your tension and yarn choice.

Pattern Instructions
STEP 1: Create a Magic Circle
Begin by making a magic circle. This is critical as the starting point for creating a shortcut.
STEP 2: Chain 51 Stitches
Using the yarn color of your choice:
- Work 51 chain stitches:
- Count your stitches by saying them aloud to ensure accuracy (e.g., 1, 2, 3...).
- Pull this back:
Once completed, pull back the yarn to tighten the circle slightly. At this stage, you’ll have a small loop that forms the shape of your bow.
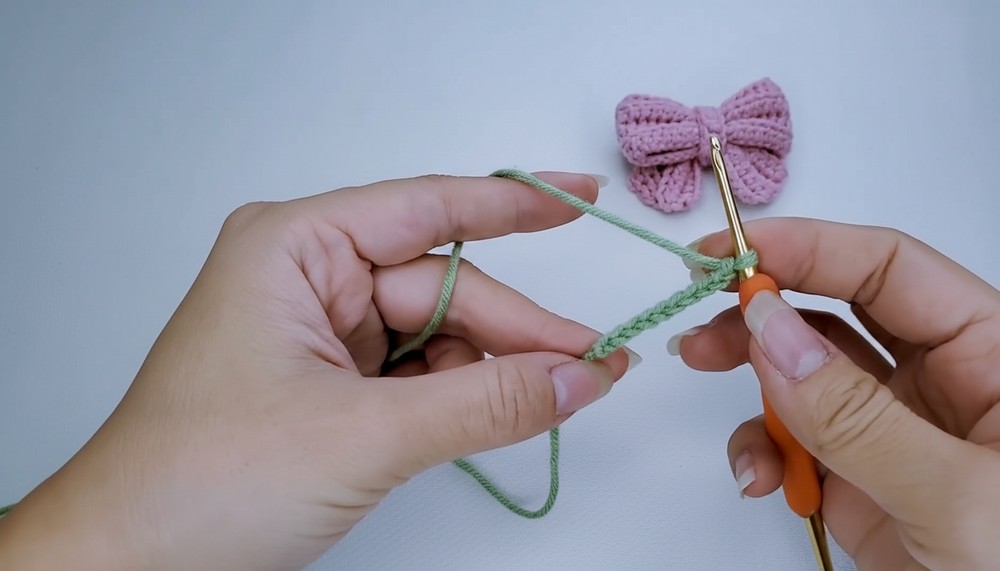
STEP 3: Crochet into Each Chain (Row 1)
For row 1, follow these steps:
a) Skip the first chain and crochet into the second chain:
- Work 1 half-double crochet (HDC) into the second chain.
- Repeat this half-double crochet 4 more times, creating 5 HDCs into the first few chains.
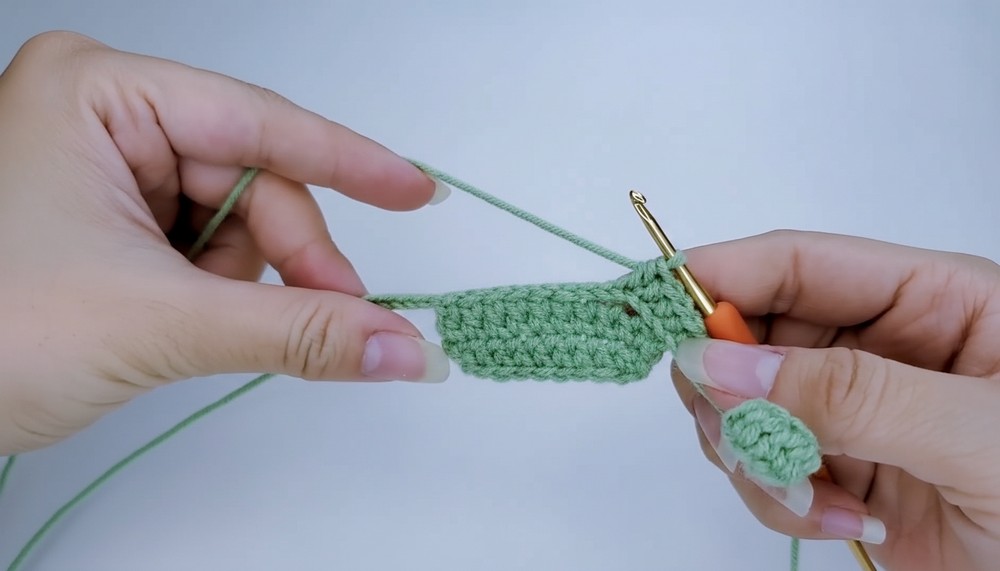
b) Work 4 Slip Stitches:
- Crochet 4 slip stitches, working into the next 4 chain legs.
c) Work 14 Half-Double Crochets:
- Crochet 14 HDCs across the next set of chain legs.
d) Repeat Sections b and c:
- Alternate 4 slip stitches and 14 HDCs as you progress toward the end of the row.
e) End with 5 Half-Double Crochets:
- Crochet 5 HDCs into the final stitches.

STEP 4: Move to Row 2
- Begin by chaining 1 stitch to turn the work.
- Work into the back loop only:
- Locate the back edge of each stitch (ignore the front loop).
Repeat Row 1 Pattern:
- Crochet 5 HDCs, 4 slip stitches, 14 HDCs, alternating and ending with 5 HDCs.
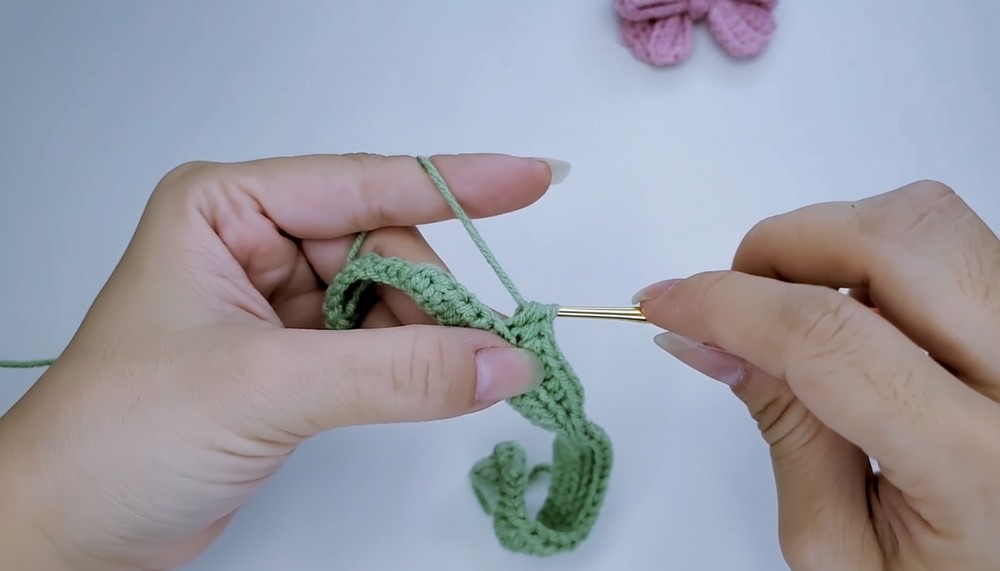
STEP 5: Rows 3 & 4
Repeat the pattern from Row 2 (working into the back loop). Ensure consistency in stitch count. At the end of Row 4, chain 1 stitch, pull up the yarn, and cut it off.
Adding the Bow Tie
- Create a Small Strip (Bow Tie):
- Work 11 chain stitches with the same or contrasting yarn.
- Skip the first stitch, work 1 HDC into the second stitch. Continue to create 10 HDCs along the row.
- Chain 1 stitch, pull the yarn through, and cut it off. Leave a long tail for sewing.
- Fold the Bow:
- Fold the bow into shape with its raised middle sections forming the "wings" of the bow.
- Position the tie strip around the center of the bow and sew securely, hiding the stitches and adjusting for a neat finish.
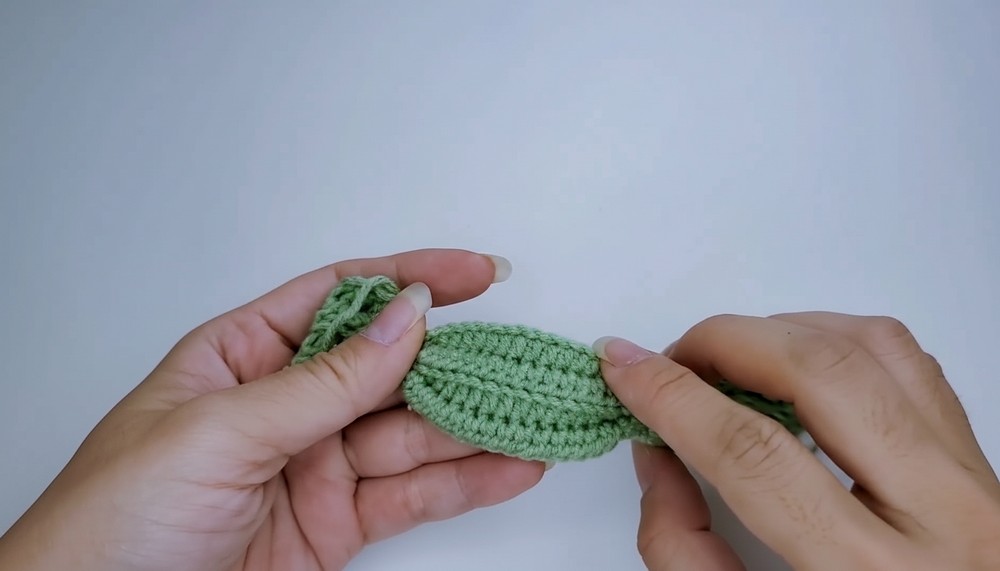

Finishing Touches
- Secure the Edges:
Sew the loose ends of the bow tie strip securely onto the bow shape. - Hide Yarn Tails:
Use your tapestry needle to weave in any loose ends. - Attach Accessories:
- Add a keychain hook at the center back for use as a keychain.
- Sew the bow onto a hair clip or attach to an elastic band for a hair tie.
Tips for Customization
- Mix Colors:
- Use multiple yarn colors for a vibrant bow.
- Adjust Size:
- For a larger bow, chain a longer base (e.g., 61 stitches).
- Sparkle Additions:
- Add beads or sequins for an elegant touch.
Special Techniques Used
- Magic Circle: Enables a clean starting point for the bow structure.
- Back Loop Only Crochet: Creates texture, emphasizing the raised sections on the bow.
- Slip Stitch: Patterns the bow shape smoothly between raised sections.
Final Look
The bow design highlights soft edges and a well-defined center, making it versatile for accessories. When completed, it will have neatly textured raised sections and a symmetrical structure.
Important Remarks
- Consistency in stitch tension is key for symmetry.
- If struggling with the magic circle, chain 3 and join with a slip stitch to simulate a circle.
- Use contrasting threads or novelty yarns (e.g., glitter yarn) for a unique finish.