Bring joy to your projects with a crochet mini heart pattern that’s quick, fun, and versatile, perfect for gifts, decorations, or heartfelt accents.
Tiny, charming, and endlessly versatile, a crochet mini heart pattern is the perfect way to sprinkle a little love into your projects. This small yet meaningful design is ideal for beginners exploring new stitches or seasoned crocheters looking to whip up something quick and satisfying. At just a few stitches long, these mini hearts are perfect for using up leftover yarn, experimenting with colors, and adding a heartfelt touch to everyday items.
Free Crochet Mini Heart Design for Versatile Decorations
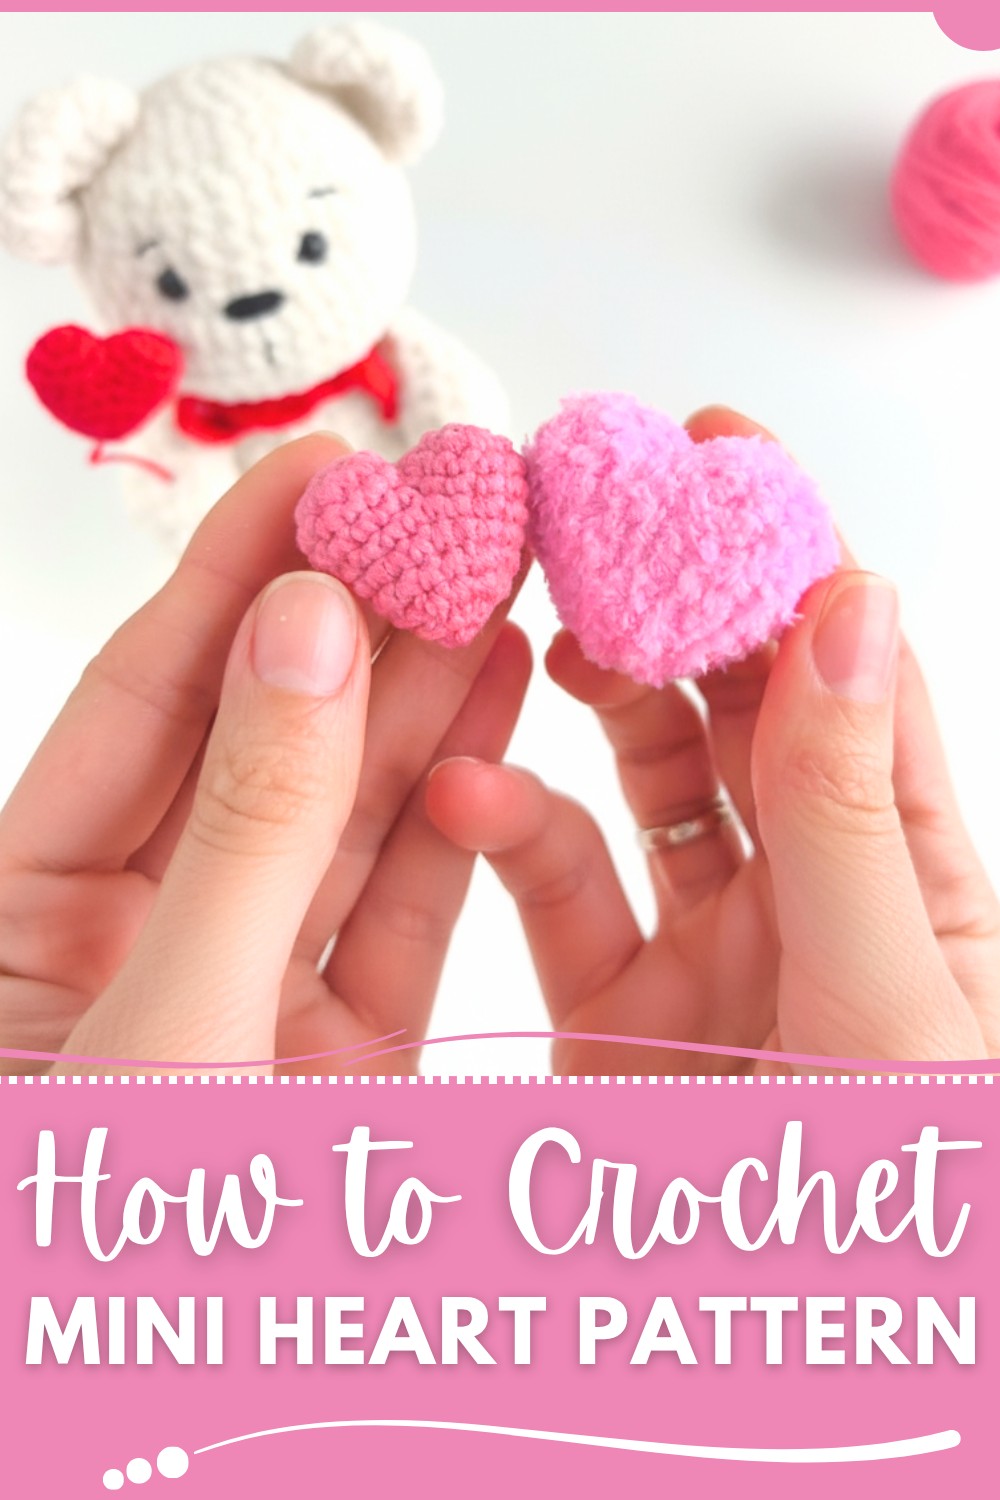
From embellishing gifts, garlands, and clothing to creating keychains or Valentine’s Day décor, the possibilities are as boundless as your imagination. Layer them for a 3D effect, sew them onto blankets, or string them together for a whimsical banner—all in a fraction of the time it takes for larger projects. Crochet mini hearts may be small, but they pack a big punch when it comes to lifting spirits and showcasing creativity.
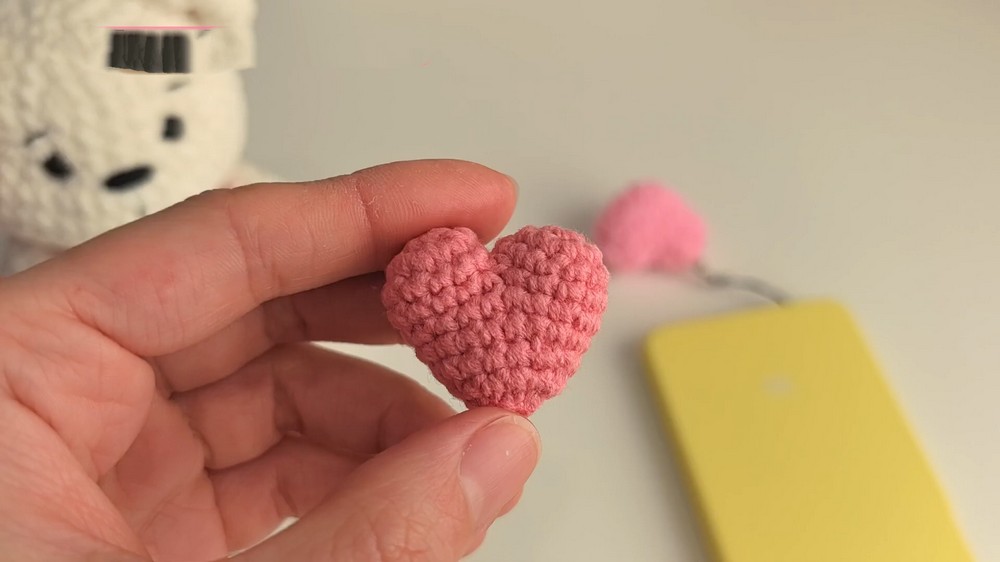
Tiny Crochet Heart Pattern
Materials List
Required Items:
- Yarn:
- Lightweight yarn (#2) or Sport yarn is recommended. Acrylic or cotton yarn works equally well.
- Choose your preferred color, such as red, pink, or any mood-specific color.
- Hook:
- 2 mm crochet hook (or a size suitable for your yarn).
- Stuffing:
- Polyester fiberfill or any soft stuffing material.
- Scissors
- Tapestry Needle:
- Required for sewing and weaving in ends.
- Optional Extras:
- Keychain rings, phone straps, or jump rings for attaching finished hearts.
Skill Level
Intermediate to Advanced
This pattern requires working in the round, increasing, decreasing stitches, and assembling parts.
Key Abbreviations (US Crochet Terminology)
- CH = Chain Stitch
- SC = Single Crochet
- DEC = Decrease (single crochet two together)
- INC = Increase (two single crochets in the same stitch)
- MC = Magic Circle
- SS = Slip Stitch
- ST = Stitch
- REP = Repeat
Special Notes
- Gauge: Gauge is not critical, but creating tight stitches is recommended for a firm shape.
- Stuffing: Add stuffing gradually as you complete the shape.
- Assembling Pieces: Ensure stitches align properly when connecting the two heart halves for clean edges.
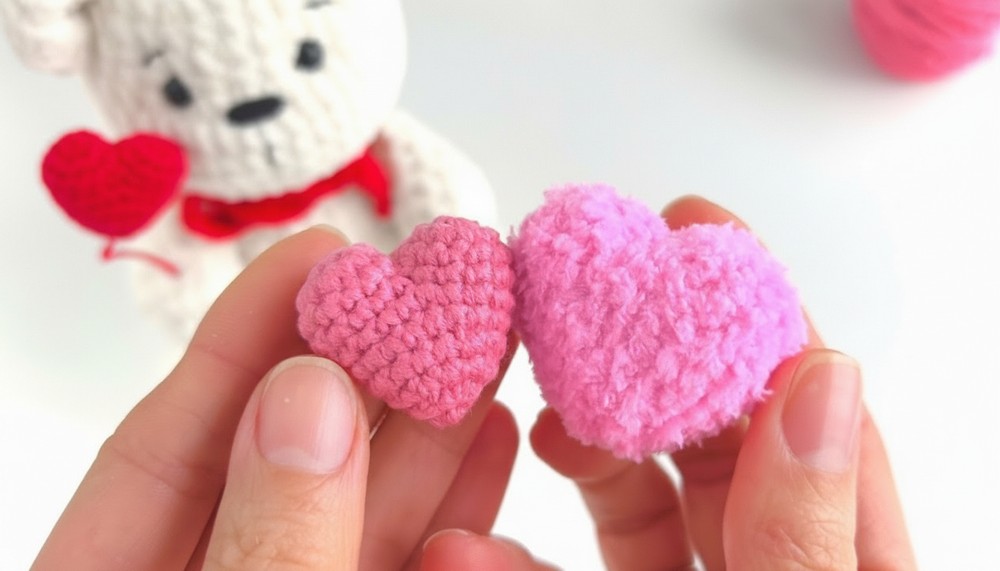
Step-by-Step Pattern
Row 1: Foundation Round
- Start with a magic circle (MC).
- Chain 2, then crochet 6 SC inside the circle.
- Close the circle tightly by pulling the tail.
- SLST into the first SC to complete the round (6 SC total).
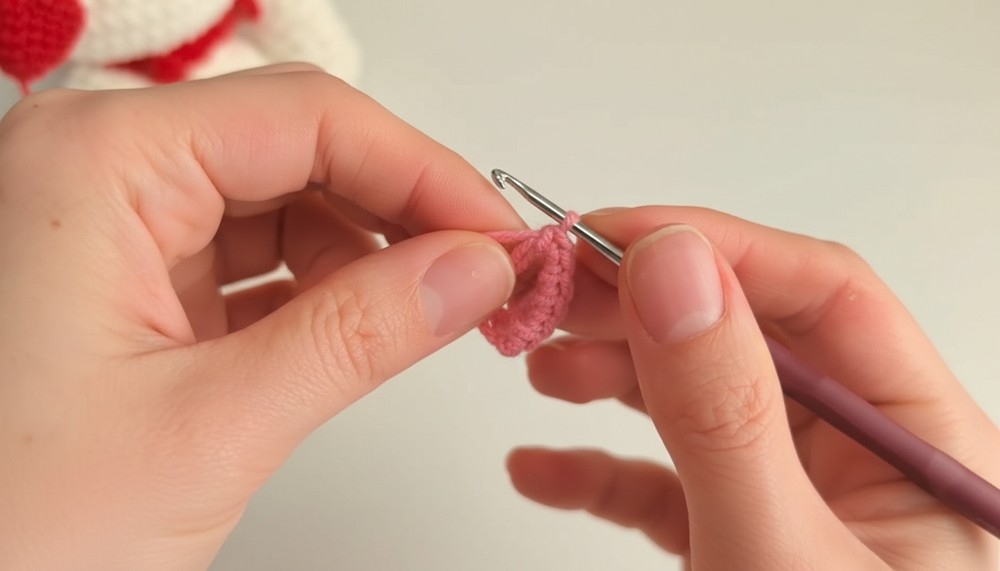
Row 2: Increase Round
- CH 1.
- Work 1 INC (2 SC in the same stitch) into each stitch around.
- *(INC)6 = 12 SC total.
- SLST to the first SC to close the round.
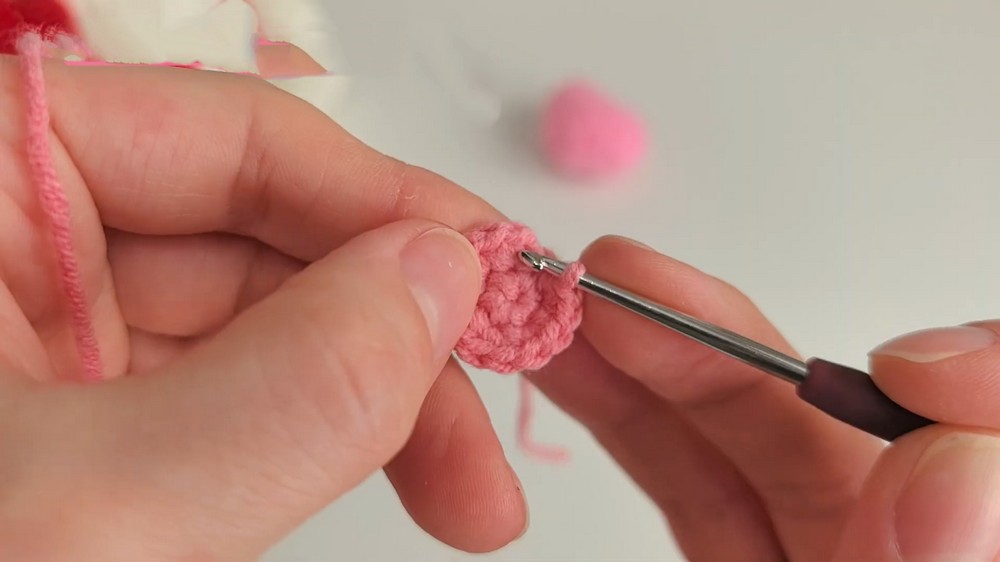
Row 3: Stabilizing Round
- CH 1.
- Crochet 12 SC around (1 SC in each stitch).
- SLST to the first SC.
Row 4: Second Piece
- Cut the yarn and secure with a knot.
- Repeat Rows 1–3 to create a second identical heart piece.
Row 5: Joining the Two Pieces
- CH 1.
- On the second piece, crochet 5 SC.
- Continue crocheting 10 SC on the first piece; skip the next 2 stitches.
- Return to the second piece and crochet 5 SC.
- 20 SC total across the two pieces.
- SLST to the first SC of the round.
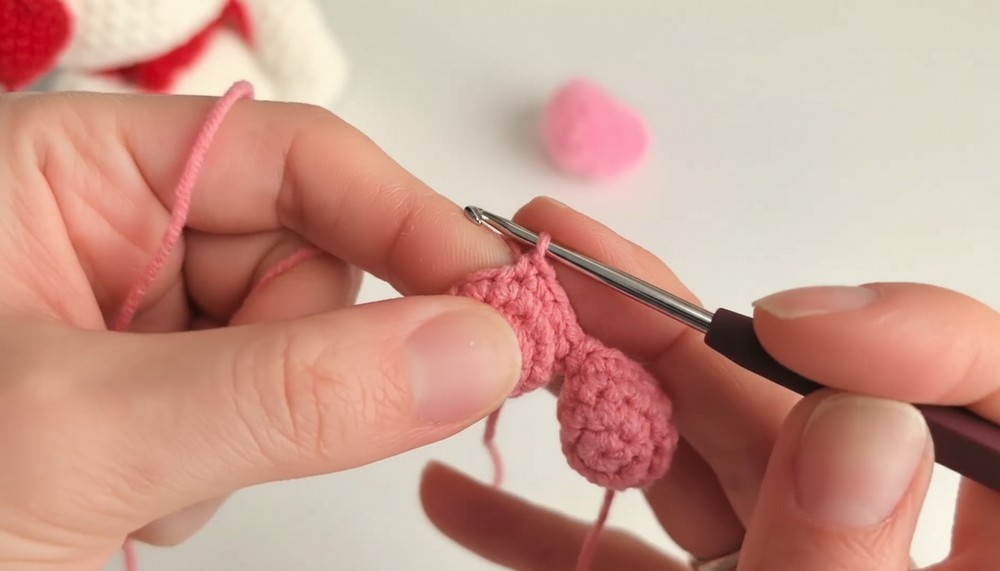
Row 6: Close the Gap Between Pieces
Using a tapestry needle:
- Sew the small hole between the two connected heart lobes.
Row 7: Decrease and Round Shaping
- CH 1.
- Work (DEC, 8 SC) twice (1 DEC followed by 8 SC, then repeat).
- *(DEC, 8 SC)2 = 18 SC total.
- SLST to the first SC.
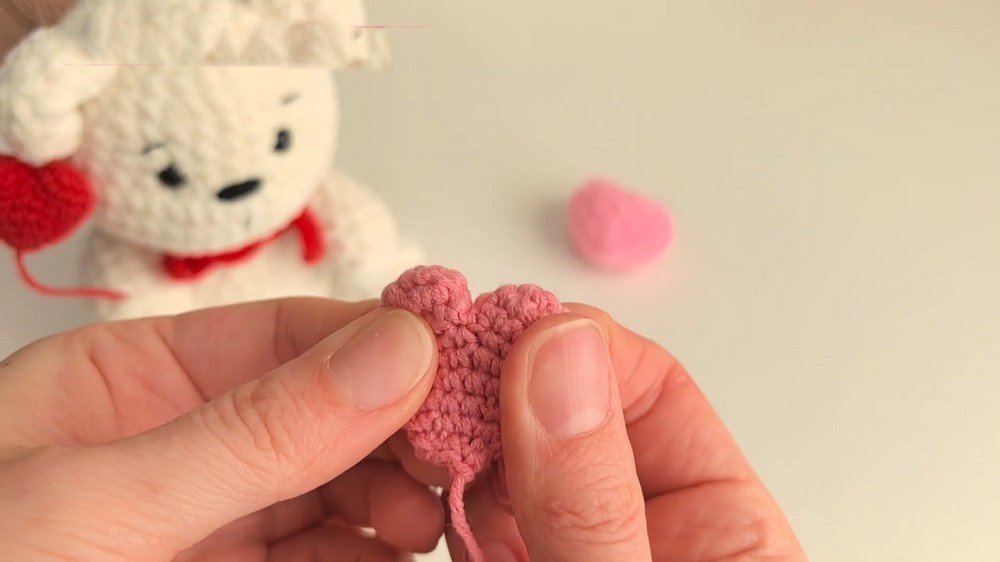
Row 8: Stabilizing Round
- CH 1.
- Crochet 18 SC around (1 SC in each stitch).
- SLST into the first stitch.
Row 9: Ovalizing the Heart
- CH 1.
- Work 2 SC, 1 DEC, (4 SC, DEC) twice, then 2 SC.
- Pattern = 15 SC total.
- SLST into the first SC.
Row 10: Beginning the Heart Point
- CH 1.
- Work (3 SC, DEC) three times across the round.
- Pattern = 12 SC total.
- SLST into the first SC.
Row 11: Closing the Heart Point
- CH 1.
- Work (DEC) across the round (6 decreases).
- 6 SC total.
- Cut the yarn and leave a long tail for finishing.
Step 12: Stuffing the Heart
- Gradually fill the heart with fiberfill through the opening.
- Shape the stuffing evenly as you go.
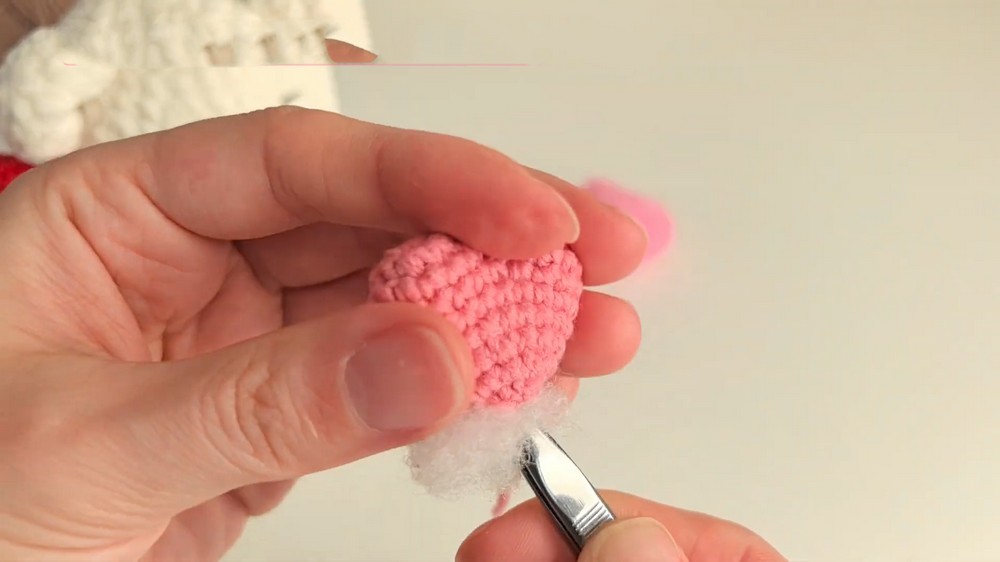
Step 13: Closing and Securing the Heart
- Tighten the final 6 stitches by working on front loops only. Pull them together to fully close the opening.
- Use the tail thread to make 3–4 stitches through the body of the heart, ensuring the thread is secure.
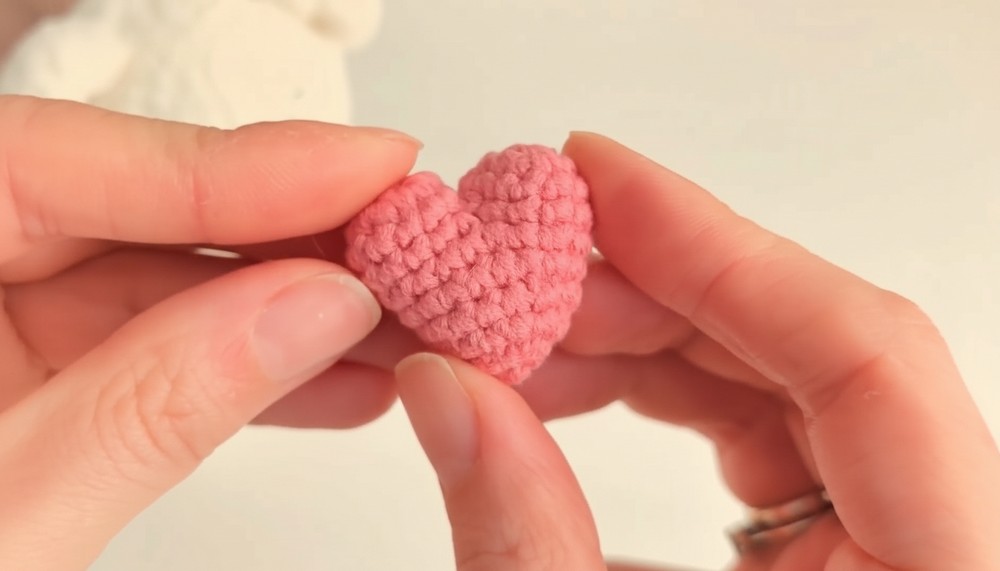
Finishing:
- Weave in all loose ends using a tapestry needle.
- Attach a keychain ring or strap at the center-top of the heart if desired.
Conclusion
Your tiny heart is now complete! Perfect for gifting, adding to amigurumi projects, or using as a charming accessory, this heart is quick and satisfying to make.
Pattern Correction and Tips
Corrections:
- If your heart appears uneven, check stitch counts in Row 5 when joining the two pieces.
- Always align both pieces carefully and sew tightly to eliminate gaps.
Tips:
- Customization:
- Use variegated or textured yarns for unique hearts with blended color effects.
- Add embroidery details like initials or tiny patterns for personalization.
- Quick Assembly:
- Use a smaller hook for tighter stitches, ensuring a firmer-looking shape.
- Care Instructions:
- Hand wash gently if exposed to dirt; avoid excessive pulling during cleaning.